
![]()
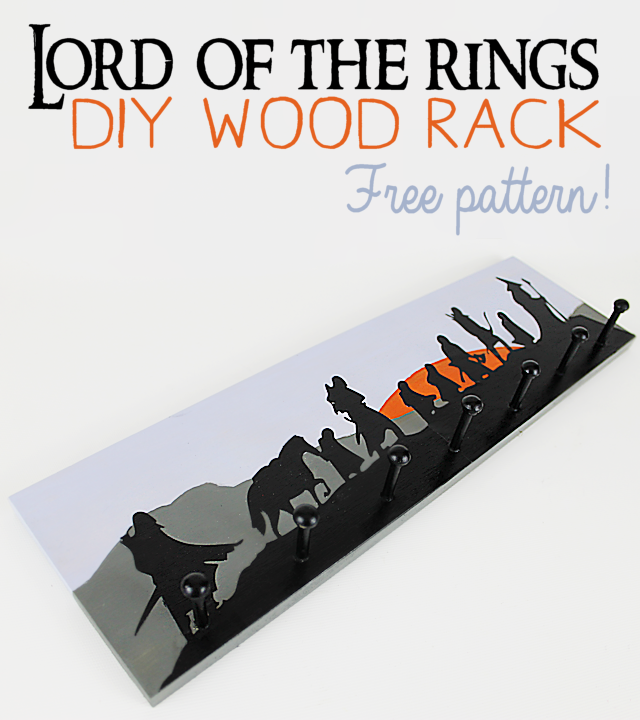
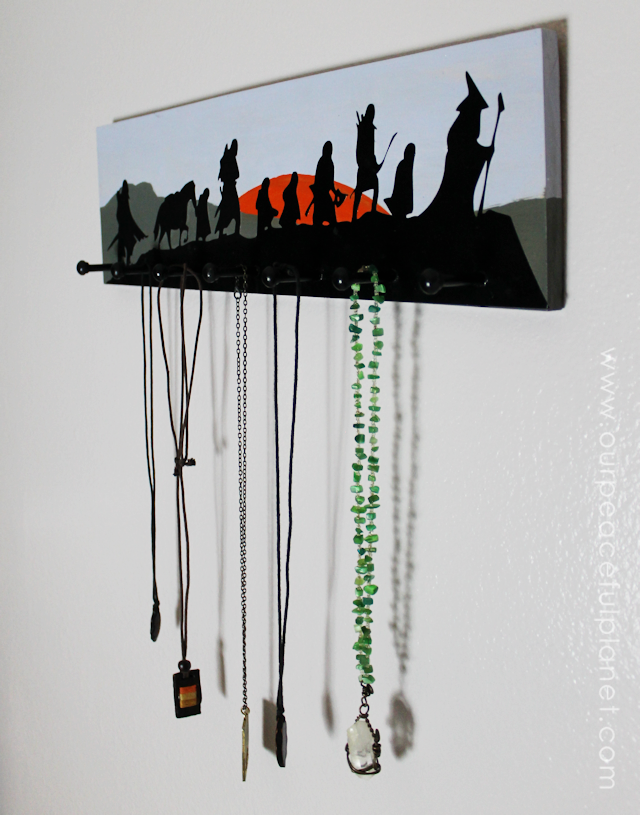
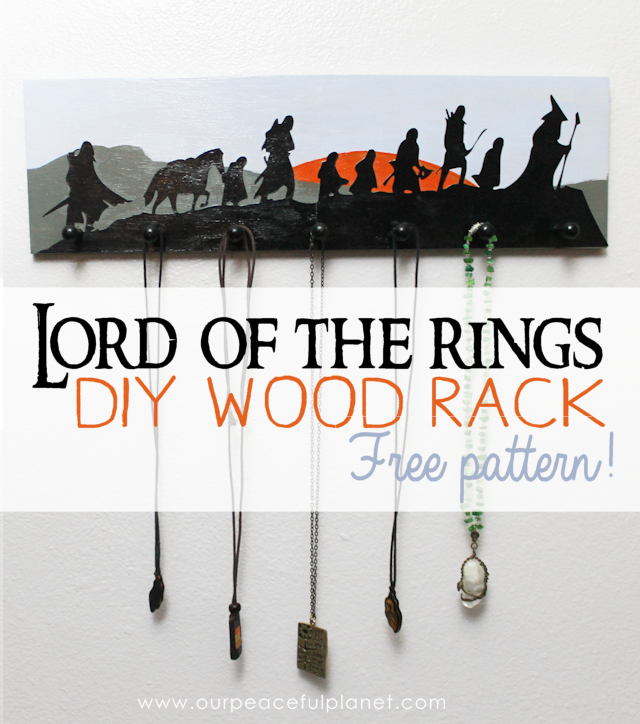
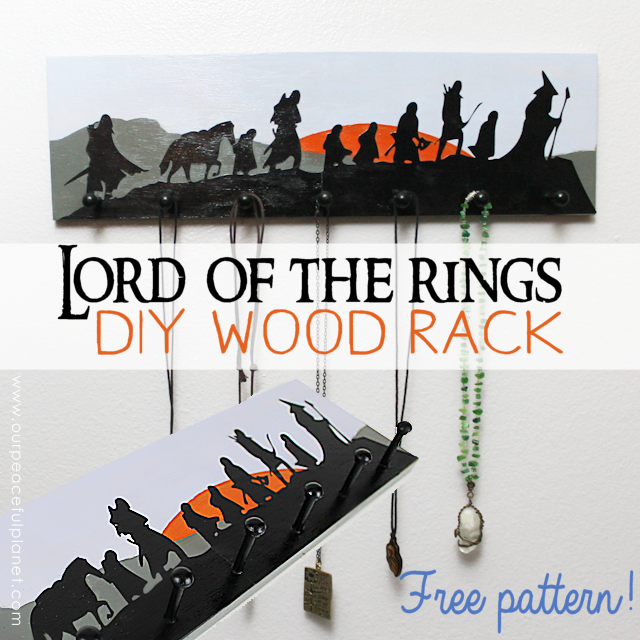
Make this classy Lord of the Rings art wood rack with some simple tools and supplies (and of course our free pattern.) You do NOT have to be an artist to do it! Its easy and would make a wonderful gift! Use it for necklaces, belts, scarves, or any other lightweight items you can hang. We’ve got a regular pdf version of the artwork plus a Silhouette file version for those who have that machine. One thing’s for certain… if I can make it, anyone can make it!
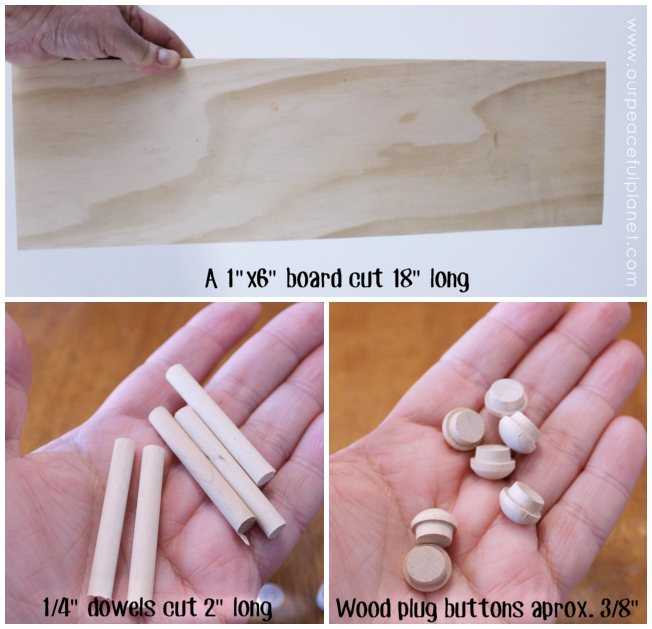
Supplies for Lord of the Rings Art Wood Rack
- 1″x6″ piece of wood. *cut to 18″ long)
- One 1/4″ round dowel cut into seven 2″ sections.
- Wood glue
- 7 wood plug buttons approx. 3/8″ (optional)
- Saw to cut wood (a hand saw works great!)
- Sawtooth no-nail hangers (optional)
- Sandpaper
- X-acto knife (or Silhouette machine)
- Paper or cardstock for the part members. (You can use black and trace the pattern onto it or white and print the pdf as is onto it and then cut it out.)
- Drill. For 1/4″ dowel pieces we used a 1/4″ bit which made a nice snug fit.
- Paint
- Mod Podge or other clear gloss.
- Our free pattern downloaded
Pattern Downloads
pdf version
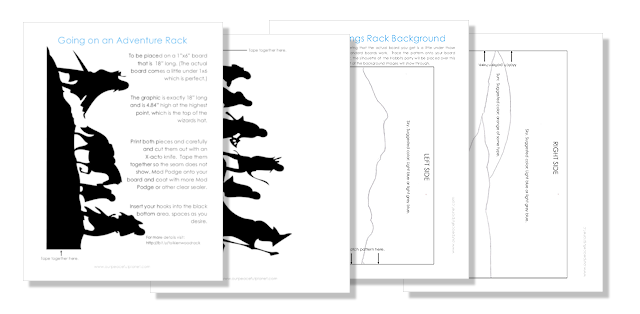
Silhouette File Version (zip)

Instructions
Notes: You can use different sizes of wood and dowels if desired, adjusting things as needed. You can also purchase your own hooks to insert it rather than use dowels.
You can either cut a larger piece of wood down or buy a typical 1×6 board and cut it to the length you need, which is what we did. The wood plugs are optional but they are inexpensive and really make it look extra nice.
![]()
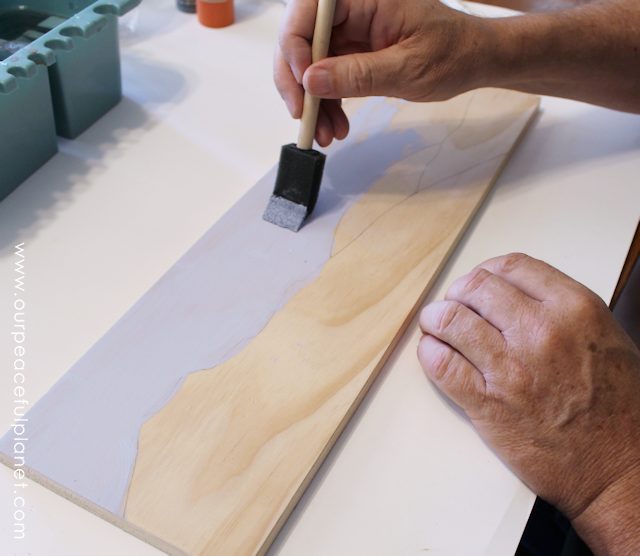
Print out your background pattern. Cut it out and tape it together then trace it onto your wood however you like. You can even just press hard with a pencil and it leaves a light indent on the wood that you can use as your painting guide. 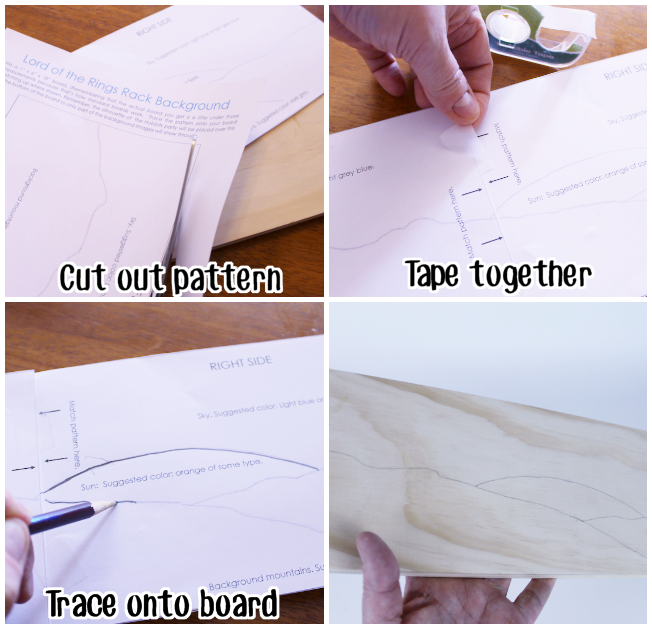
![]()
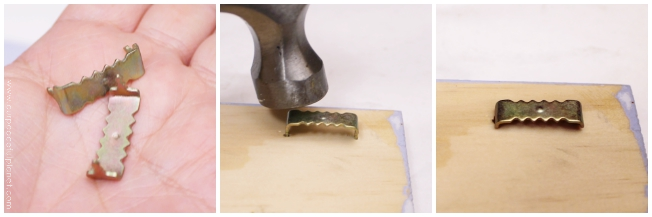
No Nail Sawtooth Hangers
I added these after the hanger was completed. These are my favorite type of hangers. They just hammer right into the wood.
![]()
There are three ways you can cut out the Lord of the Rings art and us it. 1. You can print it out onto white paper or cardstock on high quality. Then you have to take an X-acto knife and carefully cut around it. (Yes, this will take a while and some patience.) Carefully tape it together. 2. You can print it out on normal paper then lay it over black paper or cardstock and carefully cut it out using the top piece as a pattern. Again, tape it together carefully. 3. For those of you who own a Silhouette cutting machine you can use the files for that and the machine does all the work for you. 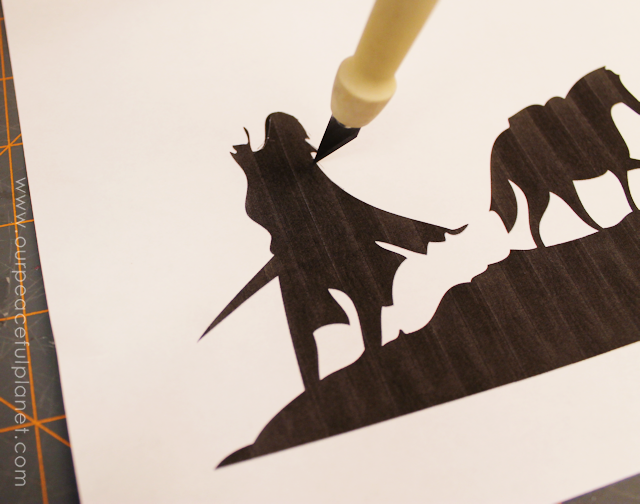
![]()
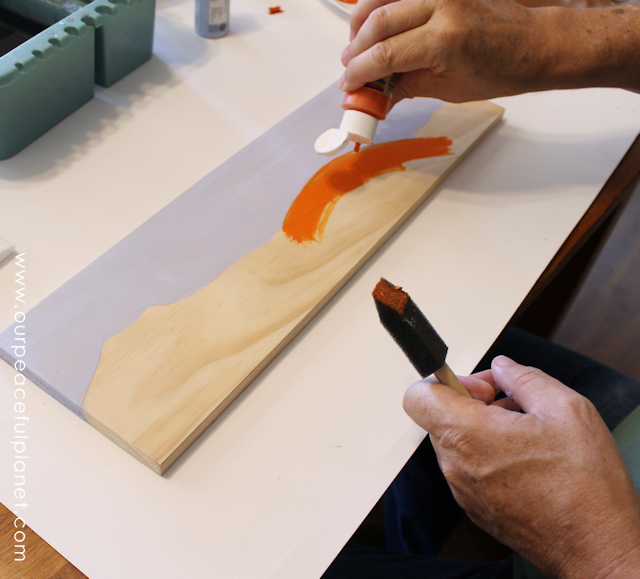
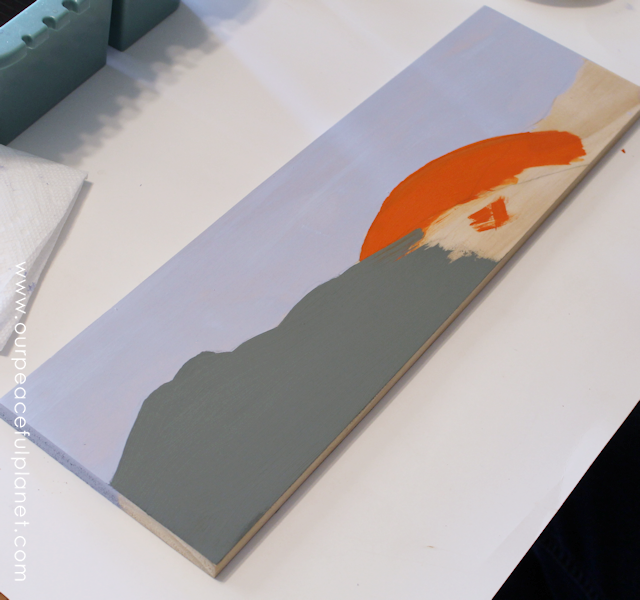
Use your paints of choice and paint the areas as shown. No artistic skill required!
![]()
![]()
![]()
Don’t forget the edges!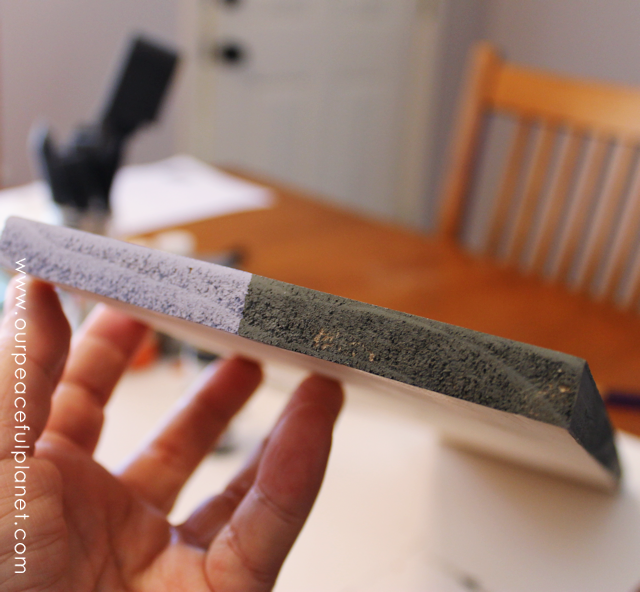
![]()
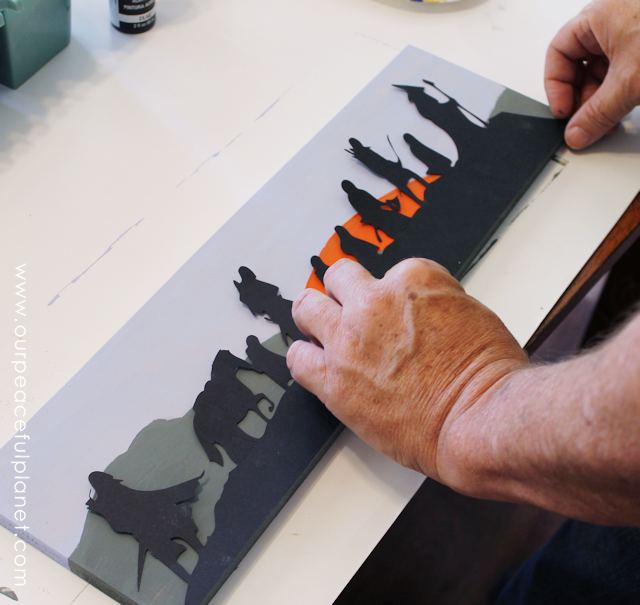
Glue your party graphic onto the wood using Mod Podge or another method, making sure to align it carefully.
![]()
Top it with your choice of gloss or semi gloss coating. 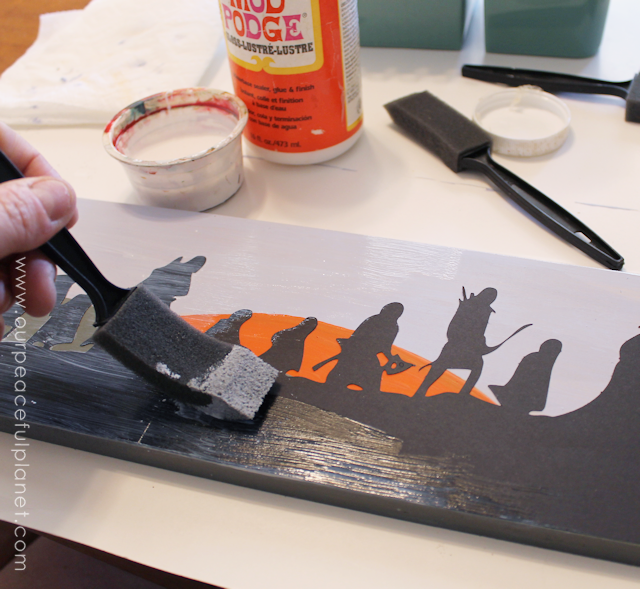
![]()
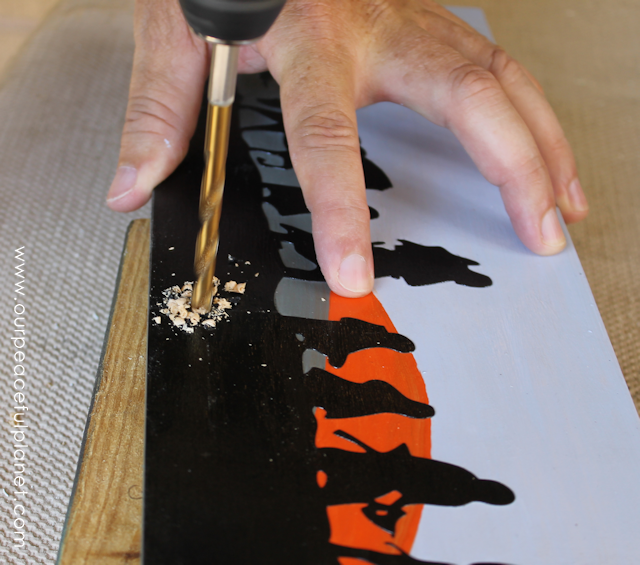
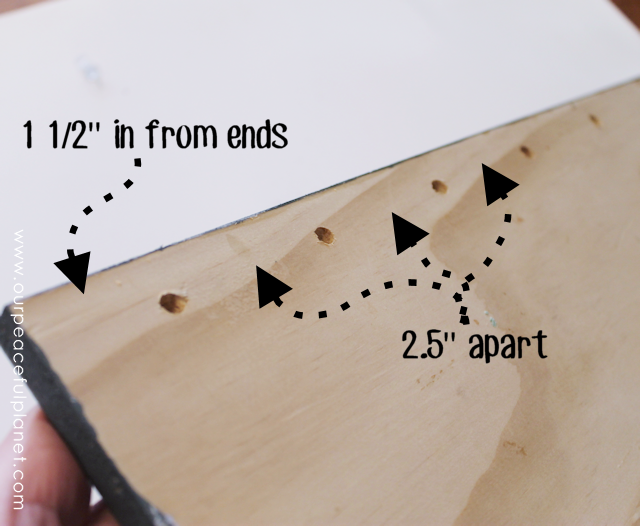
You will now drill the holes to place your 2″ peg hooks into. We used a 1/4″ drill bit. You want your pegs to fit into the hole snug. We choose 7 hooks and drilled the holes as follows: 1/2″ up from the bottom of the board. We started 1 1/2″ in from each end. Each hole was 2 1/2″ apart. Please measure your own board to make sure this spacing works for you.
![]()
![]()
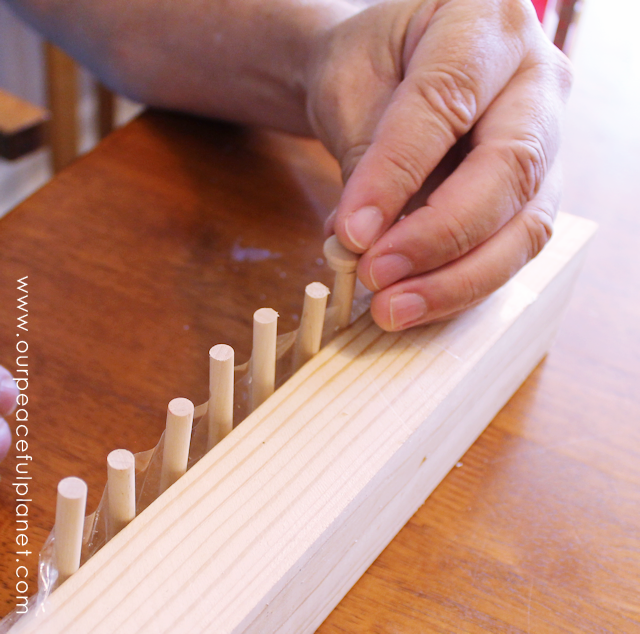
Getting Peg Hooks Ready
You can do this two ways. After cutting your dowels 2″ long you can glue your wood button ends onto them before inserting them. We did this by taping them upright to a board and then gluing the buttons on and letting them dry. We then inserted them into the board and painted them. In retrospect we suggest you insert the wood dowels into the board and then glue on the wood buttons and let them dry and then paint them as its simpler.
![]()
Place a small amount of wood glue on the ends of your dowels before placing them into the holes. You may need to use a hammer to tap them into place. 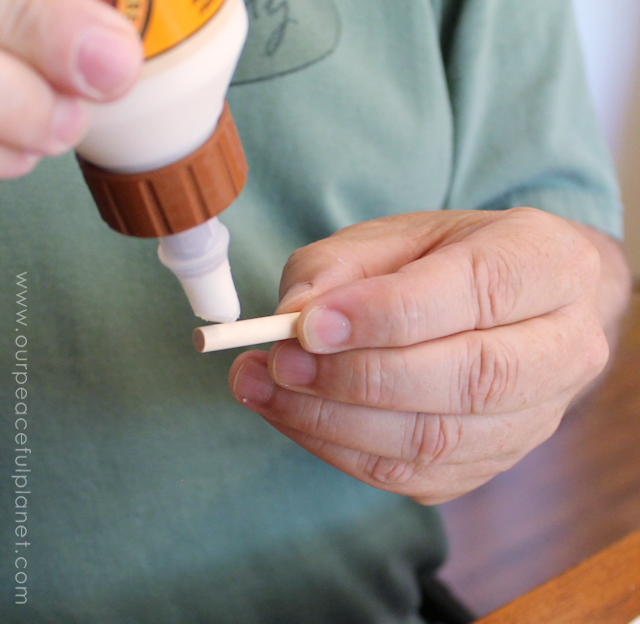
![]()
Wipe off any glue overflow.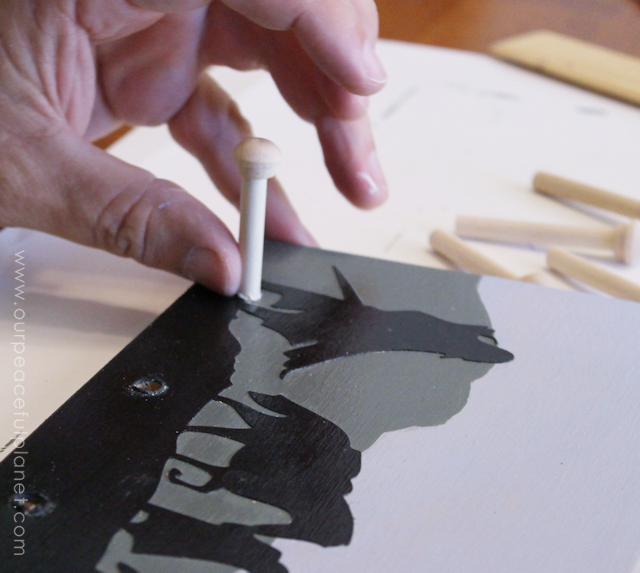
![]()
After they dry, paint the pegs.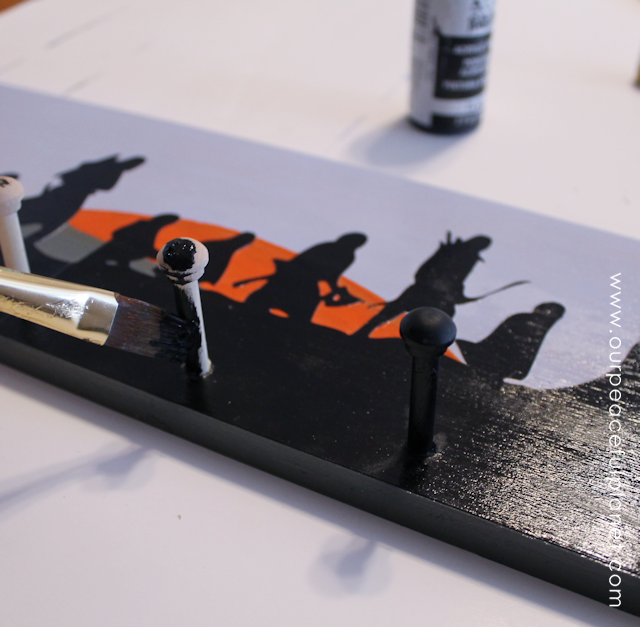
![]()
Make sure to give them a coat of gloss after the paint dries.
![]()
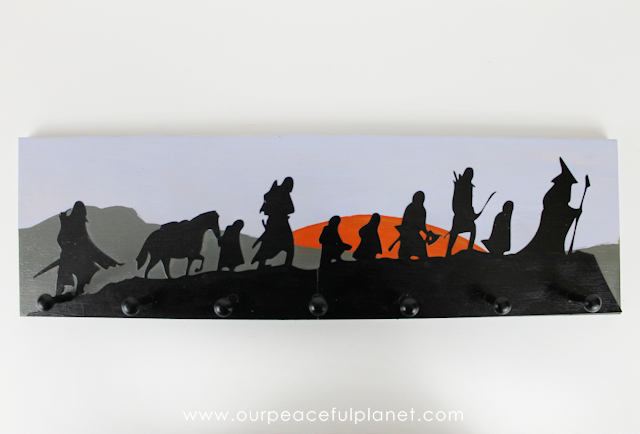
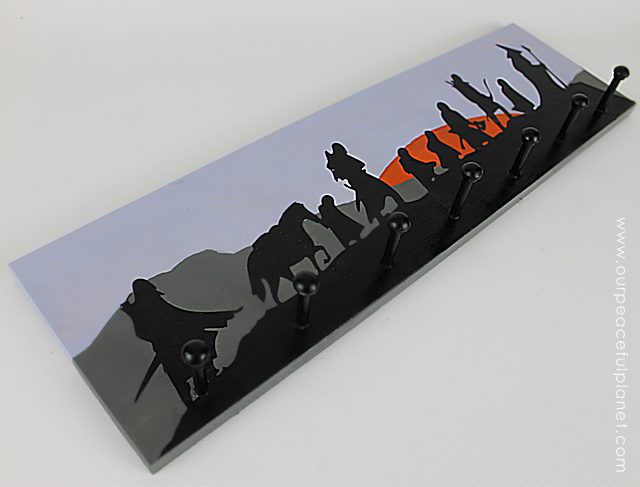
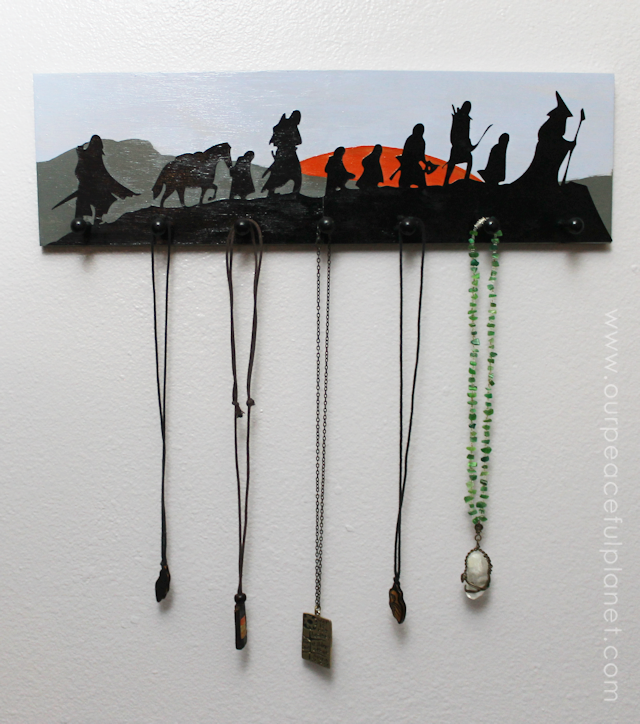
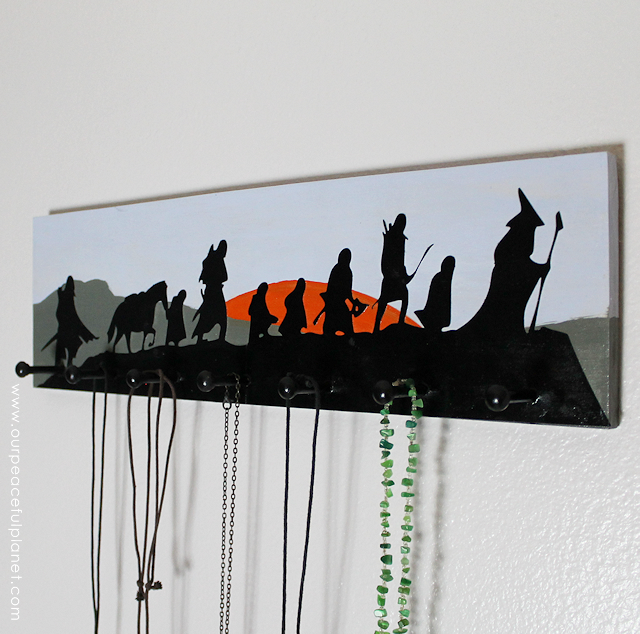
Completed Lord of the Rings Art Rack! Attach a hanger on the back and hang it up.
![]()
![]()
![]()
![]()
![]()
![]()
![]()
Simply brilliant, I love this craft. Tolkien is one of my favourite themes.
So glad you enjoyed it! Thanks so much for stopping by. Ü
Thank you so much for this, fabulous idea! xx
Is the tracing pattern meant to cover the whole length of the board (not cover the whole board just the length).
Yep! It goes end to end. If you’re making one the exact size as ours you see the placement.on the photos. Ü
My board measures exactly 18″ and there is still about 3/4″ left? Should I make my board smaller or print it bigger?
It’s up to you. If you notice on the left of mine there is actually a tiny gap before the end of the board. So if the image doesn’t go to the exact end it doesn’t matter. It’s really just a matter of choice. Ü Personally I think it would look fine as is just centered on your board. But it’s up to you!
When referring to the dowel does 1/4″ mean the circumference or the diameter?
That would be diameter in this case. Though any smaller size dowel will work. Good luck!
I made this for my cousin, and she absolutely loved it. I didn’t even do it as a rack, just left it as wall art. I now have 2 more people that want one. Thanks for an incredible idea, and the super easy directions.
Thank you so much Leah for letting me know that!
Wow–very cool! My kids have a Hobbit gallery wall in their room; I think they need this to go with it 🙂
How awesome! I love hearing about stuff like that. I’d love to see it. Ü
Woah – this is so cool! I love it. Could you trance the outlines and paint in with black paint? I live in a cutting machine free zone so I’m wondering if that would be easier or more difficult than cutting out black paper – maybe about the same! Totally worth the effort though.
You most certainly could do that! Excellent idea! Thanks so much for stopping by and commenting Julie. Ü
wow, this is amazing! Way beyond what I am capable of making at this moment but I am pinning this as something to aspire to make!
Don’t sell yourself short Hil… it’s not quite as hard as it looks! Thanks for stopping by. FYI I LOVE the name of your site!