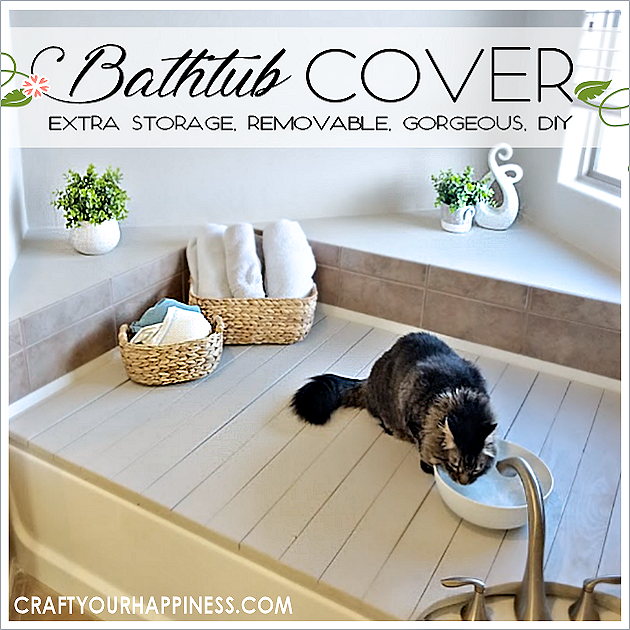
![]() This bathtub cover was so easy and fun to make. As you might be aware of not everyone is a bathtub kinda person. Others consider their tub a “getaway” of sorts. We’re not tub people. We bathed our kids in the tub when they were young of course and now the dog gets bathed in it but that’s about it. My daughter’s new home has a garden tub in the master bedroom. It was driving her crazy because, not only did she not use the tub, it was taking up a lot of space. Plus, because her home is one with many cats, it was always full of cat hair. Gross.
This bathtub cover was so easy and fun to make. As you might be aware of not everyone is a bathtub kinda person. Others consider their tub a “getaway” of sorts. We’re not tub people. We bathed our kids in the tub when they were young of course and now the dog gets bathed in it but that’s about it. My daughter’s new home has a garden tub in the master bedroom. It was driving her crazy because, not only did she not use the tub, it was taking up a lot of space. Plus, because her home is one with many cats, it was always full of cat hair. Gross.
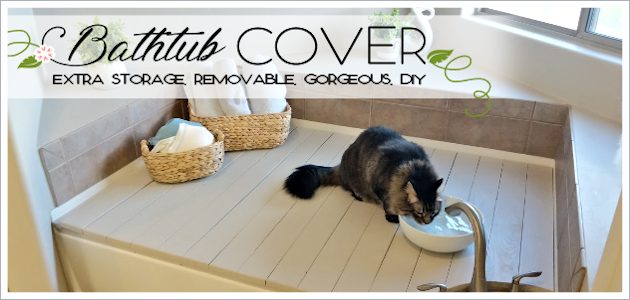
She decided to make her own tub cover that would keep the tub clean and give a space for the cats to not only sit on but for anyone to sit on the edge of if needed. This can be done on any basic tub. If you never use the tub you now also have extra covered storage space! If you’d like some more clever bathroom ideas make sure to check out How To Do A Sturdy & Stunning Granite Contact Paper Countertop Makeover, Quick Cardboard Pull Out Cabinet Organizer and our Fun & Unique Guest Bathroom Ideas & Makeover.
We also did a full makeover on our master bathroom complete with recovering the counter with contact paper.
Make sure you check that out too>>>>>> Magical Dark Sea Bathroom Makeover
 Bathtub Cover Supplies
- Cheap pine boards (3.5″ wide and cut to the width of the bathtub… Enough pieces to go across the top..
- 1″x2″ wood (2 pieces cut to the length of the bathtub) *optional – see instructions*
- Paint
- Fabric *optional – see instructions*
- Staple gun
- Sander
- Jigsaw
- Paint brush
![]()
Bathroom Wall Art Sale
Designed by Craft Your Happiness
Bathroom Wall Art: Nice
Set of 9 Printable Digital Posters
SALE – $0.99
[jemdc id=”33290″]
Bathroom Wall Art: Naughty
Set of 9 Printable Digital Posters
SALE – $0.99
[jemdc id=”33287″]
Instructions
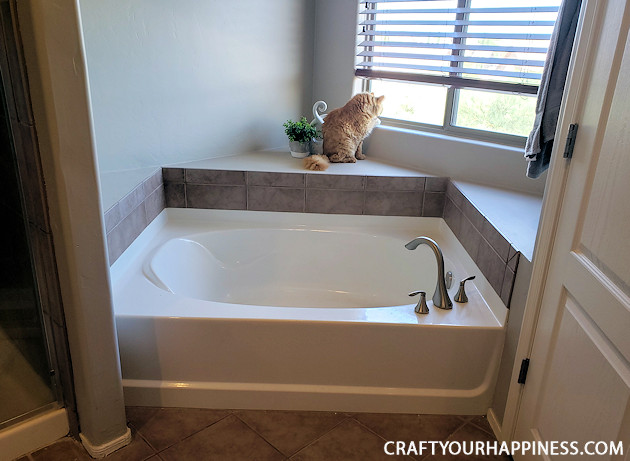
The tub we were covering happened to be a garden tub, but this project will work with any tub in your home. As you can see, the faucet on this tub is not wall mounted, which made our project a little more difficult. There is also a small lip where the back of the seating area rises up about an inch. If you don’t have either of these issues, then making a flat, rectangular cover will go much quicker and you can skip the use of the 1″x 2″ wood pieces we had to use to raise our cover above the seating back.
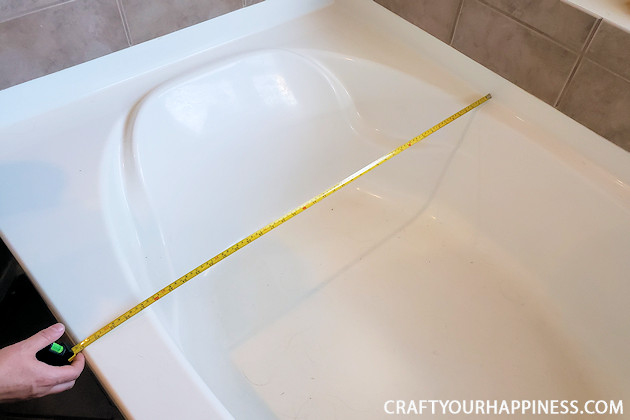
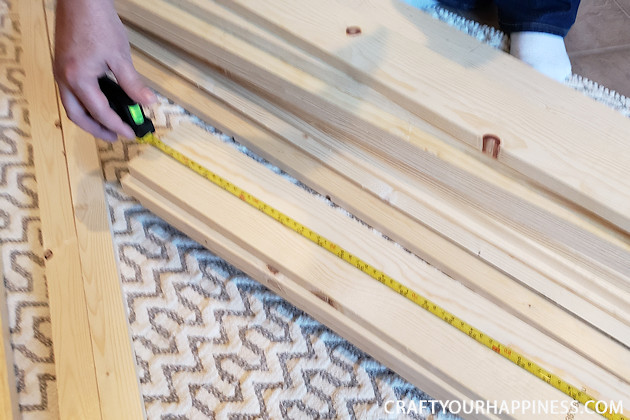
Start by measuring the width and length of your tub.
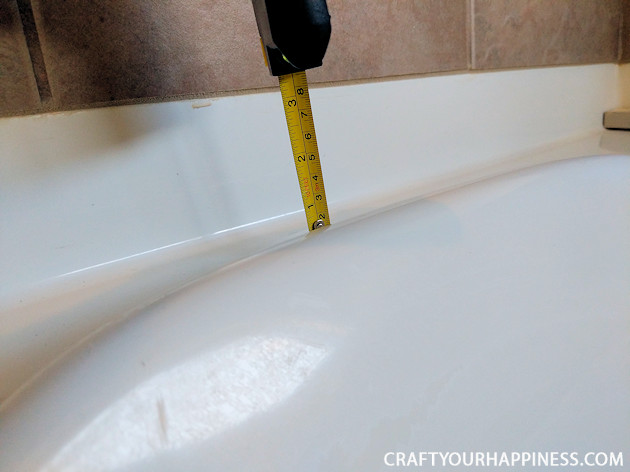
Because the back of the tub seat raised above the surface, we had to measure that, too. You want to make sure you’re final cover lies flat across the tub.
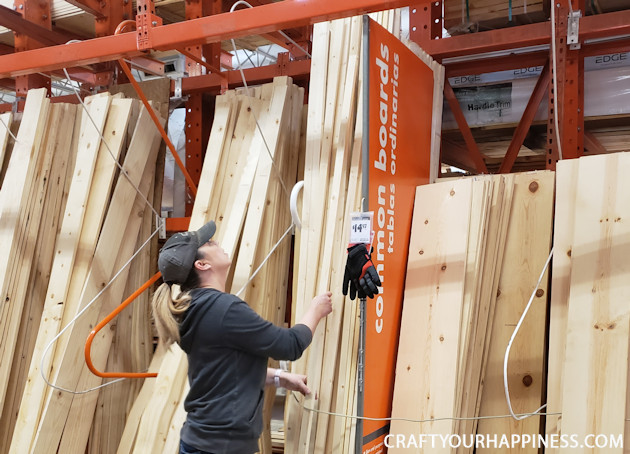
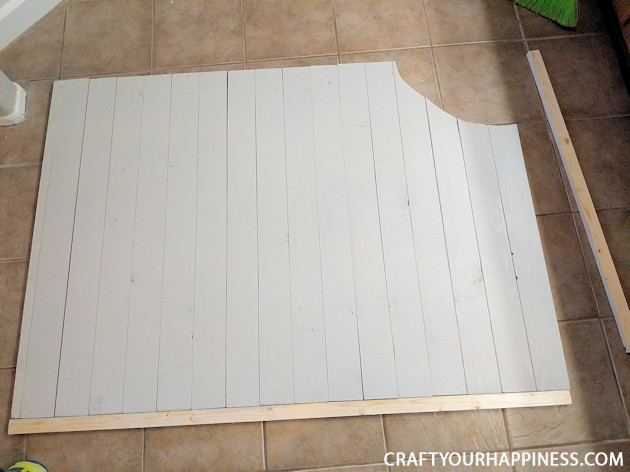
Hit your local home improvement shop and gather the necessary wood. We opted for some cheap pine boards to keep our project from breaking the bank. This is where a little math is involved. Make sure you get enough wood that, when cut into planks, will line up to cover the surface of your tub. Our tub was 41″ deep and 58″ wide. This meant that, our 1″ x 3.5″ boards needed to be cut to 41″ long and I would need 17 of them to cover the tub. Then we bought a couple 58″ long pieces of 1″x 2″ boards to place under our cover so that it would lie flat above the seat lip that was sticking up. We had Home Depot cut all of our boards for us before we took them home. This is a great option for those who don’t own a saw, but also for those of us who need a little help with all that math. (Bring in photos and measurements and these guys will do it all for you!)
If you prefer to do the cutting yourself, simply measure the boards and cut to the depth of your tub.
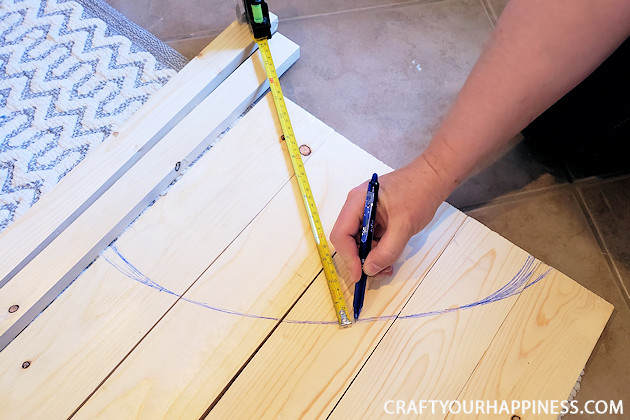
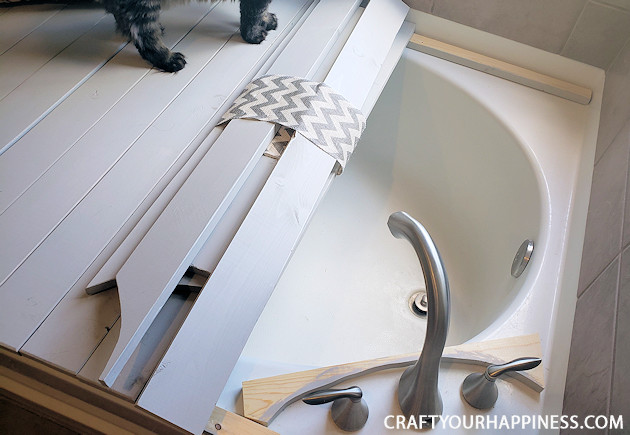
Because our faucet was mounted to the tub itself, we had to measure around it to cut out the space.

Then we aligned our boards on the ground and drew in the measurements so that we could cut out a relief for the hardware. Again, if your faucets are wall-mounted, simply skip this step. (You lucky dog!)
We used a jigsaw to cut the space for the faucet.
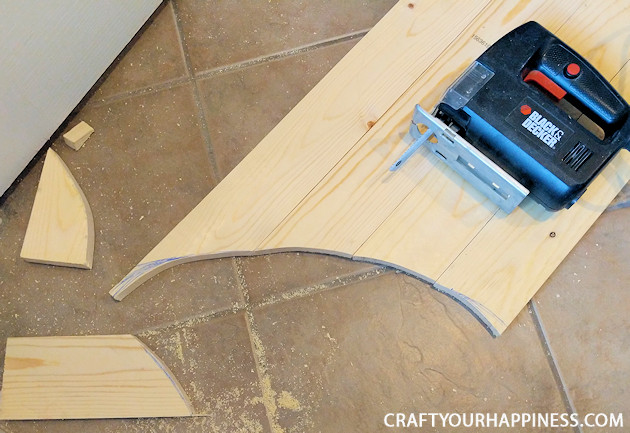
Then we sanded the edges to smooth out our cut job.
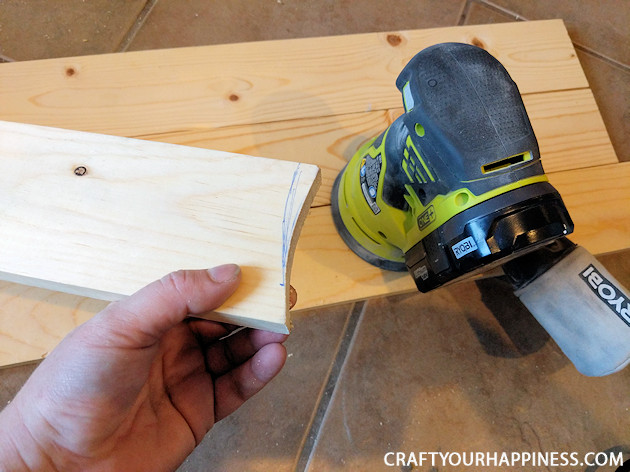
We also chose to sand ALL of the edges of each board at an angle, taking off the sharp corners. This really is worth the extra 15 minutes and will give your project a much more finished look, so we highly recommend it.
Once the sanding was done we painted our boards. We opted for Sherwin Williams Anew Grey since the walls in the bathroom were already this color.
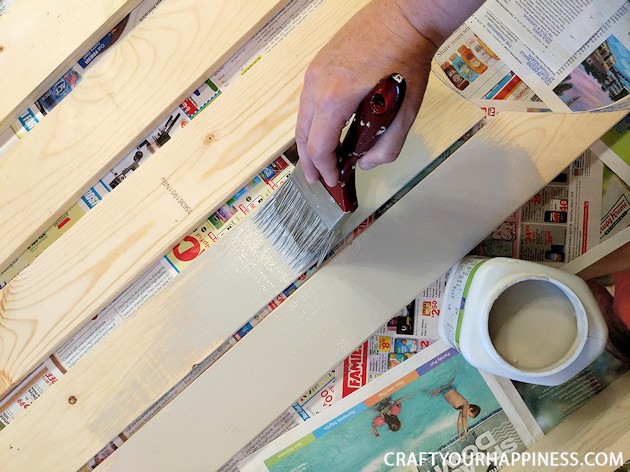
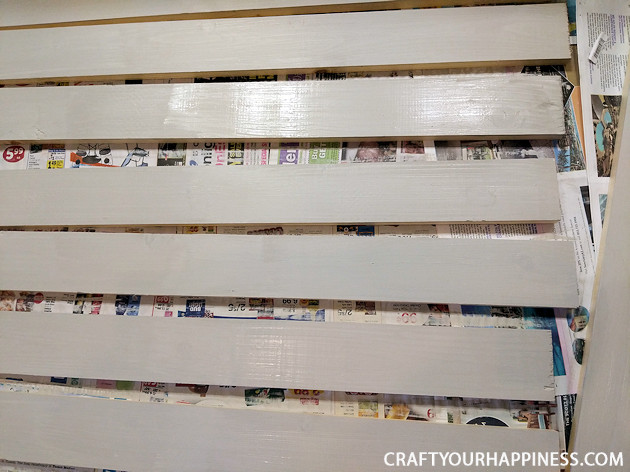
We painted all sides of our boards since this cover is removable and we wanted a ‘finished’ look, even if we were just lifting the top to pull some towels out of our new storage space.
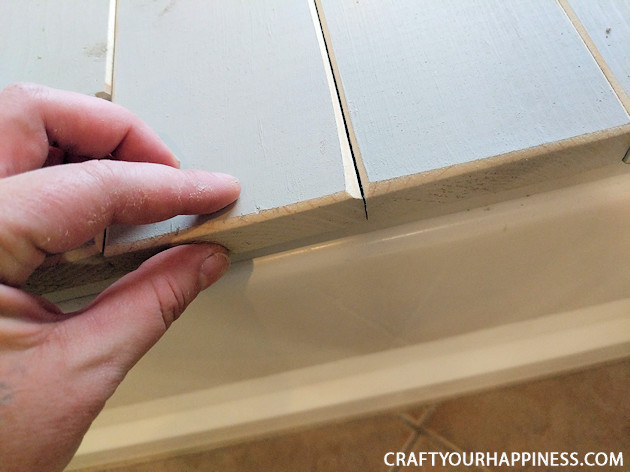
Once the paint is dry, do a dry-fit of your work and line it up to make sure everything looks right.
For convenience when removing, we opted to string our panels together with some heavy duty fabric. This is completely optional and, as we discovered, would work better for a smaller, standard size bathtub. The amount of wood needed for a garden tub was a little too heavy and cumbersome for this approach.
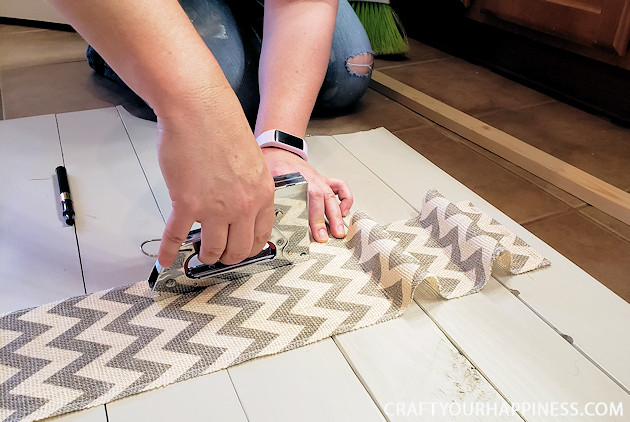
When rolled up, the fabric helped keep the bundle together. Again. if we were working with a standard size bathtub this would’ve been great. But with our larger tub, we recommend just sticking with the individual boards as it makes installing and removing the cover tremendously easier.

Because we had the back of the tub seat to deal with, we placed out 1″x 2″ boards around the frame of the tub and then unrolled our wooden topper. This gave us a level surface that we were happy with.
We then traced the edge of the top onto the 1″ x 2″ boards.
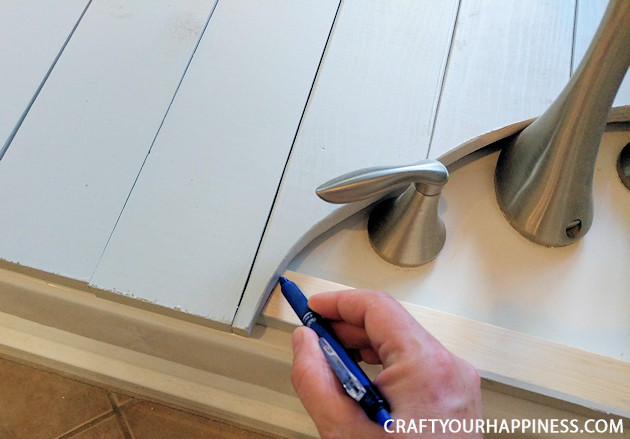
Then used some scrap wood to create a little extra support around the faucet and cut the 1″ x 2″ boards down so that they didn’t show.
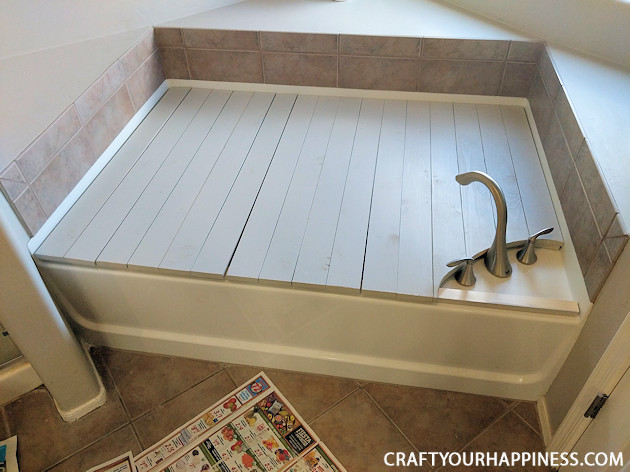
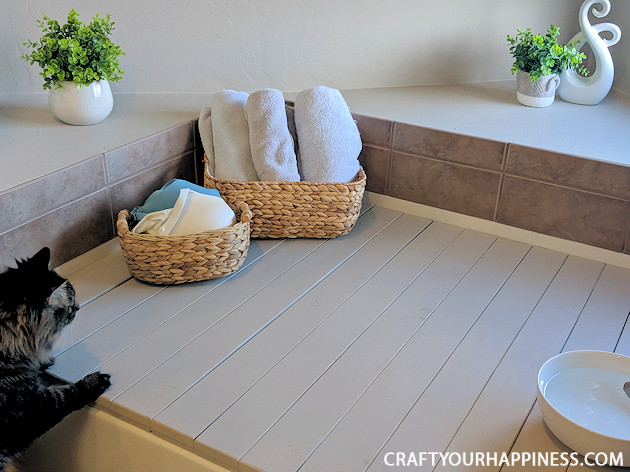
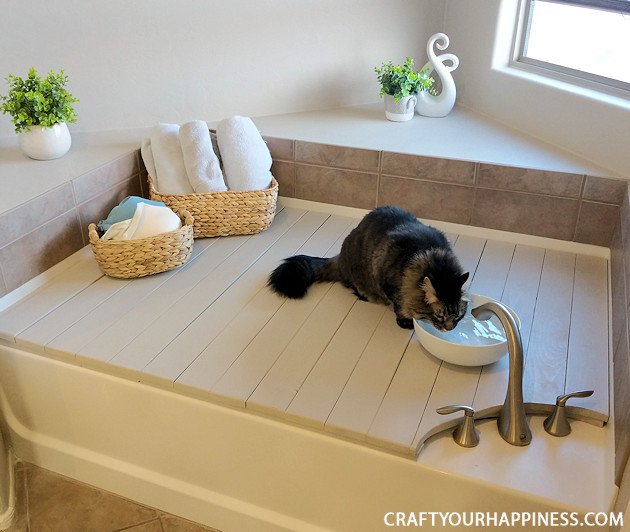
In the end we got a beautiful cover, extra storage, more lounging space for the kitties, and a bathtub that stays clean of kitty hair and is ready for our next bath. We even utilized the faucet to create an additional water dish for our fur babies.
Another option to consider is weight. Since only my kitties would be walking across the tub, we didn’t build any support into the center of the cover. If you want to use your tub as a sitting bench, simply opt for a 2″x 4″ frame with supports that cross the center of the tub.


47 responses
Gluing felt fabric on the back would protect the boards from scratching the tub and make it easier to fold up.
This is great. My kids don’t use the bath anymore and it is just taking up space. Now I have an answer. Thank you for posting this.
Thanks for the build detail and pictures. I just finished my bathtub cover. One challenge is finding straight boards. If not straight, it will show when the boards are placed next to each other. I ended up using 1″x6″ tongue and groove boards. Since the tongue on each board fits into the groove of the next board, space is eliminated between the boards and any “non-straight” boards will not be noticed. Plus makes it a little stronger in case you place a heavy object on the cover.
Happy so show a picture if there is a way to send a pic to you. Thanks again.
Please send a picture!
Love this idea. We are planning to make this for our garden tub. How do you keep the 1×2 supports from moving.?
I went back and looked at the pictures to see how you use a piece of scrap wood for support near faucet. Sorry
The wood you use to cut out with the jigsaw, what’s keeping the wood from falling in the tub, wood looks shorter to reach across tub in front of faucet Thanks great project my tub looks just like yours, I’m try and do it myself wish me luck.
Love this idea! I can’t wait to cover my unused tub!!
First off, “Standing Ovation”, You are a glimmer of light in a otherwise dark world. .
I stumbled upon your post as I’ve same issue , right down to the Kitty Cats whom I adore. Was wrestling with ideas, even looked at Hard Tops got Jacuzzi/Hot tubs. Your idea is brilliant, effective, utilizes the space.
Can’t wait to create. Thank you for the instructions, your truly a Earth Angel.
Shelia
Not sure I’ve ever gotten a standing ovation for a post! lol. So glad you found this helpful Shelia.
Much love to you and your kitties!
I know this is a dumb question but what do you put the boards together with glue.
No they’re attached so that they can be folded up. The pictures down below will show how we did it.
What fabric did you use NAncy?
Hi Jennifer!
It was actually a 6″ piece of heavy ribbon type fabric. Ü
This is a great idea, but is it necessary to paint or add a fnish to the boards? I really just want to use the cover to keep my bathwater relatively hot. I would definitely sand them to make smooth edges, but the boards won’t be immersed in the water. Also, is there a way to get these boards can be folded together ( I mean stacked) when not in use? Thank you.
Hi Nancy! I was so inspired by this…the same day I saw it, I went out to Lowes to get one piece of wood cut out! It is now waiting for me to paint it. It is not panels, per se, just one piece of fitted wood because I need it to utilize the vertical space above a never-used tub for an automatic cat litter box. Right now, it was all over the bathroom floor and its too big to fit IN the tub, so I found your post while researching what to do about it. Lightning struck and here we are! I am so excited! Wish I could post the BEFORE and AFTER for you to see what you inspired!
This was a great idea to start creating my “zen den”. Our tub is rather large (47”x71”) so I think we are skipping the fabric to create the roll up feature. I did use (2) 2x10x12 pine boards and cut them in half for stability. Perfect platform.
Hello. For years I have been eyeing the monster jetted tub in the master bath and wondering if anyone actually covered theirs for extra storage plus eliminating the hassle of cleaning the darned thing. I have considered covering my 6′ x 3′ tub with frosted plexi glass (3 separate sections) but I like your idea better. I’m now wondering if folding/hinged shutters would work for this project. I want to advise you to pour a cup or two of water in the drain every so often to keep the drain pipe from drying up and allowing sewer odors to enter the room. From what I understand there is curved (j pipe (?) that holds water to form a seal. Not sure…we have a septic field and have to keep water in our drain pipes. I plan to use mine for storage underneath as well as misc. storage on top. Also, I think it is very important to protect the surface of the tub edge in case the next owner likes tubs. Thank you for sharing your great project!
I loved this idea and I have a huge garden tub. I decided not to use the fabric but I used silicon 3/4 feet that you can find in the hardware area of Home Depot by the felt pads. They have double stick tape on the back and worked perfectly to raise the slat a bit higher and cleared even the jets button. It’s also nice so that they don’t slip around and stay in place nicely. I personally didn’t use 2×4’s but just primed press board moulding that was already rounded on the edges. I’m not planning on putting anything heavy on it but I might end up reinforcing the slats later on so they don’t sag but for now, it’s perfect for placing some plants and baskets on.
Hello…me again. Added to my first , earlier comment….I think 3 separate sections that are hinged together with two sections that open upward might work, too. Large rustic barn style hinges maybe.
Pad the wooden cover with a nice fabric covered piece of foam (mattress foam pad?), add pillows, a battery-operated radio, (lamp?), glass of wine, and you have a nice, private get away for mama to have some private time to read in peace. Using tub for linens frees up closet space. Don’t forget the “Do not Disturb”sign to hang on the doorknob.
Excellent idea Patricia!
Do you worry about the wood scratching the tub?
Not really Kim. The boards are fairly smooth. Ü
Does cat hair filter through the slats or are they close enough together?
Thank you so much for sharing this! I’m just ecstatic that other homes have garden tubs!
I’m always a little bit embarrassed when
showing visitors our home and don’t know what to call the square tub in our master bath. You actually made my day!
Always glad to hear that Patty. I’m thrilled you found it inspiring. Ü
Good luck!
Nancy
I can’t wait to make one for my garden tub. Mine also gets full of at hair. Drives me crazy. I’m going to make one and put a Berber carpet on it. Then I will put my litter box there and hang a shower curtain. Wallah! Nobody can see it. Thank you for the inspiration!
That sounds great Valerie. Glad we could inspire you!
Nancy
I’ve been thinking about doing this for years because like everyone else I don’t use the tub and if I ever got in, I wouldn’t be able to get out!
I was going to use a sheet of plywood on mine! I thought that would be the easiest solution! Paint a solid color and then stencil a large mandala on it. I guess I need to get it done! Thanks for the reminder!
If possible, I’d love to see a picture of what ur final result was… for my own inspiration and help. Lol
Thank u sincerely!
I would love to do this to hide a litter box. Would have to make some kind of door and kitty entrance.
That’s actually a great idea!
Wow! I love your ‘creativity with purpose’! That’s what I tell my husband every time I want to try something that he can’t understand. In my head I’m trying to figure out how I would do this with an antique clawfoot tub we have in our lower bathroom. Any ideas?
Hey Lisa! Thanks so much. Hmmmm… not sure how you could do this with a clawfoot tub. I have no doubt it could be done… but a stand alone tub is a different thing. Maybe someone else will chime in with idea!
Lisa, Is the tub close to walls? You can put a 1″x2″ board around the wall and make a square lip the height of the tub to set the top on.
Have you thought of using a table slid over it an cir down to the right height? You could even use an IKEA top and legs.
You could build a frame that stands on the floor beside it with the top to cover the tub maybe skirt it with some fabric or some wood s
Slats
Sorry, but I think this is fake news. The cat did it all.
Love your idea. Why aren’t any of us stressed out busy people just soaking away our evenings in our huge tubs???
LOL!
I am so excited about this Idea. I have a double jacuzzi tub and I never use it. It gets full of cat hairs, also. I have long wished I could use it for storage but never thought of a wooden cover. Thank You,
Ellen
So glad you found this inspiring Ellen. Good luck!
Why can’t you make a small frame with legs tall & wide enough to atleast place over half the tub or possibly as a oversized tea lap tray but for a tub??
This is such a great idea! I never would have thought to do this. I love the colors of the wood you used.
Thanks Michelle. Ü
Love the bathtub cover !!! I also have the garden tub and it just collects dirt from the window. Thanks for the best videos.
You’re so welcome Nancy. Ü