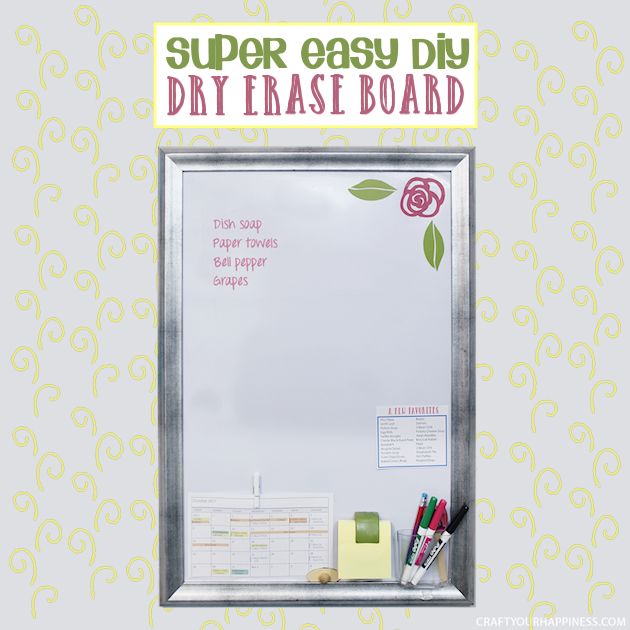
![]() Who doesn’t own a dry erase board? They are so handy for all kinds of things. We’ve kept a small 8×10 one in our kitchen for years. We use it to write down things we need at the store. When we did our outdated kitchen transformation I decided I needed a much larger one. Rather than buy one I decided to make my own DIY dry erase board using a large frame I already had. It had a plastic cover rather than glass and I realized it worked great as a wipe off board. I just took some white poster board and put it under the plastic cover, stuck on a few things and it was ready to go! You can see that one on our post of kitchen decorating ideas. However, after months and months of use… it stopped erasing. No idea why but it became unusable. So rather than buy one I decided to make over this over using a roll of adhesive backed dry erase paper. You can buy it just like contact paper. Keep in mind you can make this any size using whatever frame you want!
Who doesn’t own a dry erase board? They are so handy for all kinds of things. We’ve kept a small 8×10 one in our kitchen for years. We use it to write down things we need at the store. When we did our outdated kitchen transformation I decided I needed a much larger one. Rather than buy one I decided to make my own DIY dry erase board using a large frame I already had. It had a plastic cover rather than glass and I realized it worked great as a wipe off board. I just took some white poster board and put it under the plastic cover, stuck on a few things and it was ready to go! You can see that one on our post of kitchen decorating ideas. However, after months and months of use… it stopped erasing. No idea why but it became unusable. So rather than buy one I decided to make over this over using a roll of adhesive backed dry erase paper. You can buy it just like contact paper. Keep in mind you can make this any size using whatever frame you want!
DIY Dry Erase Board Supplies
Frame of choice
- Roll of adhesive backed dry erase paper You can also get 8.5″x11″ sheets for smaller boards
- Scissors
- Pocket to hold markers pencils etc (I had this Command Pocket so I used it.) Wide Version (Must be glued on)
- Post-it type note pop-up Dispenser (that can be glued flat to the board)
- Dry Erase Markers (All you need is one but I like the variety)
- Eraser Or make your own like I did below. The problem with a large eraser is where to put it.
- Small clothespin, if desired. Mine holds a monthly calendar.
ERASER
- Wood oval
- Glue. I love Quick Grip but any glue will work.
- Wood plug, bead or ball with flat side to use as handle.
- Felt
![]()
Instructions
This is the original one. I decided to make my new one a little nicer.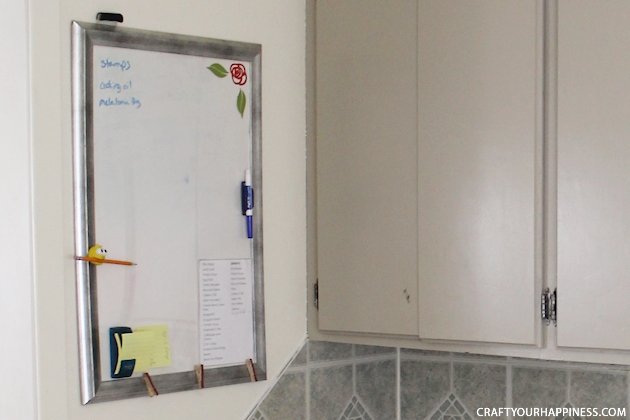 First I had to remove the stuff off the front. I had cut a rose and leaves using my Silhouette Portrait cutter, because it matched my new kitchen makeover.
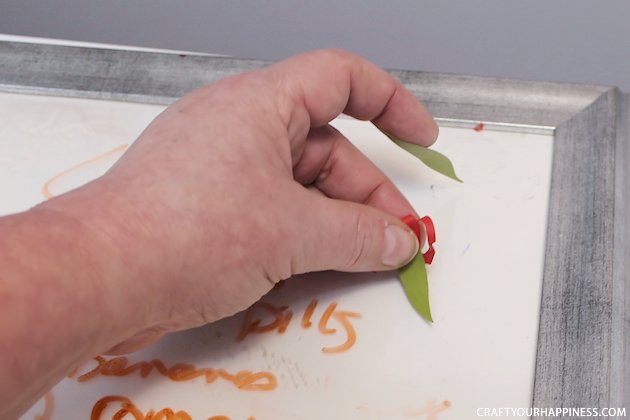
Then I cleaned off the front. It took rubbing alcohol to remove the dry erase markers at this point.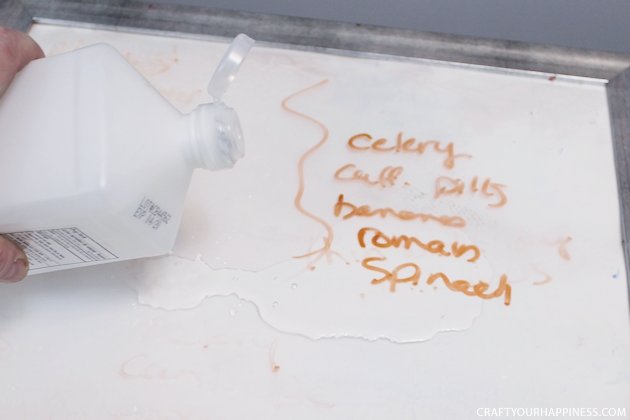
I cleaned it as best I could. Didn’t need to be perfect.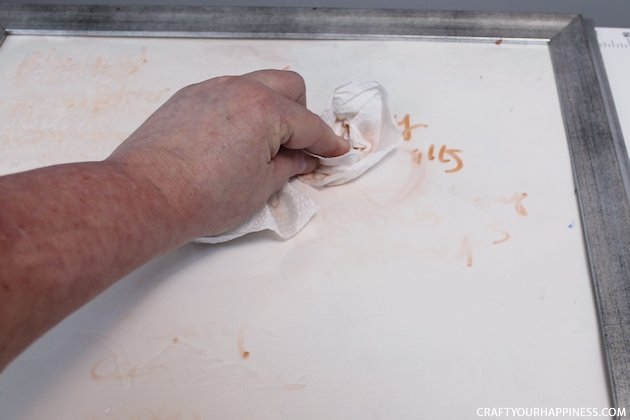
I removed things I had stuck to it.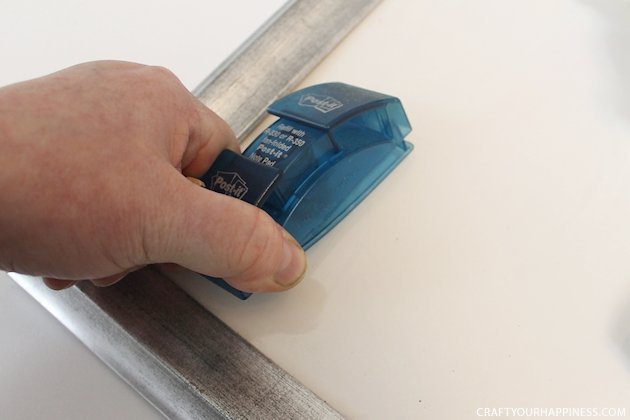
Then I made sure to remove any tape or things that would make lumps under my dry erase paper. I love these little scrapers!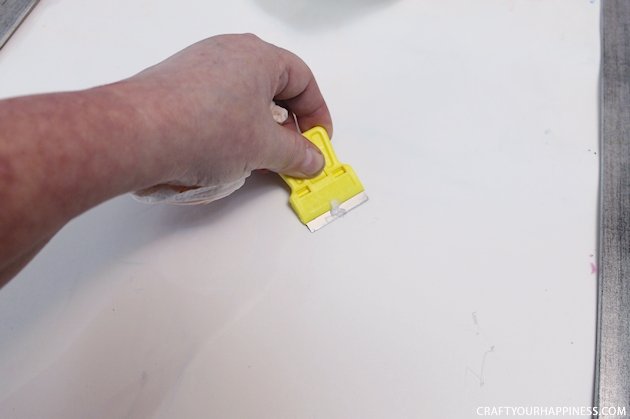
Now it was time to pull out the adhesive white board paper. This roll is 17″ x 78″. 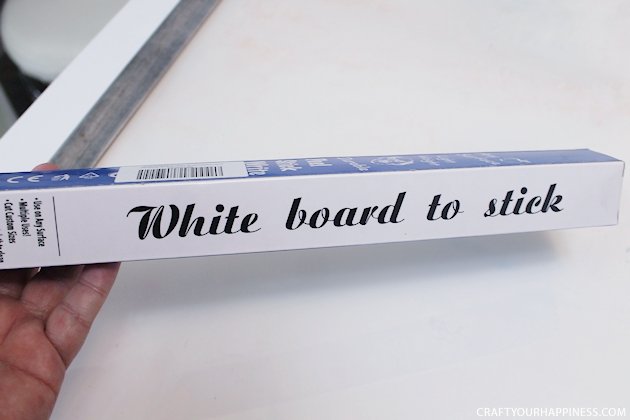
I removed the inside pieces of the frame.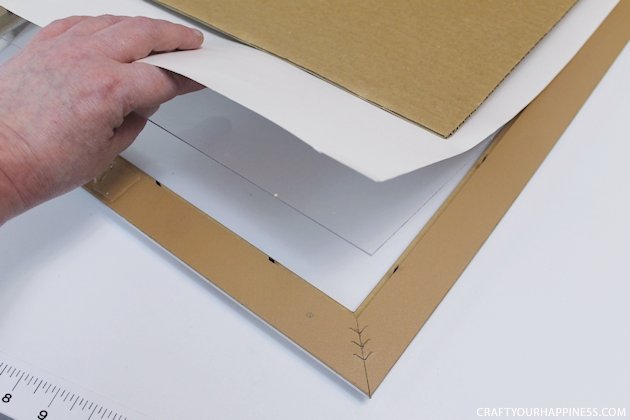
Then I took my plastic cover and laid it out over the dry erase paper.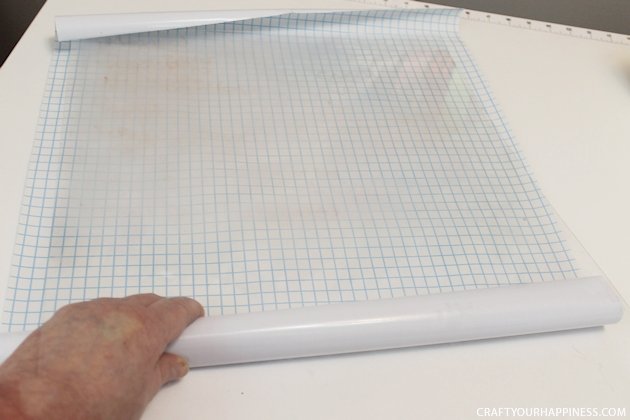
I marked it where it needed to be cut. I love that it came with the grid printed on the back!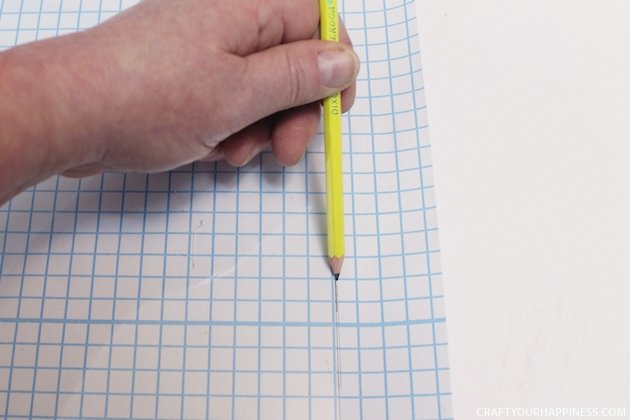
Cut your paper to fit.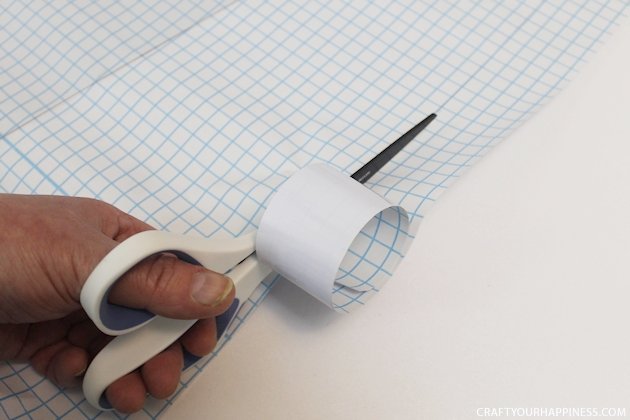
Remove just a few inches of the backing sheet. FYI: If you’re doing a larger frame like this, have someone help you. It’s really hard to manage this alone and keep it bubble free.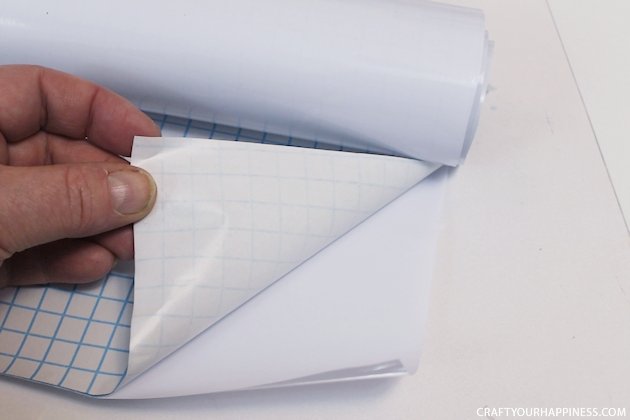
Using something such as a credit card, align your paper at one end and use the card to press towards the roll as you go to keep bubbles out.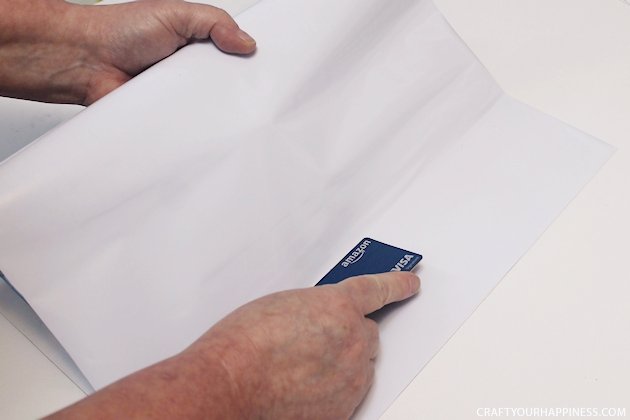
Once that is done you are ready to put your frame back together. Place the plastic sheet face down.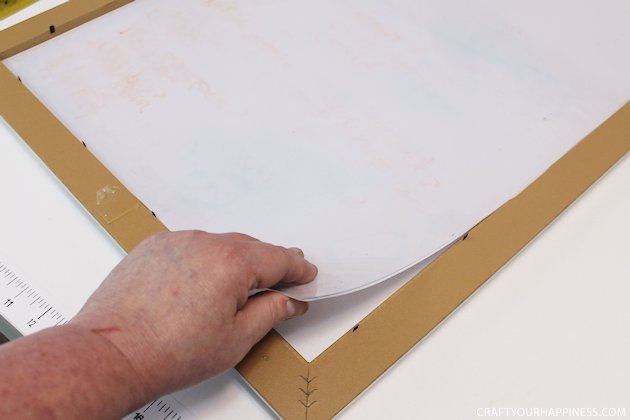
Then add the backing cardboard.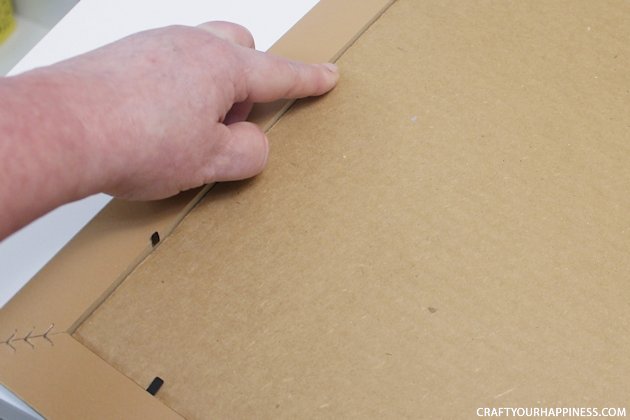 Now, I gathered the supplies I wanted to have access to.
I already had this clear Command cell phone pocket I never used. It was open on the bottom so I took two pieces of tape to cover it inside and out. This would hold my markers, pencil etc.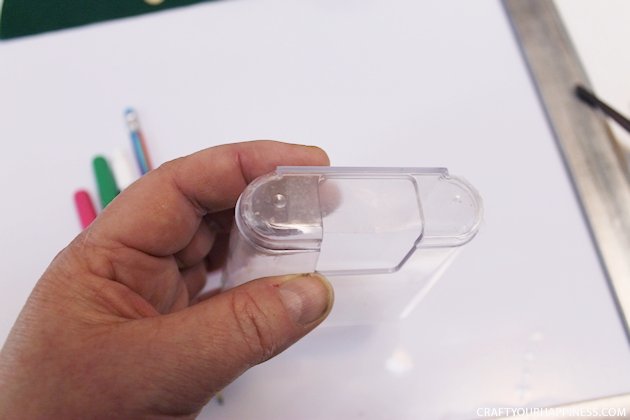
I’d always had a problem erasing things on the board. Normally I wanted to erase just a line or two from a list so rather than buy a big eraser that I’d then have to figure out how to attach it, I made my own small eraser with an oval wood shape, a wood plug for the handle and felt for the bottom. You can, of course, use any size wood you wish.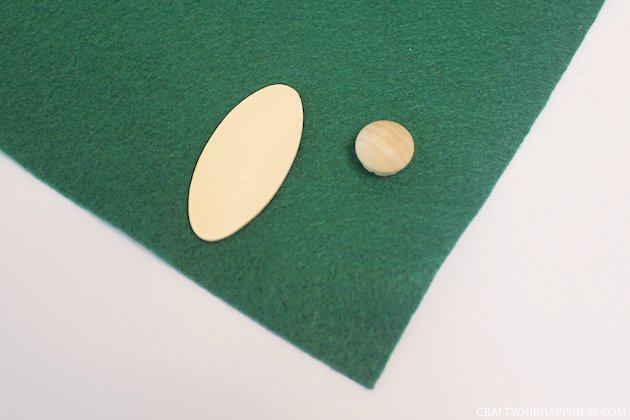
Cut a piece of felt to fit your wood shape. 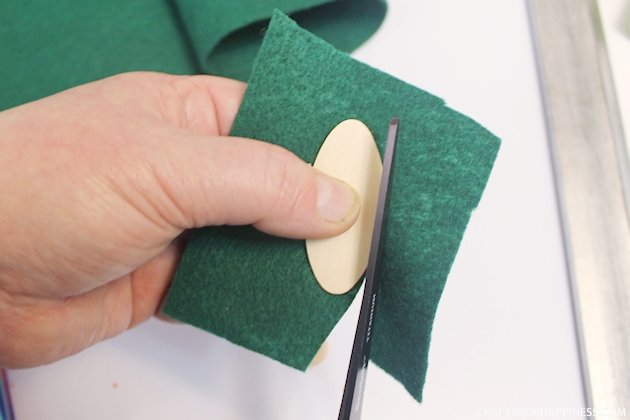
Glue the felt to the bottom.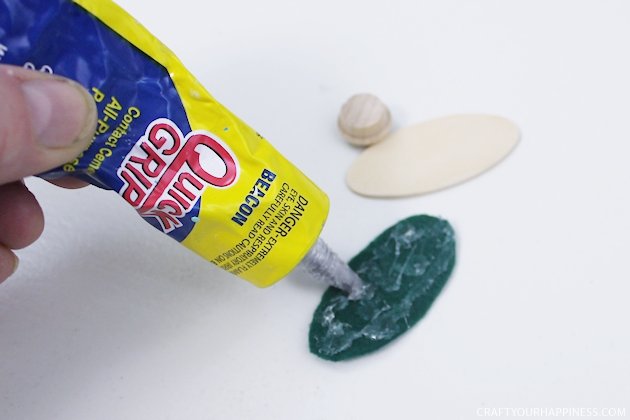
Glue your knob on.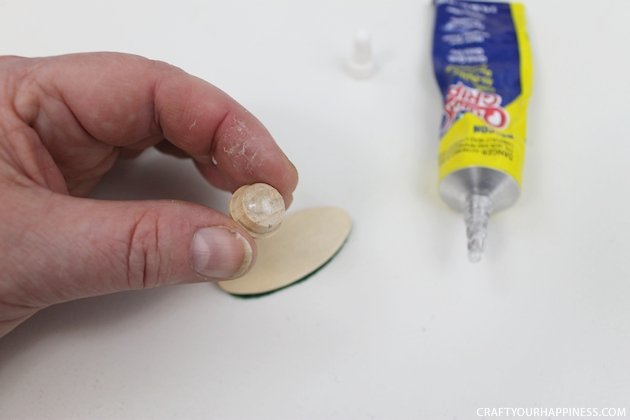
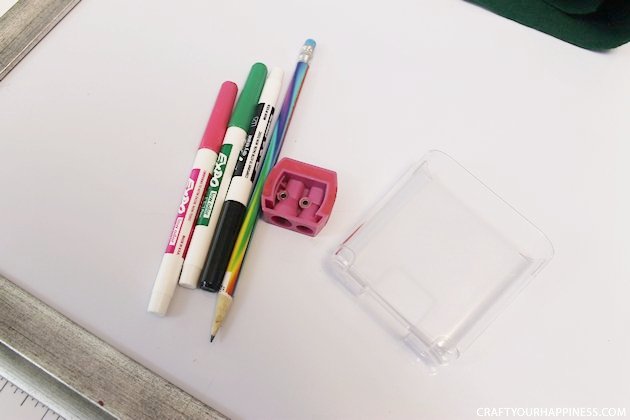
As I keep a pencil with the board, I decided to keep a sharpener with it. I’d have rather used a single hole but this is what I had. I glued it to the end of a craff stick so it could be put in the plastic holder.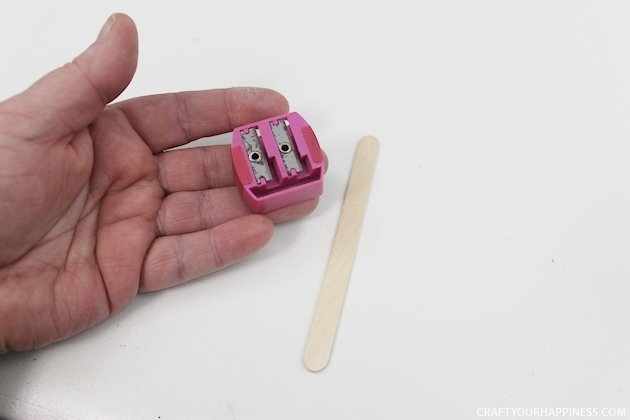
I keep a post-it note dispenser on the board for quick writing down lists on the way out to the store. I kept the same one but painted it a color that matched better.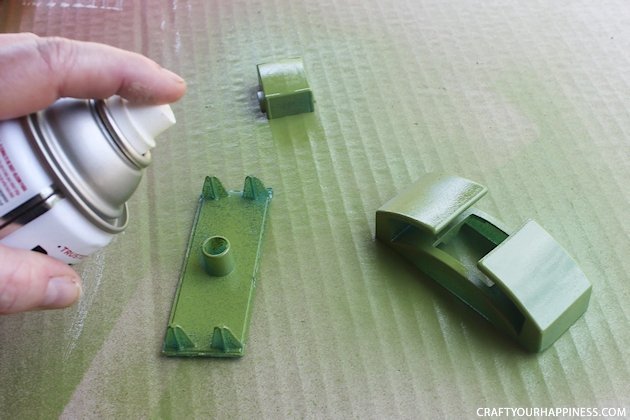
I glued on a small white clothespin to hold a printout of my calendar from Outlook. It shows everyone’s appointments etc.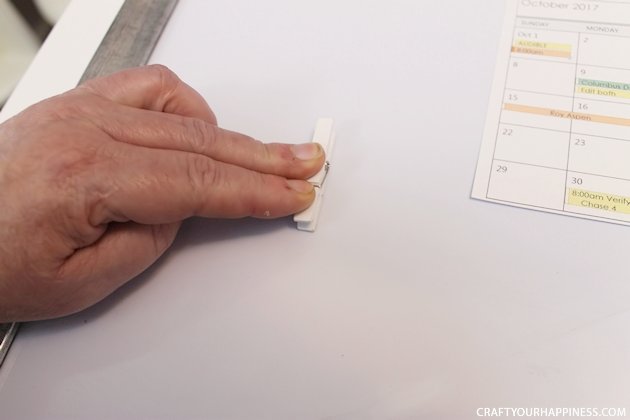
I cut another rose from my Silhouette machine to put in the corner. Feel free to decorate yours however you wish!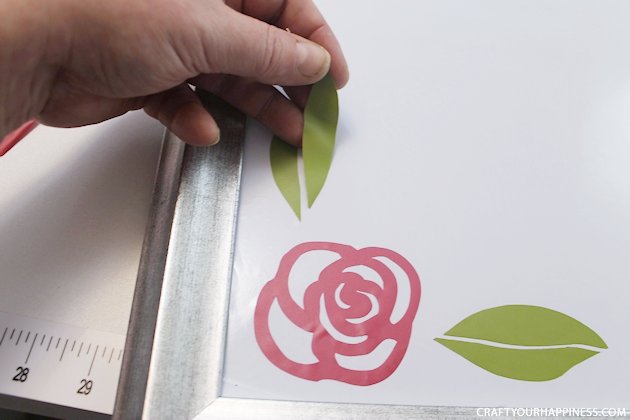
I then hot glued on the pouch and the repainted Post-it note holder. 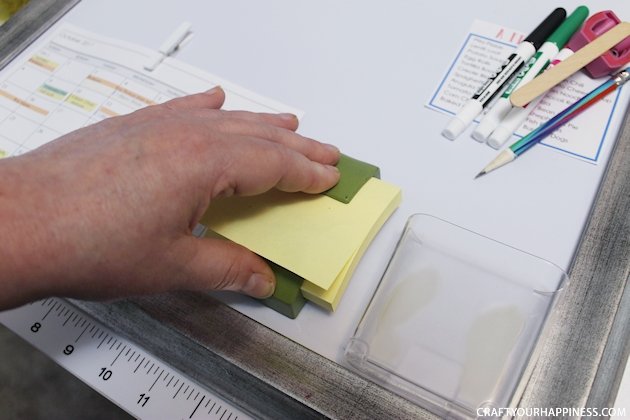
This is the bottom of the board. The small eraser rests in the frame gap nicely.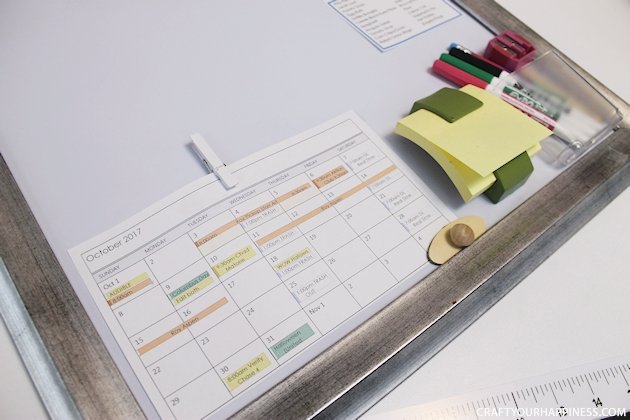
It’s now ready to be hung and used.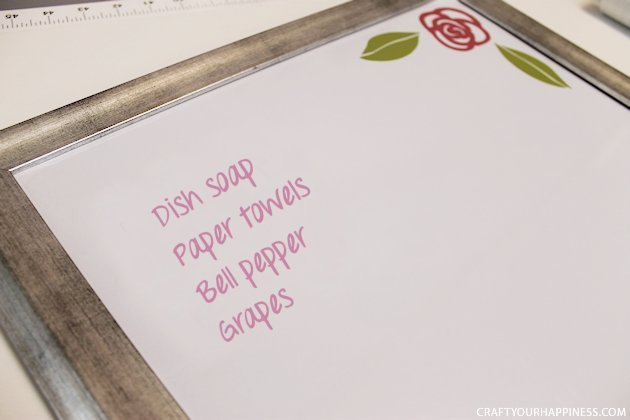
I wanted the small eraser so I could just erase one line if needed.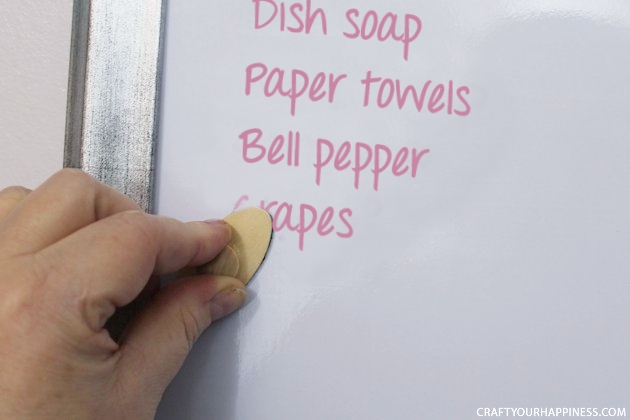
See how easy it is to make your own custom DIY dry erase board?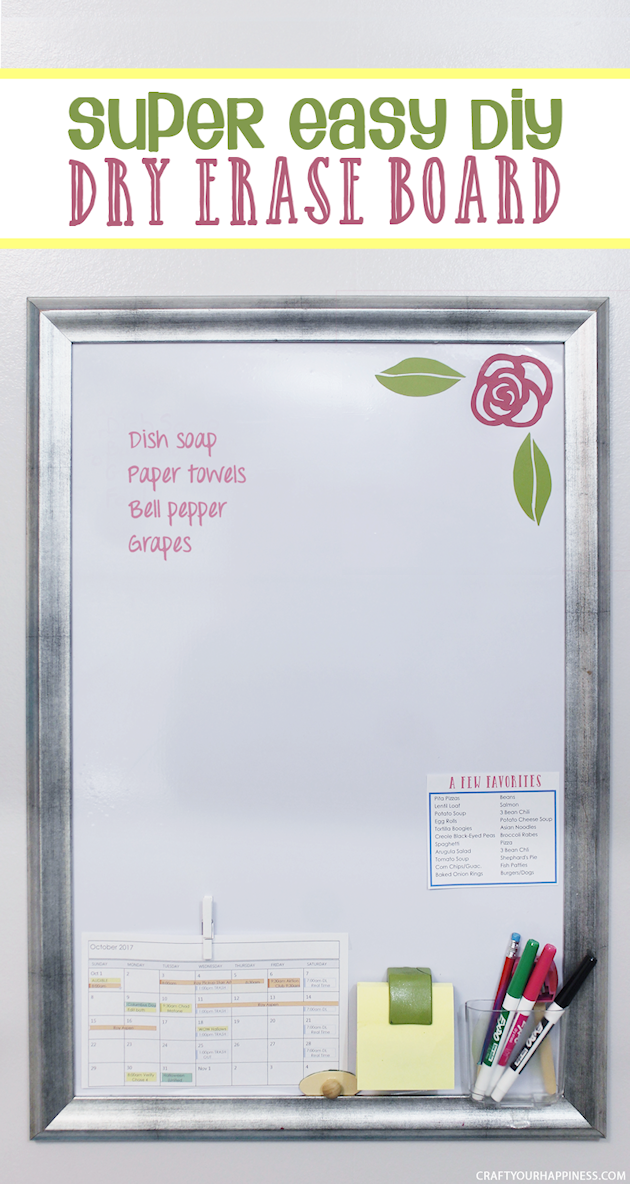
![]()



2 responses
Just in time, I have an unused frame with a glass front so its about to become a
dry erase board! Yours turned out so nice, I have to do one now. Thanks for sharing.
Glad to have inspired you Noreen! Thanks so much for visiting us. Ü