Today’s post is brought to you by my daughter, Amy. She’s contributed to many projects here at Craft Your Happiness (including our wonderful site design), and will be guest-posting more in the future. I hope you enjoy her fun DIY coffee table idea.
Take it away, Amy!
![]()
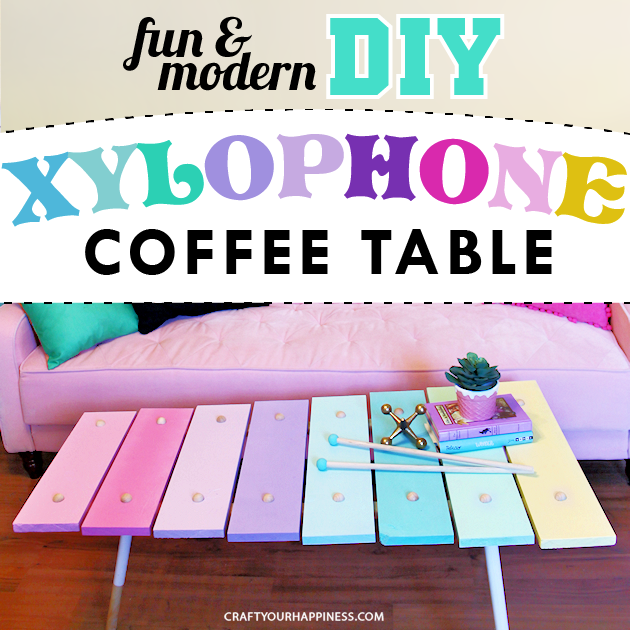
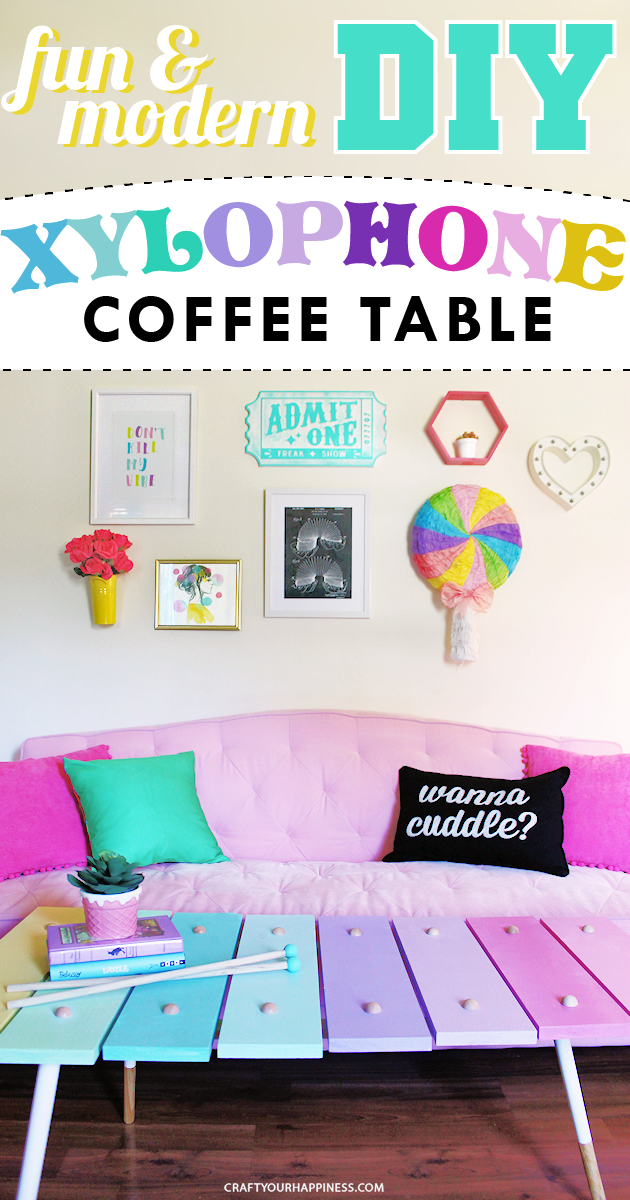
Hey there crafters! Today I’ll be sharing with you my new DIY addition to my living room: a xylophone coffee table. It was super fun, cheap, and easy to make, and adds a lot of color and whimsy to your space; all while keeping a minimalist mid-century vibe.
I’ll show you how to make your own in just 5 easy steps. Ready to play?
Here’s what you’ll need:
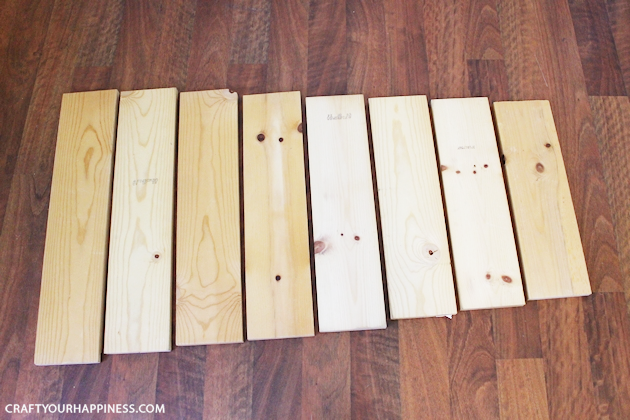
- 2 pine wood boards size 1x6x8 (I got mine at Home Depot)
*Note: you will need them cut. At Home Depot they cut them for you for free. The sizes to cut them are: 19″, 20″, 21″, 22″, 23″, 24″, 25″, 26″ (making 8 pieces total between the two boards) - 2 furring strips of wood, size 1″x2″x8″
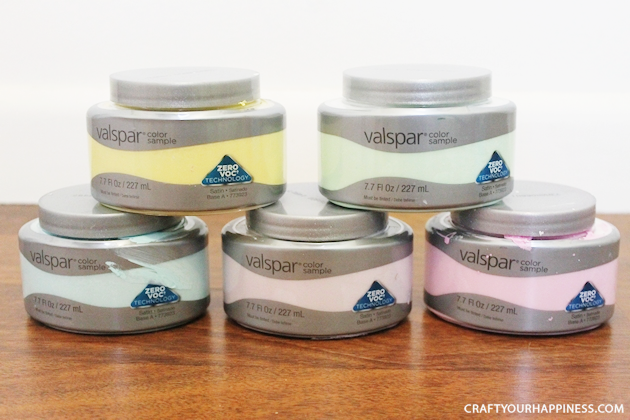
*Note: this will also need cut into two pieces, size 42″ each - 8 colors of interior semi-gloss paint (and a paintbrush if you don’t already have one!)
*Tip: Valspar tester bottles from Lowes average only $3 each. I only used 5 colors, mixing 3 of them with some craft paint to create darker shades and save money. - Coffee table legs. Whether you go with 3 or 4 is totally up to you, as is the style and height. Mine were 18″. NOTE: These can be very expensive to buy. If you’re on a budget I’d suggest checking out local thrift stores for used coffee tables.
- 1 1/8″ length screws (16 in total)
- Electric screwdriver
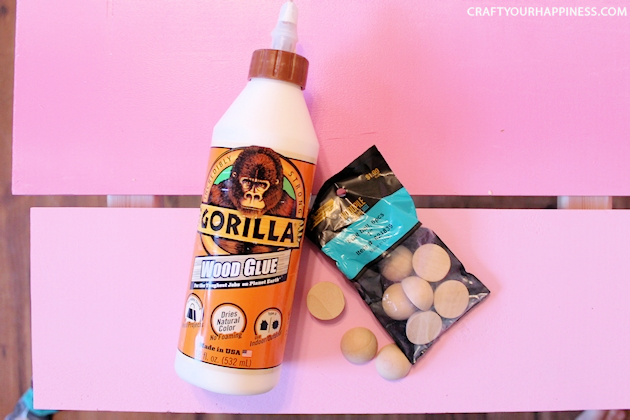
- Wood glue
- Polyurethane Coating This brand is waterbased and goes a long way.(optional)
- 6 “Birch Wood Split Balls” size 1″. These will be used for the buttons on the table that really pull the look together. I bought mine at Hobby Lobby
Optional (for the mallets):
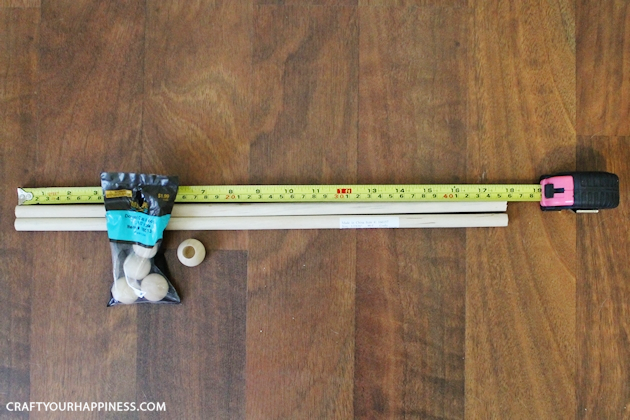
- 1 dowel, 36″ in length a 1/2″ in diameter
- 1 bag of wood dowel caps with a 1/2″ hole

 DIY Coffee Table
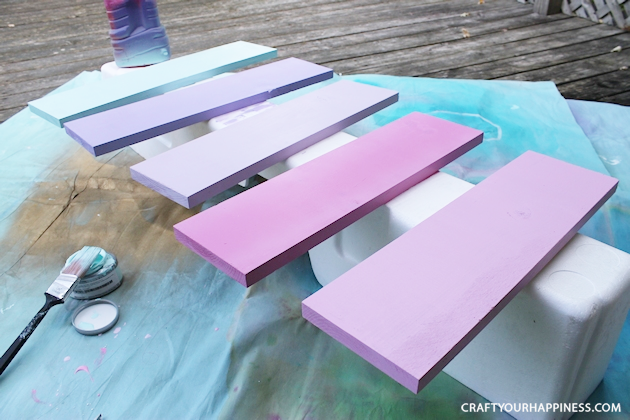
Step 1:
Considering you’ve gathered all your supplies (and took advantage of the free wood cutting service at Home Depot or Lowes), begin by gathering your 8 wood pieces and paint them in the colors of your choice.
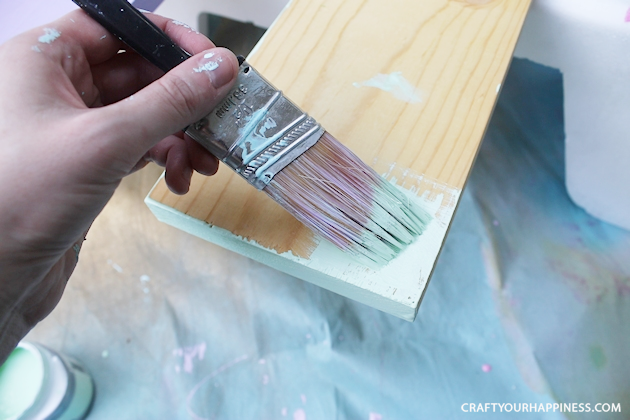
I have a pink couch, so I chose some pretty pastel colors to match my girly living room.
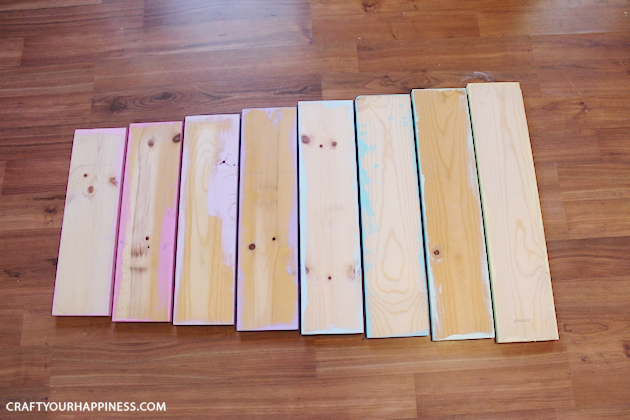
Step 2:
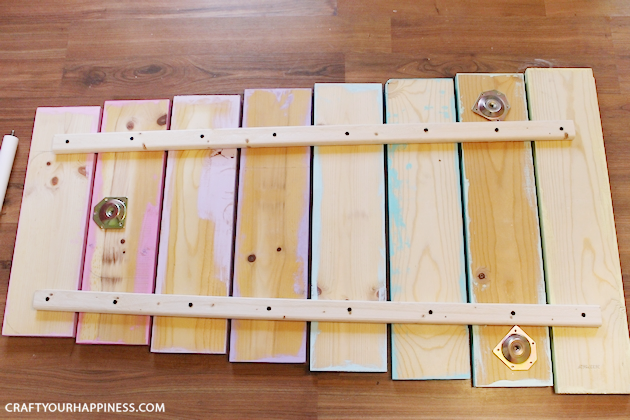
Once the boards are fully dry, line up your boards face down on the floor, leaving a small gap between each board.
Grab your furring strips (which should have been cut down into two sizes of 42″ each)
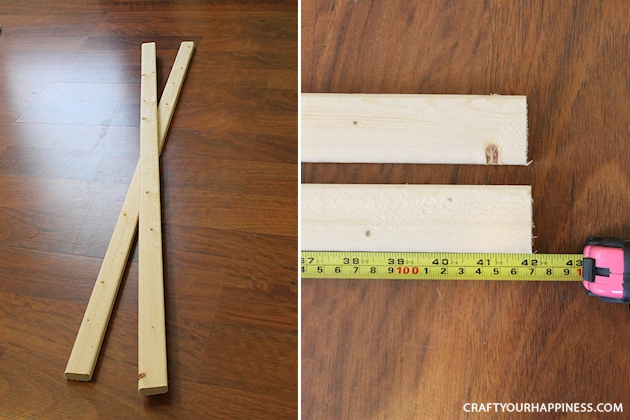
And place the strips on top of your boards, aligning it about 3 inches in from the edges of the smallest board.
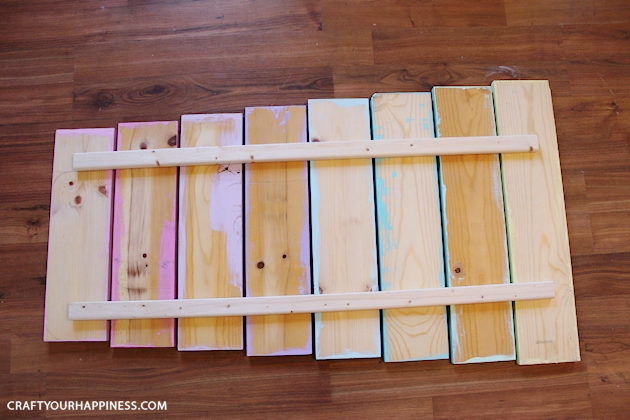
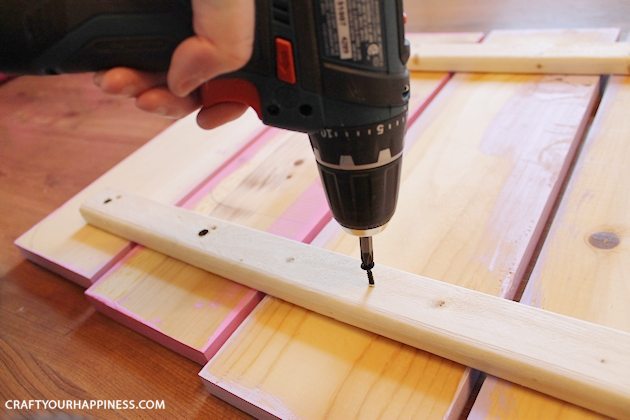
Begin screwing the strips to each board. I did this by myself, but you might enlist a friend to help hold down the boards while you do this so they don’t move in the process.
Step 3:
Attaching the legs is next. This step may vary depending on what type of legs you bought. I happened to have a small old coffee table I wasn’t using, so I just stole the legs off of it. It was pretty easy, because it came with metal plates to attach to the table then screw the legs in.
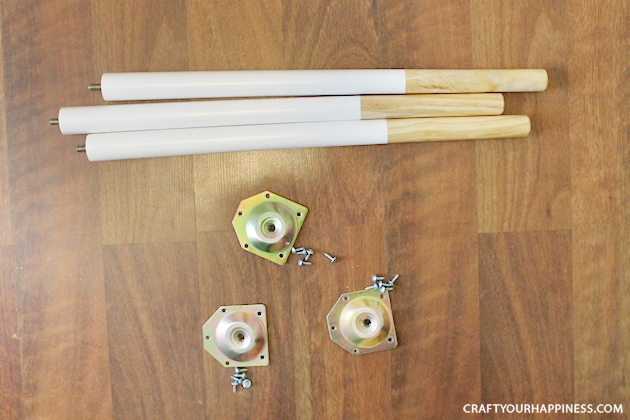
I placed the plates where I wanted them, then screwed ’em on.

You’ll notice I chose 3 legs, not just ’cause it was what I had lying around…but I really wanted that simple and clean mid-century look. I was a little worried it might be wobbly, but it’s actually pretty sturdy. I wouldn’t say toddler-proof sturdy (go for that extra leg if you have little ones!)…but sturdy enough for my house.
Step 4:
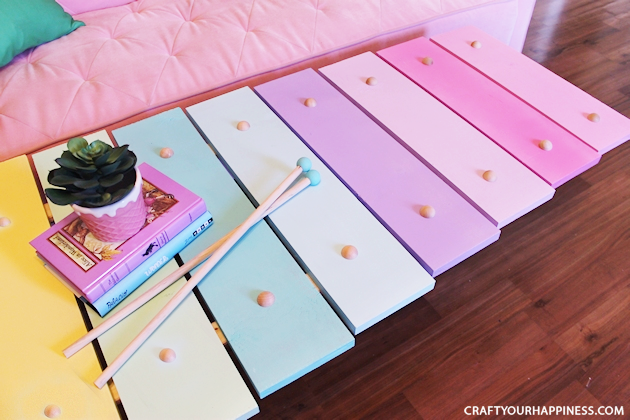
This is an important step which really pulls the xylophone look together.
Grab the split wood balls you purchased from the craft store. If you bought 3 bags, you’ll have 18 buttons…but you’ll only use 16; one for each end of each board on your table.
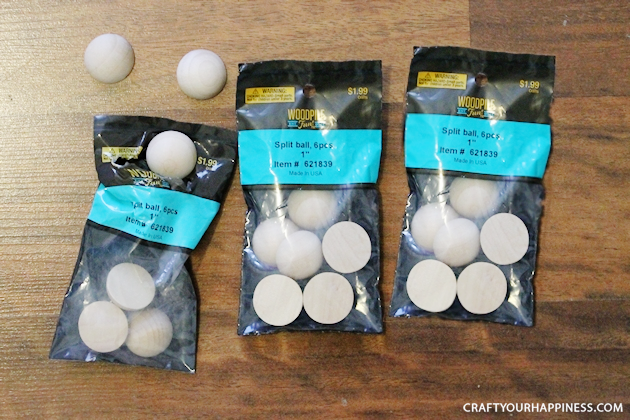
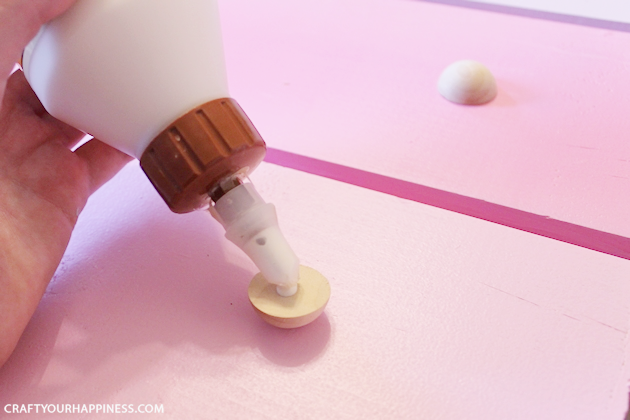
You can paint them white or silver if you like, but I wanted to keep the raw wood look so I just applied them as-is with some Gorilla glue.
Just follow the furring strip board from underneath the table as a guideline for where to glue them.
At this point, you can use some polyurethane to seal the table and call it done. But I prefer to include one more step, just for fun.
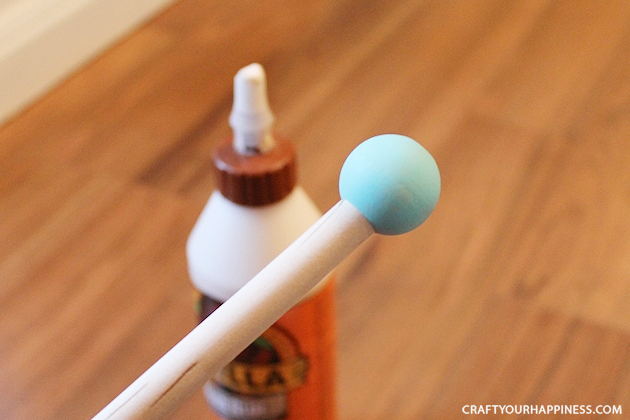
Step 5 (optional):
Making the mallets. These don’t really do anything except boost that cute level to 100. I just use them as decor on top of the table.
Begin with your dowel, and cut it in half – making two sizes of 18″ each.
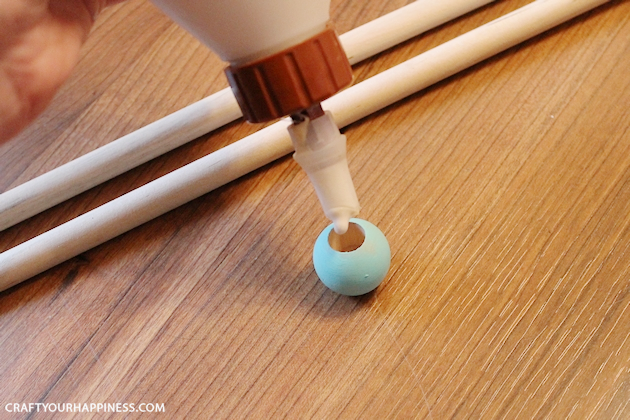
Take two dowel caps and paint them in your preferred color. Attach them to the end of each stick with wood glue.
And voila! You’ve completed the xylophone look and ended up with a totally adorable table!
In the end, this DIY coffee table cost me only $30 to make, since I had most of the supplies on hand. That money was spent on lumber, the wood buttons, and supplies for the drumsticks. If you want to start this project with zero supplies, you’re looking at spending up to $80. But remember, you can always save more by mixing paint colors, and hitting up a thrift store to buy a cheap table you can steal legs from.
I’d love to hear your thoughts on what you thought of this project. Please comment down below, share with your friends, or make one of your own and post the results!
Thanks so much for letting me share a piece of my home today. As always, have fun!


6 responses
Love this! Just my style! Please keep the fun furniture ideas coming!
I’ll do my best! Thanks Suzanne. Ü
Awesome idea…. thanks for sharing with us all, I am going to make one for the gran kids in fun colours
Thanks so much. So glad to have inspired you. Good luck!
Kelly and Habib Rahman…..I would love to get one of these for my husband and me! I totally love it!!
Thanks so much! Its not too hard to make!