![]()
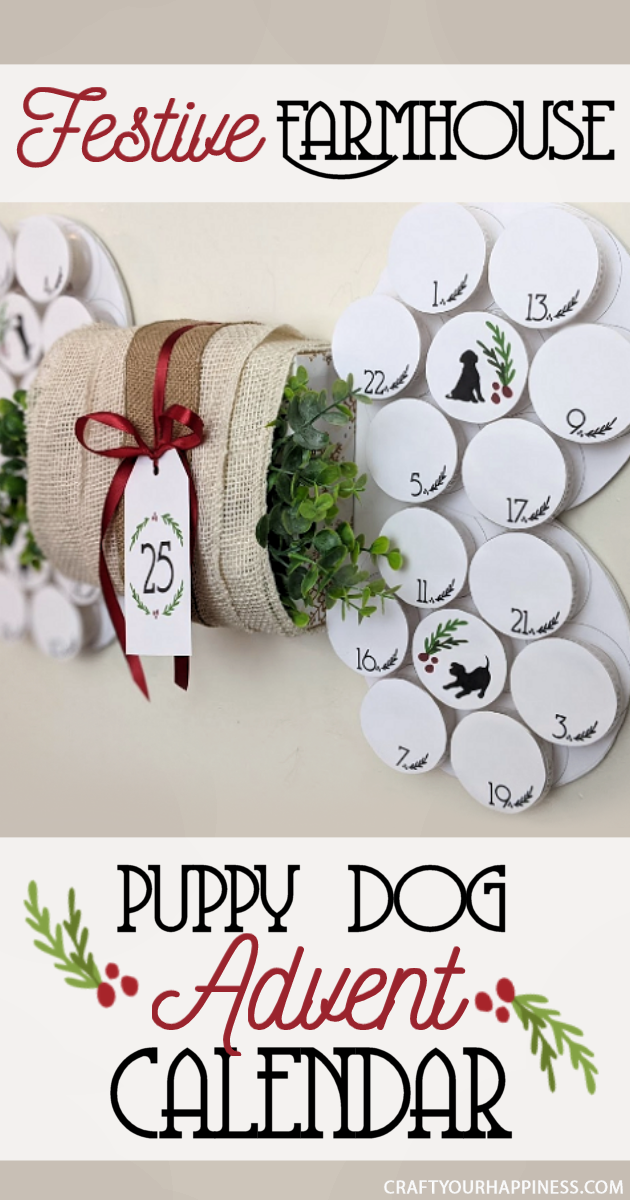
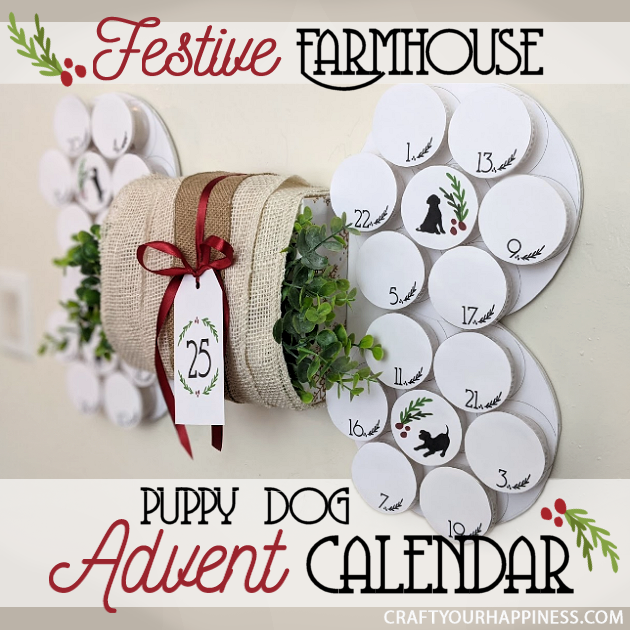
Kids shouldn’t be the only ones who enjoy a holiday countdown. Check out our DIY farmhouse puppy dog advent calendar for your furry child! It uses basic supplies and is fairly simple to make. Decorate yours however you wish!
We’ve got some other great pet ideas here including our Free Potty Training Puppy Chart.
![]()
Supplies
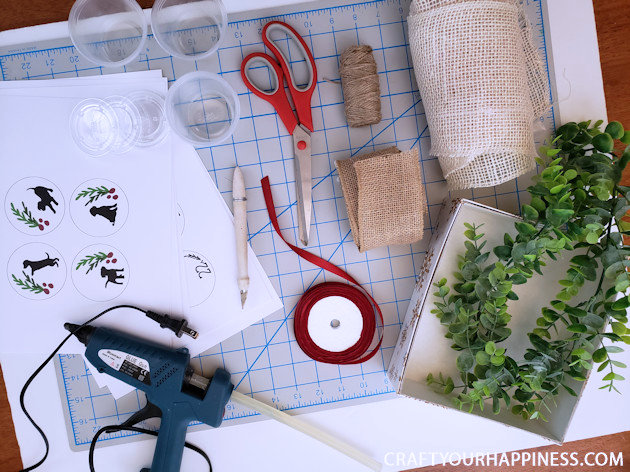
NOTE: While we used the specific cups below and the printouts are for that size you can use any cup that will work as long as the circles fit on the lid. You can also use small dixie cups however the printout circles would have to be glued around the edge of each cup as those what no tops.
- White foam board
- Box to glue on center of bone to hold final toy gift. Ours was approx. 8 ¼” x 7” x 3”
- White Cardstock (I use this type. Its a sturdy (110lb) bright white (94))
- Plastic cups with lids (our printouts fit this exact cup and size)
- Red ribbon
- Faux greenery We used some eucalyptus greenery we had on hand. Use whatever you like!
- Burlap Strip
- Hot glue gun
- Xacto knife
- Cutting mat (this is my exact large mat but they come in a variety of sizes and prices)
- Dog Treats (Preferably grain-free. Rawhide is dangerous. You can read about that here: The Dangers of Rawhide for Dogs & Free Safe Treat Sheet
- Dog toy (For final gift in middle box.)
![]()
How to Potty Train a Dog to Use a Bell & How to Make One!
Download
Free 12 Page Printable PDF

Instructions
Gather your supplies and hide away from prying puppy eyes. It’s time to get crafty.
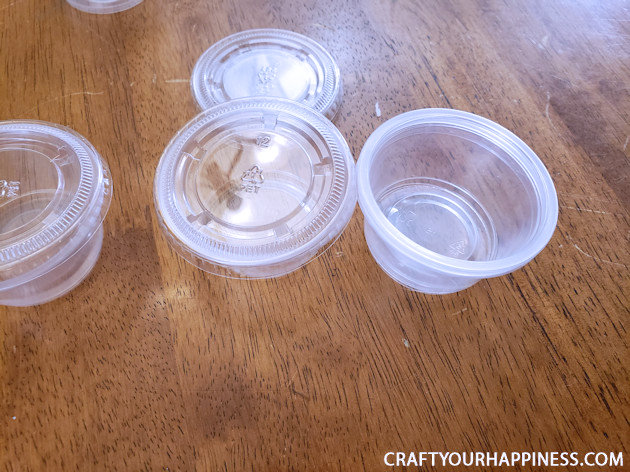
Remove the lids from your plastic containers.
Our printables are based off of cups that were 2 1/2 inches in diameter at their widest point.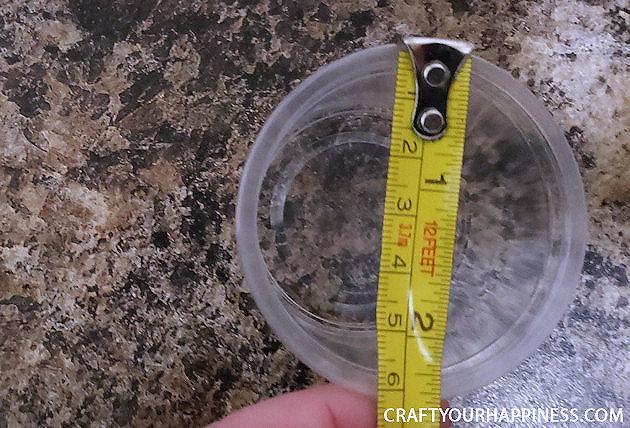
Print out all of the free printables and cutout each individual circle. Be sure to cut just inside of the outline so that it doesn’t show on the final product.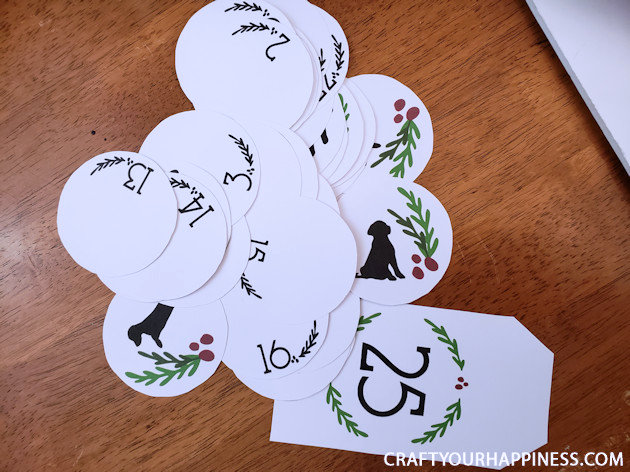
When cutting out the grouped circles, just cut around the perimeter, leaving all 7 inner circles intact.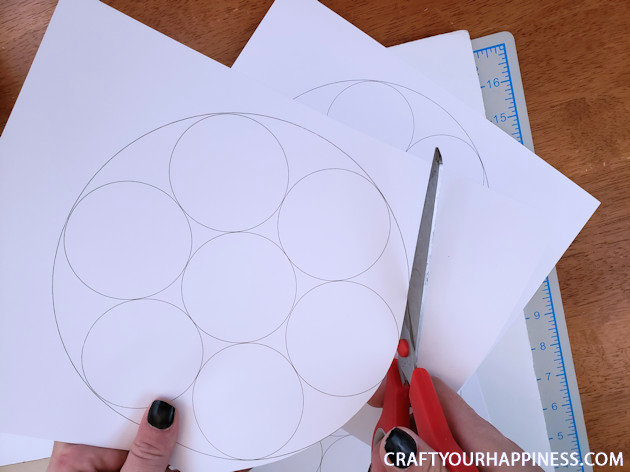
Once done, take the box that you will be using for your center gift and place it in the middle of the foam board. Then take the 4 rings of grouped circles and align them on either side of your box to create a bone shape. 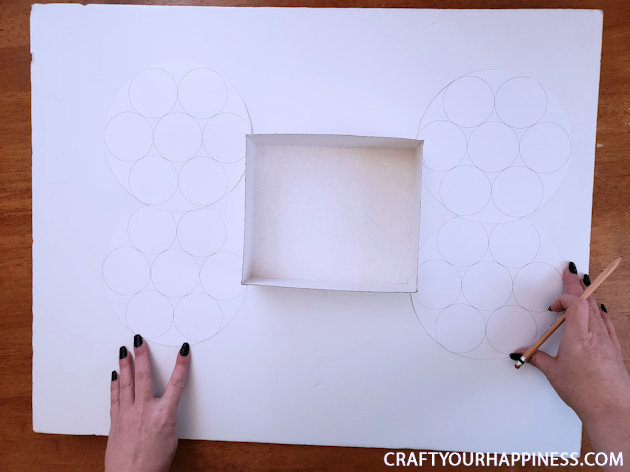
Trace around the box and circles to outline your bone shape.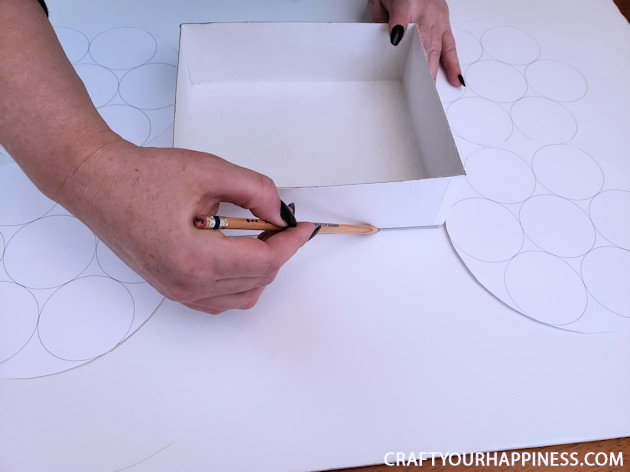
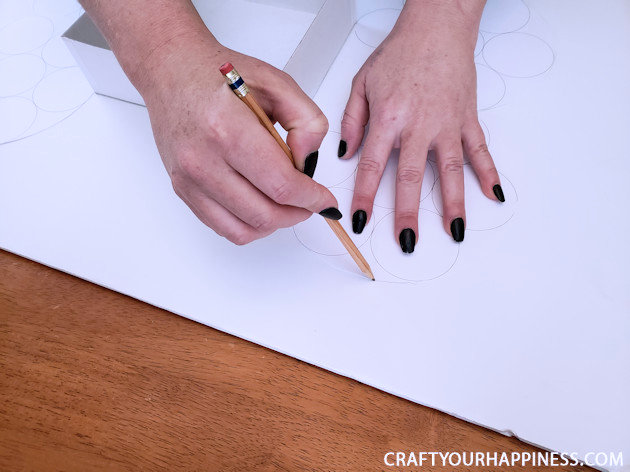
Once the outline is complete, remove the box and circle cutouts.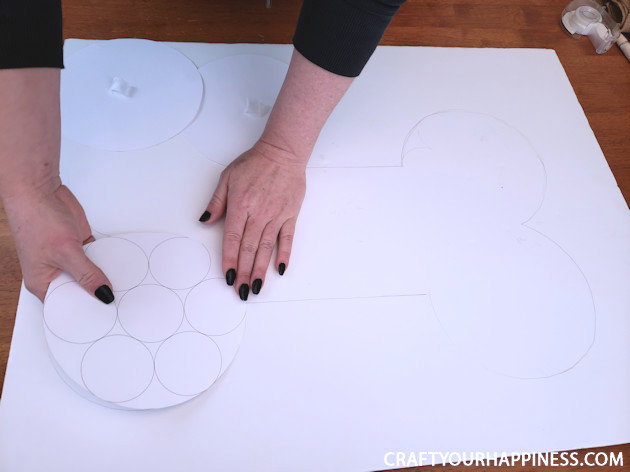
Grab your craft knife and cutout the bone shape.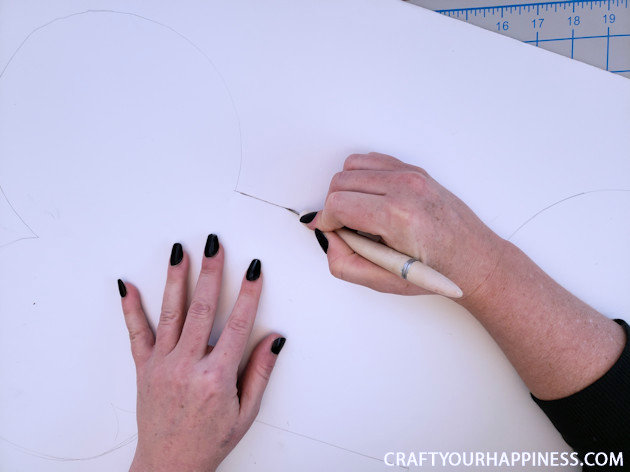
We initially tried to use glue sticks to place the grouped circle cutouts back onto the bone cutout, but found that this was nowhere near strong enough.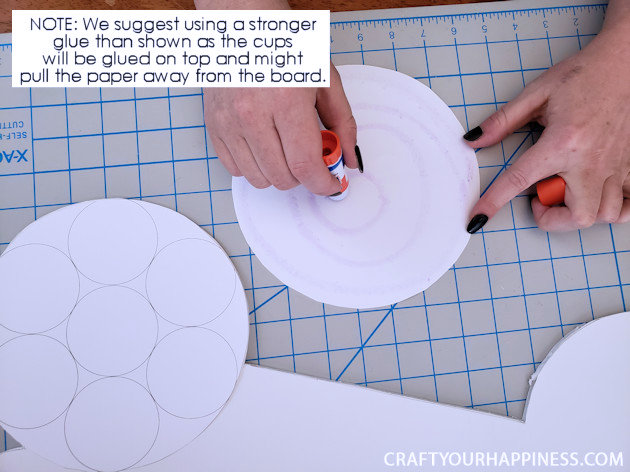
So we opted for hot glue to affix the grouped circle cutouts back onto the cutout foam board bone. In retrospect, a stronger tacky glue may have been the better option. But it still turned out great.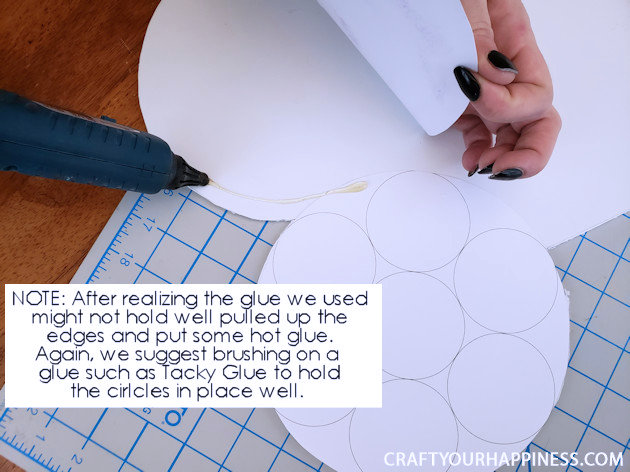
We applied the cutouts back onto each end of the bone.
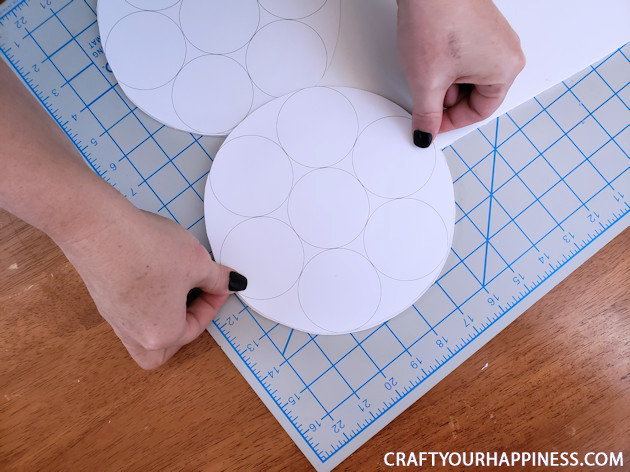
Using hot glue, attach the box back into the center of the bone.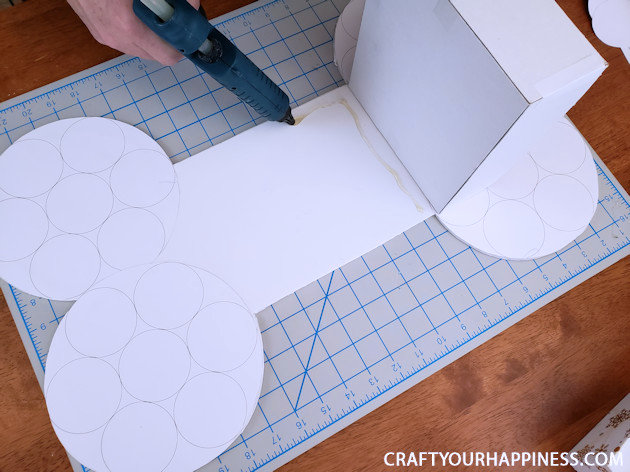
Let dry.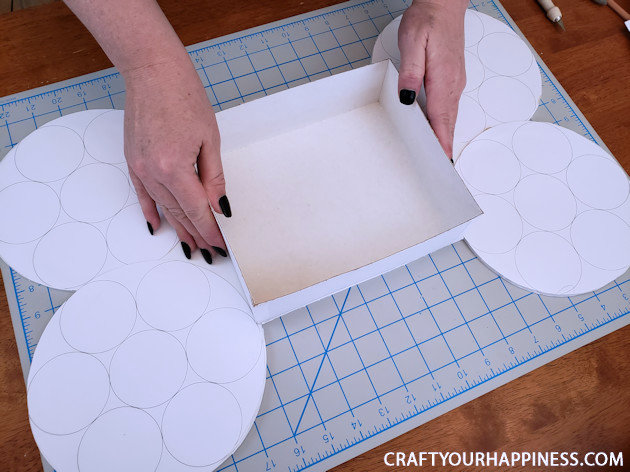
Apply hot glue to the lids of your plastic cups and press on the individual circle cutouts.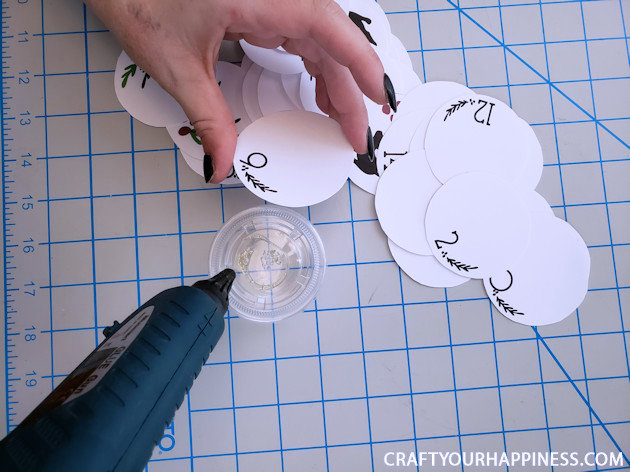
Once set, place each lid back onto its container.
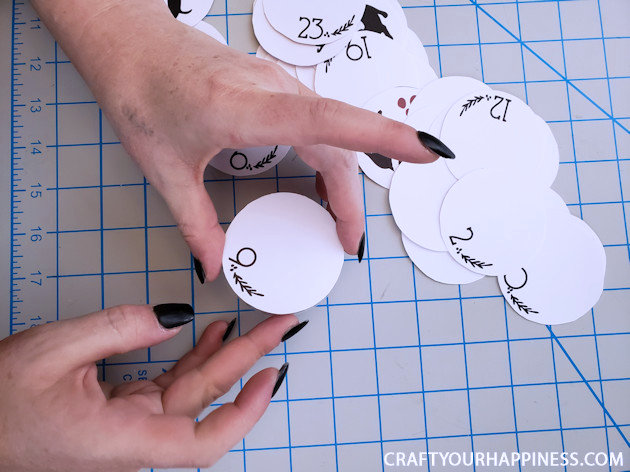
Place a good sized blob of hot glue in the center of each grouped circle on the bone. Gently press on the cups.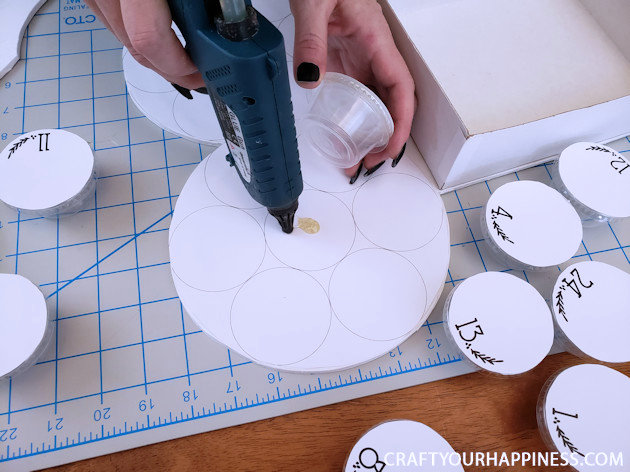
Be sure to start this process by placing the puppy silhouette cups in the center of each grouping of circles. Then surround each of them with the numbered cups. We applied the numbers in a random order to mix things up a bit.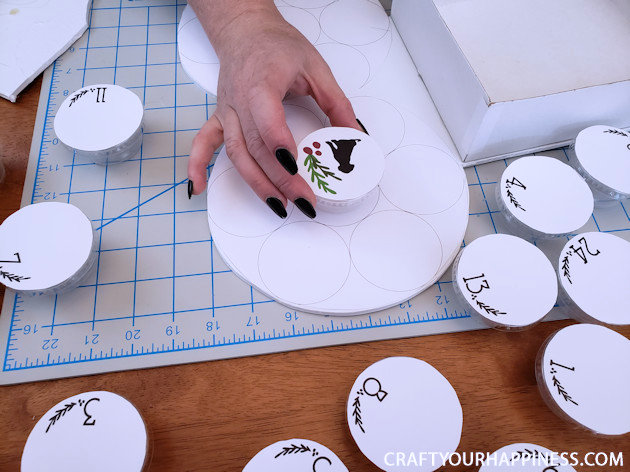
Once all of the cups are applied, place a small treat in each individual cup and re-close the lid. Place the larger gift in the center box.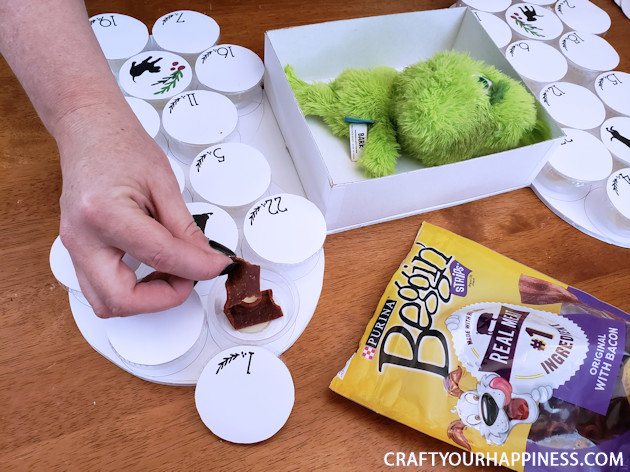
Our center box had a lift-off lid, so we simply slid that into place once the gift was in. 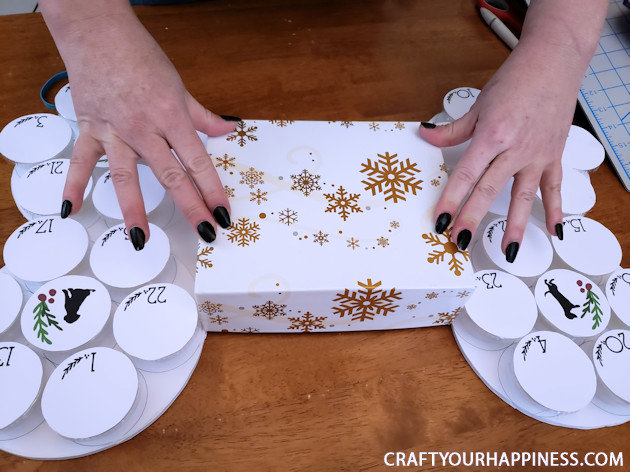
Using burlap, wrap around the center gift so that the box can not be seen.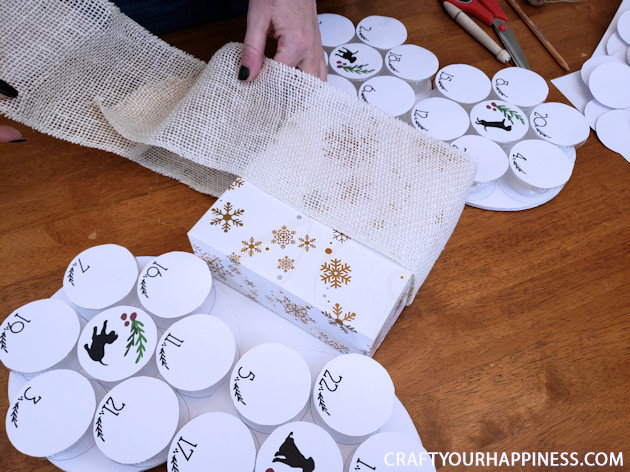
Decorate how you see fit. We opted to add some faux greenery sticking out from the burlap, as well as an additional strap of burlap in a slightly darker shade..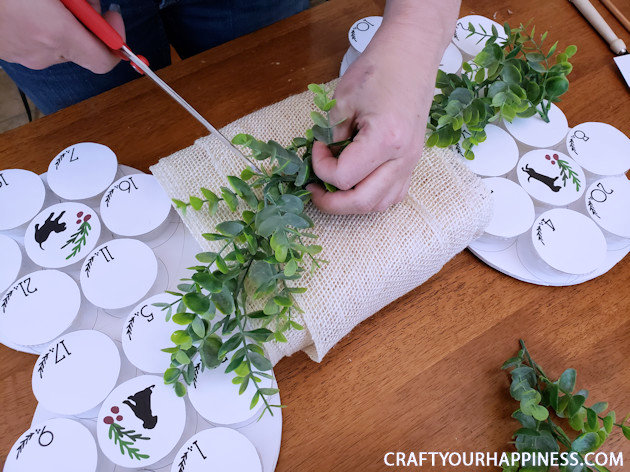
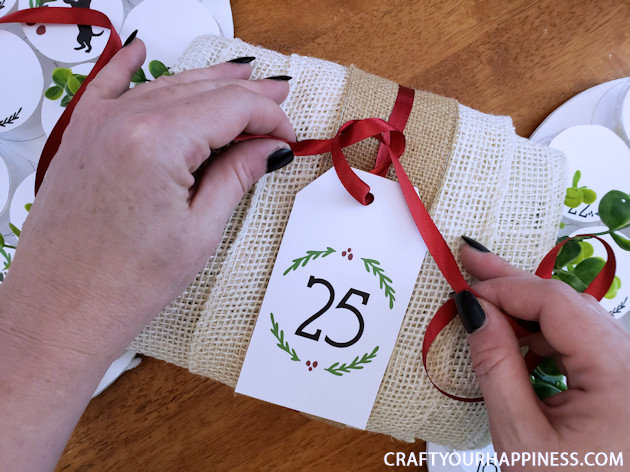
Punch a hole in the cutout tag and cut a thin piece of ribbon, long enough to wrap around your gift box.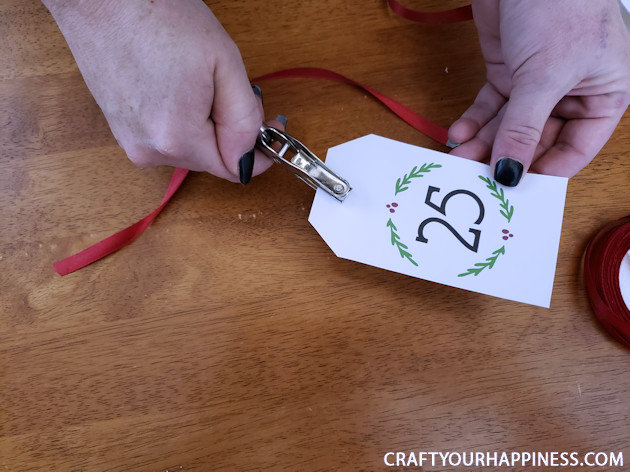
Thread the ribbon through the tag and tie around the center of your box. Hang on the wall (we used command strips) and enjoy the holiday count down with your fur-baby. (We know they will!)