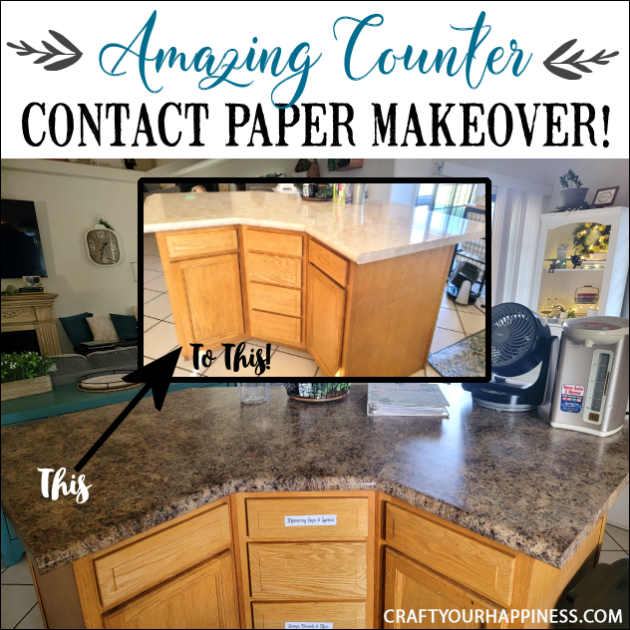
Learning how to cover a countertop with contact paper is easier than you think! It can last a long time if you’re careful with it! This is the 3rd time we’ve done this in various houses. In this case, we had a huge island that we plan on replacing. But in the meantime I wanted to change the color to brighten up the kitchen and make a better background for photographing recipes. We did this is 2 bathrooms in our last home and as we wanted them to last longer we not only put on the contact paper but added a coat of acrylic gloss to with stand water etc. Since this was a temporary situation we didn’t do the gloss. We also didn’t spend as much time making it look “perfect” but were still thrilled with the end result! The link below shows the bathroom counter we did in our last home and also covered with acrylic. Check out our other great ideas for updating rooms including our Magical Dark Sea Bathroom Makeover, our Budget Bedroom Makeover Series and our Our Amazing Outdated Kitchen Transformation Final Reveal.
How to do a Sturdy & Stunning Granite Contact Paper Countertop Makeover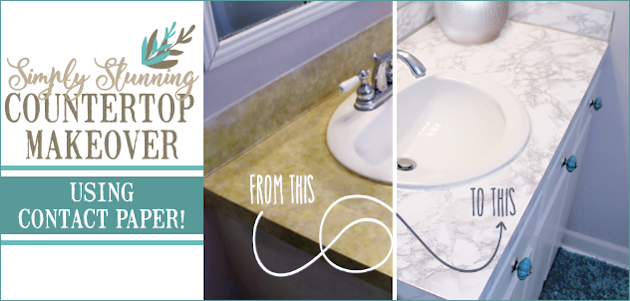
Supplies
- Contact paper we used (make sure you can pattern match easily depending on the design. this requires some math)
- 48″ metal ruler
- X-acto Knife
- Squeegee for pressing down the contact paper. You can use a credit card but for this big of a project we suggest purchasing a cheap vinyl squeegee.
Instructions
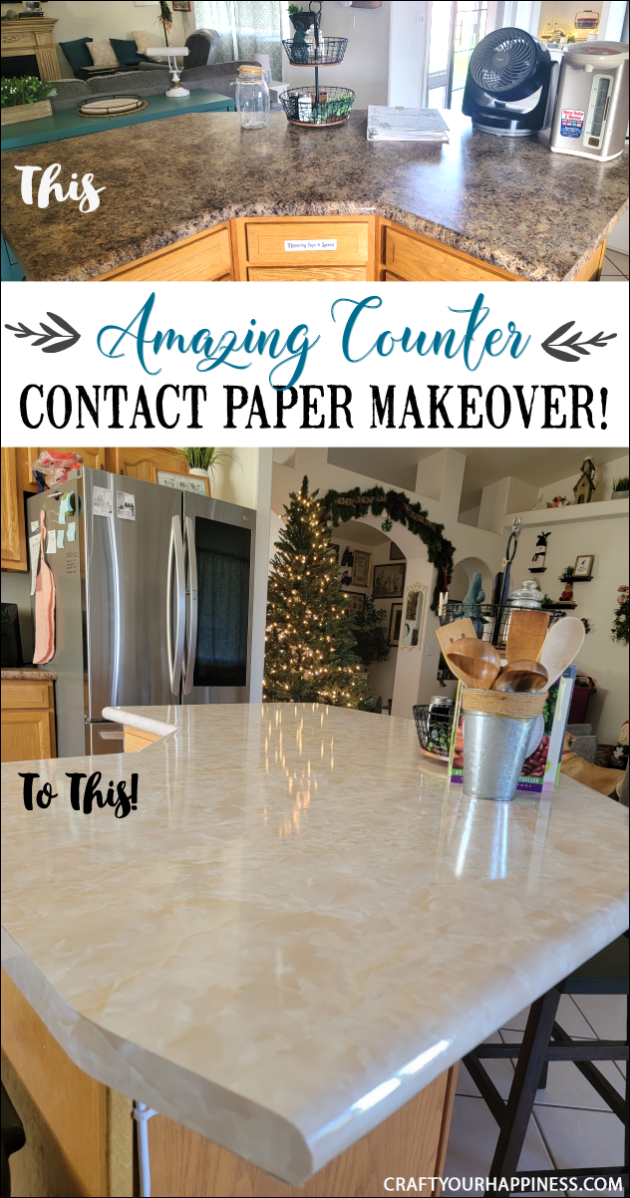
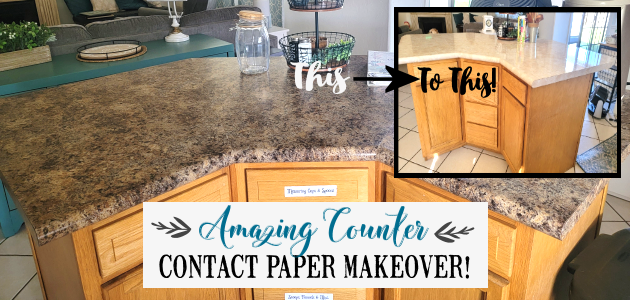
This was the big island that we plan on replacing in the future. The color was terrible for photographing recipes and too dark for my taste.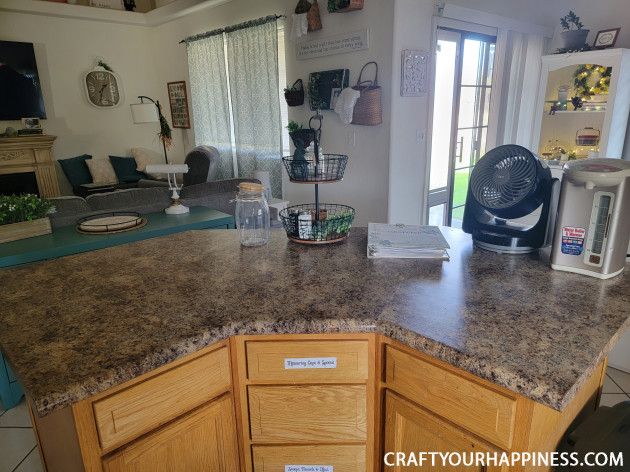
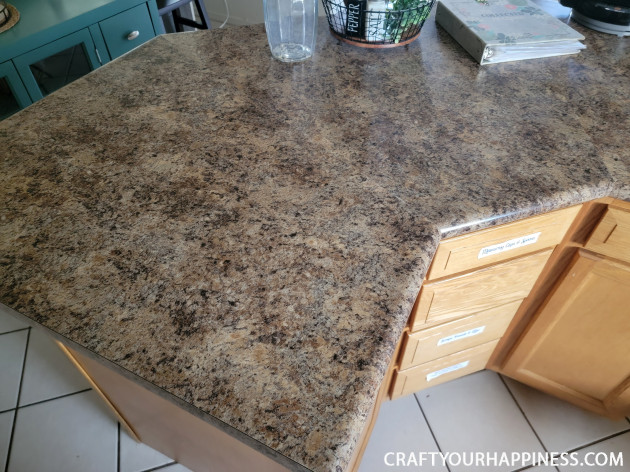
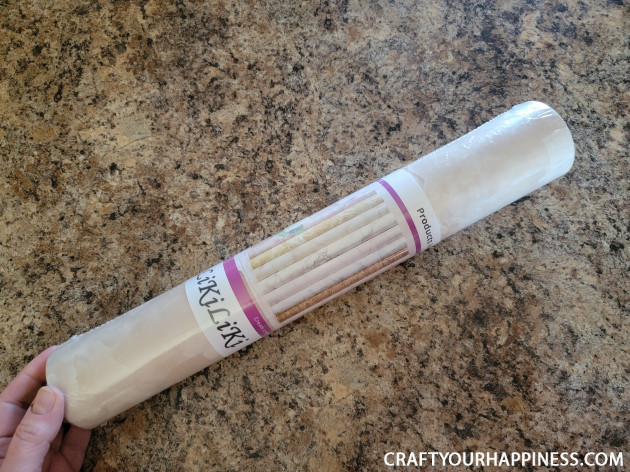
We purchased one roll of contact paper that was large enough to do the entire island. This required some measuring and making sure we could pattern match, which in this case ended up not being a big deal for this pattern. We chose a color that would still match our kitchen counters somewhat as those were not being covered.
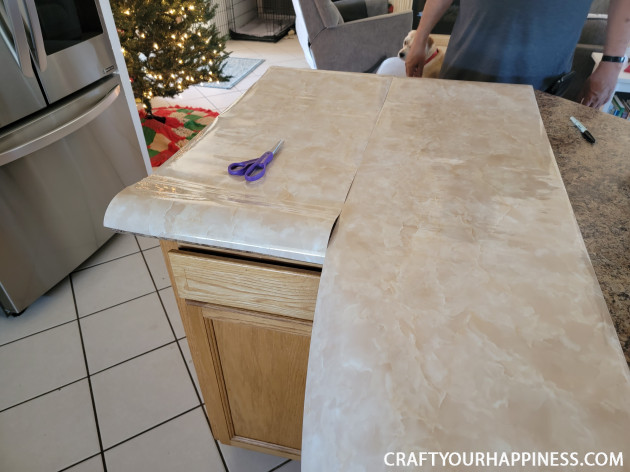
You will obviously have seams on your counter, but they will barely show depending on the pattern and how well you match it. Everyone’s will be different.
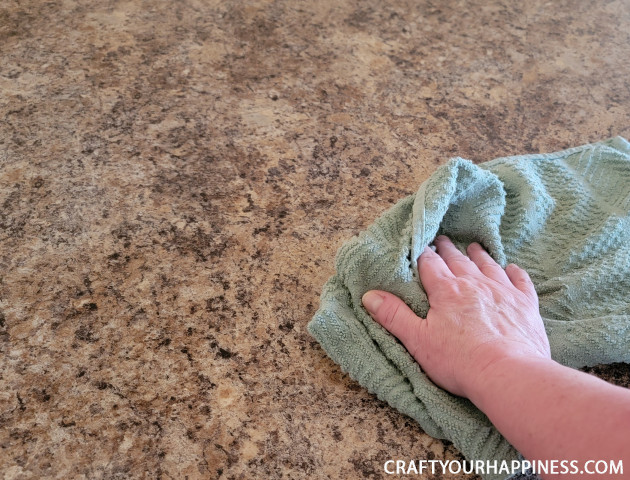
Clean off your countertop before starting.
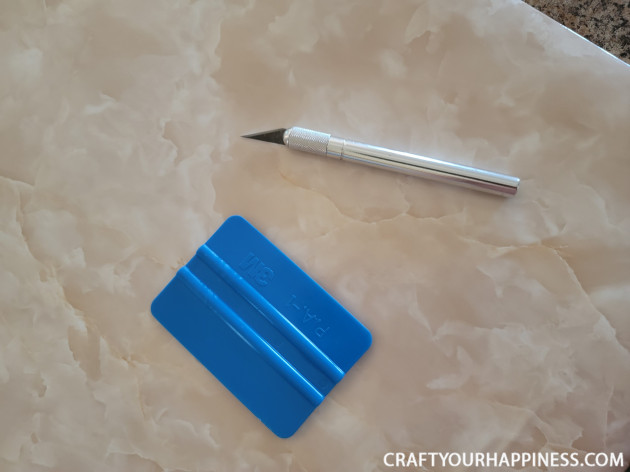
The only other tools you need beside a metal ruler is an xacto knife and something to smooth the paper down with.
IMPORTANT: This is a TWO-PERSON job! It’s too difficult to do with just one. You’ll have the paper sticking to itself if you try to do it alone and it will ruin it.
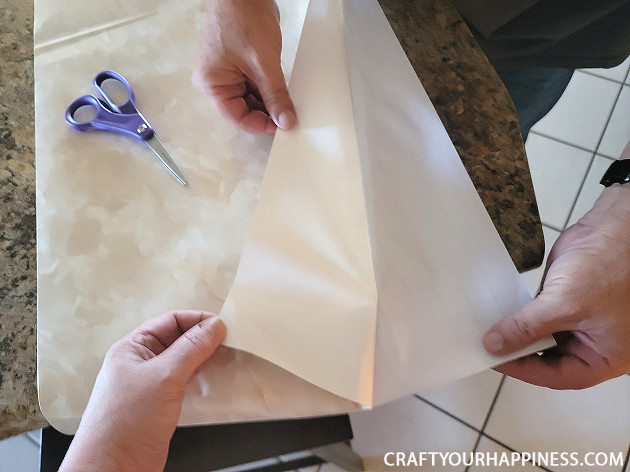
Everyone who does this will do it differently. Due to the edges on our island part of it would b e wrapped around. These edges need to have a separate strip cut for the edge.
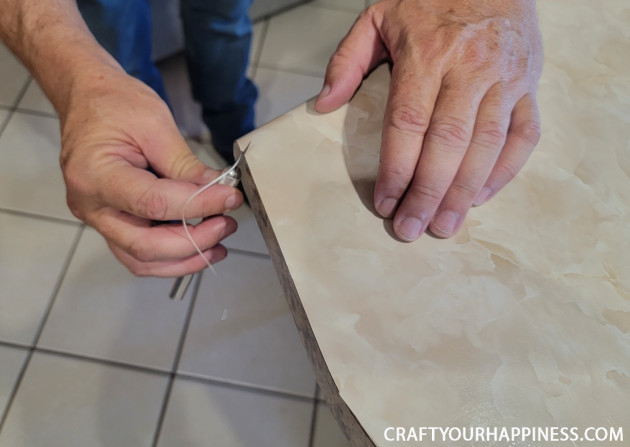
The left side was wrapped around. The right side had a small piece cut and added on.
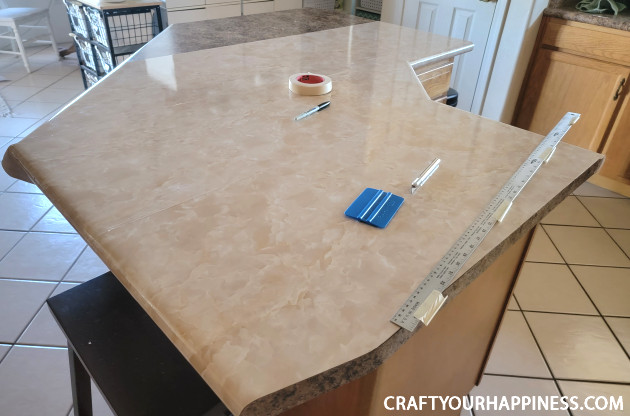
Wrapping and cutting.
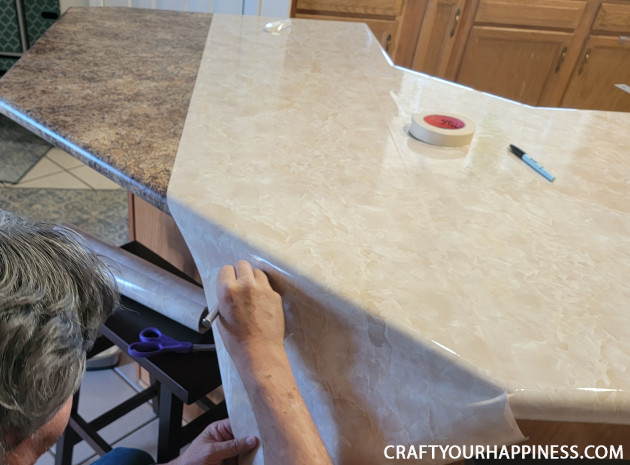
This part proved tricky. As this was a temporary thing we didn’t spend as much time as we could have to make it perfect. In this spot we added a small piece over the gap to fill it in.
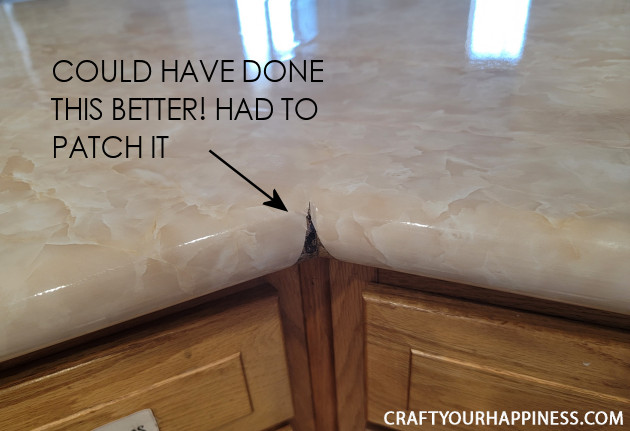
We also OVERLAPPED the seams on the top just a tiny bit to allow for any shrinkage.
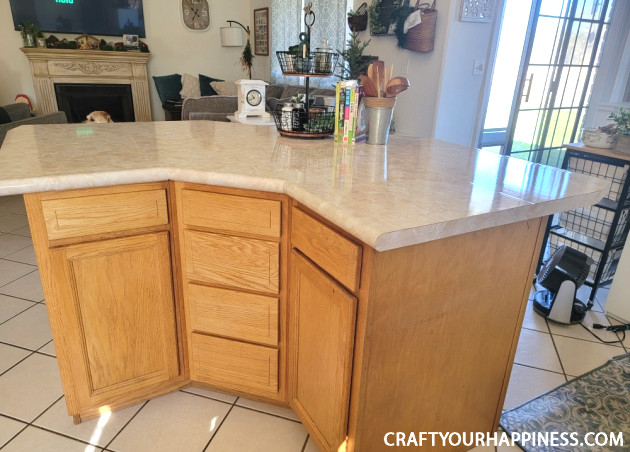
I was more than thrilled with the end result! Yes you can see flaws up close but for my needs it was perfect!
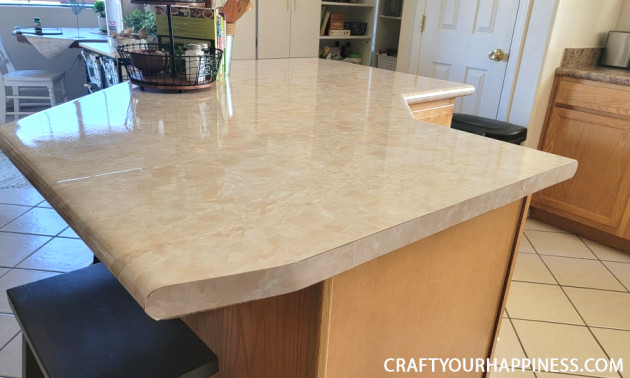
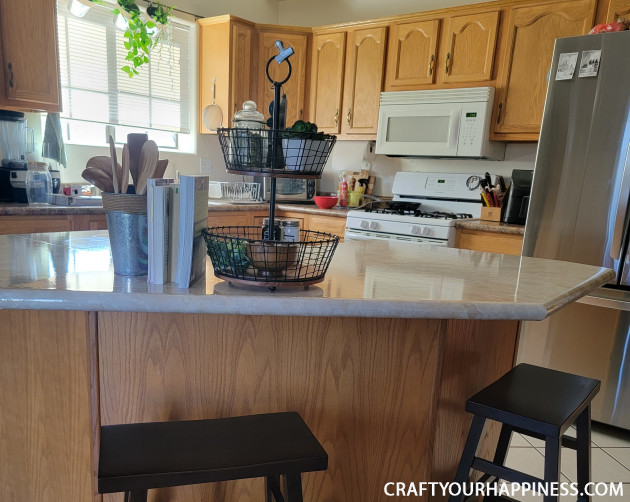
It brightened up the whole room even though the kitchen counters were the old color.



3 responses
Hello,
Craft fairs and vendor shows provide a fantastic opportunity for artisans to showcase and sell their products. The primary challenge often lies in the time-consuming setup process, covering everything from designing displays to pricing items and handling payment processing. Phew!
I would absolutely love to write a guest article for your site, sharing best practices for makers and sellers to excel at exhibitions.
May I write this piece for your site and send it your way for consideration? Please let me know if you’re interested!
I’m eagerly looking forward to hearing from you!
Gwen Payne, invisiblemoms.com
P.S. If you’d prefer an article on a different topic, please let me know. That said, I understand if you’re not interested in guest posts. Just let me know and I won’t reach out to you again.
Hi,
Many children enjoy participating in after-school activities. They are able to learn and have fun at the same time. There are kids, however, who are drawn to non-conventional programs and may not like the usual sports or arts activities.
I’m very much interested to write about this topic for your website. The piece that I have in mind will discuss different after-school activities for youngsters to participate in. This would serve as a helpful piece for parents who are finding it a challenge to find the appropriate activity for their child or who are simply trying to broaden their child’s range of interests.
I can quickly put together a draft for you to review, just let me know. I’d be happy to get started on the writing process for you.
Many thanks!
Loly Rich
P.S. If you’re interested but would prefer a different topic, please let me know and I’ll send you alternate suggestions, or please feel free to send a couple of your own.
BEAUTIFUL!!