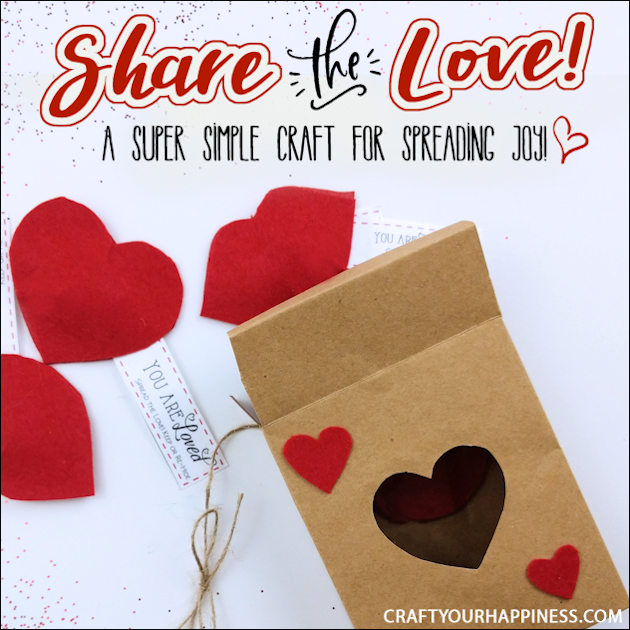
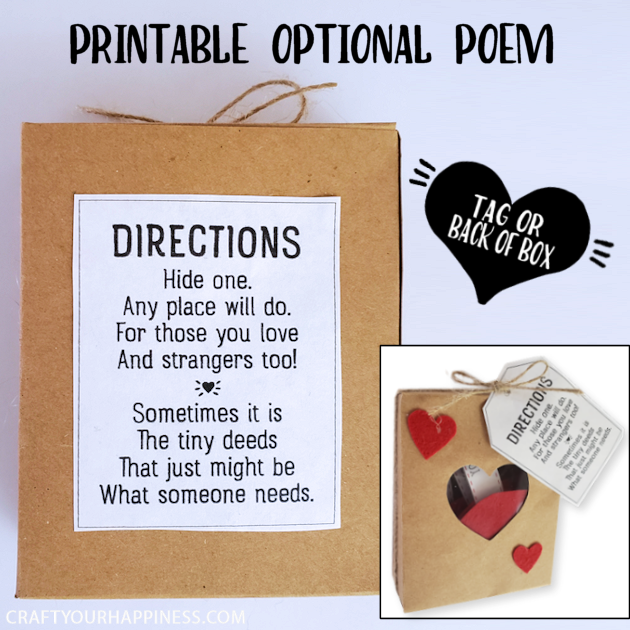
This simple Share the Love Valentines craft is for adults and children alike. It’s inexpensive and simple to make though kids might need some help gluing the box together. The other great thing is that it’s a meaningful item that will brighten someone’s day whether you give the entire box as a gift or make it for yourself so you can hide little hearts and/or lips around the house, in the car, or even in places like a park where a stranger will happen upon one. Make just hearts, lips or a mixture of both. I wrote a special little poem, included in the printable kit below, that can be added to either the back of the box or as a tag if desired. So grab some sticky back felt, cotton balls and cardstock and share the love!
If you’re looking for more awesome Valentines crafts or general ideas for someone you love make sure to check out our Pretzel & Gummy Heart Valentine Gift Idea, our Easy DIY Necklace for Someone You Love, or our Crystal Ball Valentines Day Gift Ideas for Him or Her.
![]()
Supplies for Valentines Craft
- Sticky back Craft Felt (Peel and Stick) Red or color of choice
- Cotton balls
- Glue Stick
- Glue Gun (This is optional and “can” be used for the box but a glue stick is easier and smoother)
- Scissors
- Xacto knife or detail paper scissors for cutting heart window out.
- Packing tape (Used to “laminate” the text strips)
- Card stock 8.5×11 (for boxes and tags) Kraft Cardstock , Variety Packs , White ( 80lb weight or more for a sturdier box.)
- Plain white inkjet paper (or light colors if desired)
- Brown String (optional for tying box)
- Clear cellophane plastic for small heart window (We used plastic from a box of noodles. See photos below Ü)
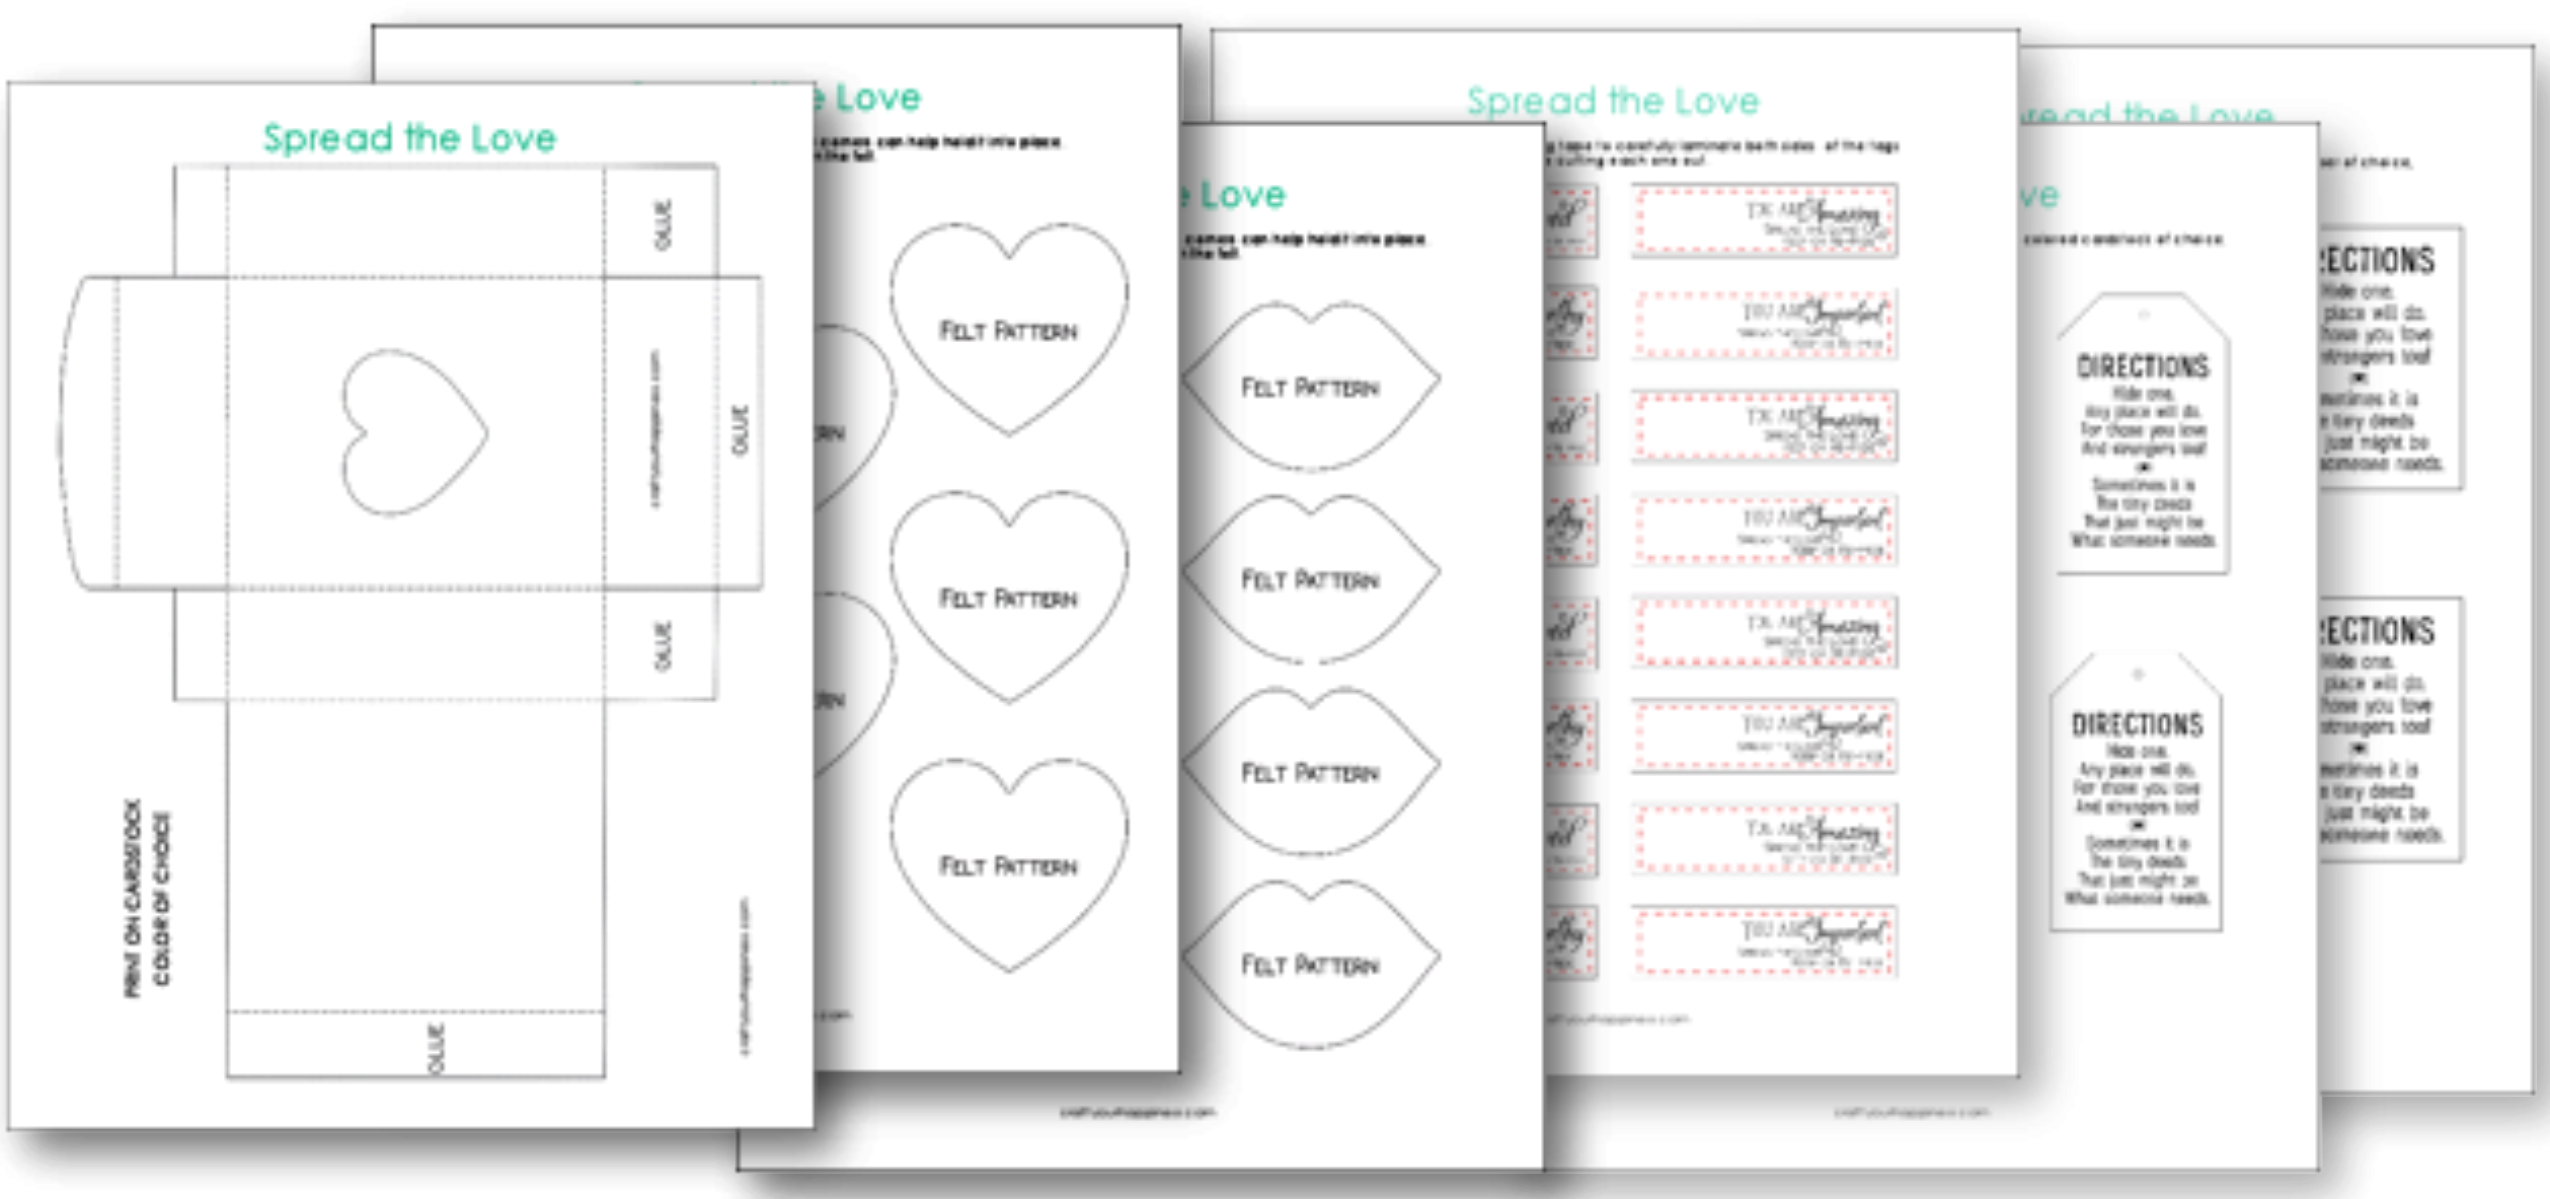
- Free printable kit with patterns below.
![]()
Free Printable Download
 Instructions
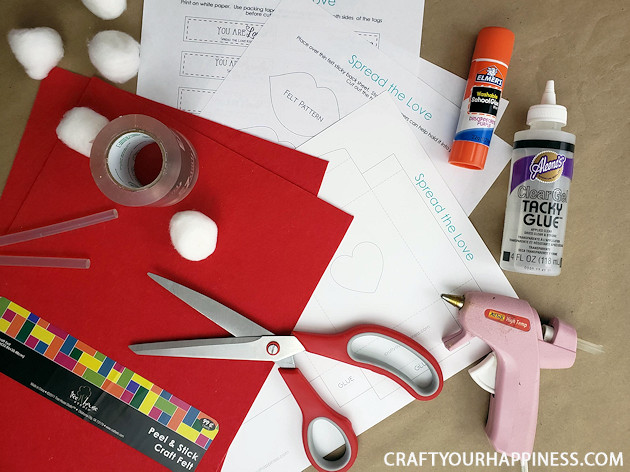
Gather the supplies. This shows the box on white cardstock, but we switched to brown kraft cardstock which we decided looked better. The tacky glue is optional for gluing the box together. You want a quick hold glue.
For the small cut out heart window on the front of the box you need some clear cellophane. We grabbed a box from our pantry that had a window on the front with cellophane. It was perfect!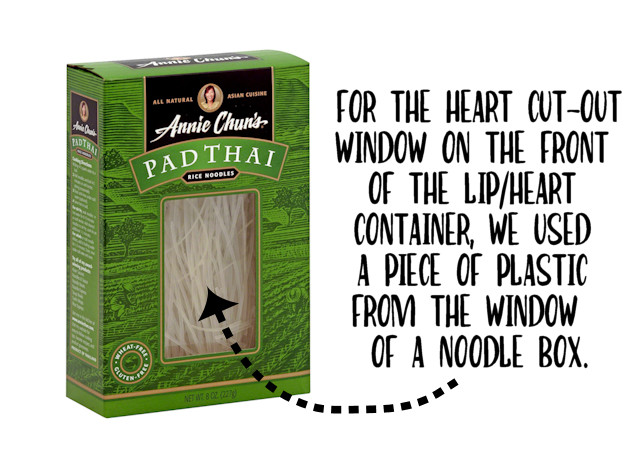
Cut out your pattern, making sure to not cut on the dotted lines. We started with white cardstock then decided to switch to the brown kraft color. FYI the side with the text is the INSIDE of your box so cut and fold accordingly. 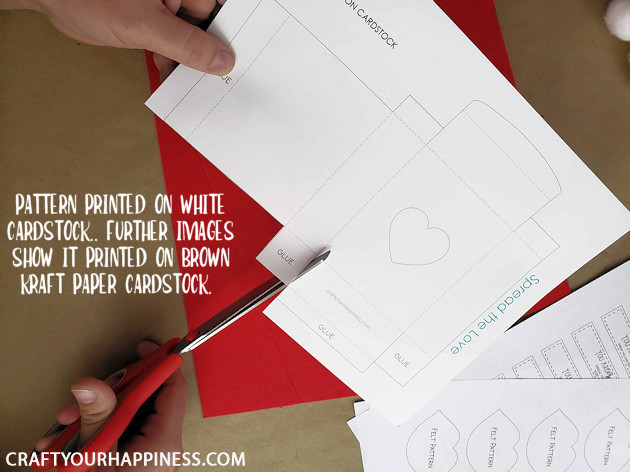
Carefully cut out the heart window on the box. Though shown using larger scissors we suggest using small detail paper scissors or an Xacto knife. 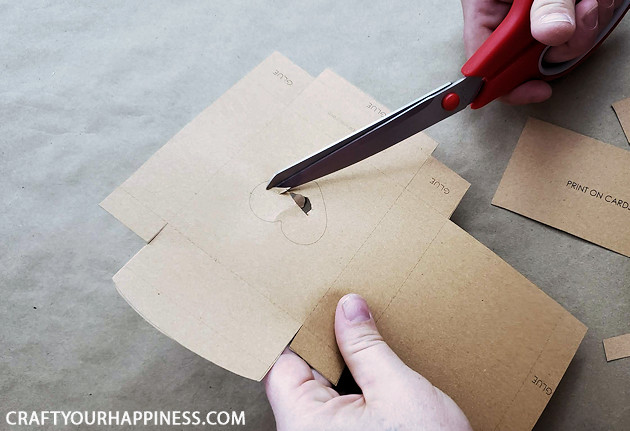
Find some clear cellophane to cover the heart window. Many food boxes with noodles etc have them so we found one in our pantry and used it. 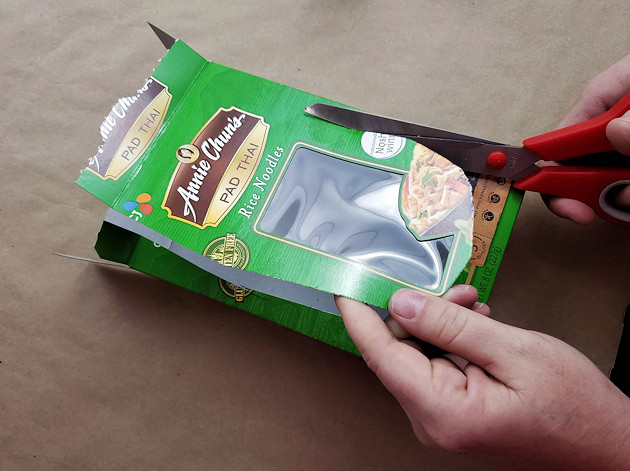
Trim it down as you only need a small square big enough to cover the heart window. 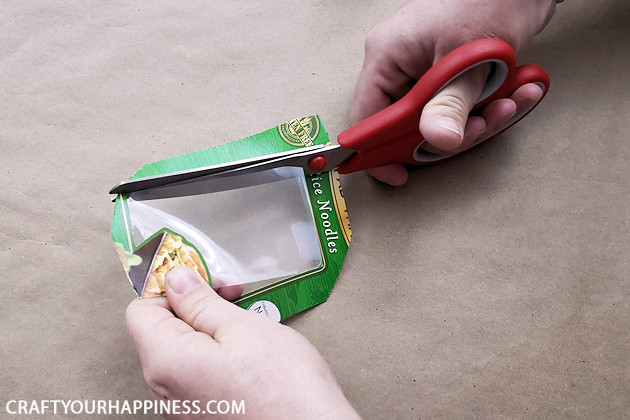
Using hot glue or tacky glue, glue around the heart on the INSIDE of the box. 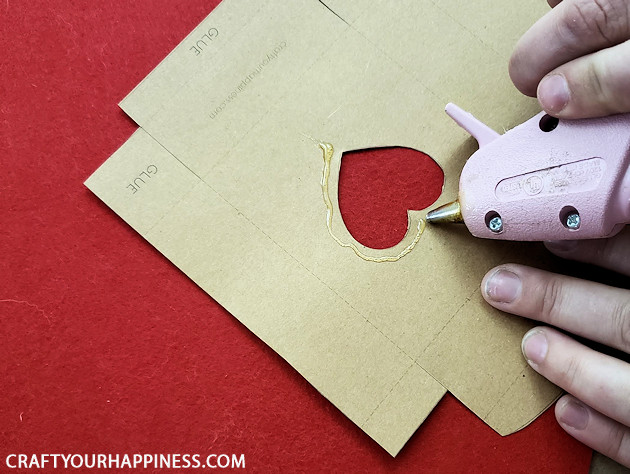
Quickly add your piece of celophane. 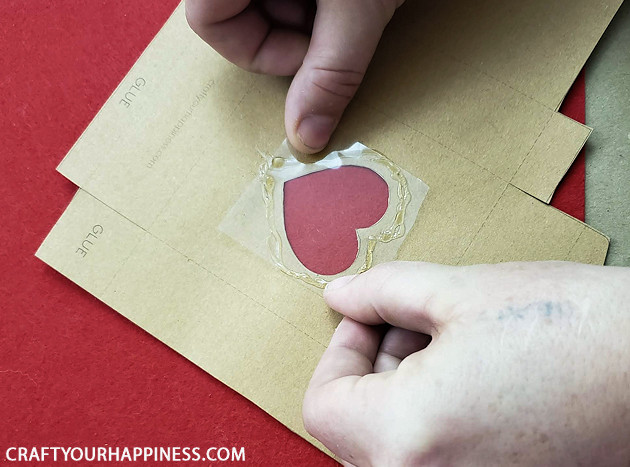
Begin folding the box on the dotted lines. 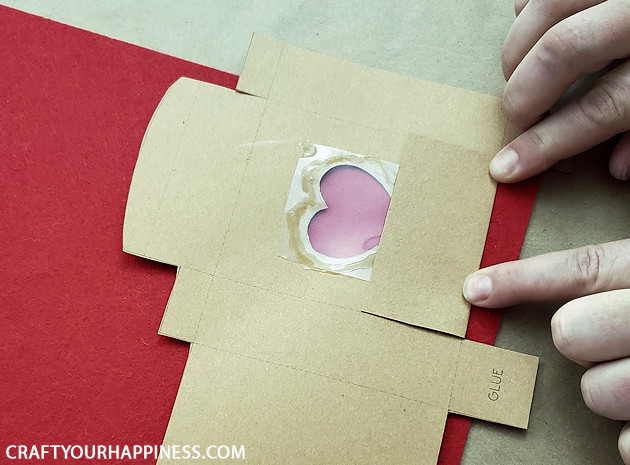
Continue folding, making sure to get nice crisp creases. 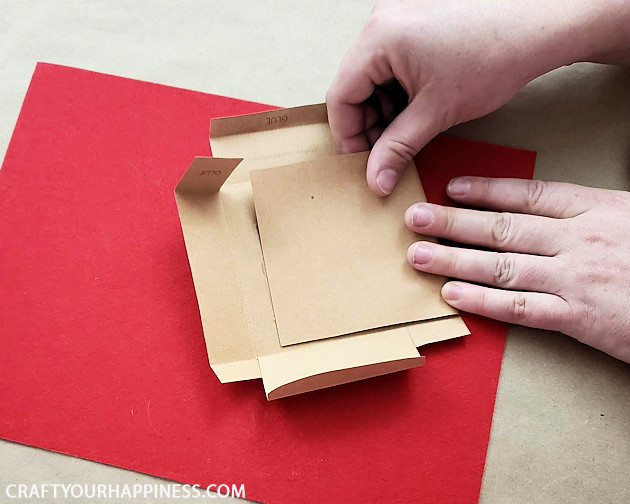
After you have folded along all the appropriate lines you can begin assembling the box using a glue stick. 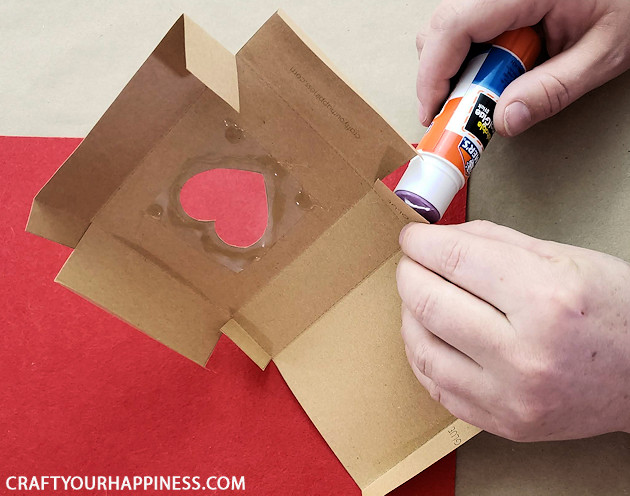
Glue in the order that is easiest for you. 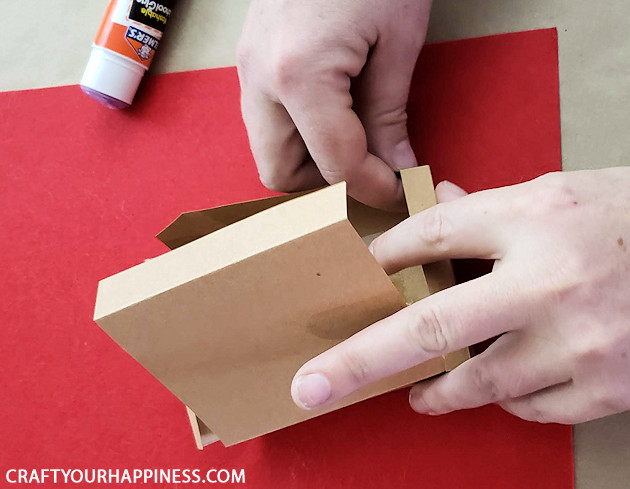
It can get a little tricky holding the glued parts in place the further you go in the process.
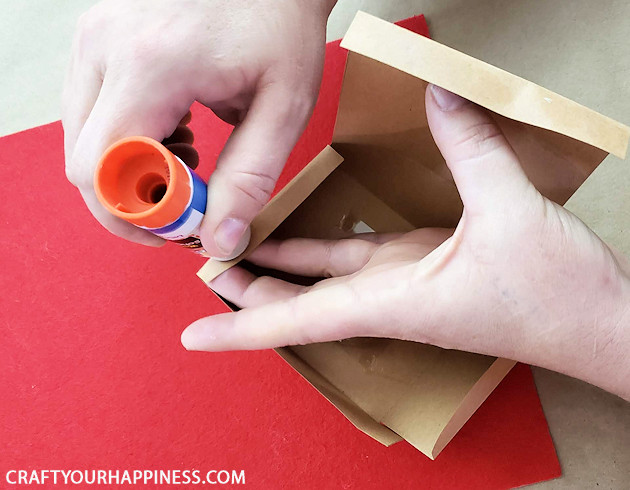
Finishing up holding the last glued side. 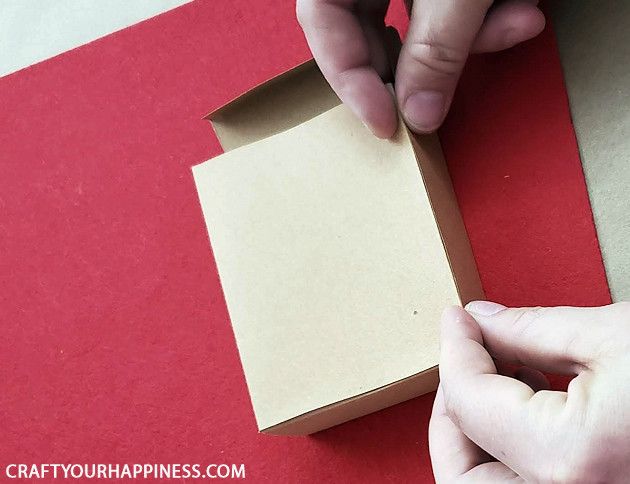
This is the finished box. 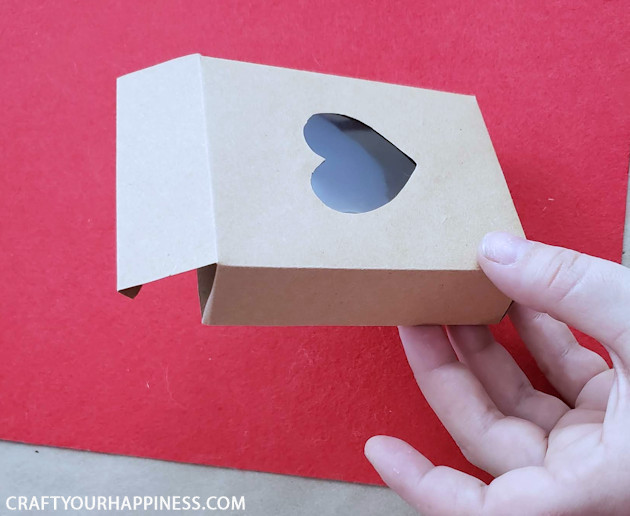
Cut out the tags you prefer from the free printable.
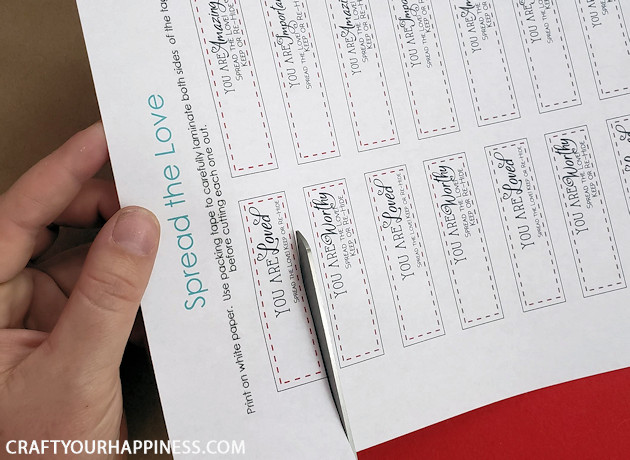
Using packing tape as a laminate lay a strip down and place your quote strips face down, slowly rolling them onto the tape. You can do several at a time. 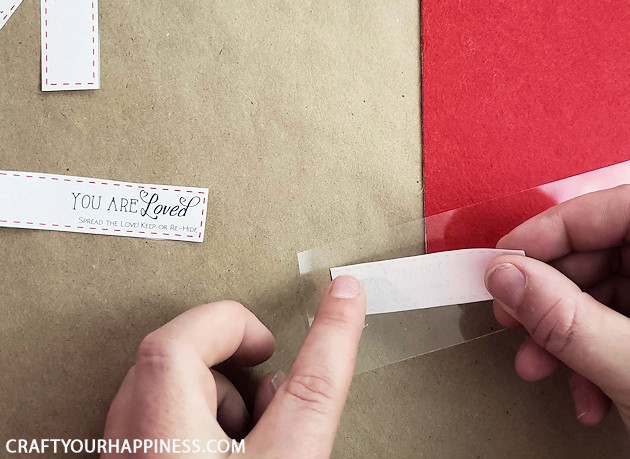
Once your have several tags on the tape, take another strip of tape and carefully place it onto the BACK of the tags. Slowly rolling the tape across helps prevent bubbles. 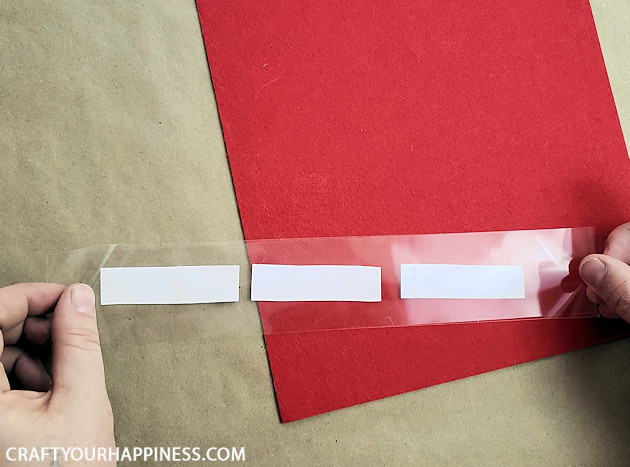
Cut out your laminated quote tags. 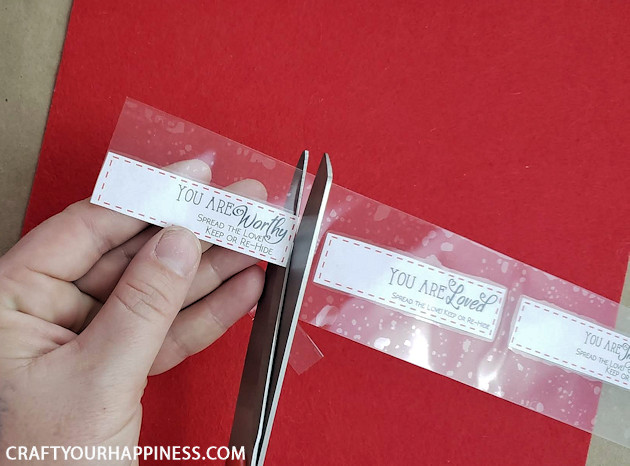
Grab your sticky back felt which is thin and usually stiffer than normal felt with a peel off back. 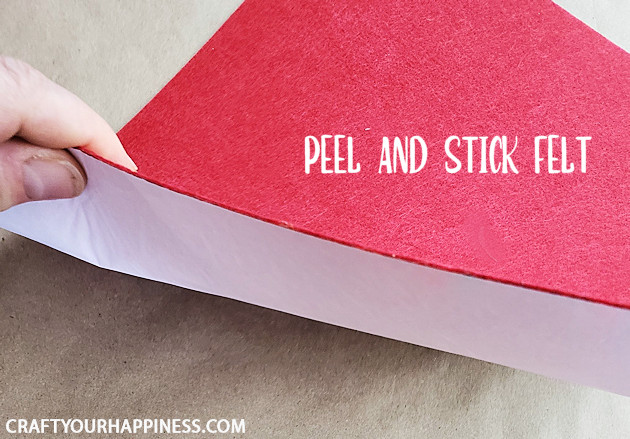
Choosing the hearts, lips or both, place the printed pattern onto a piece of sticky back felt and cut out as many as desired depending on how many boxes you need. 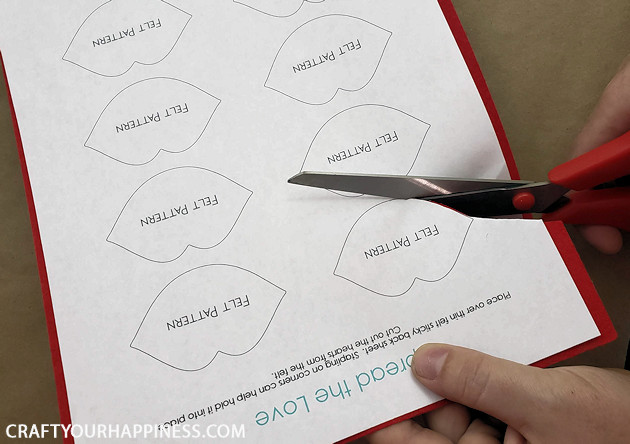
Peel the back off one side of your heart or lips.
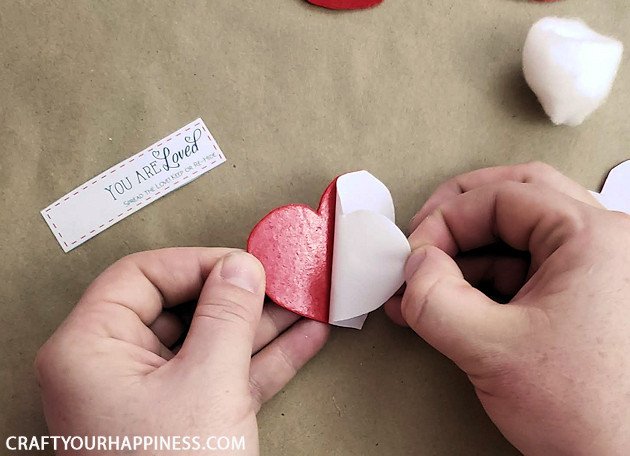
Lay a tag onto the heart or lips felt on the INSIDE so the sticky part holds it in place.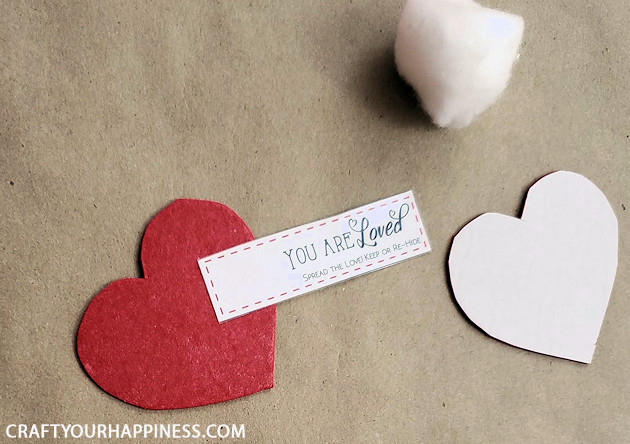
Take a tiny amount of cotton from a cotton ball and roll and flatten it to the right shape.
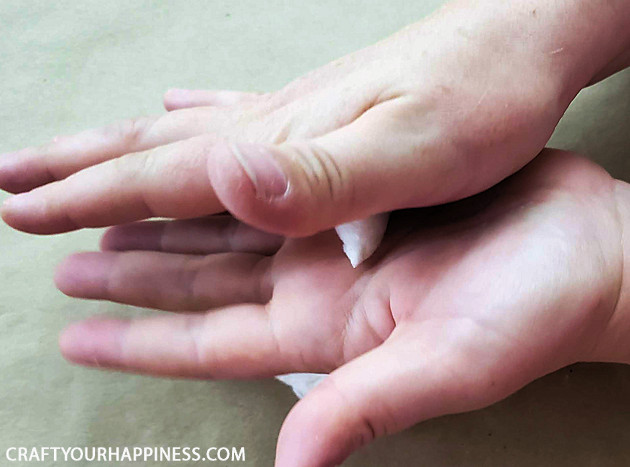
IMPORTANT: You need to use a VERY SMALL amount of cotton as we found that the lips or hearts might try to pop open on the edge if you use too large a piece. Place the cotton in the center then taking the other part of the heart or lips carefully align it on top and press down the edges.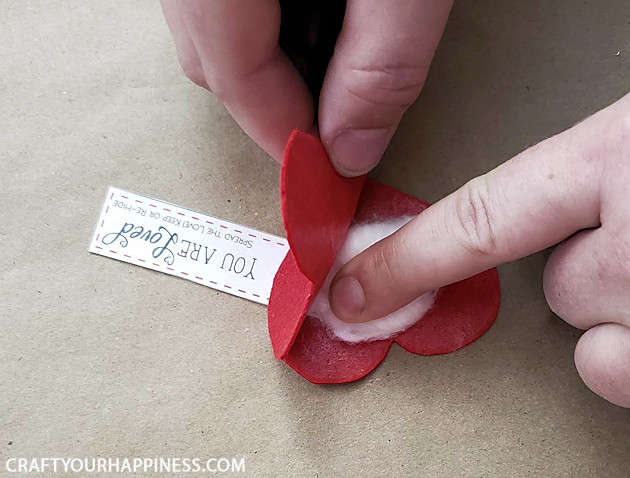
This piece of cotton is actually too large we learned. So make it smaller and flatter and continue to seal up the item completely. 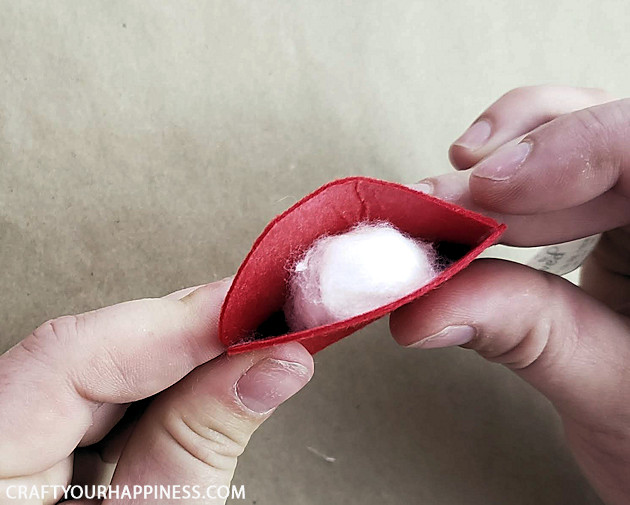
You may get some crinkles if your felt is extra stiff. Try to pull and press the edges evenly to help avoid them. 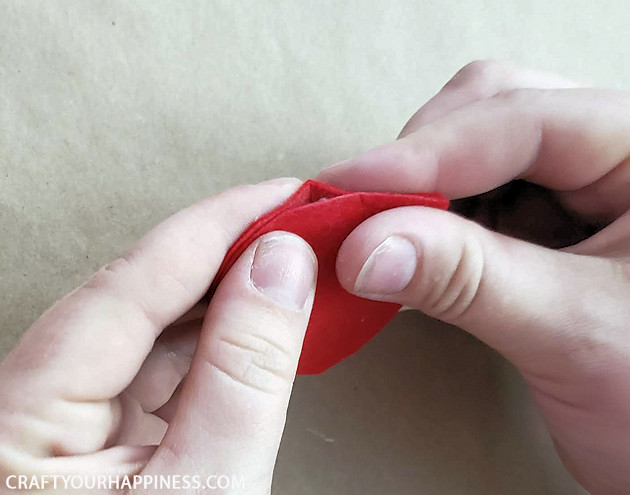
You also might need to trip some uneven overlap after you have sealed the item. 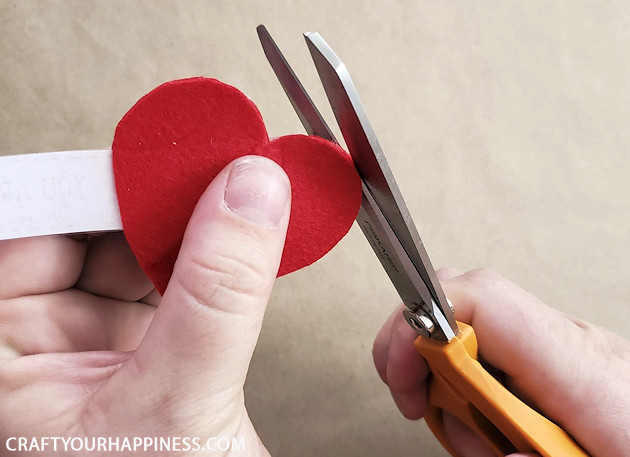
This shows the same process with the lips. AGAIN… this shows TOO MUCH COTTON. So use about half the amount you see and make it flatter so it does not pop the edges up. 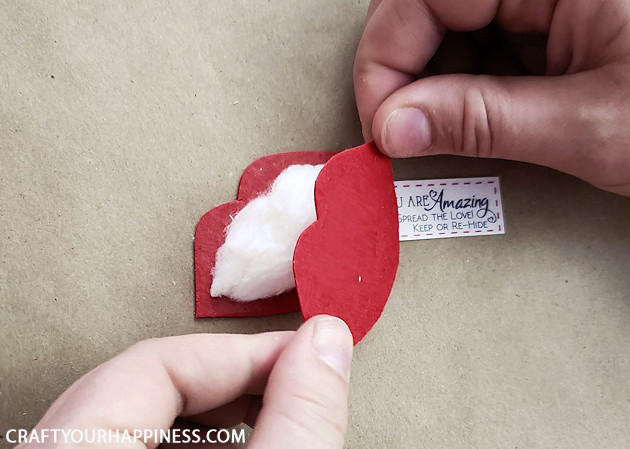
Place several of your items in the box. It only holds about 4 or 5. 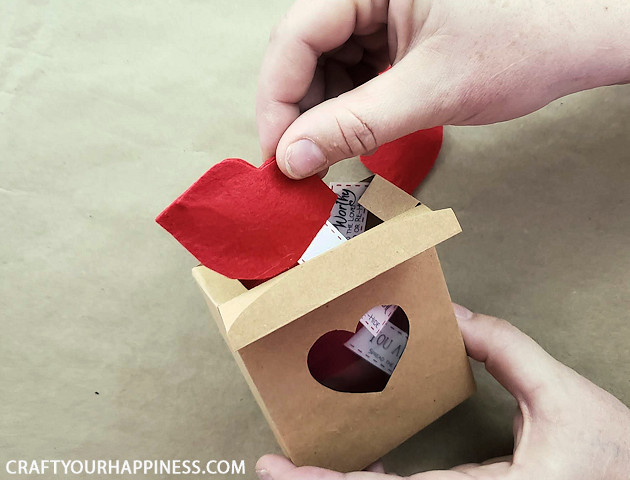
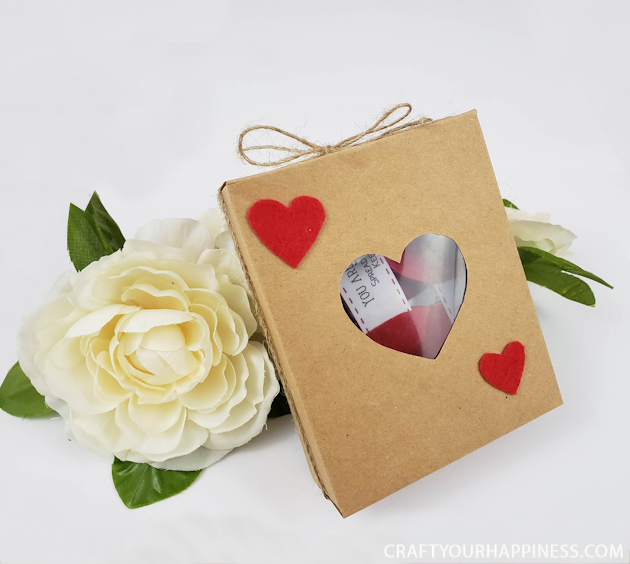
You can decorate your box however you want. We tied a string around it and cut out two small red hearts from the leftover felt.
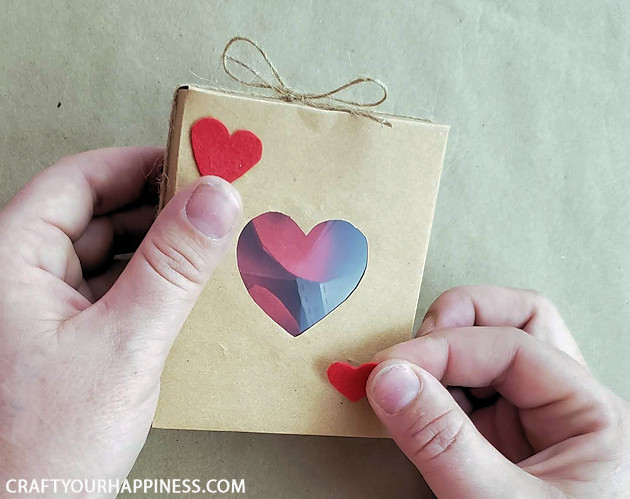
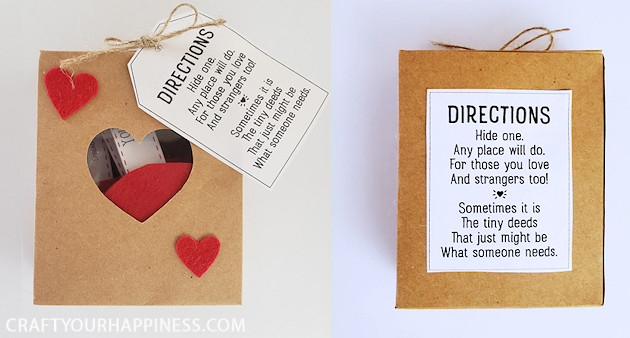
If you’re giving this as a gift can then add the printable poem to the back of the box or tie on a tag instead.
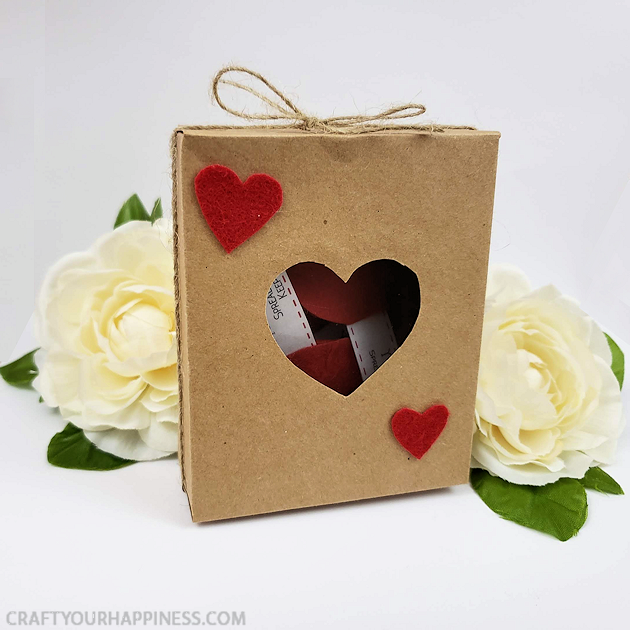
The completed box! Best Valentines Craft ever!
![]()
![]()
![]()



One response
Love this idea.. And what an awesome tutorial. Very easy to understand and follow. So many possibilities. Thanks for sharing!