
![]()
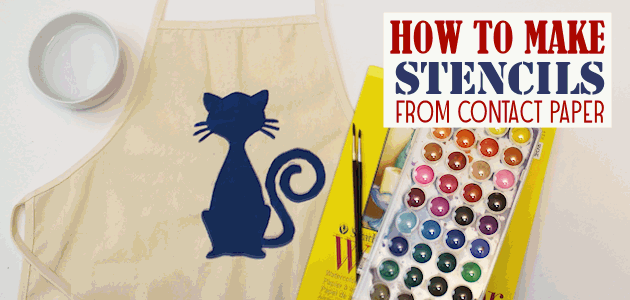
![]() I’ve decided that making stencils from contact paper is the only way to go for certain stenciling projects. It’s inexpensive, you can make super large stencils and you can cut whatever design you like using an X-acto knife. Best part is the stencil stays in place while painting! It works best for images without a lot of detail and for large thick text. If your doing very much text it does take a little time to cut out the letters but just put on a movie, music or book on tape while you work. It also works for etching glass as we did on our How to Etch Glass in 5 Minutes post. We’ve created a cat to work with to show the process. You can grab it as a free download below. It comes in a variety of sizes. We also have a post on how to Make Stencil Sponges. It’s super easy and inexpensive.
I’ve decided that making stencils from contact paper is the only way to go for certain stenciling projects. It’s inexpensive, you can make super large stencils and you can cut whatever design you like using an X-acto knife. Best part is the stencil stays in place while painting! It works best for images without a lot of detail and for large thick text. If your doing very much text it does take a little time to cut out the letters but just put on a movie, music or book on tape while you work. It also works for etching glass as we did on our How to Etch Glass in 5 Minutes post. We’ve created a cat to work with to show the process. You can grab it as a free download below. It comes in a variety of sizes. We also have a post on how to Make Stencil Sponges. It’s super easy and inexpensive.
Making Stencils from Contact Paper Supplies
NOTE: You can use a brush as we did but you have to be extra careful to brush “into” the stencil and now outward, otherwise you can get paint under the edges. After using a brush we’ve decided a foam sponge would make it easier to not allow the paint to seep under the edge of the stencils.
- Contact Paper Tan Clear White
- X-acto Knife
- Cutting pad (Optional but very useful. I own this one)
- Paint of choice
- Item to stencil on
- Brush or Stencil Sponge
- Paper design for stencil (free cat below)
- Scotch tape
 Download Sample
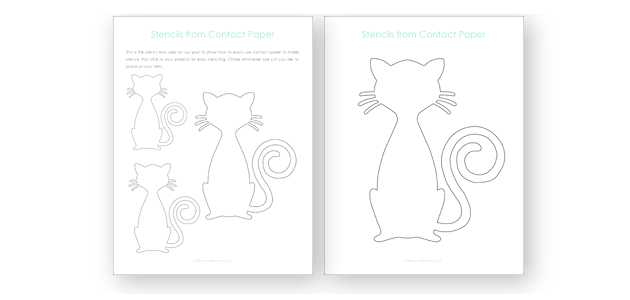
Cat Stencil Patterns (pdf)
 Instructions
Things to Keep in Mind:
Simple items with few details work best. If you choose to do letters they must be THICK. Letters such as lower case o’s, e’s, a’s etc will have loose sections that make the hole inside the letter. Make sure to save those after you cut out your stencil as they have to be placed where they go inside the letter. Same thing for some images. You find any image you like that will work and trace it to a piece of paper. Then place it over your contact paper and cut it out. Also make sure you have a couple inch border around your stencil to protect your item from extra paint getting on it.
Gather your supplies. I used white contact paper because I happened to have some.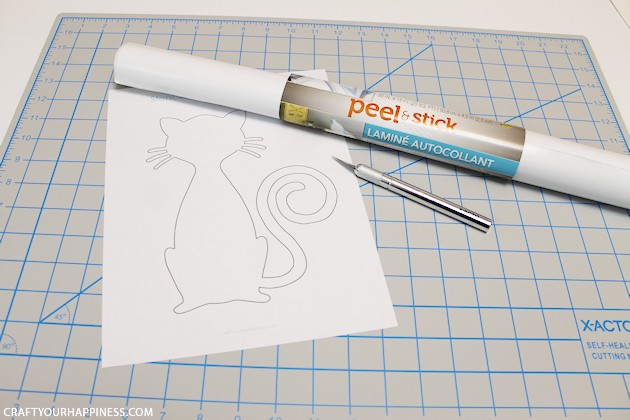
You can use any color however. 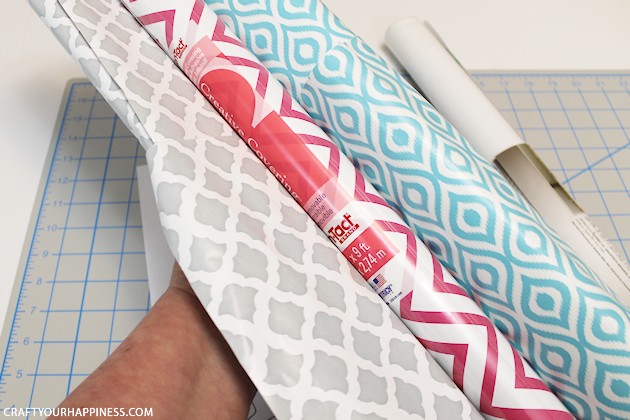
Using our pattern or one of your own, cut a piece of contact paper, giving plenty of room on the edge.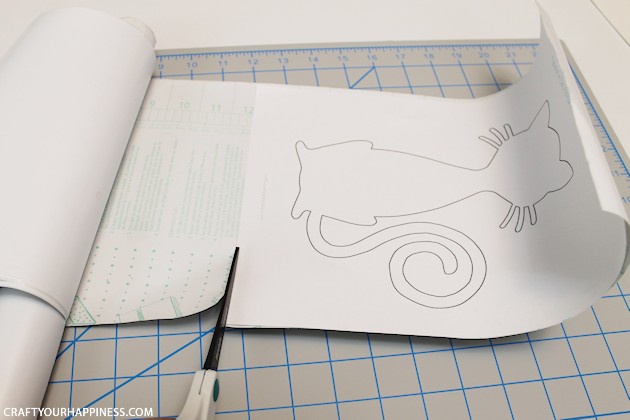
Cut some extra off around your paper pattern if desired.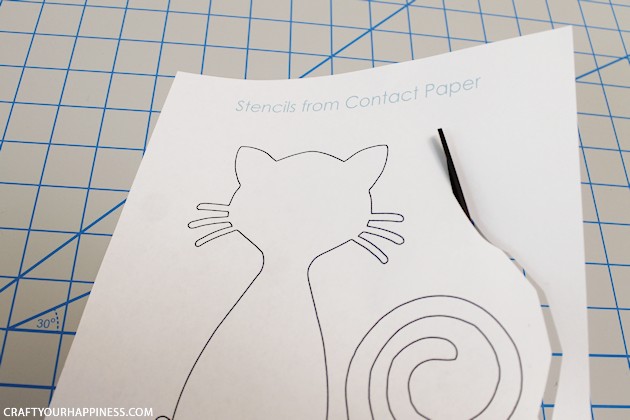
Tape your piece of contact paper down on the corners. Make sure it’s on a surface that you can cut on. I use a cutting mat. A large piece of cardboard could also work. 
Next, tape your pattern in several places to the contact paper.
Carefully begin cutting around your design with your knife making sure you go through all the layers.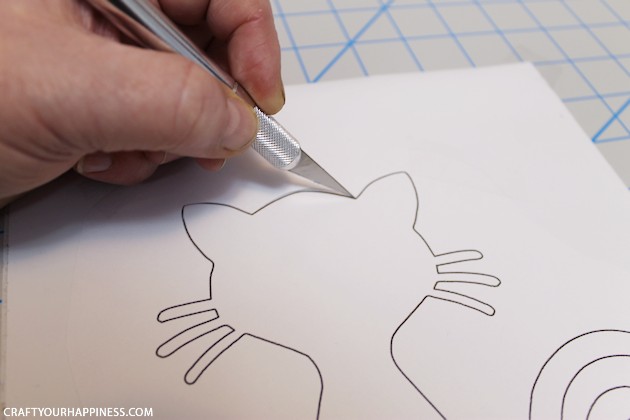
After you have cut the design, remove the tape from the pattern.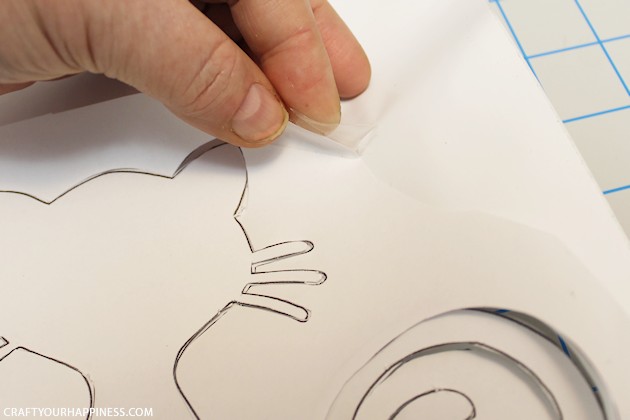
Then remove the center of your pattern. 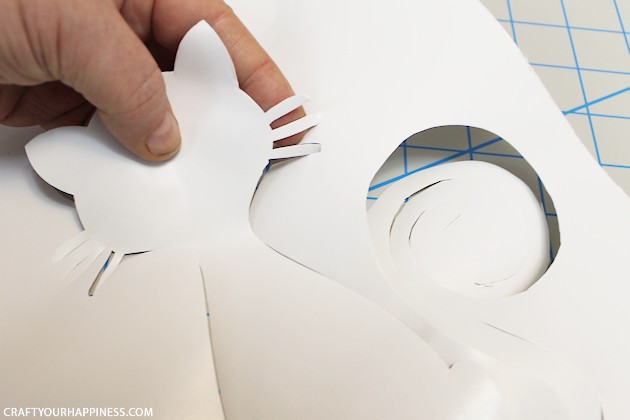
If you missed any spots like I did go ahead and cut them. If there are any uneven places you can also trim them with small scissors. 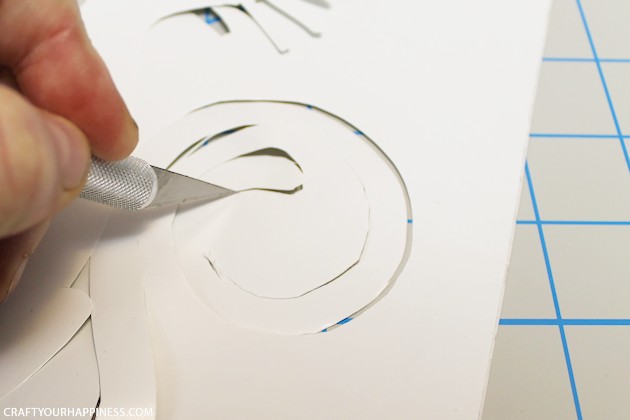
Depending on what type of contact paper you used and what design you used, save the inner piece. I’ll show you why later.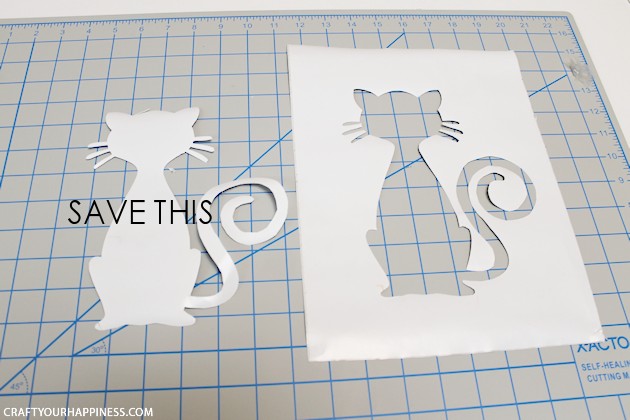
Gather what you will be stenciling on along with your paint and a brush or stencil sponge. We show you how to make cheap stencil sponges here.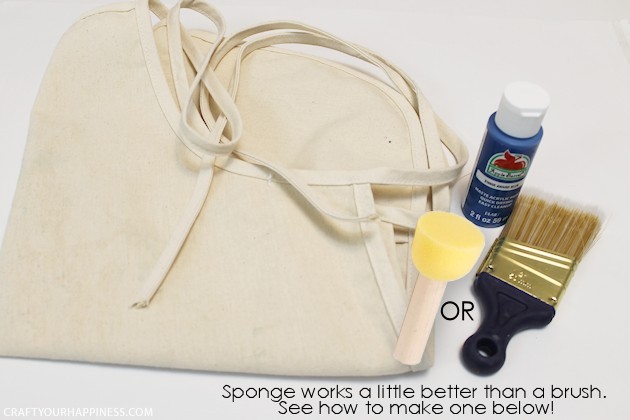
Carefully pull the backing off your contact paper.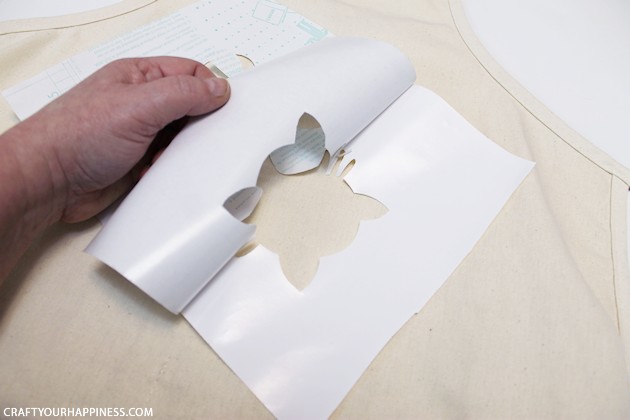
Place it on your item. I chose an art apron. I did some measuring to make sure it was centered. If it’s a larger stencil as mine was you might need some help handling it so it doesn’t stick to itself. 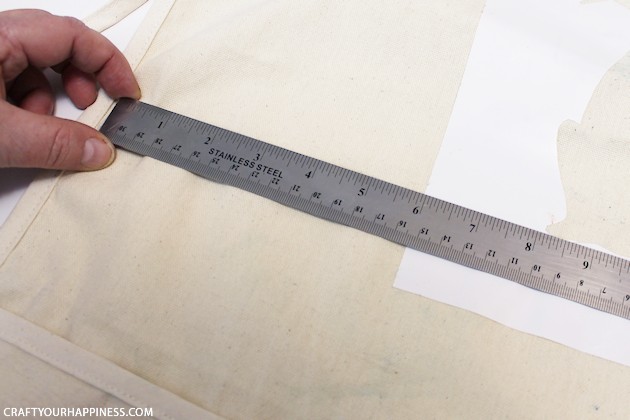
Press down firmly on the stencil, giving the most attention to the inner edges. 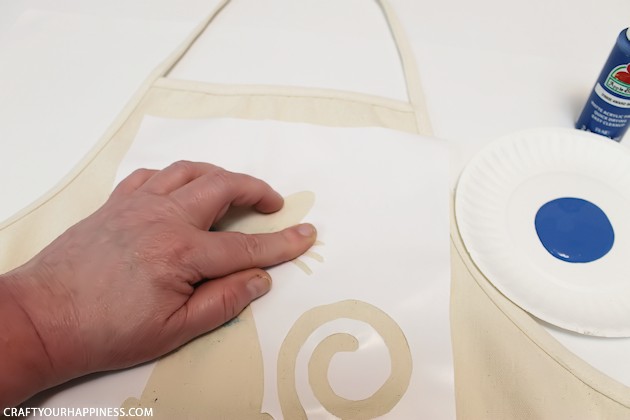
Whether using a brush or sponge do not put too much paint on it or it will seep under your stencil. 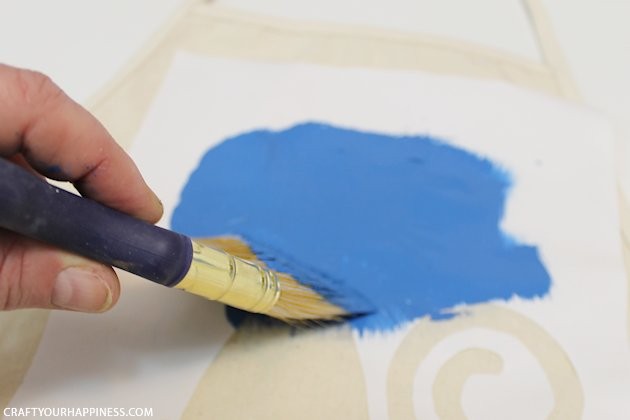
Brush inward. For a stencil sponge just dob it up and down. 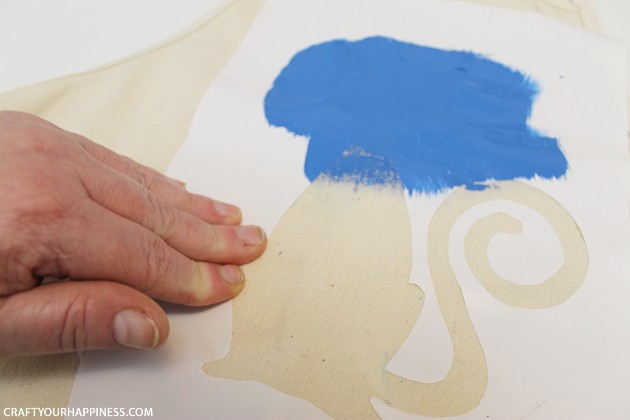
I let my paint dry before removing the stencil as it was so large. 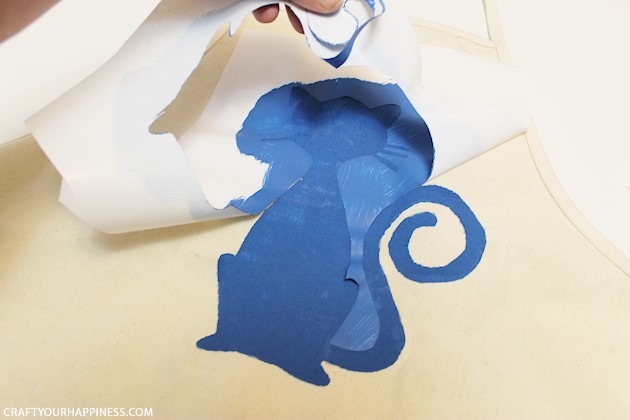
This is why I kept the center part. Many times it can be used on something else. 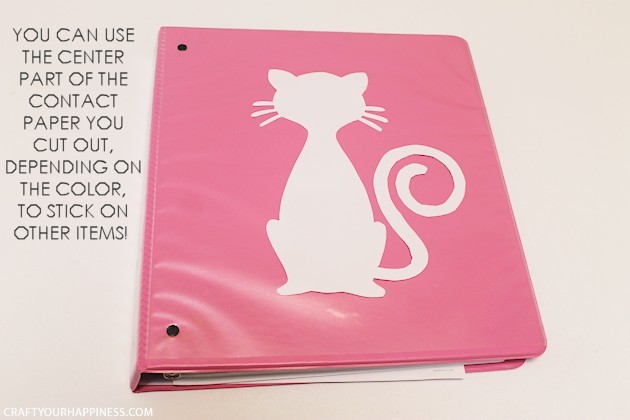
![]()

![]()
![]()