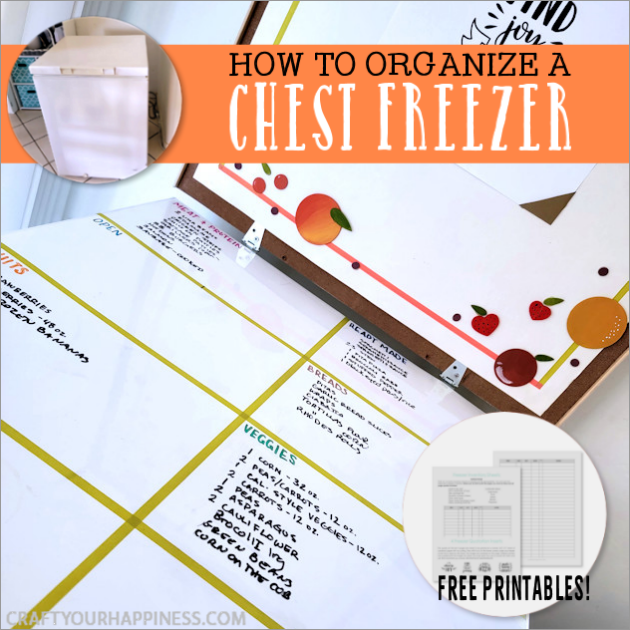
Have you been wanting a simple inexpensive way to organize a chest freezer? Look no further! If you have a chest freezer you’ve no doubt struggled to keep track what the heck is in there. You also get tired of emptying it out to find stuff. Well, we figured out two simple and cheap ways to help you keep it orderly. You can do one or both! Plus, we have FREE INVENTORY PRINTABLES plus, extra ideas for your freezer like writing on the top with wipe-off markers. If you want more unique fun ideas for the kitchen we’ve got plenty including our Amazing Outdated Kitchen Transformation post which is FILLED with a variety of ideas including how to Build a Beautiful and Affordable Pantry Door Organize and how to Add Space & Convenience with a Simple DIY Pantry.
Learn How To Make a Chest Freezer Cover (shown on this post.)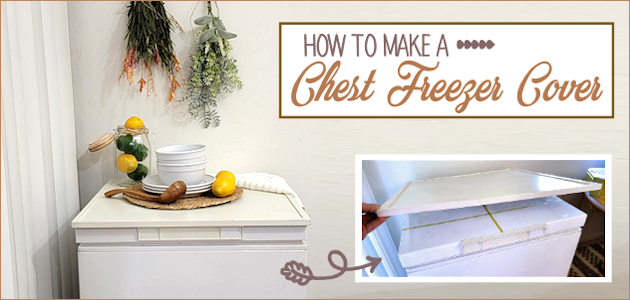
Supplies
- FREE pdf Download below
- Dry-erase contact paper (36″x24″) Get the size you need.
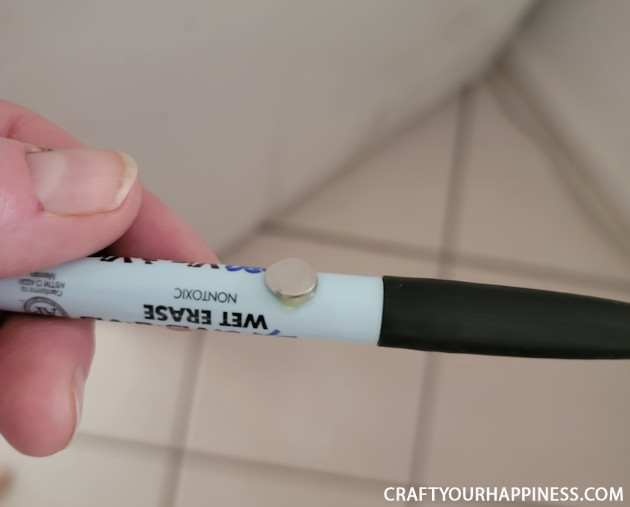
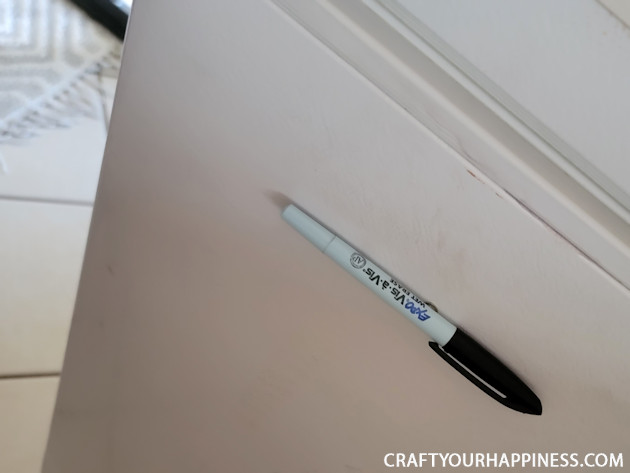
- Dry Erase Markers (these have magnets)
- Wet Erase Makers VisaViz
- Washi tape
- Xacto Knife
- Aluminum 48″ Ruler/Straight Edge
Printable Inventory Sheets PLUS Quotes
Download the FREE pdf inventory sheets along with some lovely quotes.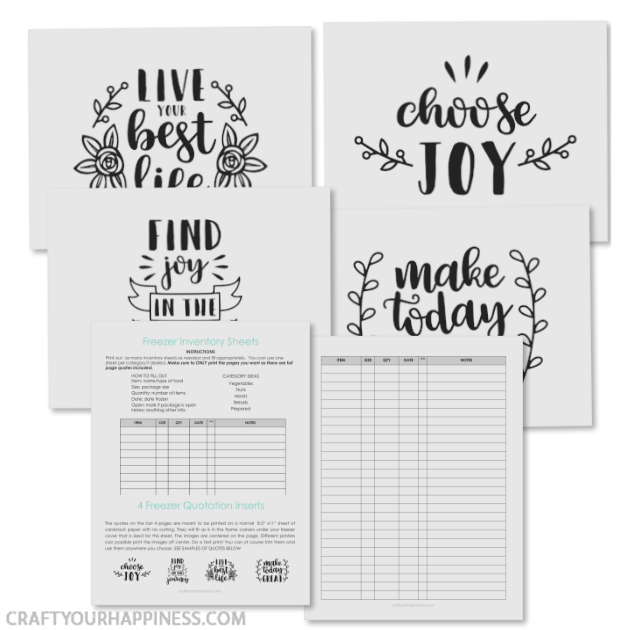
Instructions
Though we have a small chest freezer it was still challenging to keep track of what was inside.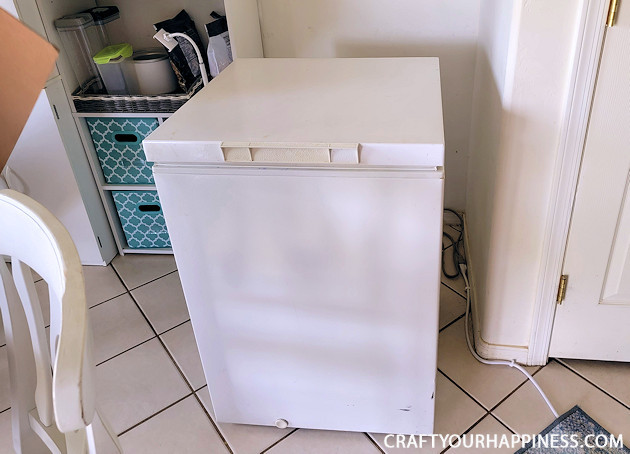
We were SO tired of pulling stuff out to see what was in it.
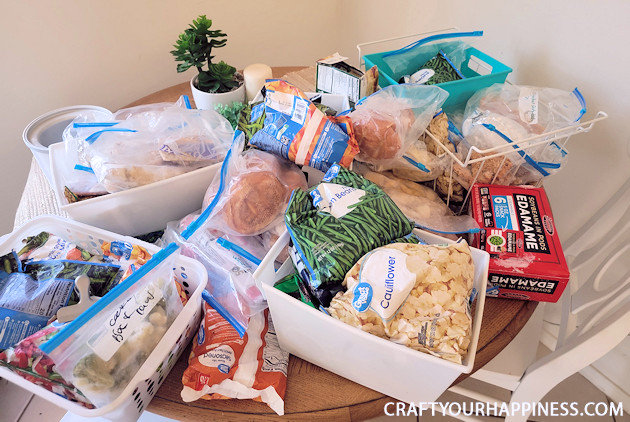
We tried using plastic container to help organize it.
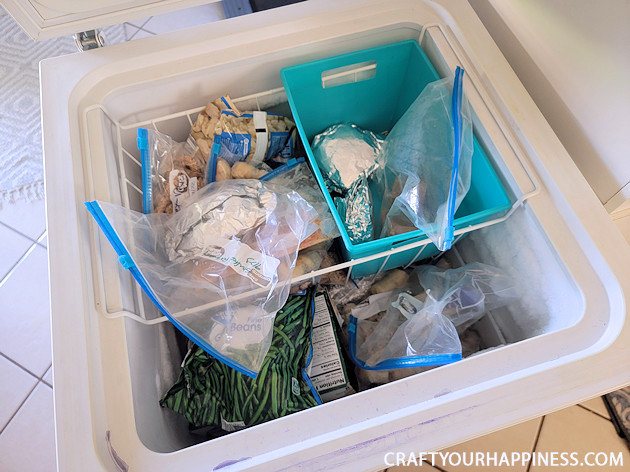
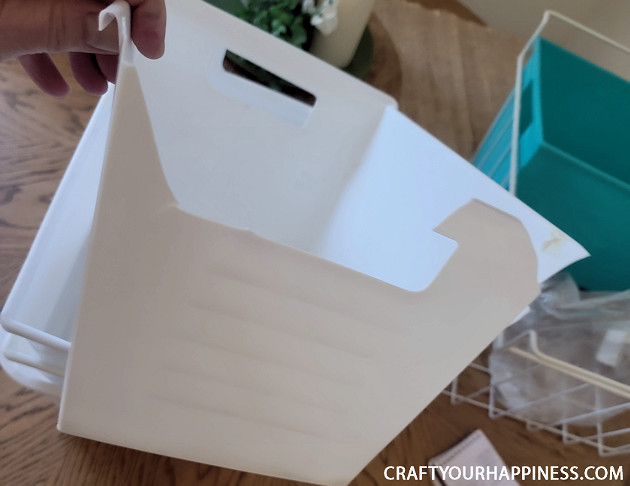
Unfortunately, those crack after being in the cold for so long.
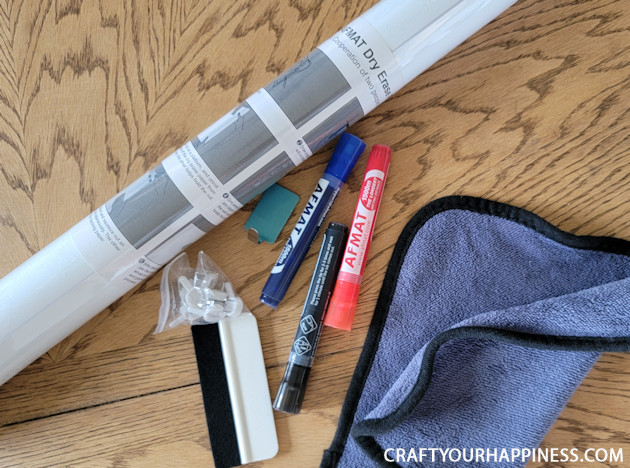
We purchased a tool of dry-erase contact paper. This one came with 3 markers and an eraser.
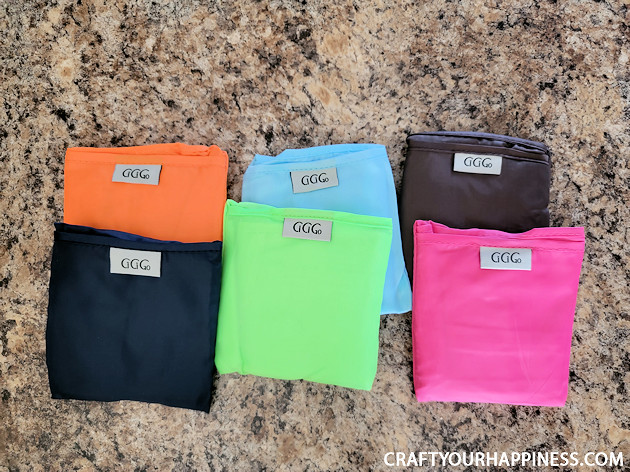
Then we purchased a set of colorful grocery bags. (We needed 2 sets)
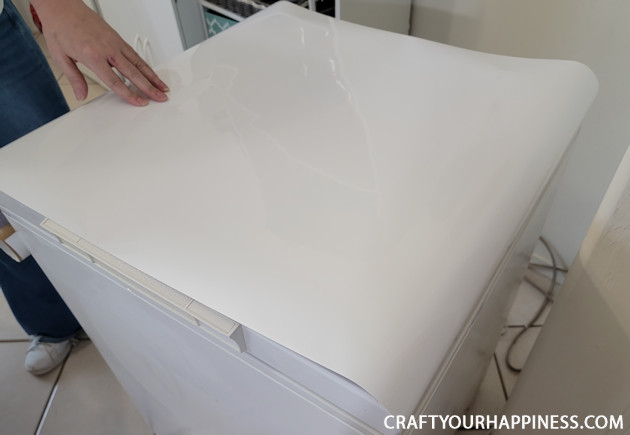
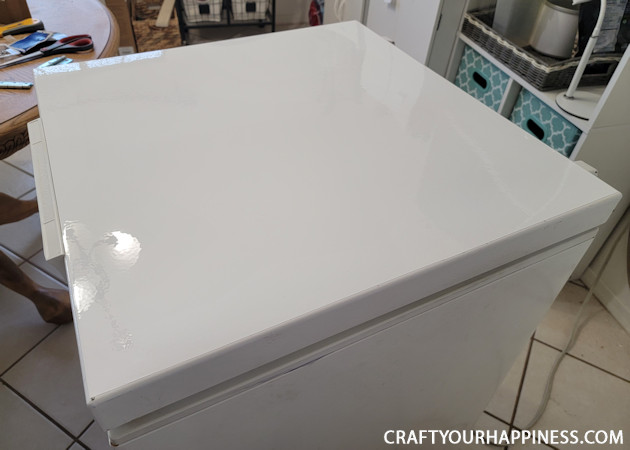
After measuring our lid we place the dry-erase contact paper over the lid.
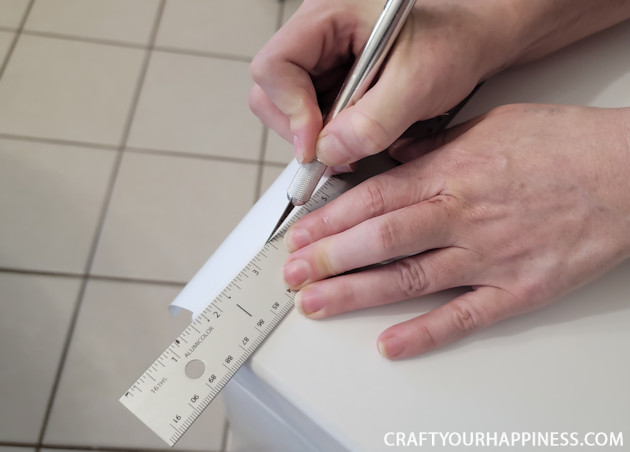
The paper was trimmed to fit.
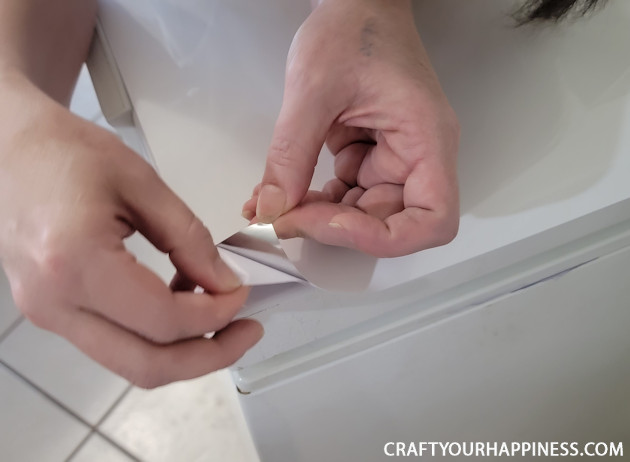
The back was peeled off and CAREFULLY AND SLOWLY smoothed onto the lid.
Made the top look like new!
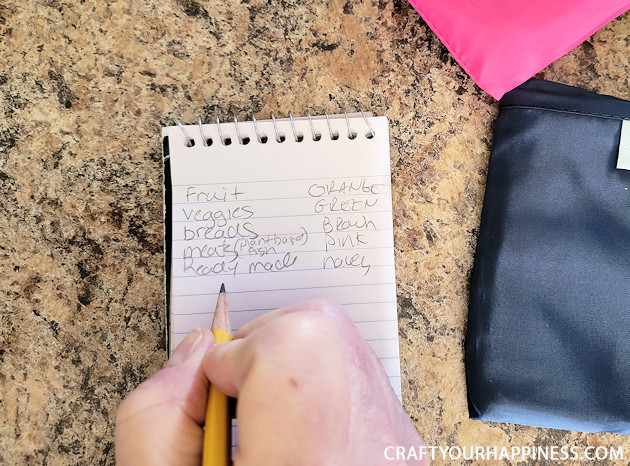
Next, make a list of the categories you want to use and the color of bag you want to assign to it.
Grab your bags and start filling them! 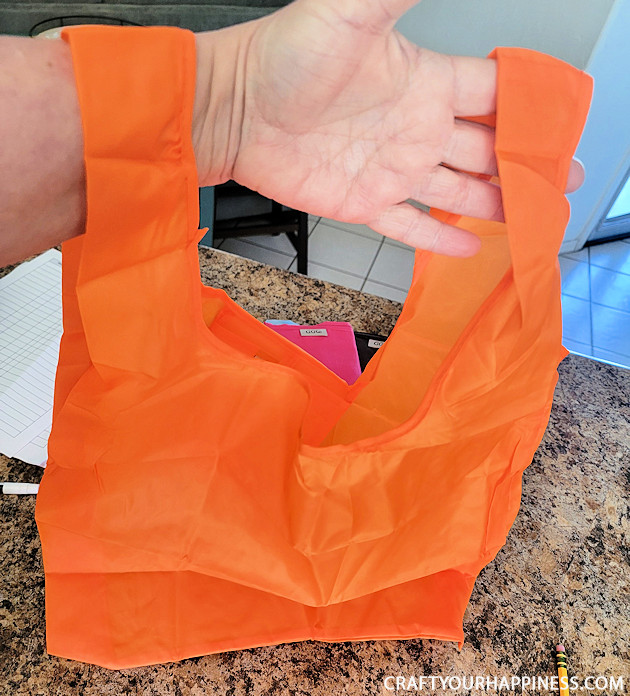
If using the FREE Printable Inventory Sheets, fill them out as you load up your bags.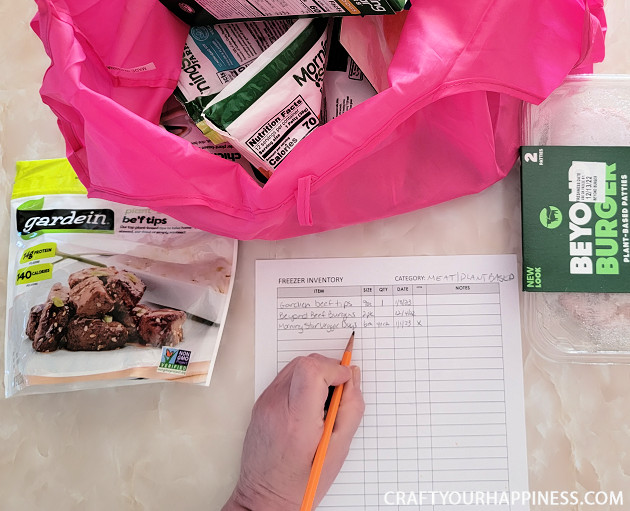
We used GREEN for vegetables.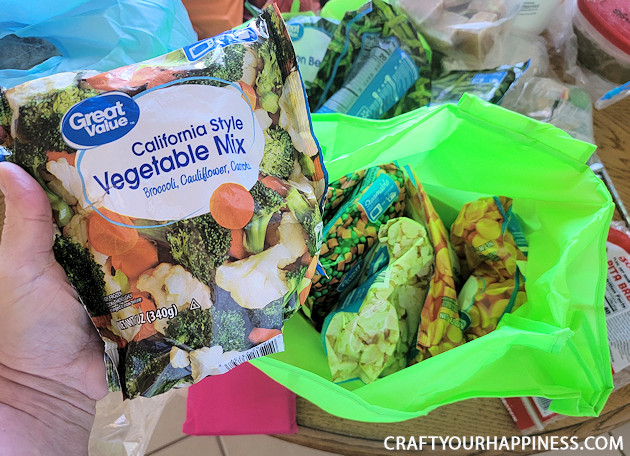
Place the items in as orderly as you can.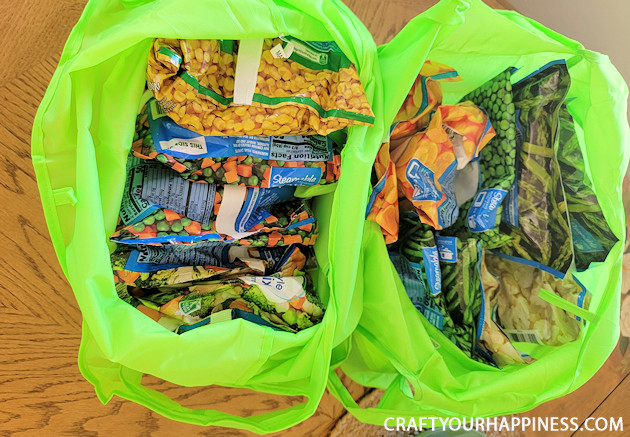
Decide what bags will be on the bottom. These are things you might not get too as often. We used BROWN for bread items, ORANGE for fruit and NAVY for ready-to-use items such as frozen leftovers.
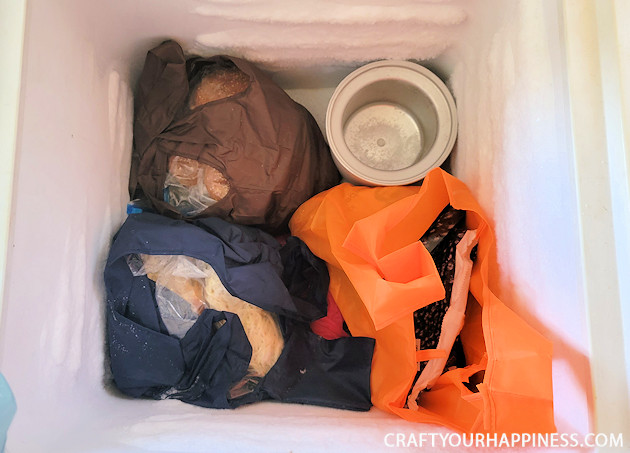
Place the next layer of bags on top of the first. We used PINK bags for plant-based and regular meats.
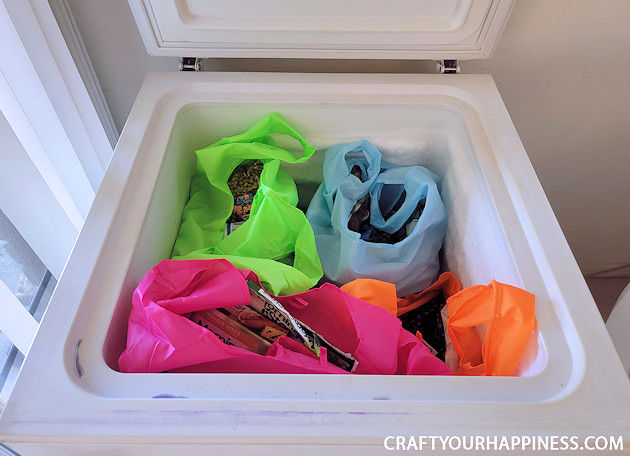
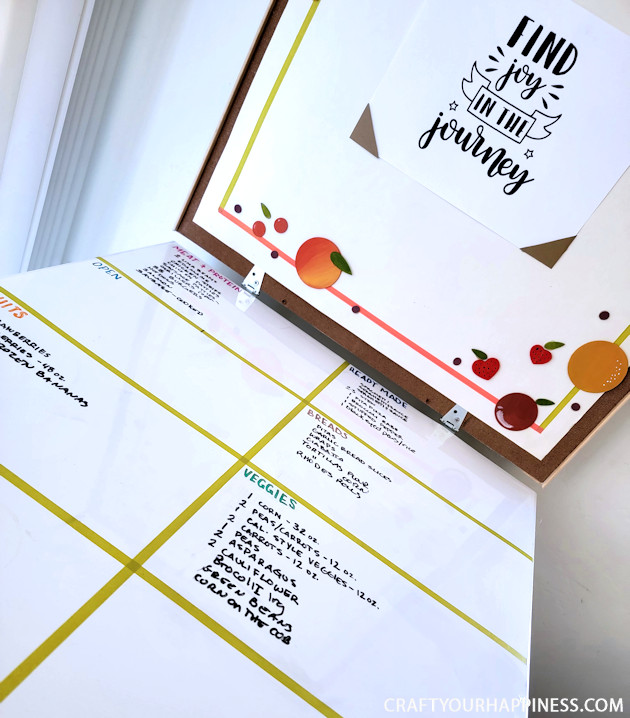
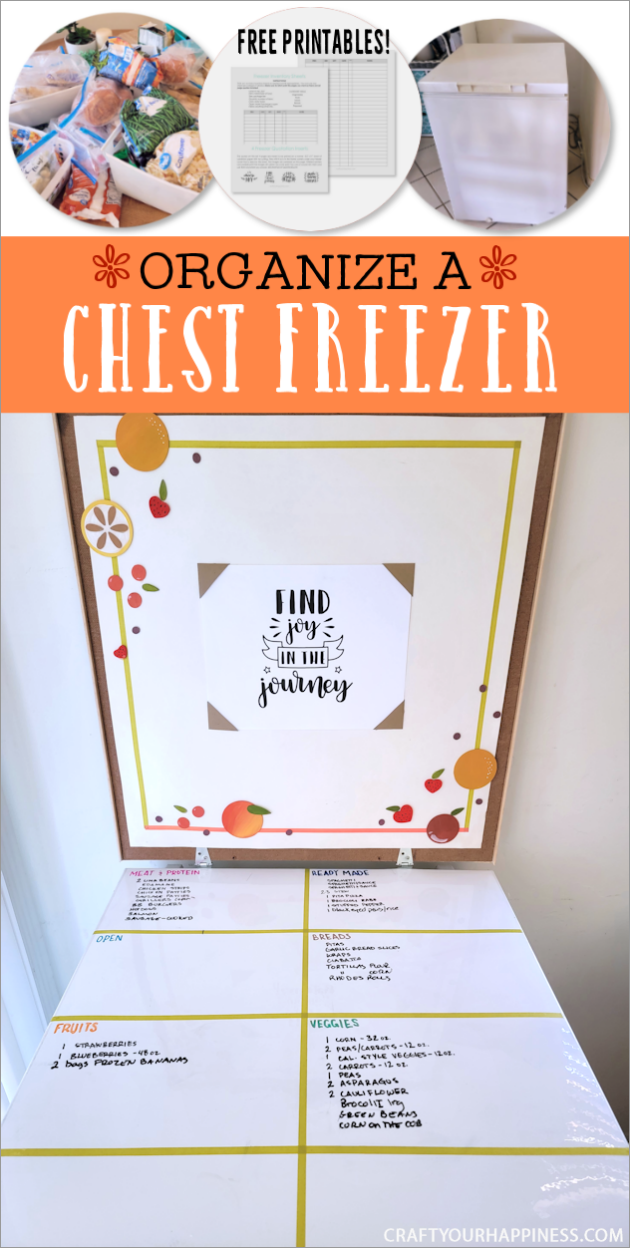
Utilizing the Lid for Inventory
We used a variety of Dry Erase Wipe-Off Makers and Wet Erase Wipe-Off Markers.
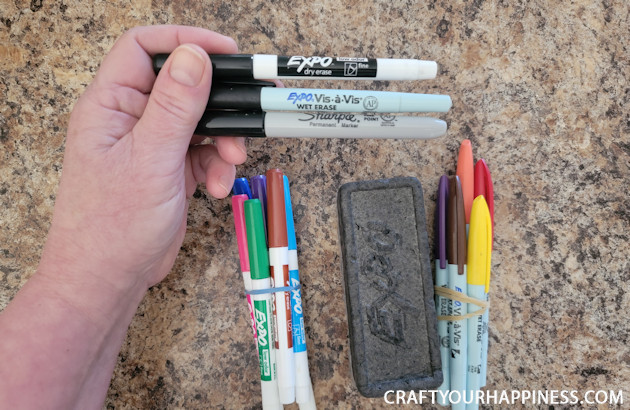
We opted to use Wet Erase markers in the appropriate colors (requires dampness to remove) for the headings and normal Dry Erase wipe-off markers for the food items.
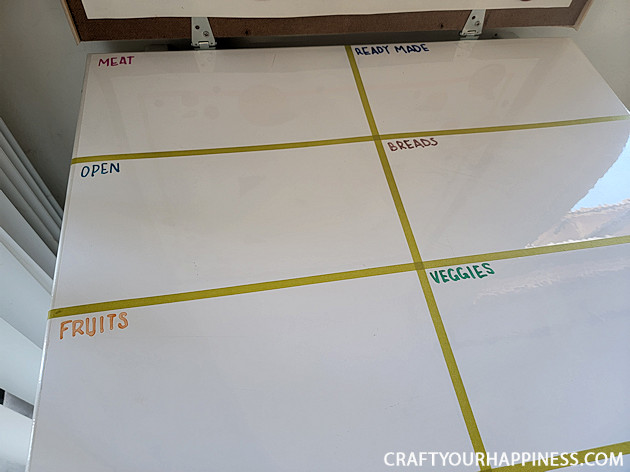
A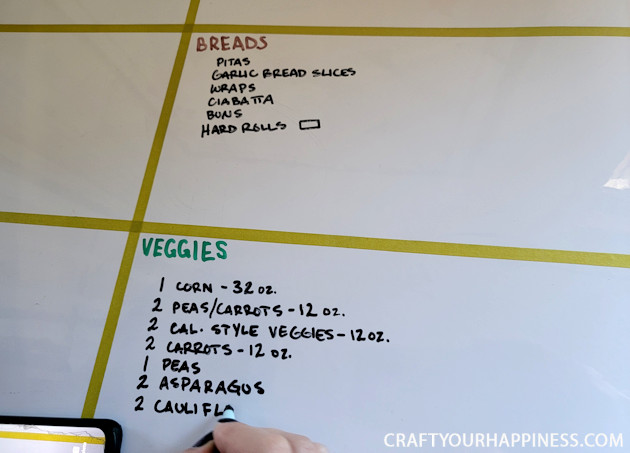



3 responses
chq3u8
AWESOME IDEA!!! MAY I ASK WHERE YOU PURCHASED THE DRY ERASE CONTACT PAPER AS WELL AS THE MULTI COLORED GROCERY BAGS PLEASE?? I HAVE TWO 7 CF FREEZERS THAT NEED THIS BADLY!! THANK YOU FOR THE GREAT IDEA…IM HAVING TROUBLE FINDING A MIX OF COLORS IN PKGS…AND I DON’T NEED 50 BLUE,RED,YELLOW ETC…SO IF YOU COULD SHARE WHERE YOU FOUND YOUR MULTI COORED PKGS OF BAGS I WOULD APPRECIATE IT. THANK YOU…SANDRA
AWESOME IDEA!!! MAY I ASK WHERE YOU PURCHASED THE DRY ERASE CONTACT PAPER AS WELL AS THE MULTI COLORED GROCERY BAGS PLEASE?? I HAVE TWO 7 CF FREEZERS THAT NEED THIS BADLY!! THANK YOU FOR THE GREAT IDEA…SANDRA