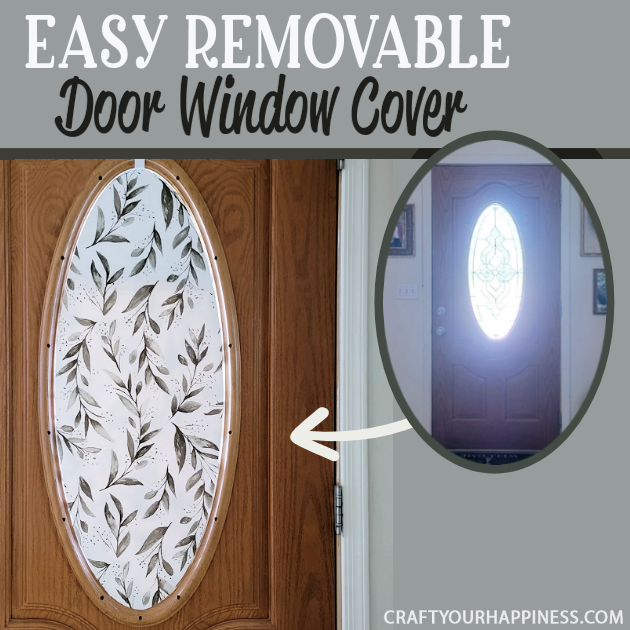
All you need is 3 things to make this lovely simple DIY wood door oval window cover for privacy and it’s not only inexpensive it’s removable! If you have a wood door with an oval window you might have a problem with not only privacy but the light. Our front door faced the living room and the light from the oval window in the door created glare. Covering a rectangle window can be easy but oval windows are trickier. Plus I wanted it to be removable. Beleive it or not I didn’t have to buy a thing! Even if you do it’s cheap items: a large foam board, contact paper or fabric to cover it and a ribbon with command strips. You can customize it however you wish and it pops out easily! We have many great inexpensive DIY ideas for decorating such as our inexpensive counter top makeover!
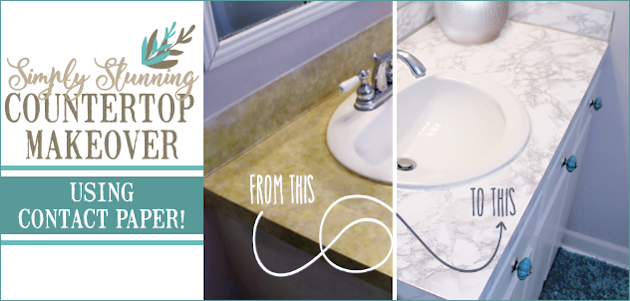
Countertop Makeover Using Contact Paper
Supplies
- Roll paper to make template (this one is 18″) You can tape together printer paper to make the template.
- Foam Board (We had to piece together our foam board to fit)
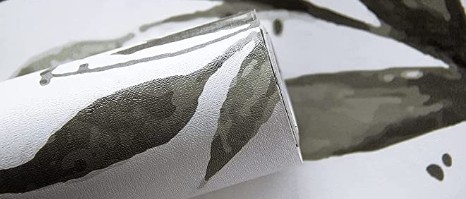
- Peel and Stick Wallpaper (we used this inexpensive fabric feel wallpaper but you can use Contact Paper, wrapping paper or even fabric attached with Spray Adhesive.)
- Utility Knife
- Glue Gun
As I had a leftover roll of this fabric peel and stick wallpaper I used it. It’s fairly inexpensive to buy and has a wonderful feel to it.
Instructions
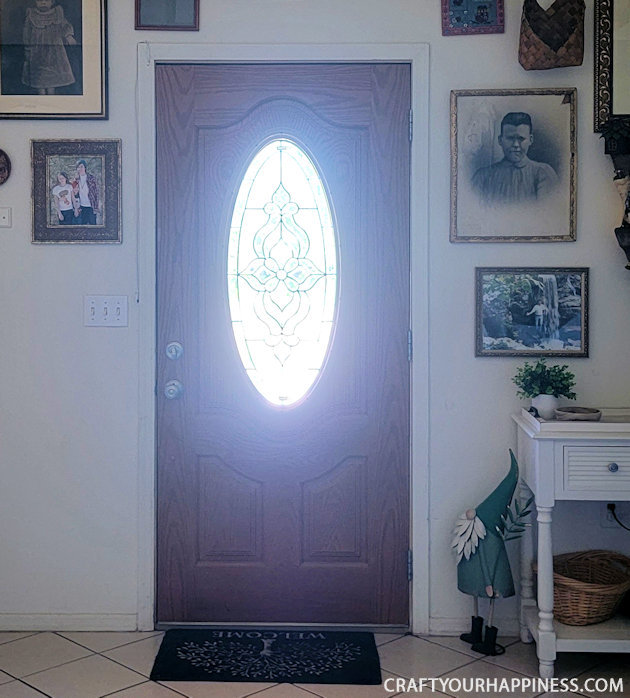
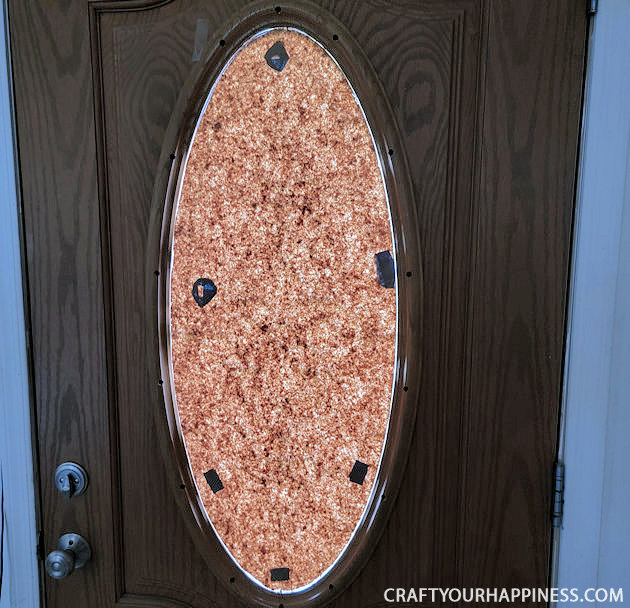
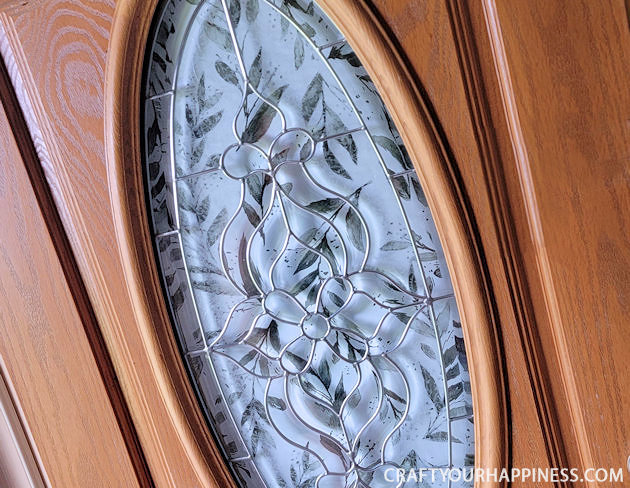
This is our door. It’s beautiful as is the window but as you can see the glare in the daytime is bad.
After some brainstorming, my daughter came up with a great idea to cover it using things I already had! To start she made a template by taping some kraft paper over the window.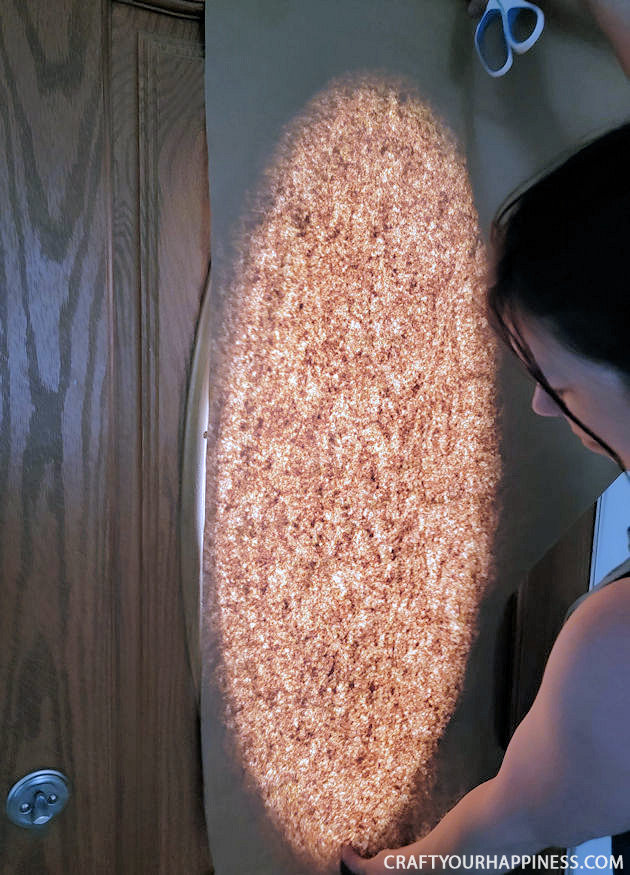
She then carefully cut around the edge with a craft knife.
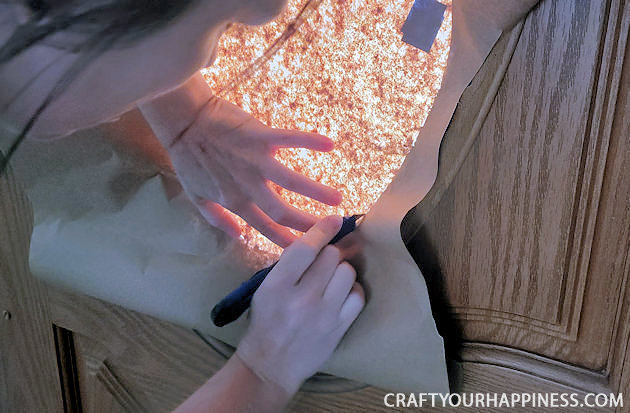
This is the template completely cut out.
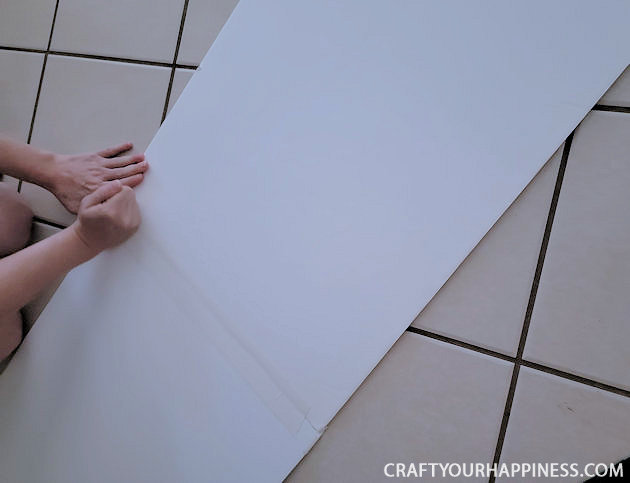
She took some heavy foam board and measured it to the template. As the foam board we had was not large enough we pieced it together in the middle with white tape.
She placed the paper template over the foam board.
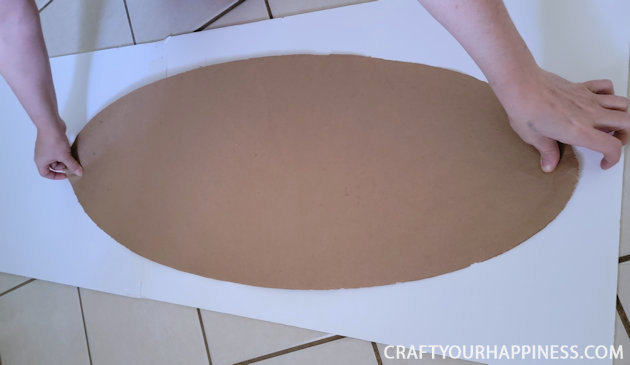
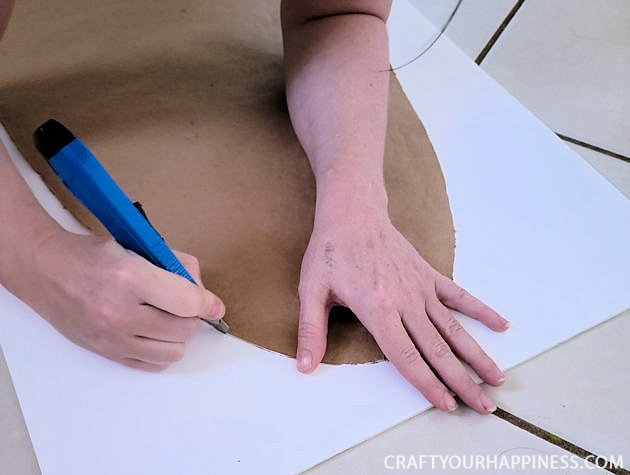
Using a craft knife, carefully cut around the template.
Next, she measured off 2 pieces of the peel and stick wallpaper (or contact paper) NOTE: One side needs to have 2 inches left around the edge for wrapping.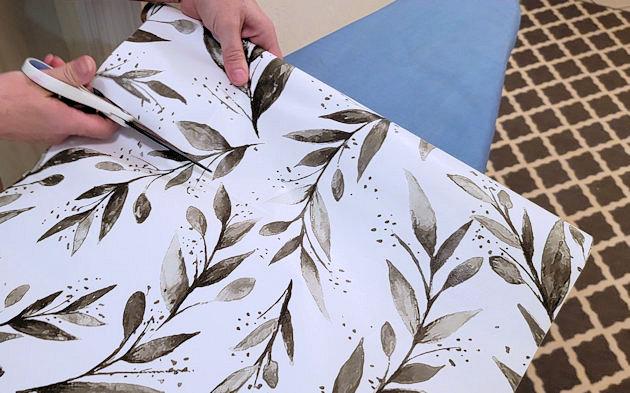
Peel off the sticky backing. NOTE: do NOTE peel it all at once.
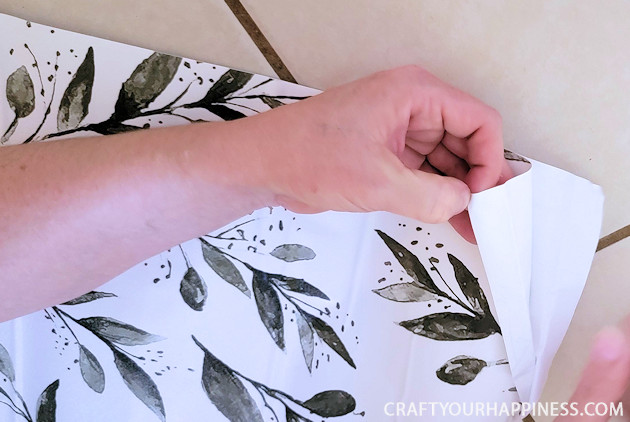
Slowly moving down, peel off the backing and use a credit card type instrument to smooth the sticky back paper to the foam board to prevent bubbles. It can be helpful to have another person hold the paper while you smooth it.
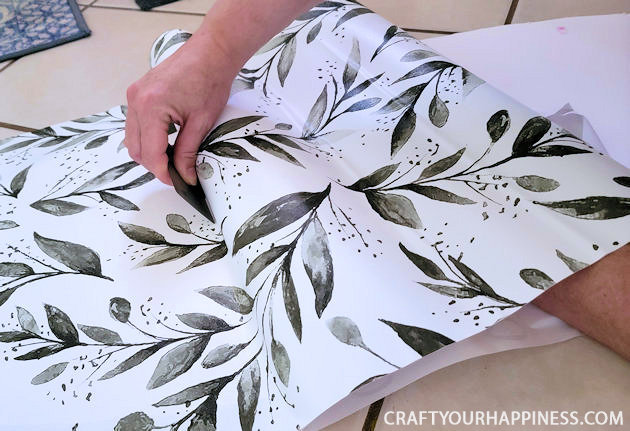
Trim the BACK SIDE THAT WILL BE FACING OUTWARD close to the foam board edge.
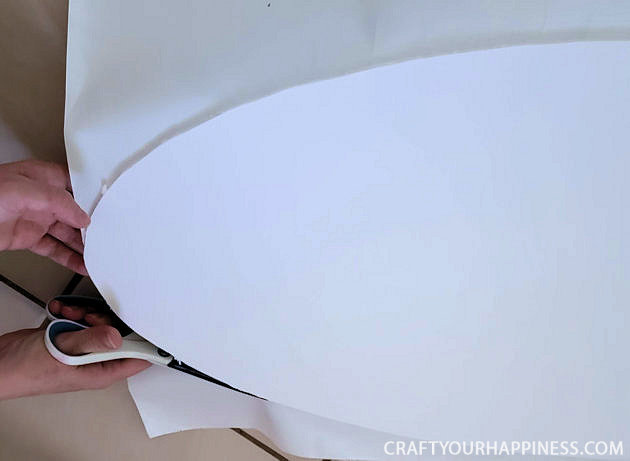
Do the same procedure to the FRONT SIDE THAT FACES INSIDE leaving approximately 3/4″ of an inch around the edge for wrapping.
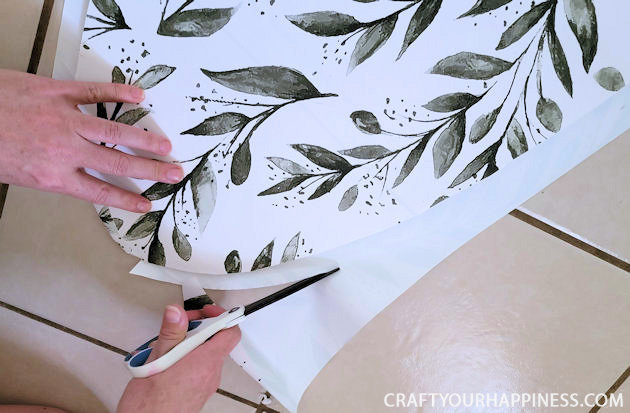
After cutting around the front side, make snips every half an inch or so up to the foam board.
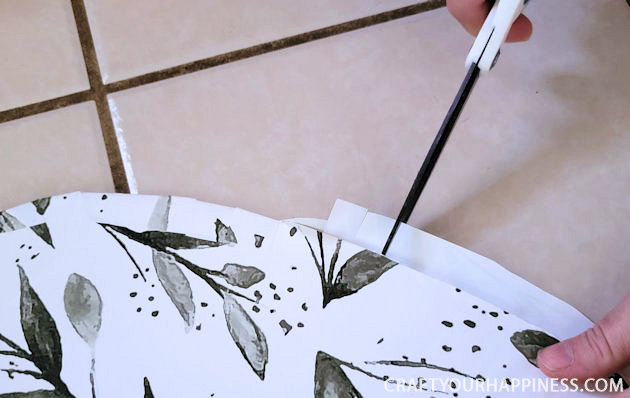
Carefully pull each strip out and wrap it around the edge of the foam board. The wrapped edge will FACE THE WINDOW.
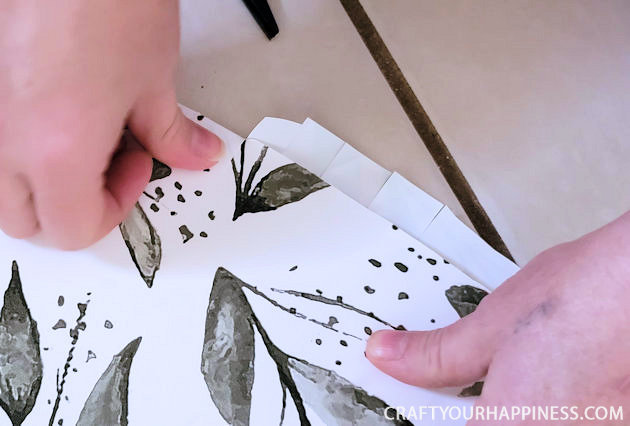
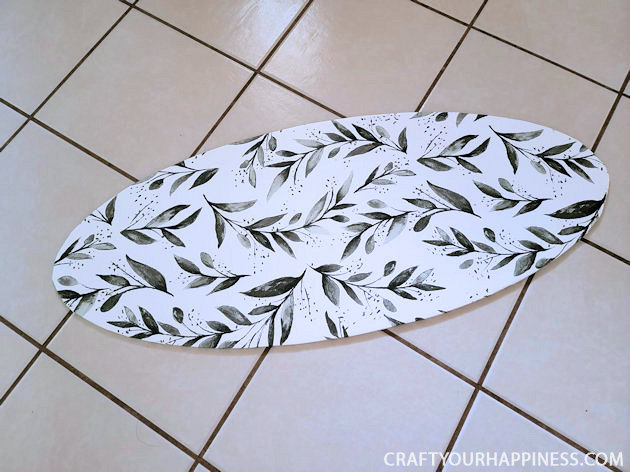
The board is now covered front and back.
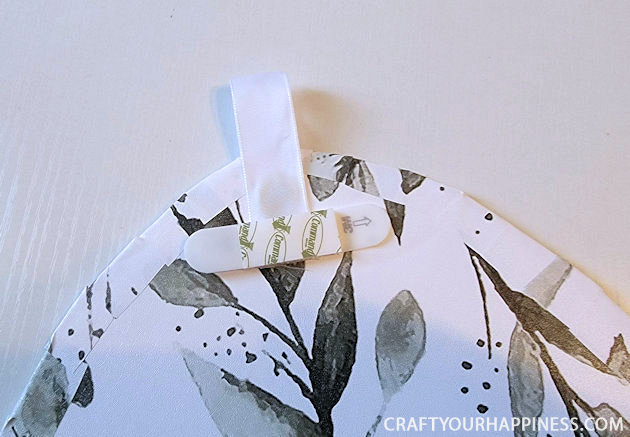
To make it removable we attached a small ribbon sticking upward on the top. We put a command strip on the top and on the bottom. NOTE: This requires putting the back of the command strip onto the window itself which you can see when the cover is removed. We’re still looking for a better way to make it stick without having the command strips showing on the open window.
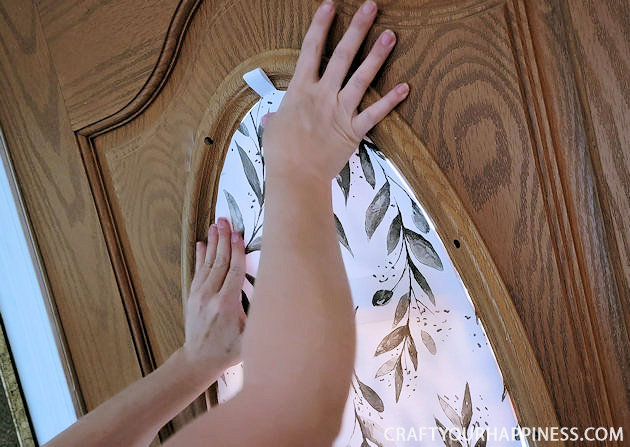
Place the cover onto the window, pushing the command strips in place.
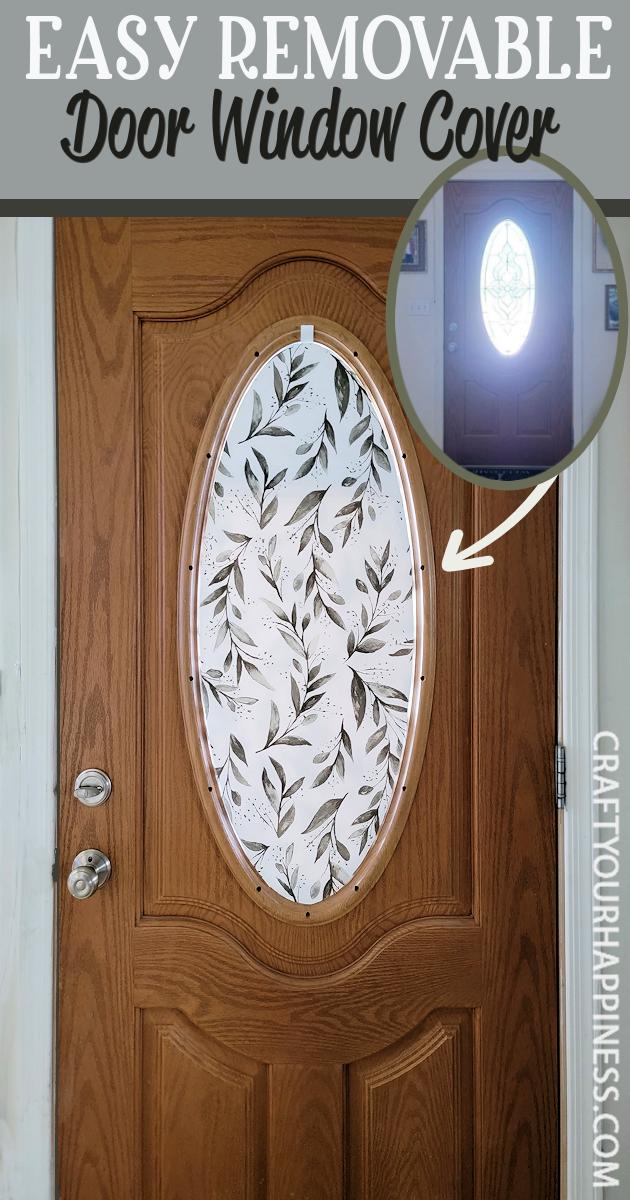
You now have a beautiful oval door window cover that can be removed when needed.
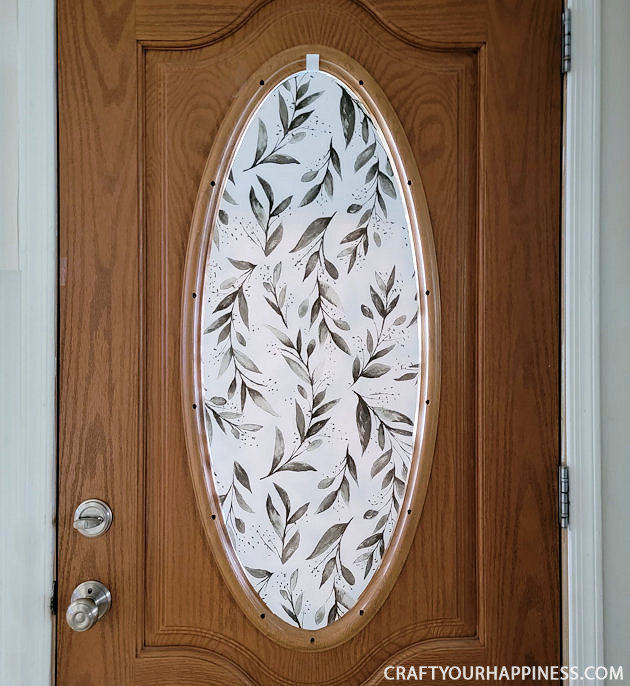
It looks great from the outside also!



4 responses
Really great solution! Thanks for sharing.
Awesome! I think I’m going to use it on a narrow sidelight and also to decorate a two piece (top and bottom) storm door.
Excellent idea!
Genius!!!
Great idea