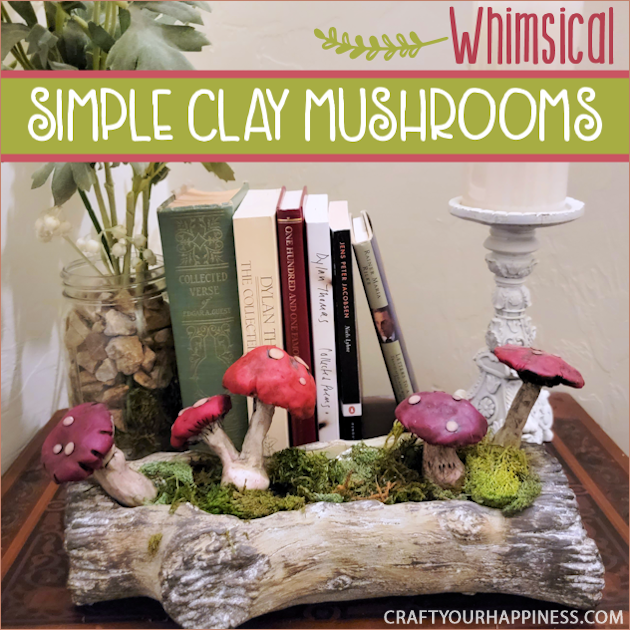
If you a fan of magical and whimsical decor you’ll love these whimsical quick clay mushrooms. As an adult, I decided long ago that my home would be a unique place of magic and joy. If you’ve perused through this website you’ll quickly just how much I leaned into that idea! Gnomes, dragons, fairies abound!
So after you’ve read this post check out some of the following posts and room makeover series: Outdated Kitchen Transformation SERIES, Budget Bedroom Makeover Series, Easy Room Divider for a Gorgeous Global Library Laundry Room Combo!, Whimsical Living Room Series.And one of my favorites is my Whimsical Home Office which you can see below!
Final Reveal of My Whimsical Home Office Ideas!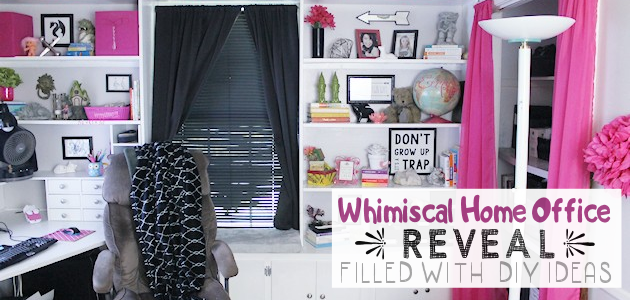
Supplies
- Polymer Clay (the type you bake. White and red.) There are many brands. We like FIMO.
- Clay Tools (optional but helpful) Some clay kits come with tools
- Aluminum Foil
- Candy Apple Sticks (We would suggest these) Toothpicks (not as sturdy) or Bamboo Skewers cut down.
- Wipe Off Antiquing (water-based matte finish) We used Valspar from Lowes. Amazon doesn’t usually carry it. NOTE: I’ve also used brown paint watered down.
- Log Planters NOTE: You can put your mushrooms in any type of planter including one’s with real plants already in them.
- Moss if needed for planter
Instructions
Basic supplies are foil for making the mushroom forms with, polymer clay in desired colors, and some pointy sticks. We used toothpicks but a longer thicker stick would be better. Candy apple sticks would be perfect! 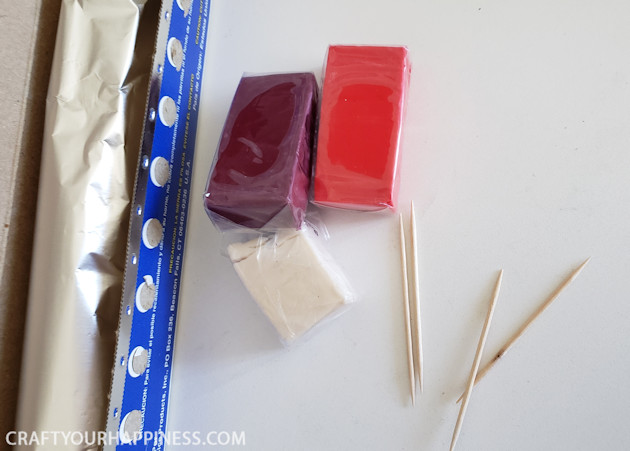
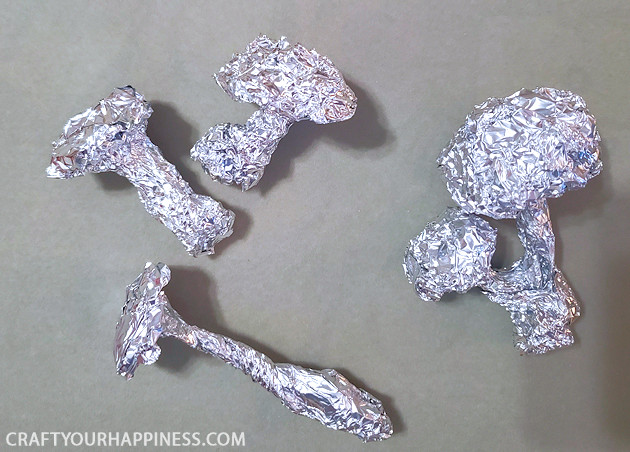
First, mold your foil into the mushroom shapes you prefer. Make sure to squeeze it nice and firm.
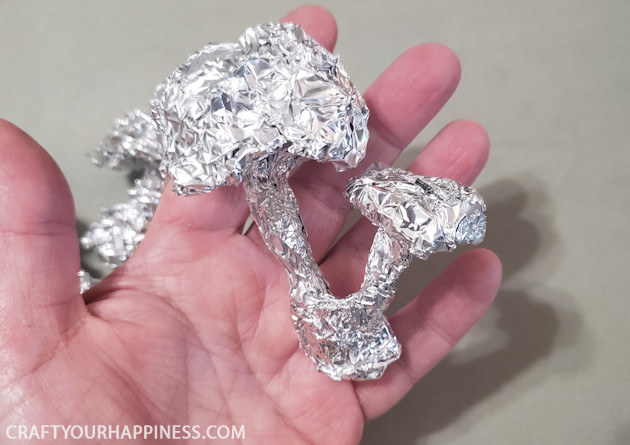
This is our completed foil forms.
Next, you will take your clay and mold it until its soft then press it around the form starting with the stems. Make sure to go up underneath the cap.
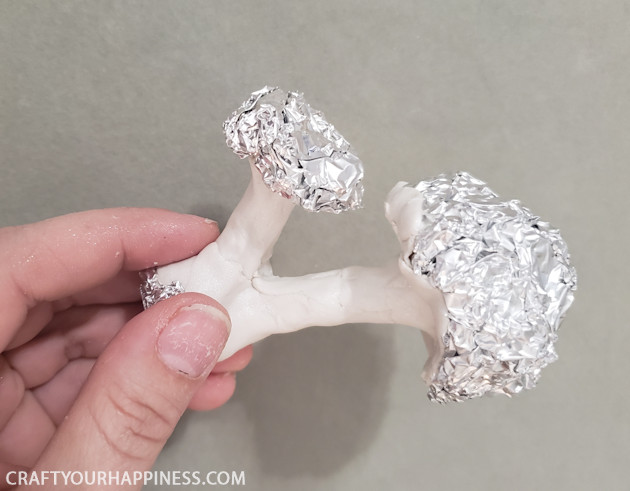
We inserted our stick at this point, but it can be done right before baking also.
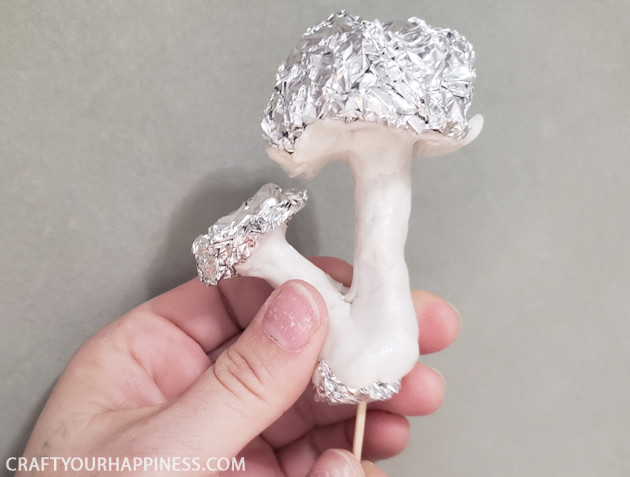
Take the top color and knead it until soft then press it over the top of your mushroom.
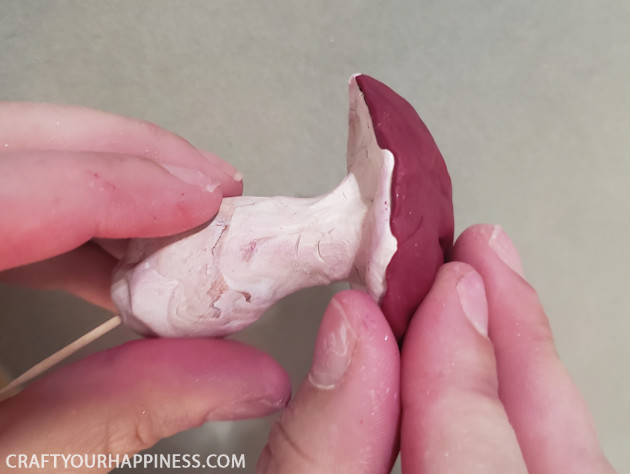
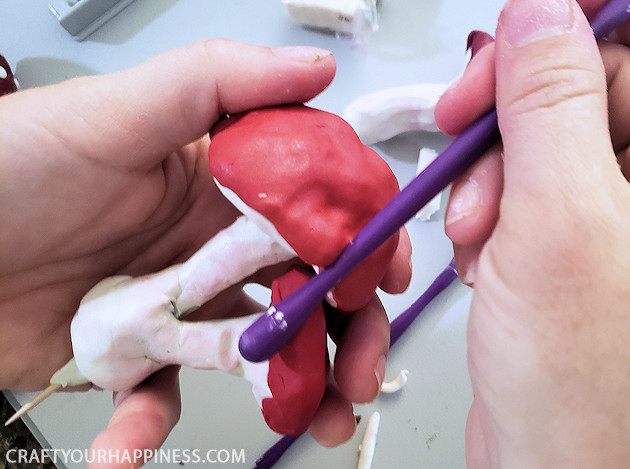
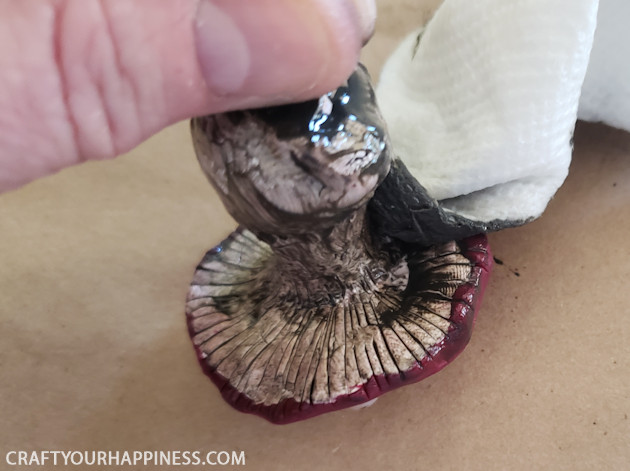
We used various clay tools to make indents into the cap.We also put lines underneath the cap using a pointed tool
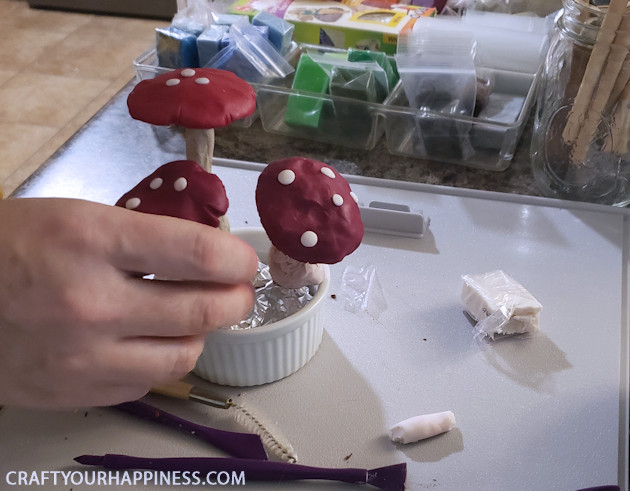
Once you’ve finished covering your mushroom forms they are now ready to bake. You need to stick the mushrooms down into some foil that has been crumpled inside an ovenproof baking container. We used small Ramekins however a muffin tins would work equally as well.
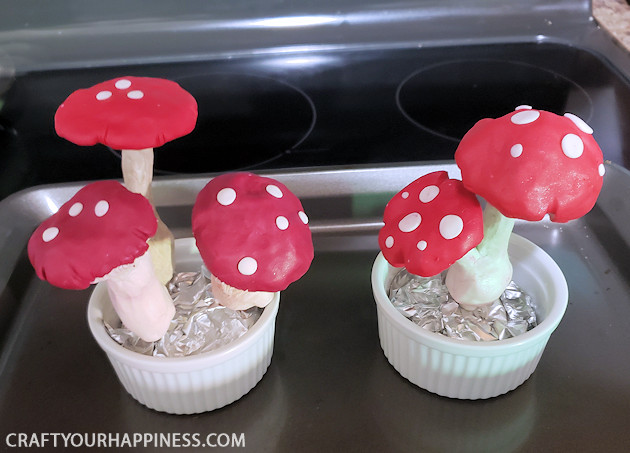
Bake at 275 for 30 minutes. Carefully remove from oven and let them cool.
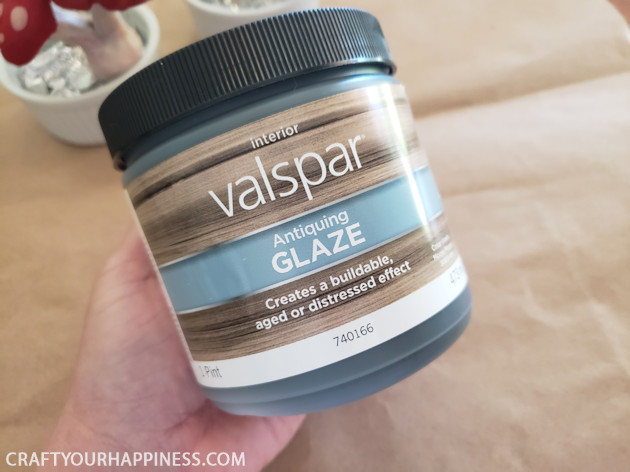
This is our favorite water-based antiquing glaze. However, you can generally only find it at Lowes. Any antiquing should work. I’ve used acrylic paint that has been watered down when I had nothing else.
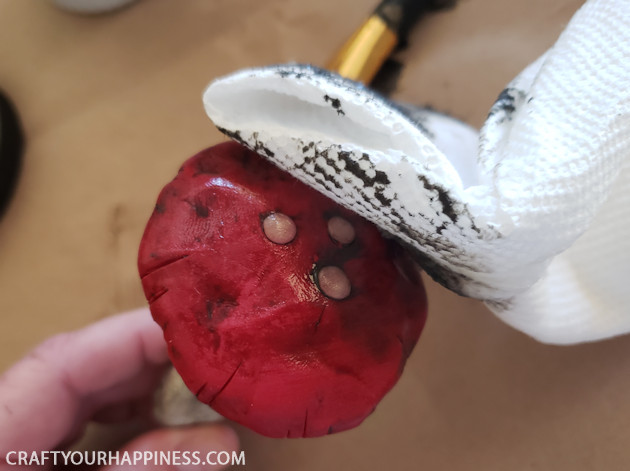
Antique glaze them once they’re cool and wipe off excess.
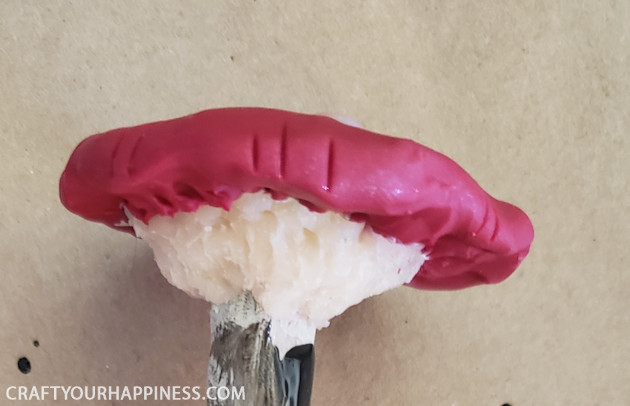
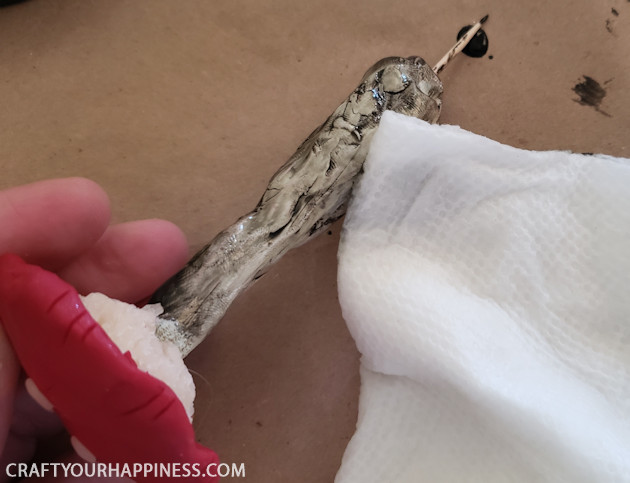 Make sure to wipe off the extra glaze immediatly after applying it.
You can see how we lined the underneath of the mushrooms..
You can place your mushrooms in any planter you want. We already had this log planter lying around and decided to use it We needed something in the base that we could stick the mushrooms down into to hold them in place. We placed a tight layer of foil for that purpose.
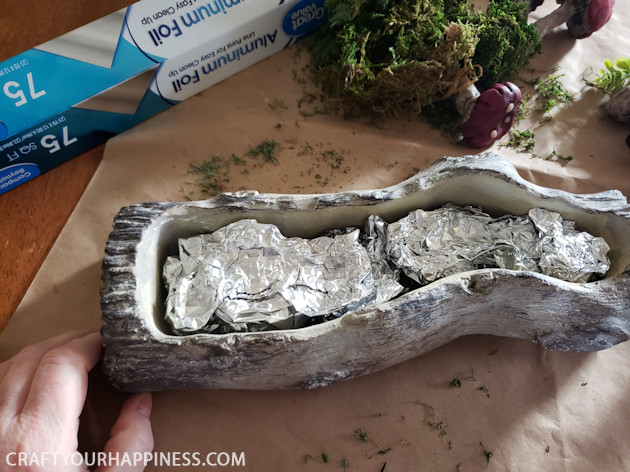
Once the foil was pushing into the planter tightly, we filled the top with moss. 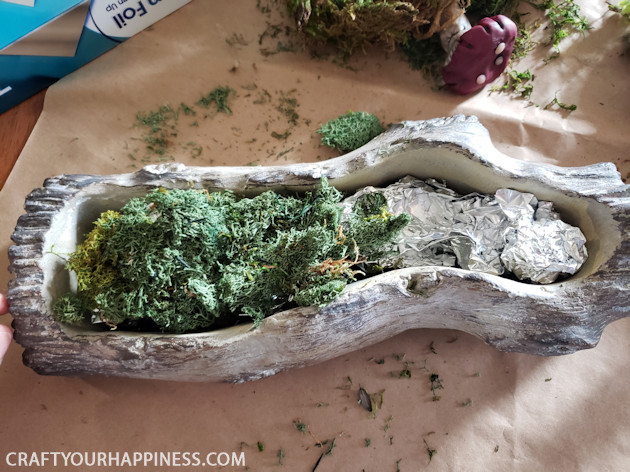
We then stuck the mushrooms down into the foil. It may be possible that you need to glue them into the foil to make them sturdy. It depends on the type of planter you’re using.
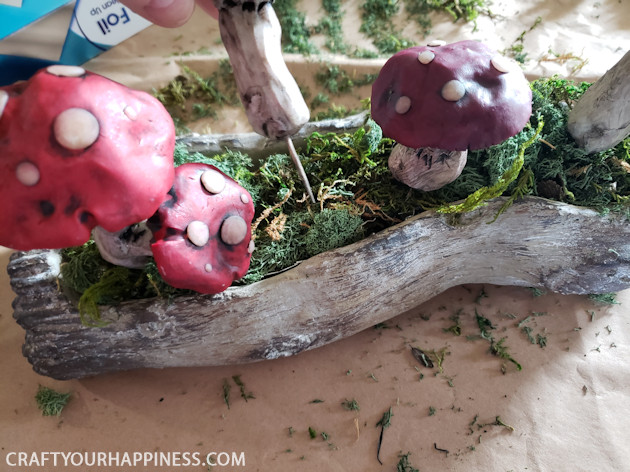
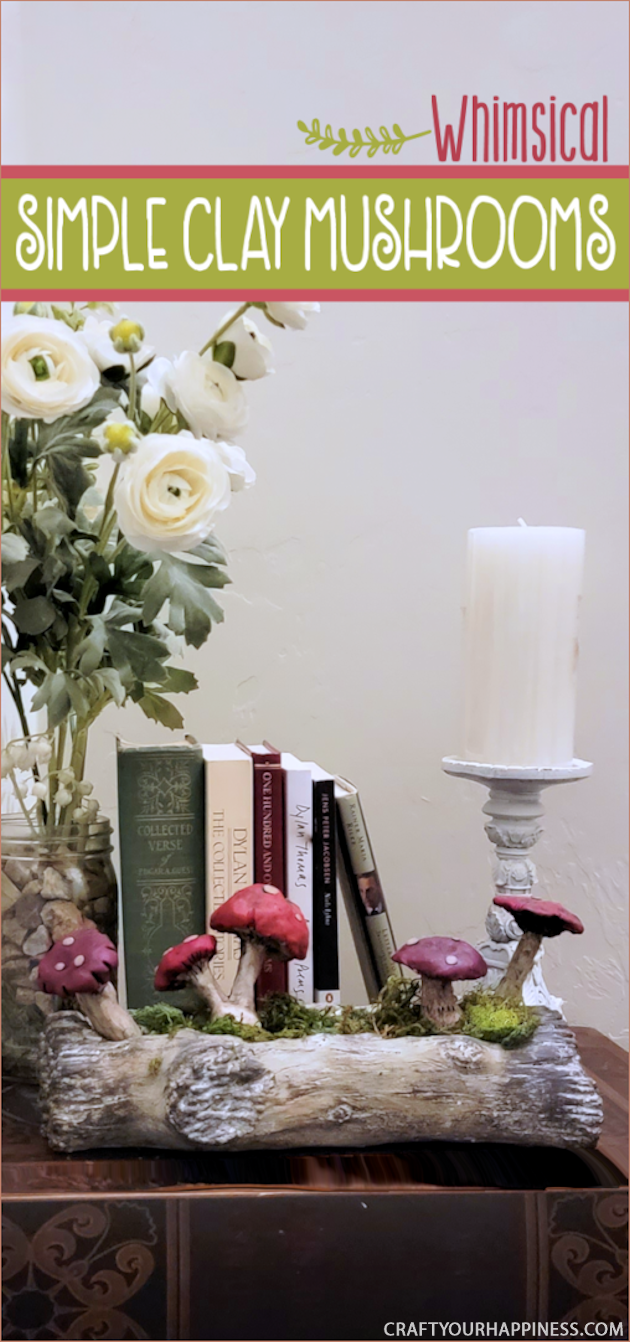
This is the finished planter.
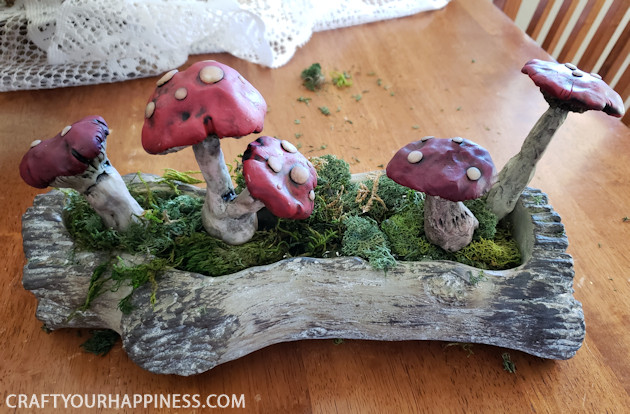
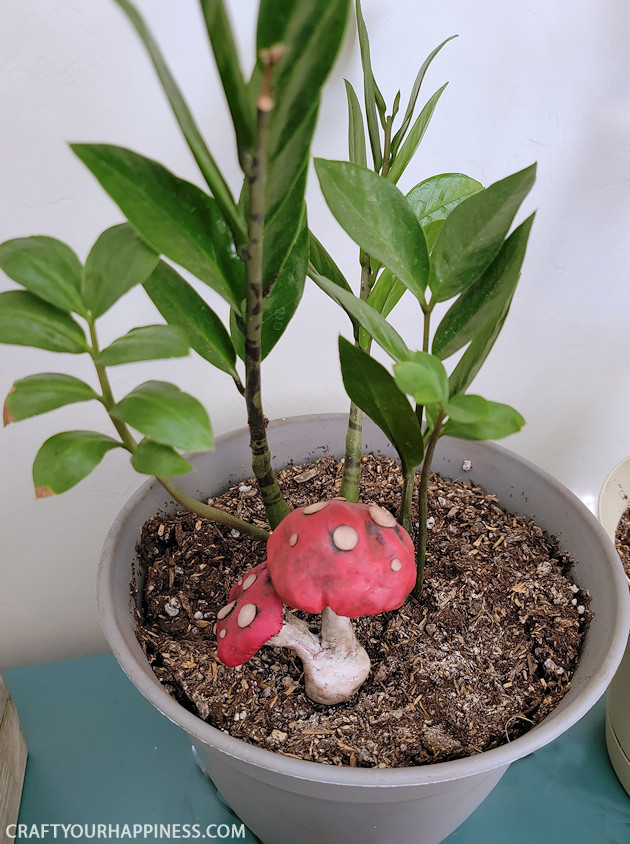
You can also stick the mushrooms down into existing potted plants.



3 responses
That is too cute I love it , will be doing that one
Hi✌ Thanks for the info. I’ll be making these for sure. They look really cool
To to cute, I will be making some. Can’t wait!