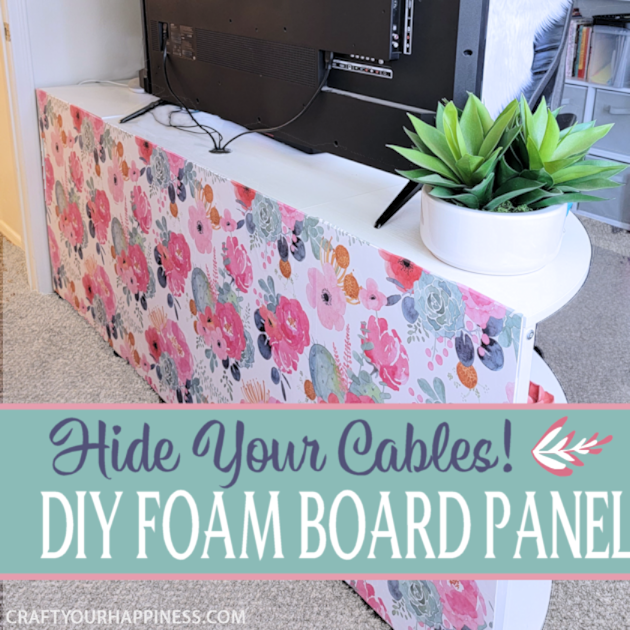
Do you have a desk that sticks out into your room exposing all your cables and cords? We’ve come up with an inexpensive foam board panel to hide your cords and look beautiful at the same time! All you need in addition to 2 to 4 sheets of foam board is some packing tape, a few Command Strips and contact paper of your choice. Best of all it’s removable! This isn’t the only unique, creative office idea we have! Check out how we Organize Office Supplies in Style with a Parts Chest, and our Messy to Marvelous Closet Makeover for a Home Office. In fact you should view our entire Final Reveal of My Whimsical Home Office Ideas!
DETAILS OF MY DILEMMA: I had purchased a L-shaped desk to hold my two large monitors. The room was smaller than I would have liked so to give me more working space I decided to have the desk set up so it stuck out into the room. Unfortunately, this left all the cables exposed in a pretty obvious way. I thought about doing a fake wall made of wood but that would be a lot of work. Finally, with the help of my oldest daughter, we came up with the idea of using a sturdy but removable foam board along the back of the desk. It was inexpensive and easy and I found a wonderful pattern of Contact Paper that matched my room colors.
Supplies
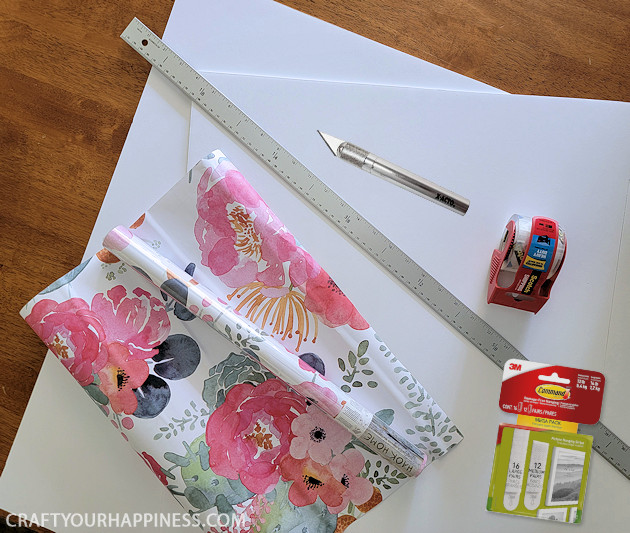
- Foam board sheets (We used four 20″x 30″ white) Purchase enough to fit your desk’s dimensions.
- Packing tape (This is the only brand we use due to durability.)
- Command Strips (Type will depend on your desk. We used a mix of heavy and light ones.
- Contact Paper Pattern I Used (Matching seams was tricky as I explain below) Amazon has many beautiful options.
- Metal Ruler 48″ (use to measure and as a straight edge for cutting)
- Utility Knife to cut foam board
- Xacto Knife to cut contact paper
- Our L-shaped Desk (We purchased it in white)
Instructions
This is the “before” photo of my desk. As you can see, it was not very attractive with how I set it up.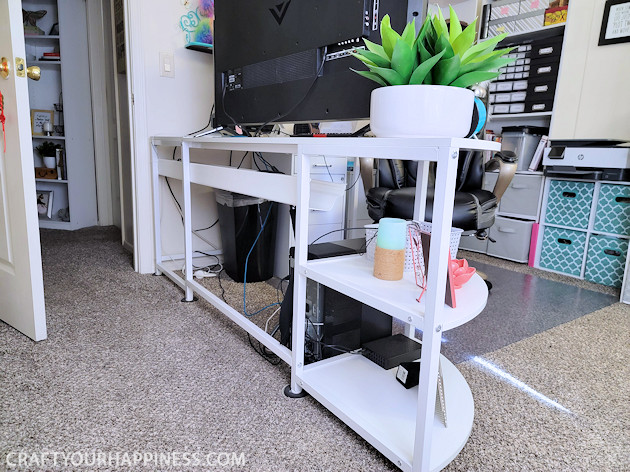
These were the basic supplies I used to make the removable foam board panel and the contact paper I chose.
First, measure your desk for height and width to determine how many foam board sheets to buy. Our foam board was 20″ x 30″ and we needed 4 sheets that were trimmed. 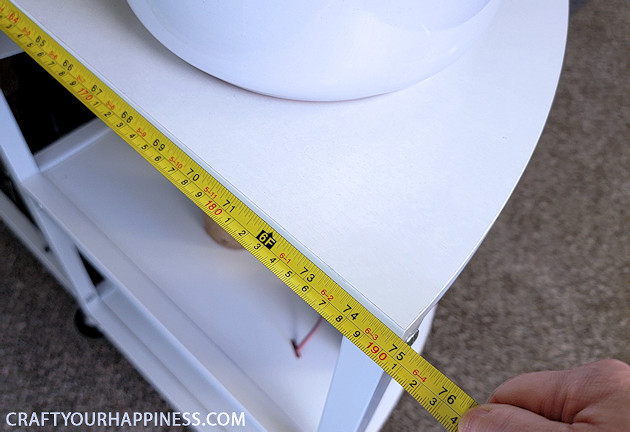
Determine how high you want the foam board on the back of your desk. I wanted it flush with the top and about 1″ above the floor.
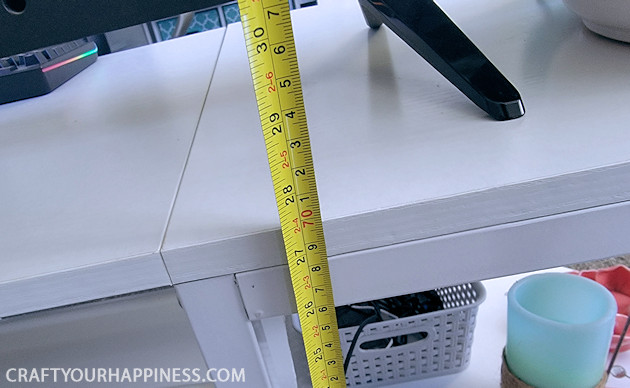
After measuring, determine the number of foam board sheets needed. These come in a variety of sizes. You want one that reaches the top of your desk and only has to be seamed vertically.
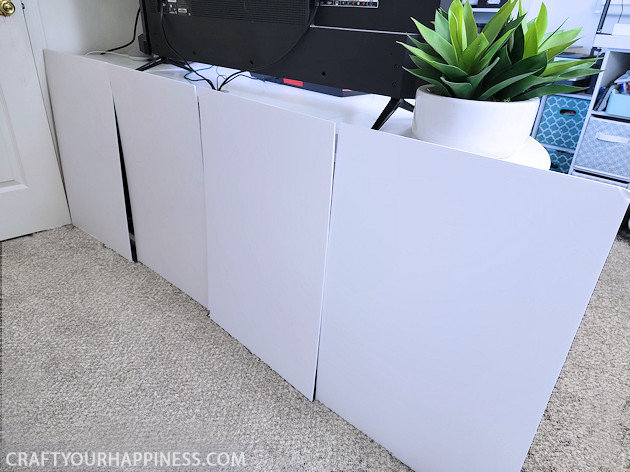
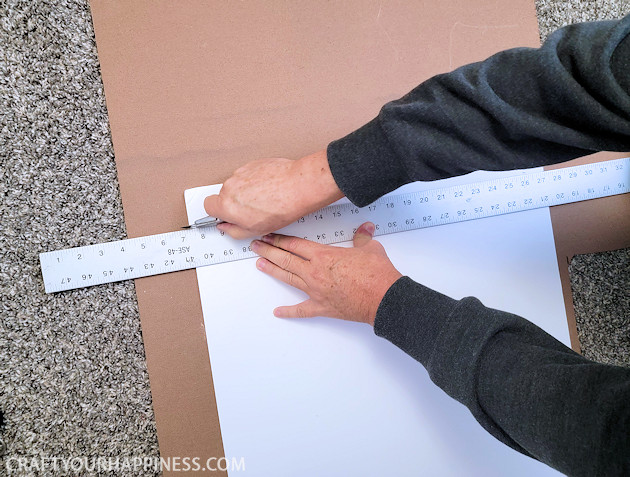
The foam board I used was about 2″ too tall so we trimmed the extra off, also allowing for a small gap at the bottom. I also had to trim the end piece of foam board as it was several inches too wide.
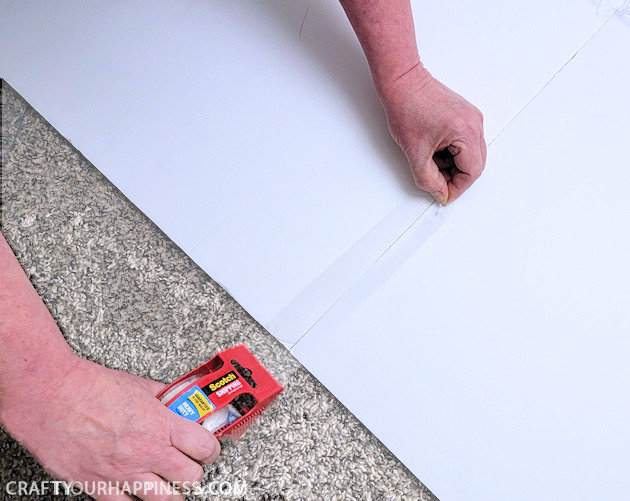
Once your foam board is cut, butt the edges of it together and run a strip of clear packing tape down each seam. As my desk was long we had to tape four pieces together. NOTE: I had wanted to only tape two sets of two for easier storing if and when we moved, however, because of the Contact Paper pattern I chose I decided I had to tape all four together. It will just be a little harder to store.
You will need to measure your cut foam boards to determine how much Contact Paper to get. Some styles will not need matching but many do. The large pattern I chose required me to purchase two rolls.
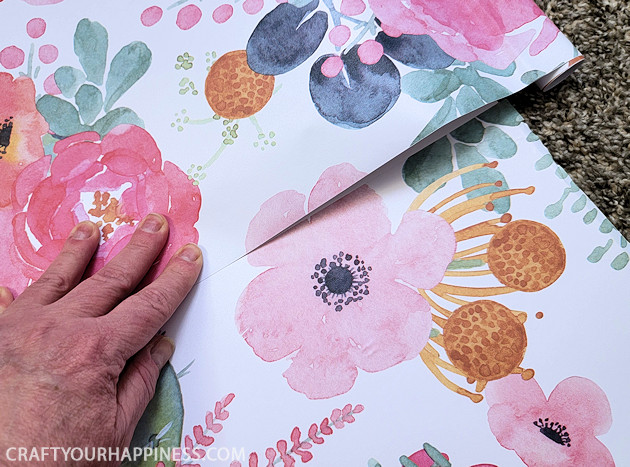
After we placed the first piece of contact paper on, we continued matching the next one. I quickly realized I needed MUCH for paper because of the large pattern. I had bought one roll but it would not be near enough so I bought another one. For whatever reason, the pattern was not exactly the same nor was the color. I’m guessing due to different dye lots. It meant we would have to piece it together and accept that areas would not match perfectly. It was a bit of a pain to do. But even though it was a patchwork job with some patterns being off, it was not noticeable enough in my opinion. So the lesson is, measure carefully and know that large patterns require a LOT more paper.
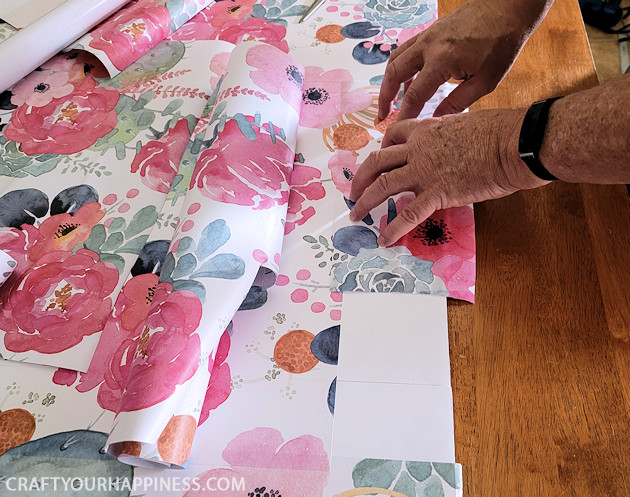
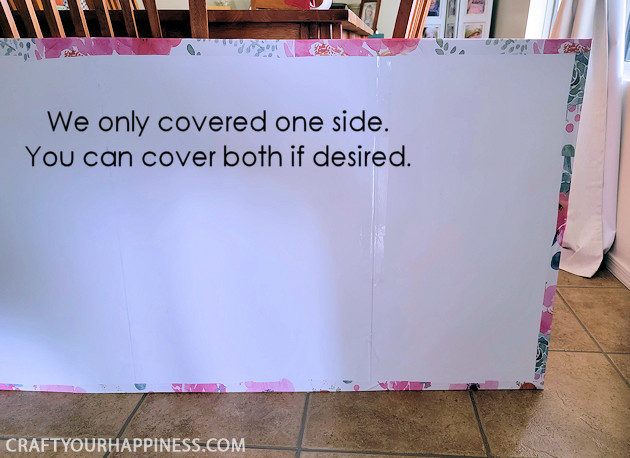
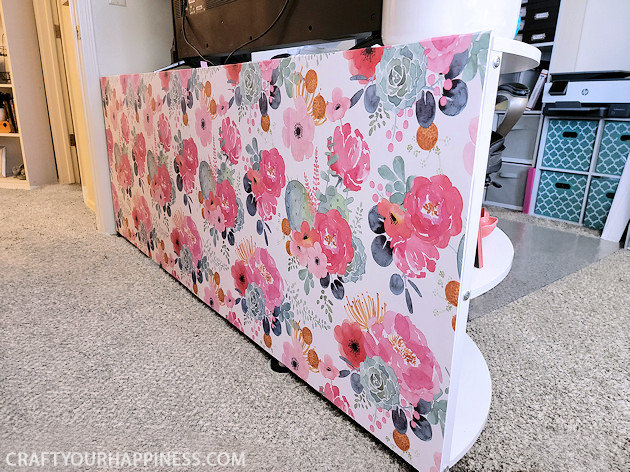
I covered one side and wrapped the edges around. You can also cover the back that will be seen under the desk if desired. You could use a plain color for that. As my desk was such that the underneath was not easily seen, I opted to not cover the back.
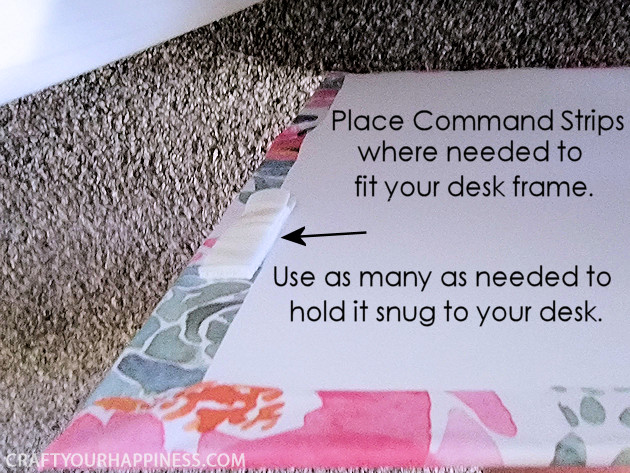
I know grabbed my various Command Strips and placed them in 6 spots to hold the foam board panel snug against the desk. These are easily removed, leaving the panel reuseable again. I used the larger velcro Command Strips for the sides and used the thinner poster board strips on the top. You choose whatever works for you.
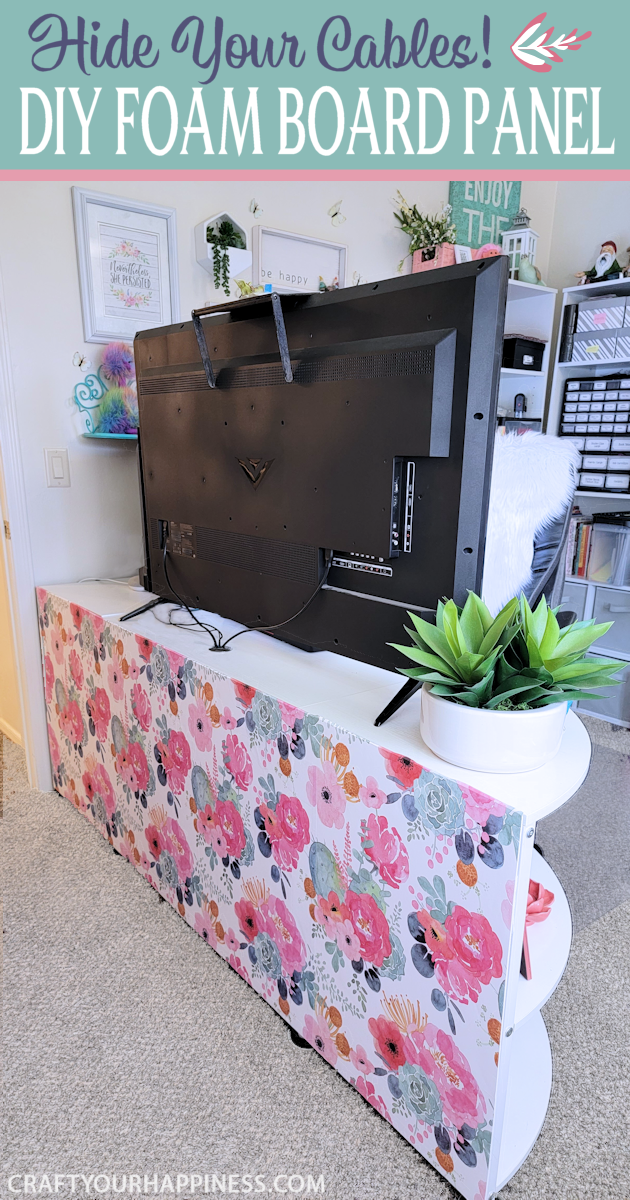
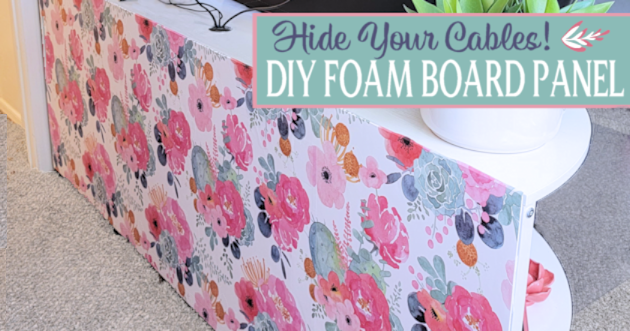
This is the final product! It turned out beautifully!
My husband had purchased a piece of plastic gutter and mounted it under my desk so that the cables would not be on the floor. It worked wonderfully!
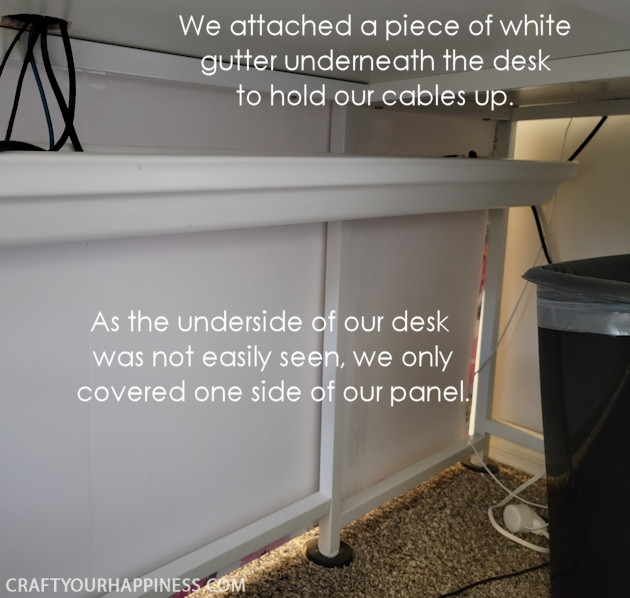
As you can see, the underneath does not show so the white foam board looks fine.
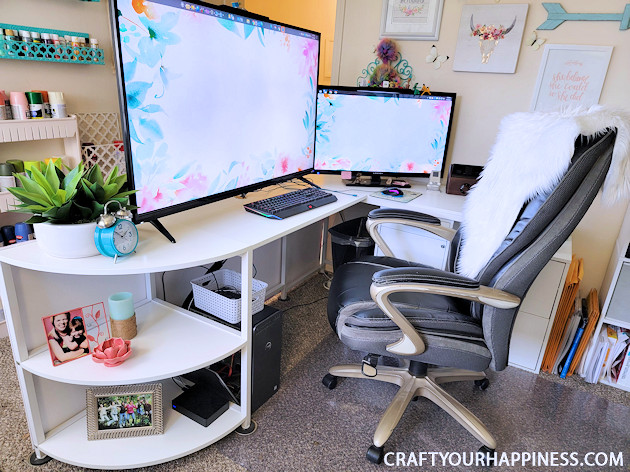



10 responses
I love this – this is exactly what I want to do in my office! Thanks for sharing!
Great idea!
Wow, looks awesome. Really cleaned up the look of the room. It makes your desk look more of a statement piece of furniture. Great job.
V-E-R-Y nice!!
Very pretty and hides more than just cords. Makes your office look very neat.
Great job! I hate cords, too. If NASA can talk to people in space, isn’t it about time to get rid of tech cords? Seems long overdue to me.FayE Further develop WiFi for less need for cords. Also, design furniture to “beautify” tech storage!!
The desk panels look very nice, but since you still have to look at the back of your monitor, it seems kind of pointless.
I wouldn’t say it’s pointless. It looks very nice. How would you suggest she “hide” her monitor?
You could make some sort of screen out of the foam board that sits on the back edge of the desk. But as is, it’s a big improvement already! I too hate cords in sight!
Very nice. I actually had done that we cardboard x. Looks nice,