![]()
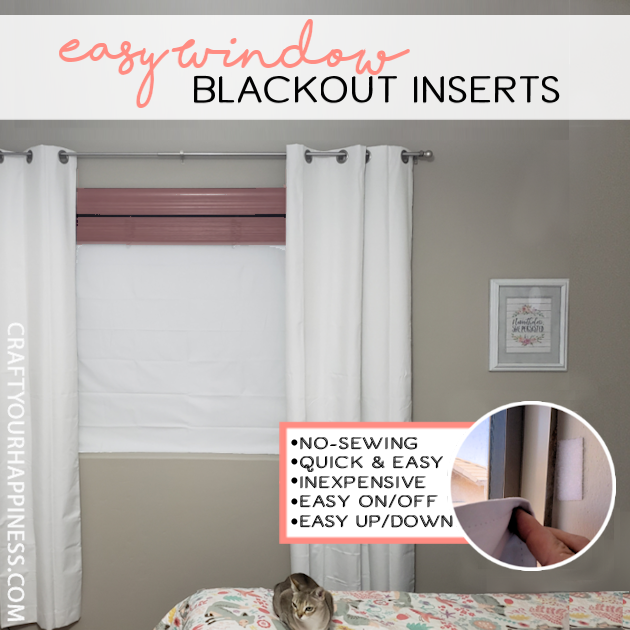
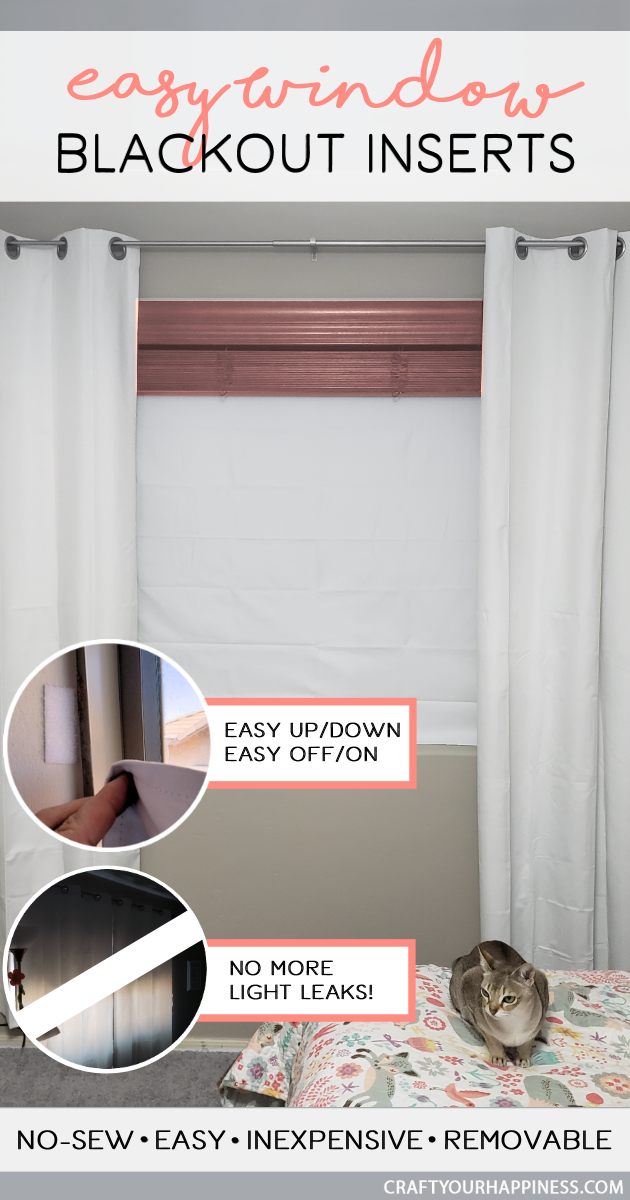
This no-sew blackout window insert might exactly what you need if you’re like many people who need it pitch black when you sleep. (I’m one of them and I go so far as to put electrical tape on any appliance lights that might be in the bedroom.) The effect a dark room has on my own sleep is pretty amazing, so my bedroom windows always have blackout curtains in them. The only problem is they tend to be fairly bland so I’ve glammed some of mine up which you can see on my post “Simple Charming Blackout Curtain Makeover.” I recently decided I wanted to do something different and looked into inserts that were removable.
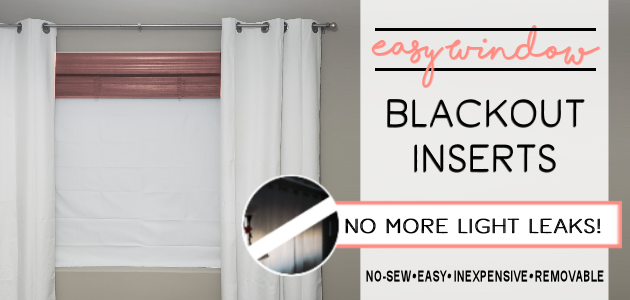
After some brainstorming and searching online I came up with the idea below. No sewing. Took about 15 minutes. I can raise it a little or remove it entirely in seconds! If you’d like some other ideas for a good nights rest check out our post Trouble Sleeping? Try These 15 Ideas! The next best thing to blackout inserts or curtains is using a sleeping mask. And why yes… I do have a post on making those: No Sew Soft Sleeping Mask.
![]()
No-Sew Blackout Supplies
About Material
You can purchase normal blackout curtains and cut to fit. MAKE SURE THE CURTAIN IS TRUE BLACKOUT. Many that say that are, but are not. “Room darkening” is NOT blackout.
You can also purchase any roll goods or material that will prevent all light coming through.
I chose to make mine from a ready made blackout curtain liner which I then trimmed. For my 42 x 71″ window I paid $15.
- Blackout Insert or material large enough for your window.
- Blackout curtains
- Glue or hot glue if needed (see notes below)
VELCRO
IMPORTANT: Removing the insert can pull the Sticky Back Velcro we used off the wall and remove paint… I quickly learned! I would suggest using Command Strips though I’ve not tested them yet. They are mean’t to bear weight and to be removed easily at a future point.
- Long Command Strips for TOP of windows that bears the weight of the insert.
- Short Command Strips for the sides.
 Instructions
BEFORE YOUR START:
We made it quick and simple, however, there are a variety of ways you could do this. We chose velcro to hold our no-sew blackout insert. The velcro will show inside the window frame however it’s not noticeable if you have normal curtains. We also could have opted to attach it by putting finished holes around cloth and inserting small hooks etc to hold it in place. The key is it has to be snug against the window.
This is what I purchased on Amazon as it was inexpensive. There were a variety of sizes. I suggest ironing the material if its creased. I didn’t do that before starting so excuse the wrinkles. Ü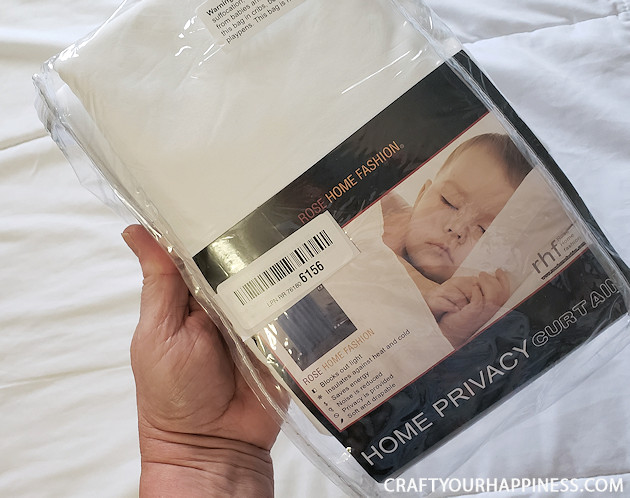
I already had some sturdy sticky back velcro but it tended to pull away and remove paint. I suggest using Command Strips ( see my note under supplies up top.)
 Measure inside your window frame to determine how large your material needs to be. If you decide to sew or hem edges just allow for that.
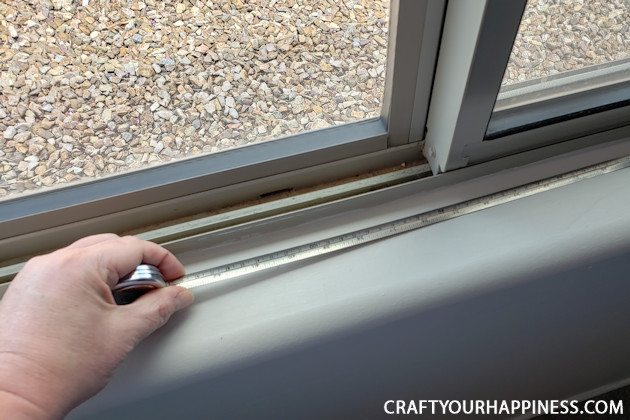
Measure inside your window frame to determine how large your material needs to be.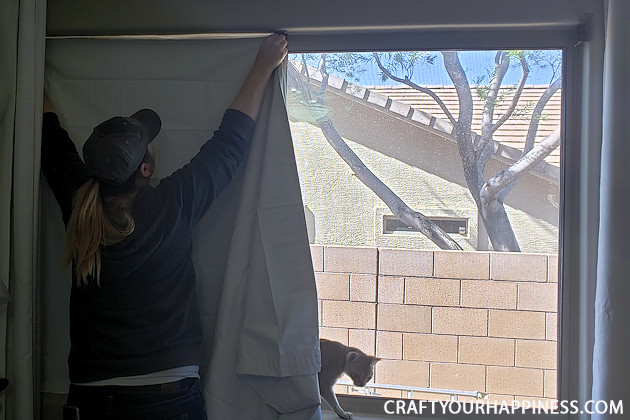
Measure your material and mark where you need to cut. 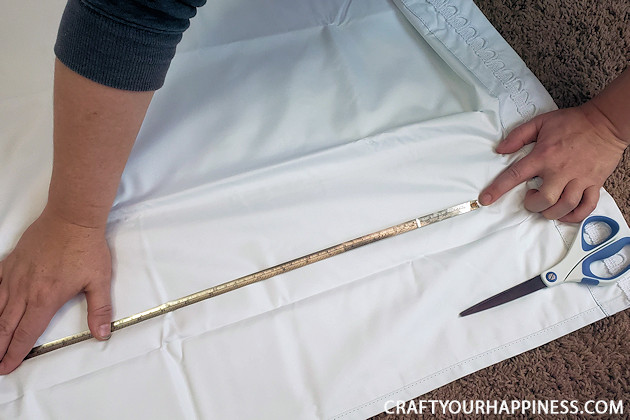
We only need to cut off one end of our material. We did NOT hem the edge we cut. Feel free to do so for a more finished look.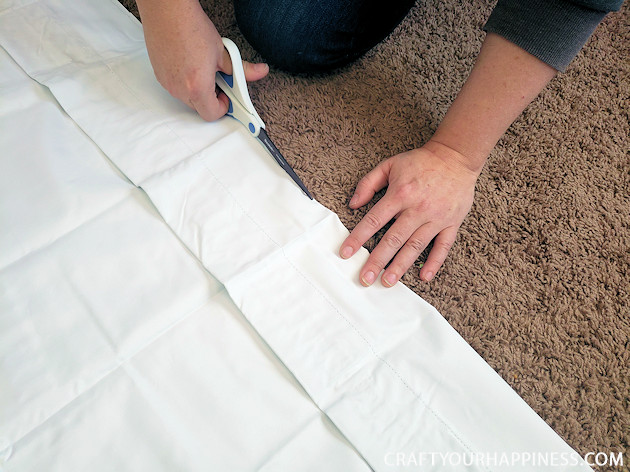
Next, we determined where the Velcro/Command Strips could go. We used longer pieces for the top of the window as those will hold the weight of your fabric. 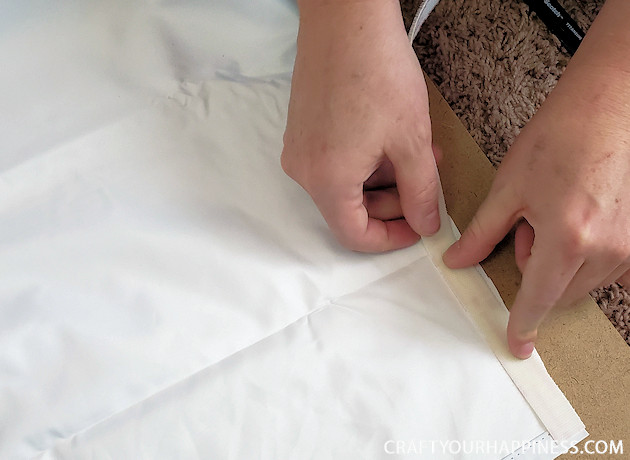
After cutting our Velcro strips we peeled off the back of the one side that would go on the curtain. Depending on the material you may need to glue it on. You could also sew it on. (One of our side pieces came off the wall removing some point. So I’d opt for Command Strips. (See notes under SUPPLIES up top)
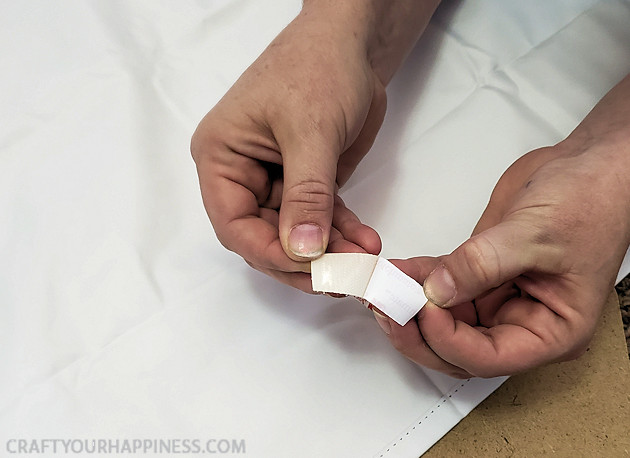
After placing the Velcro half onto the material, take the second side and press it down over the first. Don’t remove the back yet on the top piece.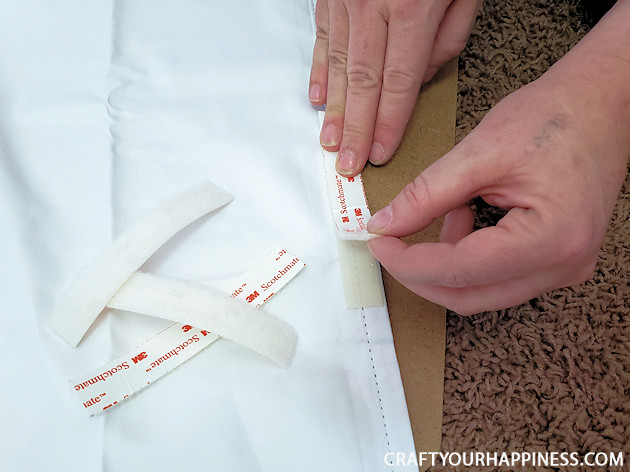
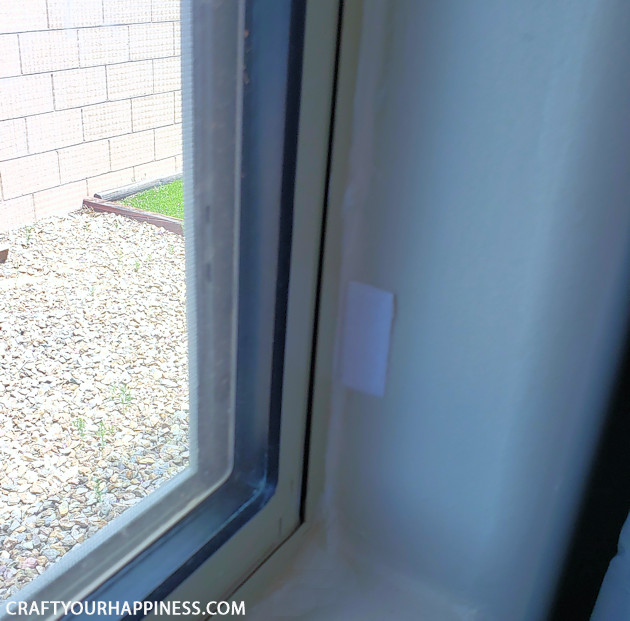
To hold the insert in place on the bottom of the window we only needed one smaller piece of Velcro on each side attaching exactly as you did for the top pieces.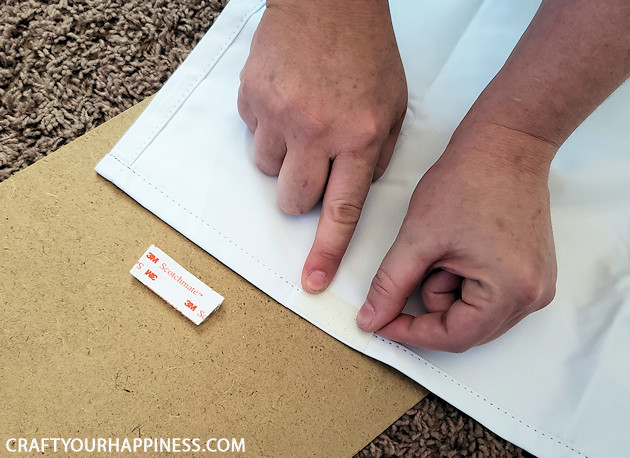
You’re now ready to attach the curtain and Velcro pieces to your window. It helps to have someone to help you for larger windows. Start with a top corner. Remember, BOTH sides of the Velcro are on your material. Peel off the back of the top corner.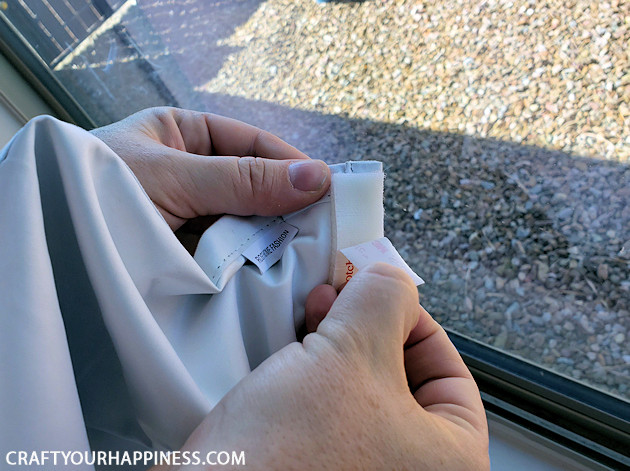
Holding the material up, carefully press the top corner sticky back Velcro in place. Plus firmly.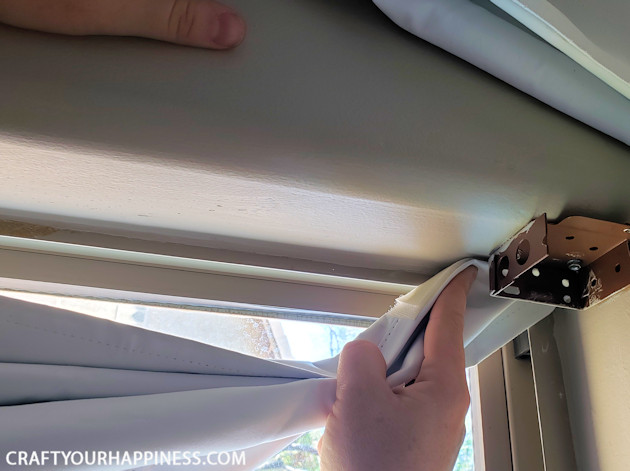
Continue across the top until the material is hanging in place.
You can see a bit of light on the top. As we have a large blind that covers that area it doesn’t matter. Otherwise we would have allowed a little overlap of fabric to make sure it covered it completely. The last step is to attach the insert on the bottom left and right as we did above.

This image is just for illustrative purposes.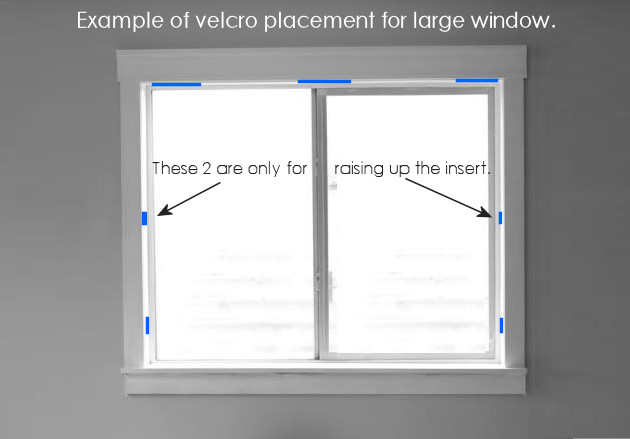
IMPORTANT: To remove the insert by SLOWLY pulling it off the velcro. If you only used the sticky back velcro to hold it in place pulling hard repeatedly could make it come off the material or wall. Again, if sturdiness is an issue you can sew/glue or velcro to the material. Once my normal curtains or up the Velcro cannot be seen.
EXTRA: As I did not want to remove the insert completely many times, I added two other small Velcro pieces in the middle of both sides of the window. These ONLY USE ONE SIDE of the velcro. The side that will stick to what’s already on the curtain. This allows me to pull it off the bottom right and left corners and quickly attach it using the same Velcro on the curtain to the Velcro that I attached mid way. 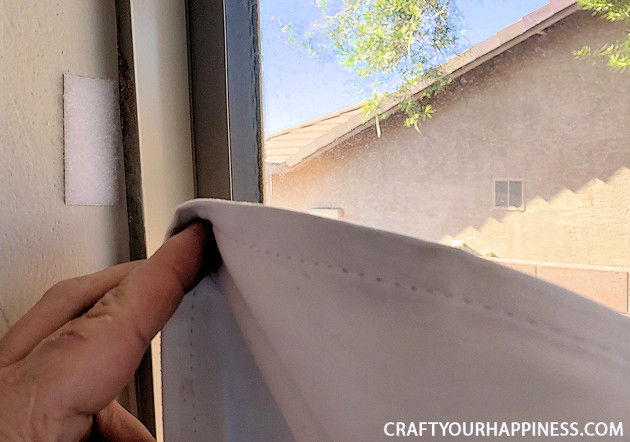
Then I just smooth it in place.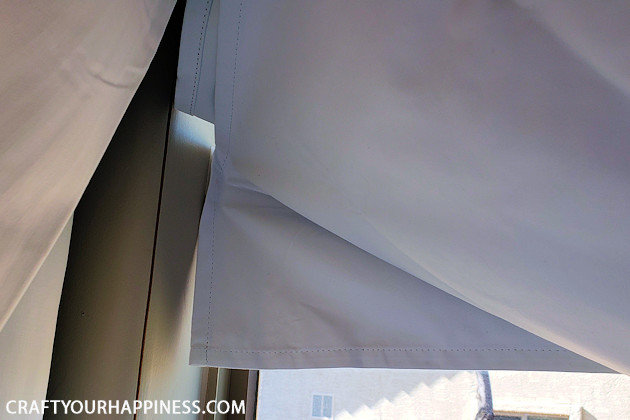
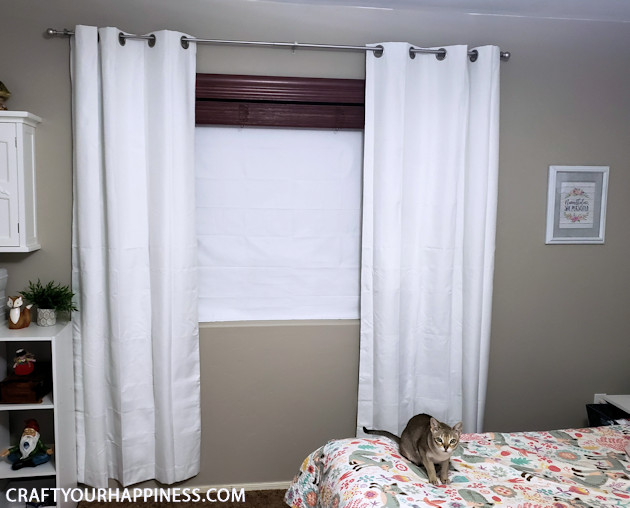
I generally keep my insert attached and just raise it up when I need more light. But I can also easily remove the entire no-sew blackout insert.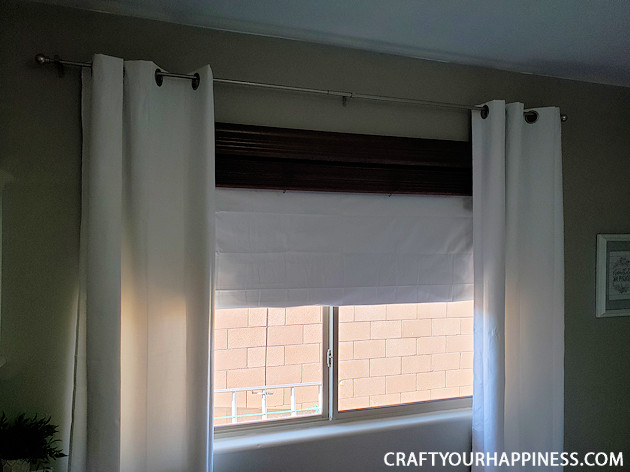
BEFORE PHOTO: This photo shows the window with my current curtains and the blinds partially closed. Even with them completely closed light gets through on the edges.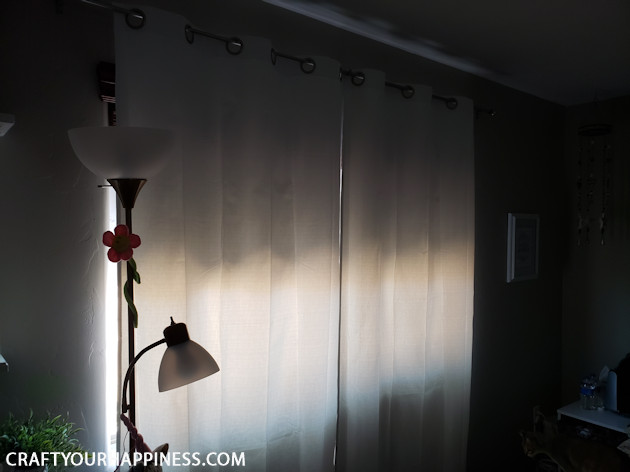
AFTER PHOTO: Same photo, same time of time, only with my insert in place.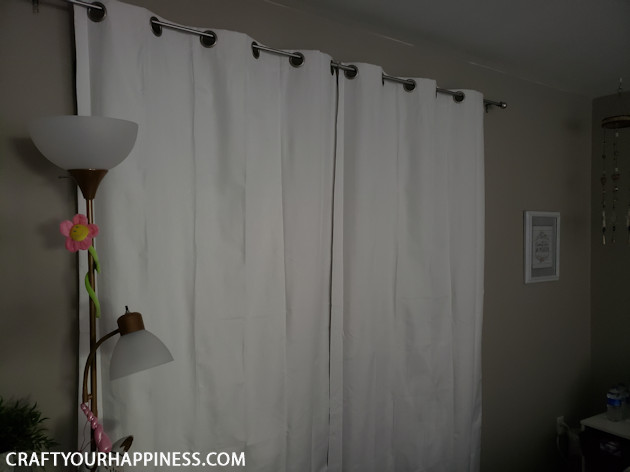


4 responses
Is there a reason you want to put it on the paint around the window and not directly on the vinyl window frame?
I think I may have to try this. Awesome idea!
Thank you so much xx
Excellent thanks so much xx