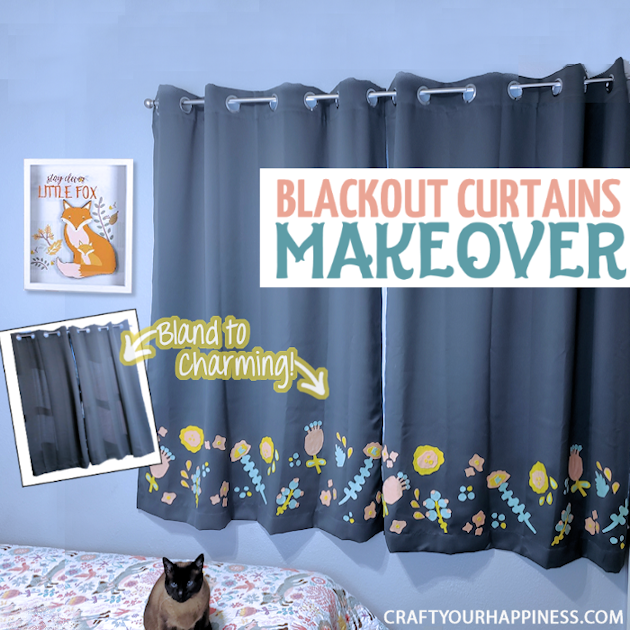
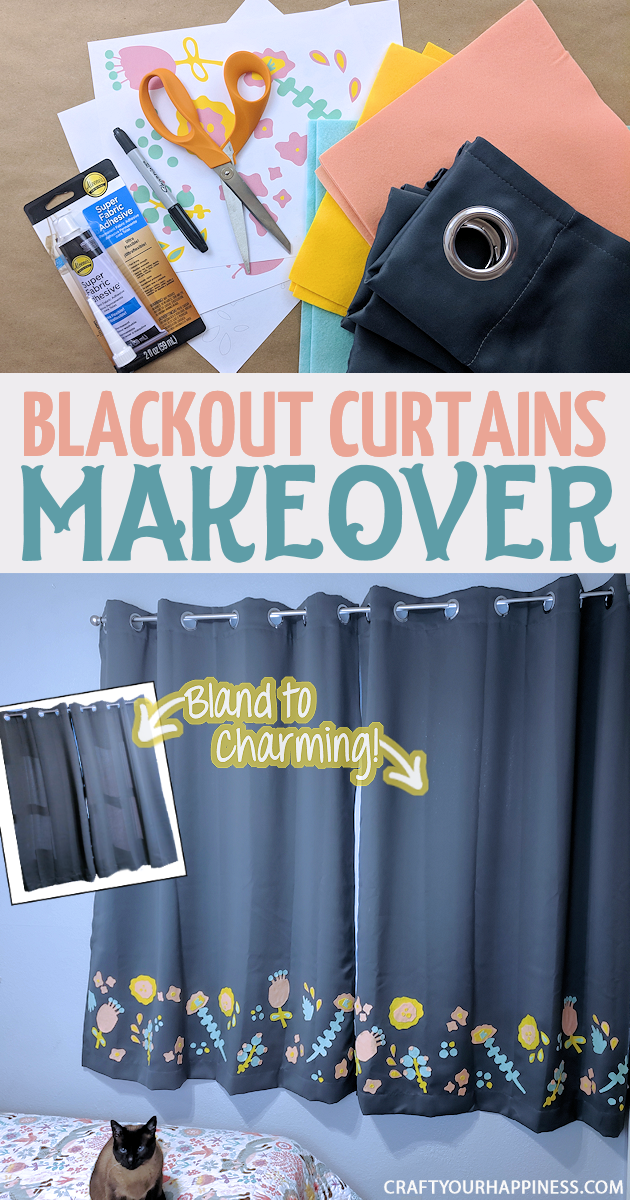
If you’re someone like me who needs a pitch black room to sleep you probably use room darkening or blackout curtains. I’ve used these for years and while they are fairly cheap they’re also pretty plain. I’ll show you how to do a simple charming and inexpensive blackout curtain makeover with a bit of felt and some fabric glue. Free patterns included!
I wanted my curtains to match the bedspread I already had which was a darling fox print. I’m no artist but I can draw basic shapes so I looked at my bedspread and drew a few of the simplistic flower designs on it to use for my pattern. Then I chose three felt colors that matched. You can do the same or just use basic flower or geometric shapes. If you still have Trouble Sleeping Try these 15 Ideas and also check out our DIY No Sew Sleeping Masks.
![]()
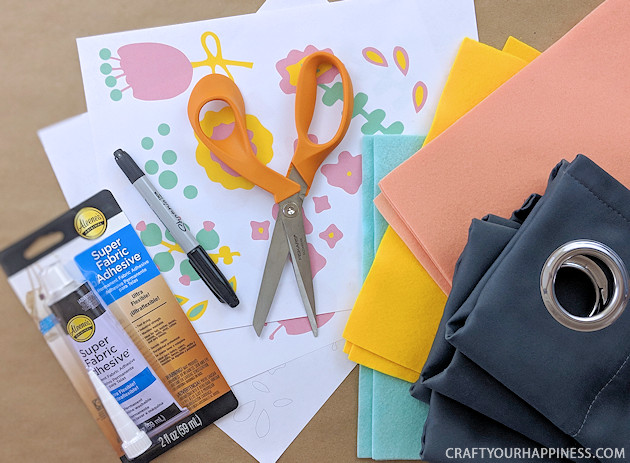
Supplies
- Blackout Light Blocking Curtains (These come in a variety of colors and lengths.
- Soft Felt (Depending on the sizes of your pattern you can use 6″x6″ pieces or full 12″ x 8″ sheets. Any local craft store or Walmart will generally have individual colors by the piece.)
- Fabric Glue
- Thin black marker
- Fabric scissors
- Pattern (Free download below or make your own)
ITEMS SHOWN IN PHOTOS & OTHER FOXY IDEAS
- Fox Bedspread set shown (Matching Curtains, Throw Blanket)
- Tiny fox figurines
- Stay Clever Fox Wall Art
- 7″ Sleeping Fox
![]()
Pattern Download
 Instructions
I’ve used room darkening blackout curtains for years because I need my bedroom to be pitch black when I sleep. They run about $15 or a more a set for any size and come in a variety of colors. However, they tend to be just plain fabric. So I wanted to spruce mine up. 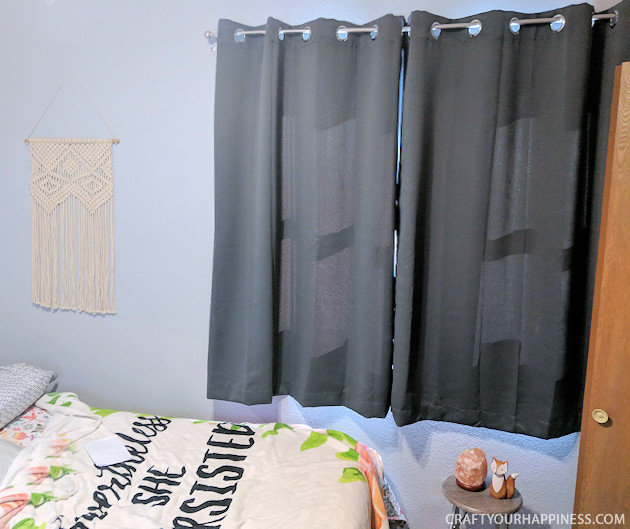
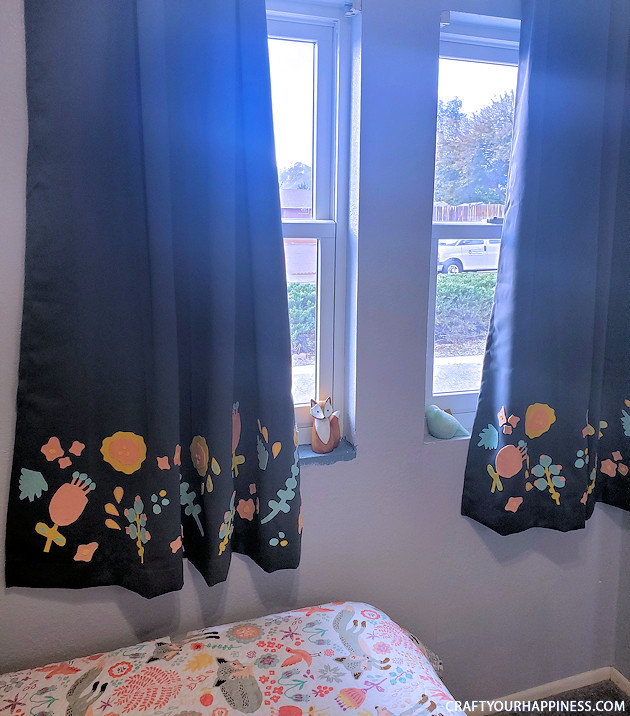
All you need to add some style to your curtains is a few sheets of felt and some fabric glue. I created our own simple patterns to match my darling bedspread. But you can use any shapes!
This is my bedspread. Awesome, huh? The little fox came with the set. I wanted my curtains to tie in with this design. (Fox Bedspread set)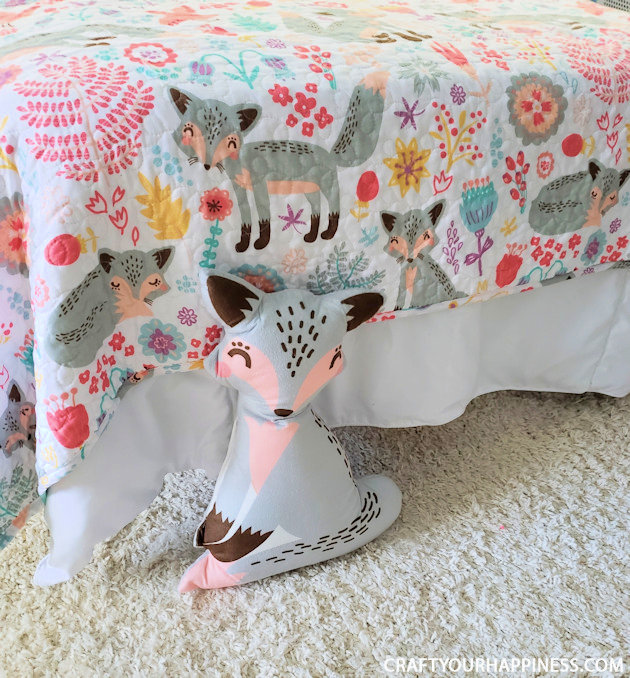
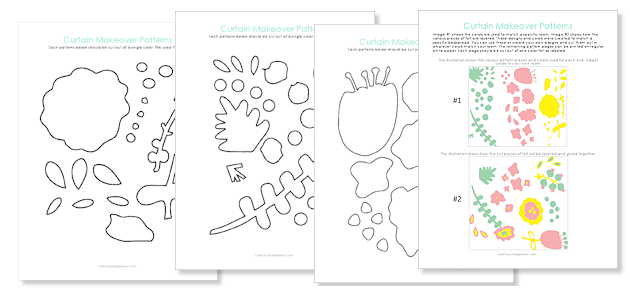
I took some white paper and hand sketched some basic flowers and leaf shapes from my bedspread. Feel free to use whatever shapes you wish for your own curtains. These shapes are in the download provided. They would look great in any room or you can make your own.
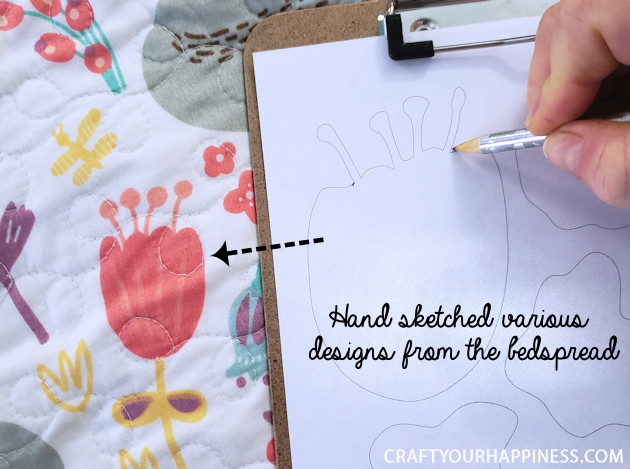
Cut out the shapes. 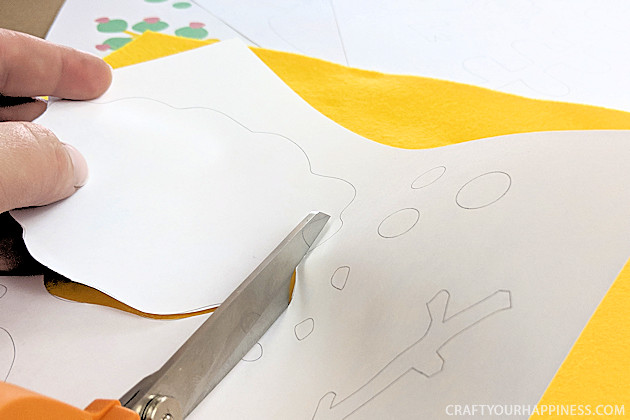
Lay or pin your pattern pieces onto the felt. You can trace them with marker or for the simpler shapes you can hold them while you cut. If you use a marker make sure to glue the drawn side face down. 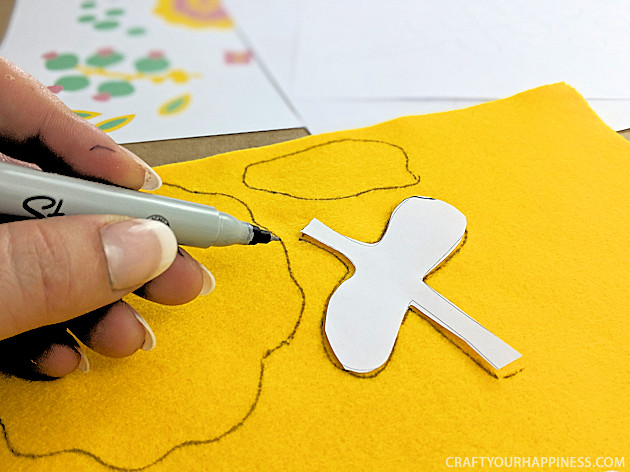
Cut out the pieces from the felt. 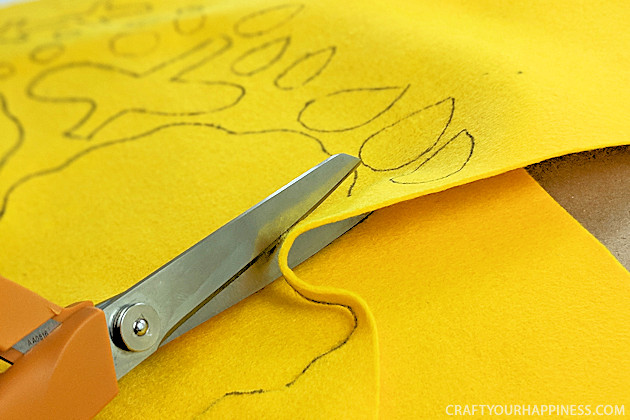
Small simple shapes can be layered so you can cut out multiple pieces at a time.
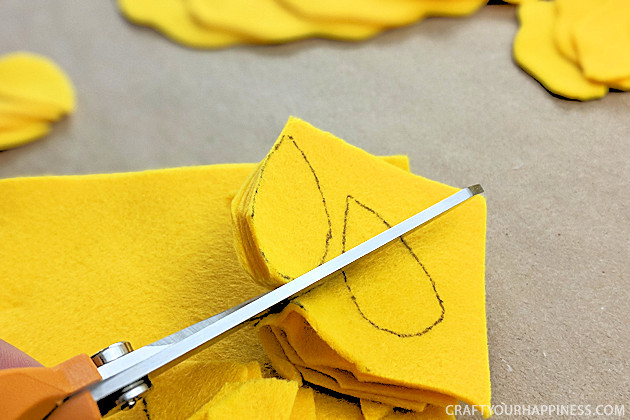
You decide how many of each item you want and where you want them.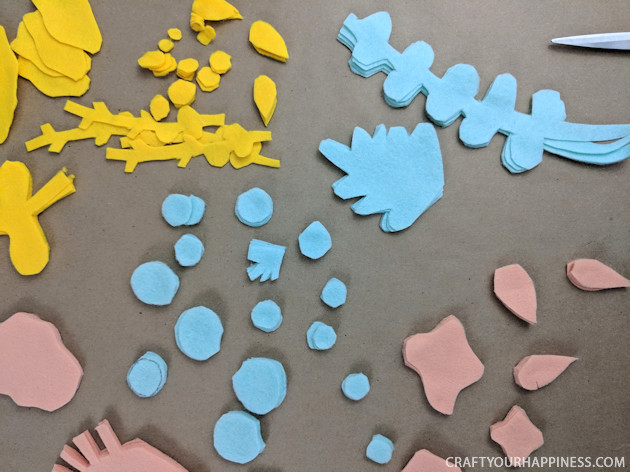
Lay out your felt pieces onto the curtain where you would like them then start gluing them on with fabric glue. If using our pattern you will layer the flowers as shown.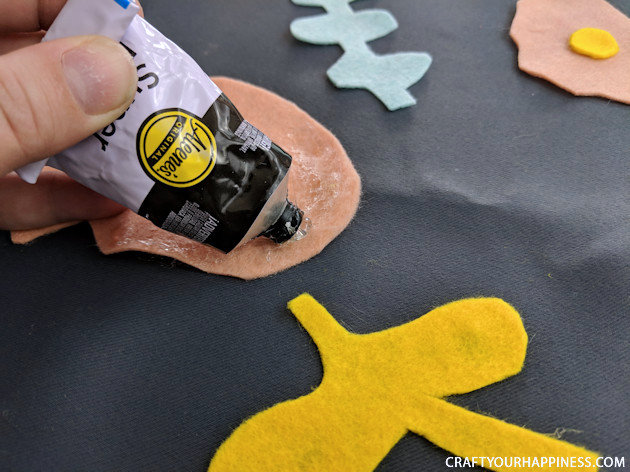
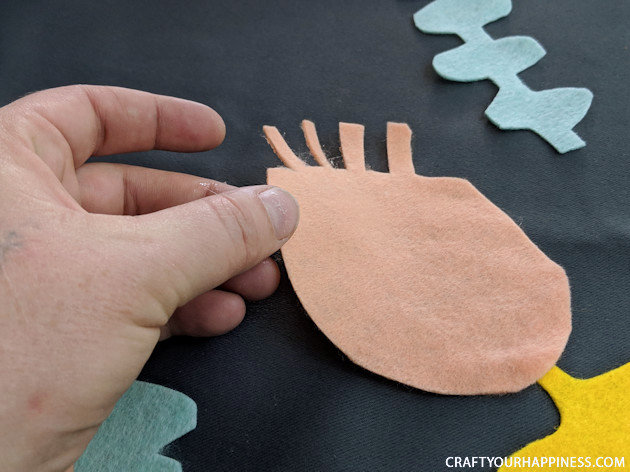
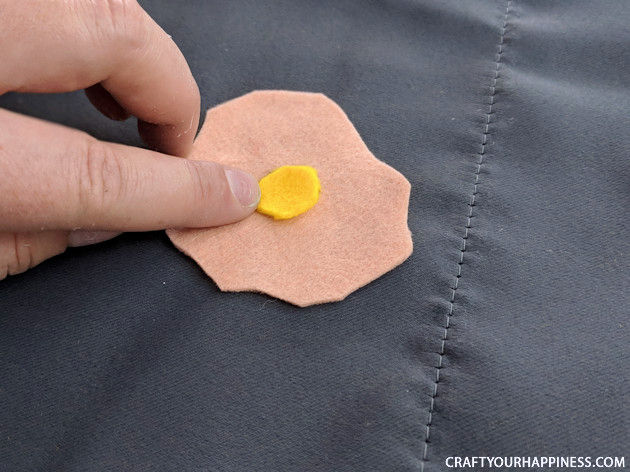
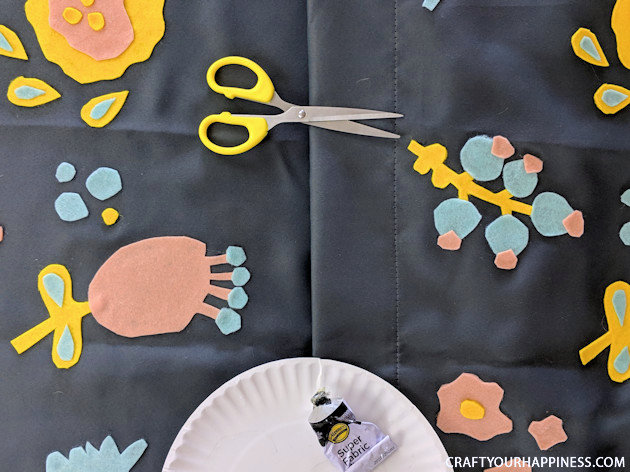
Allow the curtains to dry flat overnight then hang them! These would most likely need to be dry cleaned depending on the glue used.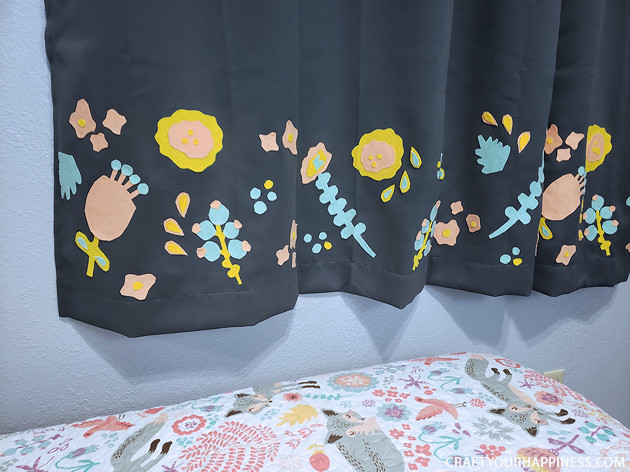
![]()
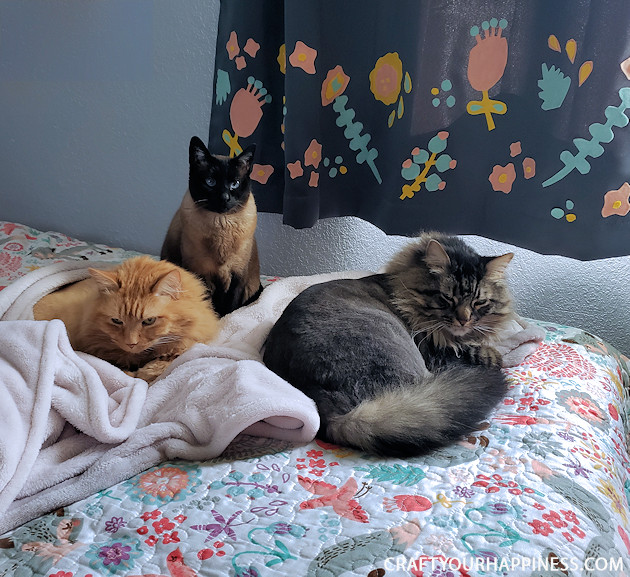
Yes… we have many cats.



2 responses
Could you please send me the instructions to make black out curtains? I just want plain color. No decorations.
Hi Cynthia!
I’m afraid I purchased mine. There are links in the post but the cheapest one’s I’ve found are at walmart. I know you can certainly make them but I’ve never done it. Sewing is not my forte. Ü Good luck and thanks for visiting!