![]()
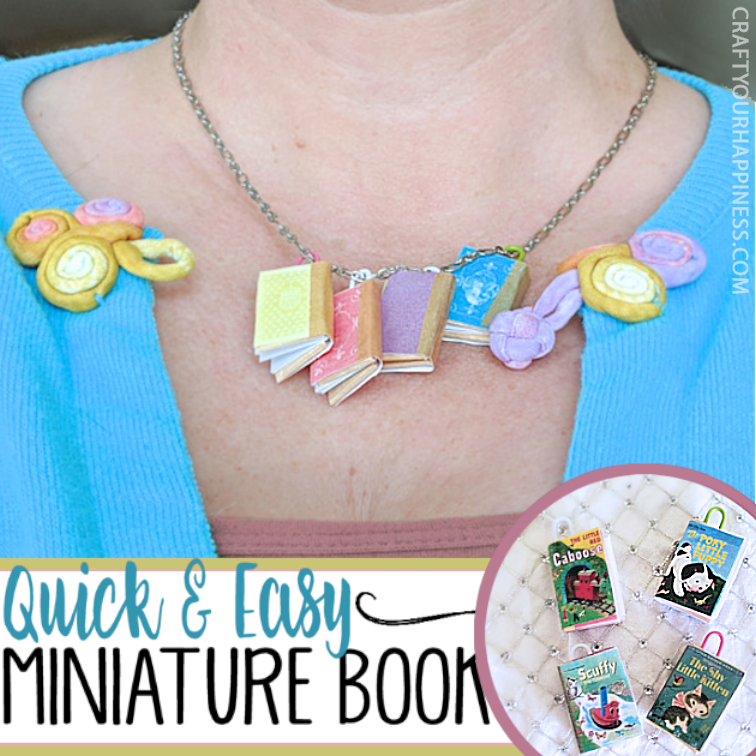
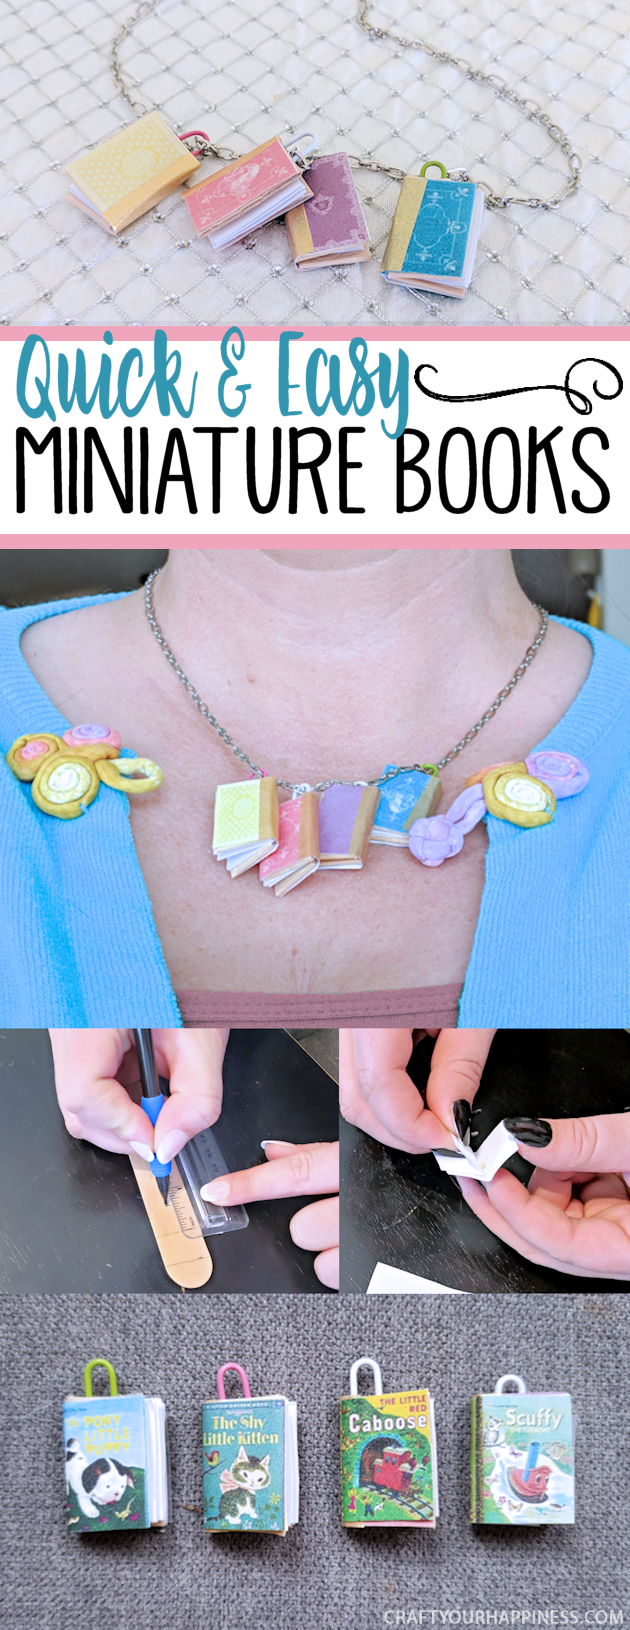
You won’t believe how quick and easy it is to make miniature books with just a large craft stick and some paper and glue and our free printable full of mini book covers! They can be used for a variety of projects but I wanted something tangible to go along with my Reading Challenge Kit that I was doing as part of our Casual Resolutions Goal Setting Kit I was using to help inspire me to read more this year. Every time I finish a book I’ll add a tiny book to a necklace. The free printable below has a variety of different book covers you can use. You can also make a cover out of any paper you like! This incentive would be great for kids or teens too!
![]()
Miniature Books Supplies
- Jumbo craft sticks (Tongue Depressors)
- Small Paper clips colored, gold or silver (The prefered size is #3 which is 25mm. #2 can work but is larger) I could not find the #3 on amazon in gold.
- Hot glue, preferable fine tip or other strong quick drying glue such as Tacky Glue
- Free printable with book covers below
- Washi tape or colored duct tape. We used gold Washi.
- Wire Cutters
- Heavy duty scissors or fine tooth saw (for cutting craft sticks) Even a heavy knife would work if you score the wood repeatedly.
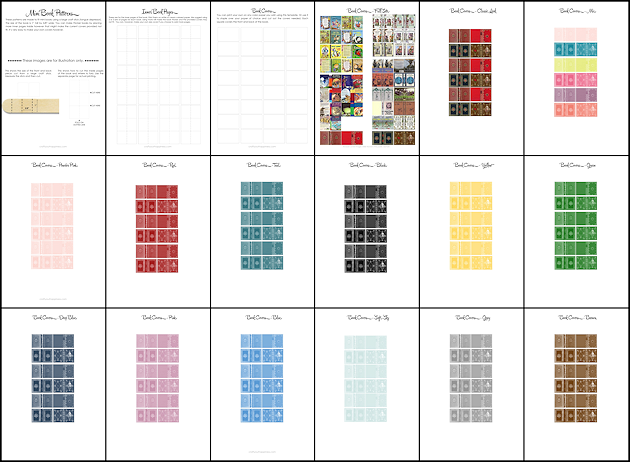
Free Printable Download
PdfSAMPLE PAGES. THERE ARE MORE IN THE KIT THAN SHOWN
![]()
Instructions
Gather the minimal supplies required to make your mini book including the downloaded kit above.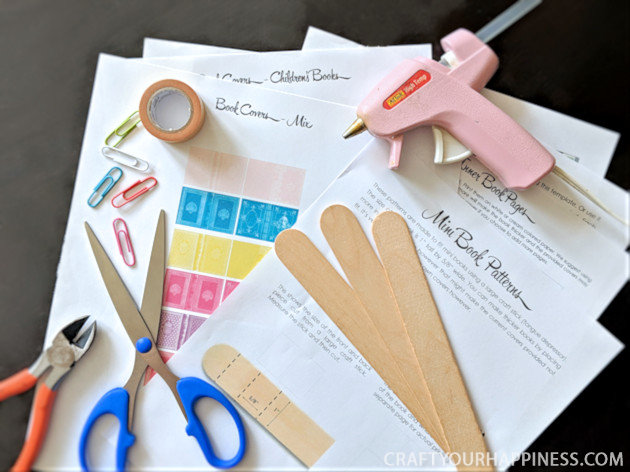
Measure the jumbo craft stick to make the front and back cover of the book. The jumbo sticks are typically 1″ wide and you need to measure 5/8″ for the front and back. So the total size is 1″ x 5/8″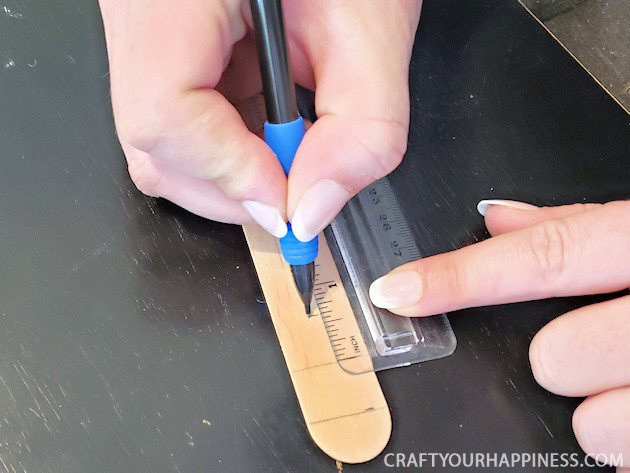
Cut the stick where marked. FYI Using scissors can make the wood crack. It is still usable but if you have a sharp craft knife and can score along the lines to snap them it will be easier. Also a very fine tooth craft saw would work.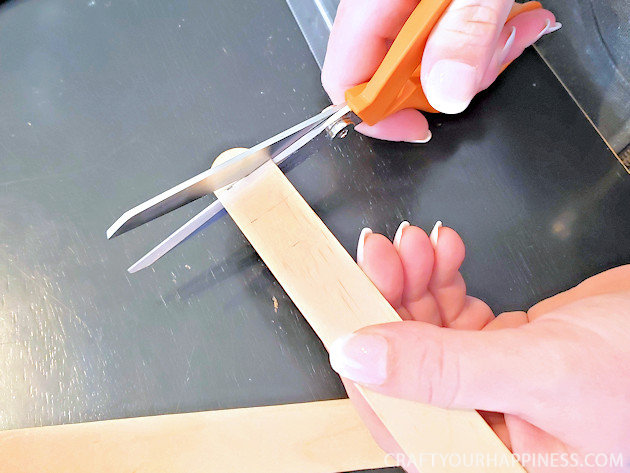
Cut as many sets as you need for however many books you would like to make.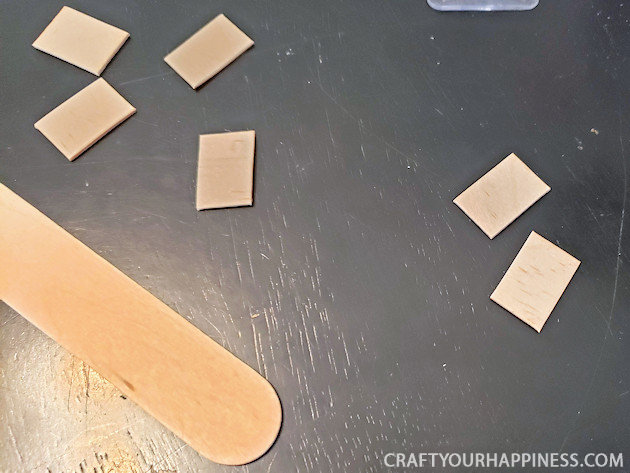
Print out the pages on our free download that you wish to use for the covers. You can also use your own paper!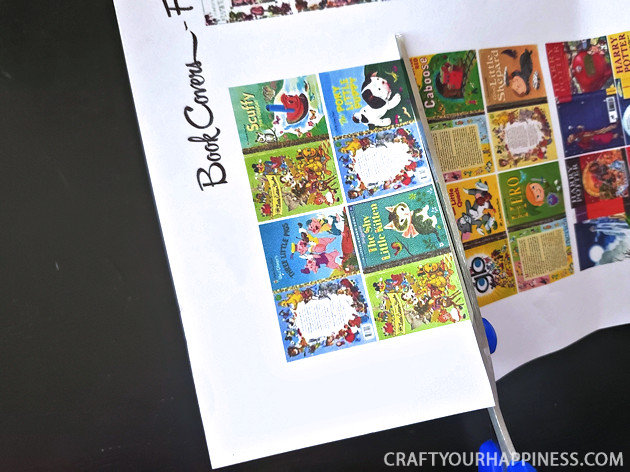
This shows one of the covers cut out.
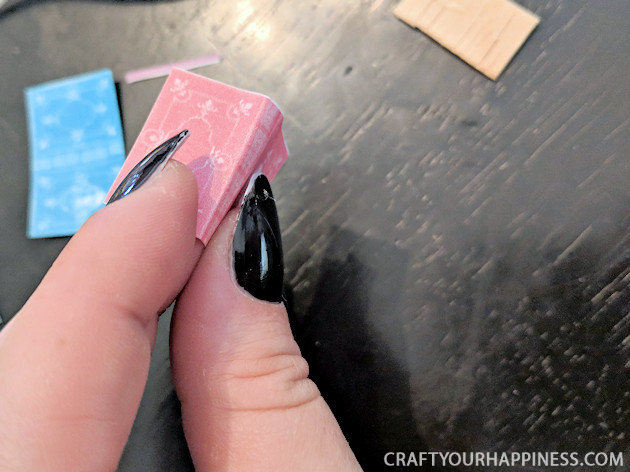
Using a thick craft glue or hot glue, glue inside each side of the cover.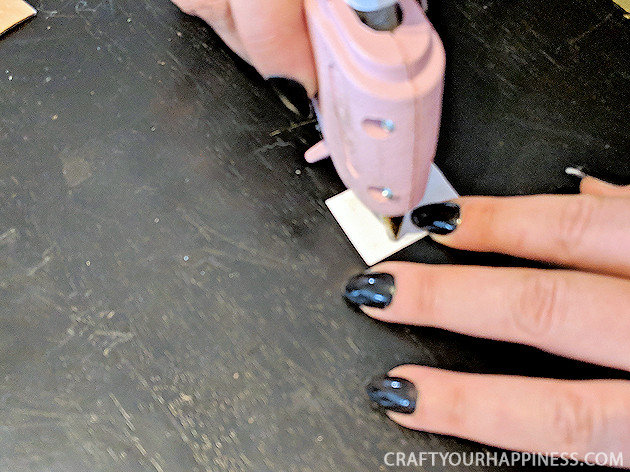
Quickly place the wood cover and back onto each size, pressing flat so the glue does not leave lumps.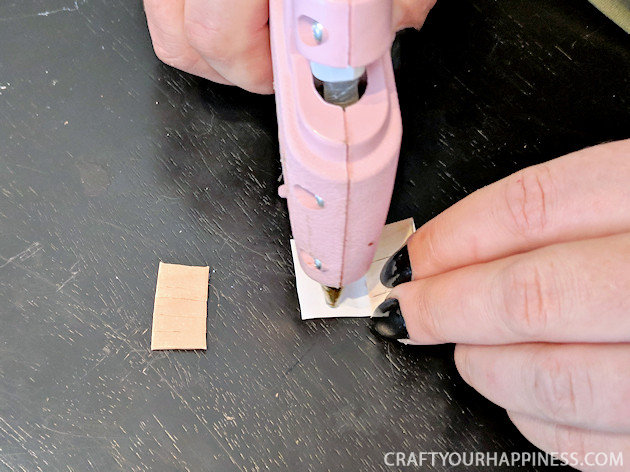
There will be a gap in the middle, which is needed to glue the pages in.
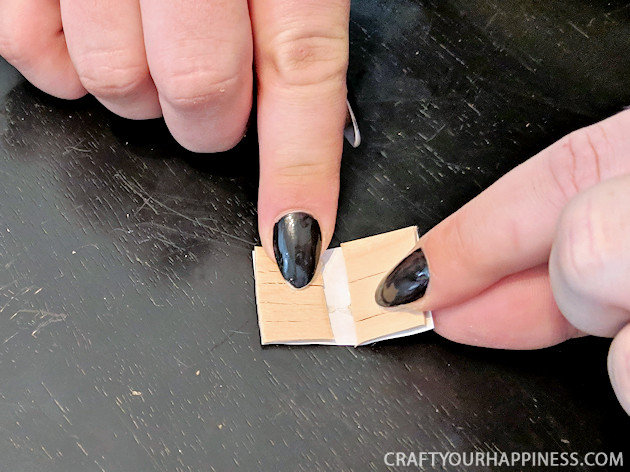
Cut out the three sets of pages for each book you will make. 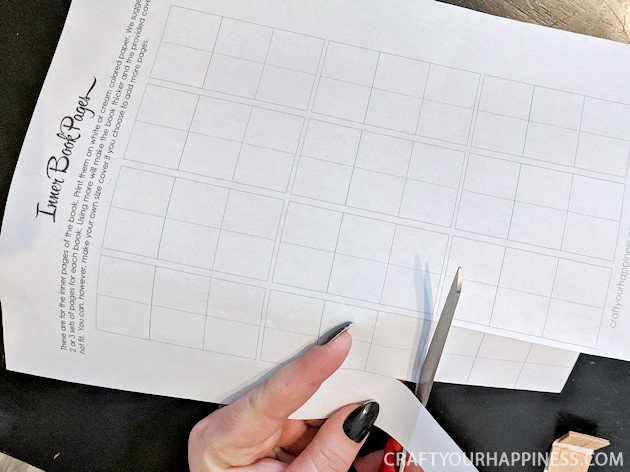
Fold each one in half on the dotted line. Run a line of glue in the crease to attach each folded paper into the bottom one. Each book uses three sets. If using lue, make sure to use very thin strips of glue to avoid bulk. 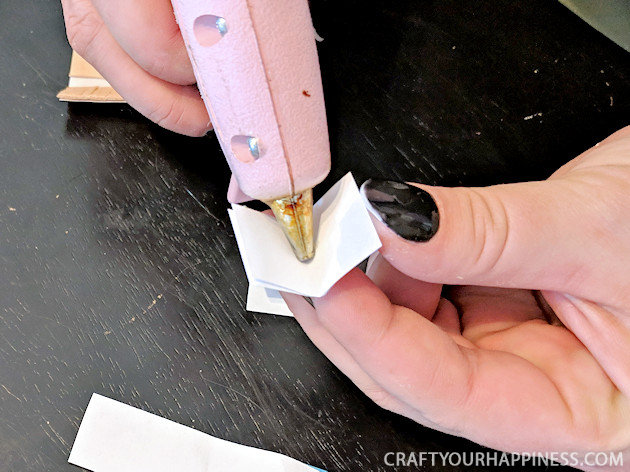
![]()
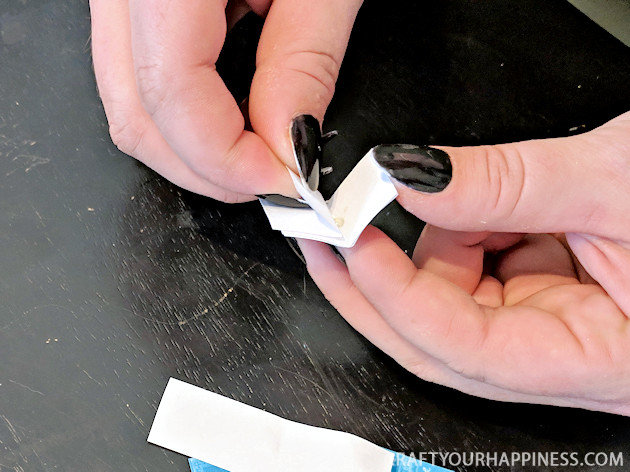
If you will be stringing your books onto a necklace or bracelet, a small paperclip works perfect for the loop. Unbend it and clip off as shown.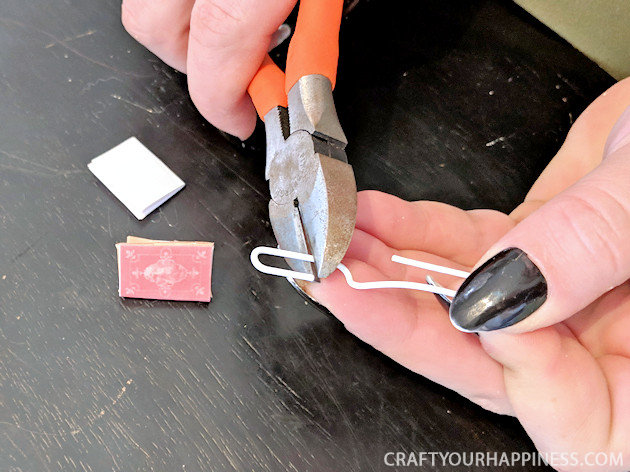
On the back inner book place a small dab of hot glue.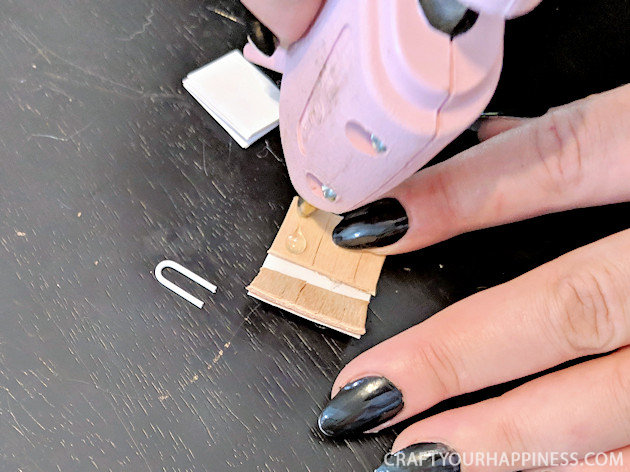
Press the looped end of the paperclip into the glue to hold.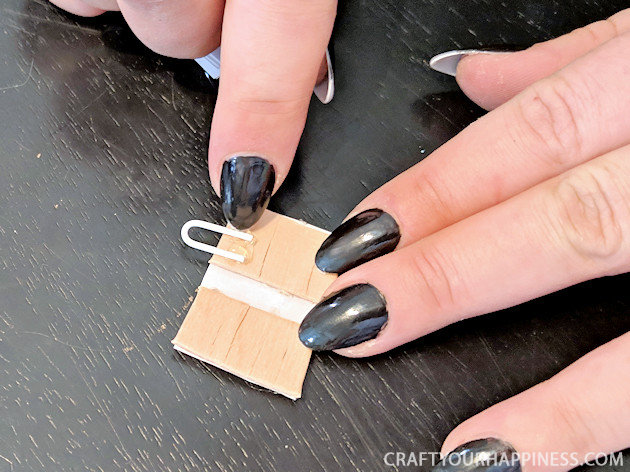
Place a thin strip of hot glue down the inside center of your book.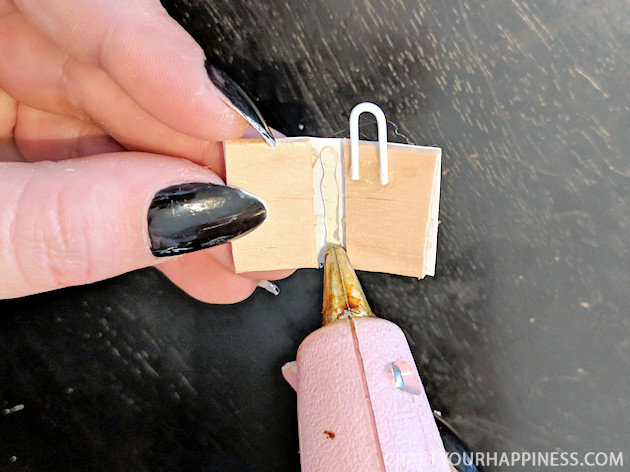
Attack your combined inner pages to the strip of glue.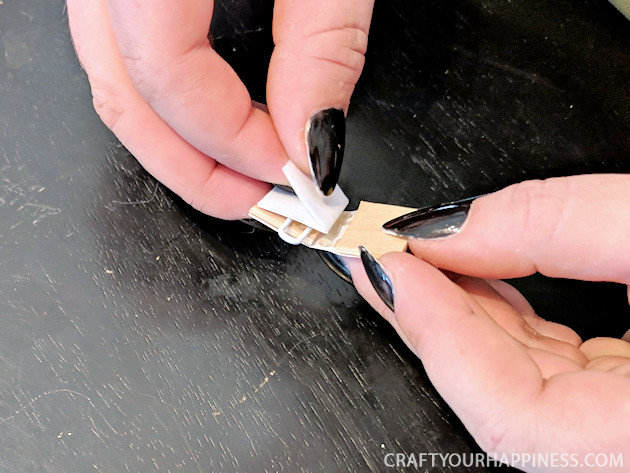
If the pages stick out too far you can trim them as needed.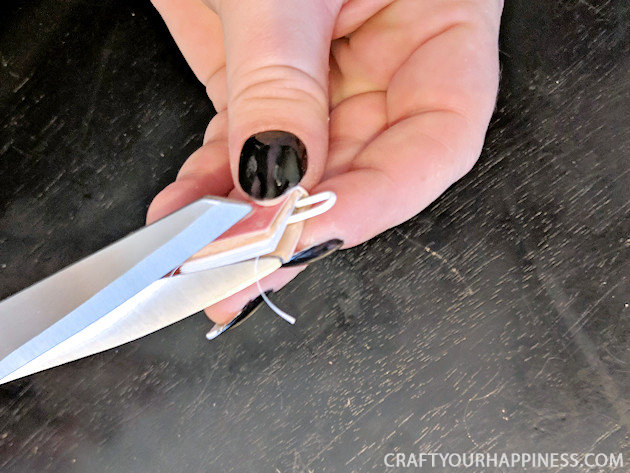
Optionally, for added effect you can cut a small piece of Washi tape or Duct tape to use as binding. 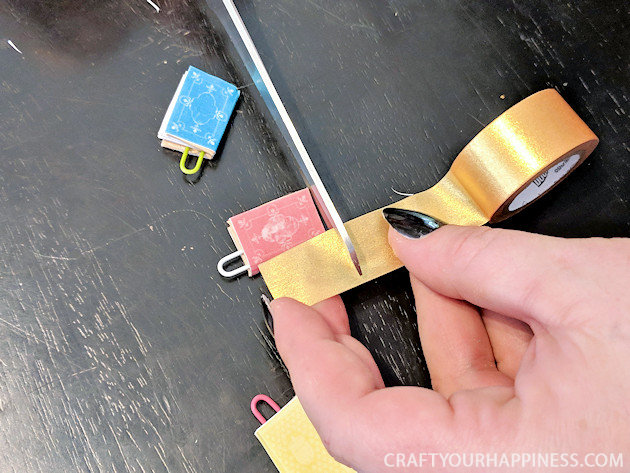
Cut it the size needed.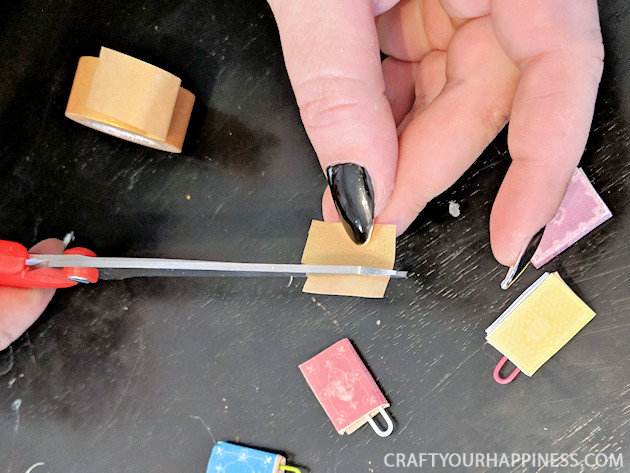
Wrap the tape along the end of the book. 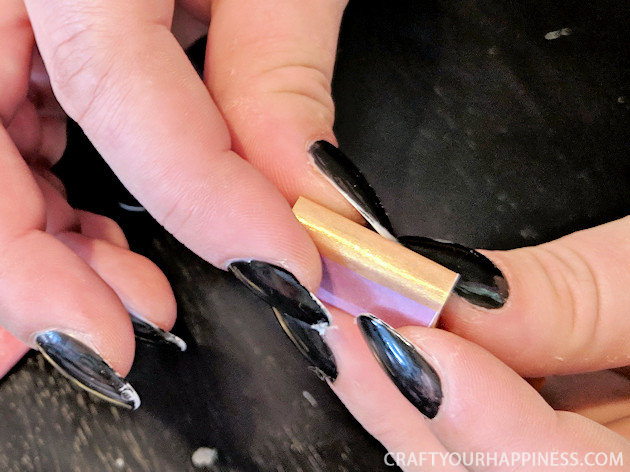
The books can be used as charms. 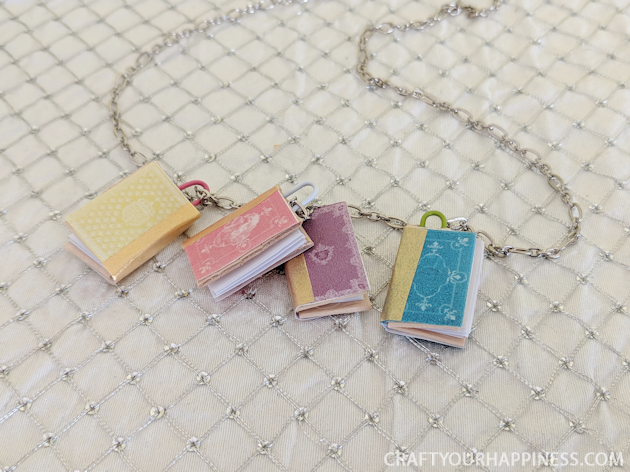
They are also perfect for kids especially used as an incentive for our Reading Challenge.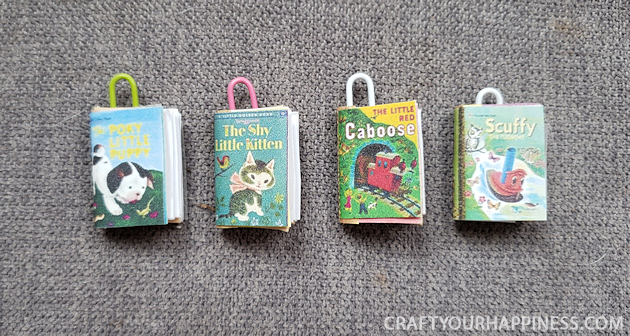
![]()



7 responses
Awww this is such a cute craft that girls would like <3 Thanks for sharing!
I love this craft so much I already make ten of them for my dolls and I was so successful. thank for teaching us this craft.
O`kay?
These covers are so cute! Thanks so much for making them available. It was very kind of you.
I know, she’s a fine mini artist.
Never mind (she says sheepishly). I tried again and there they are. Sorry about that. 🙂
Hi, I love this craft. I would like to make the mini books for my niece for her dolls. I tried to download the pdf and while the page small squares were there, it was blank. No covers. Can you help?