How to Build Closet Shelves & Organizers

Could your closet use a little more space and organizing? We’ll show you how to build closet shelves along with the rods and cubby holes. We tripled our space! Even amateur woodworkers (like us) can do it with a few tools. Ours was measured and designed in the free software Google SketchUp. (File included.)

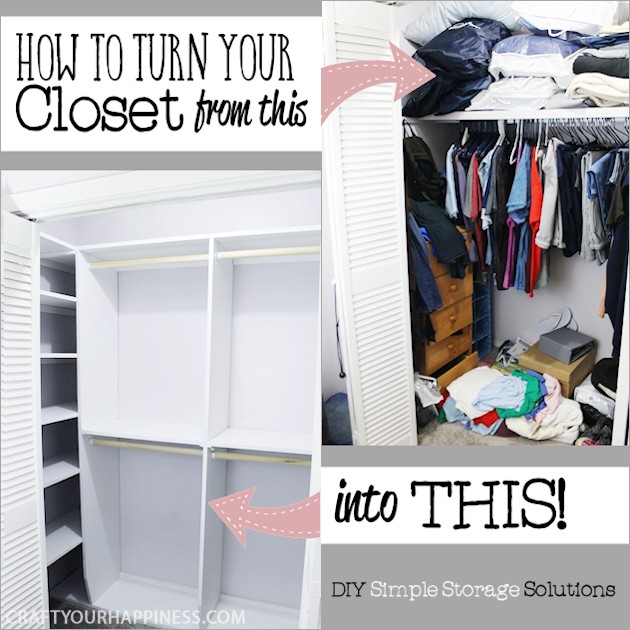
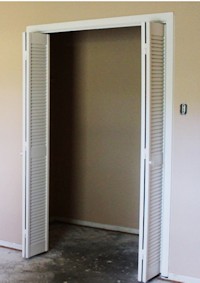
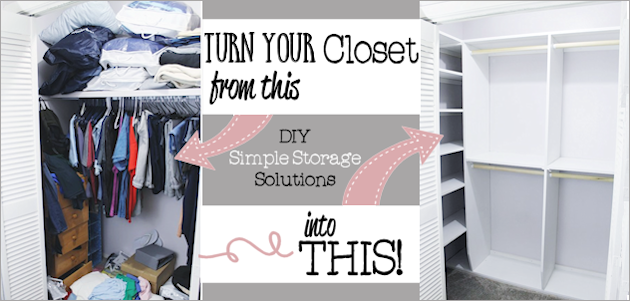
Could your closet use more space and organizing?  We built in an entire shelving unit, cubby holes and rods, and just about tripled our space!   Even amateur wood workers, like my husband, can do it with a few tools!  As the photo to the right illustrates, when we moved into our home the master closet didn’t even have a shelf or rod. My dad put both of those in for us, but as you can see below, it was not only too small for two people,  it eventually became a mess. I stuck in some tall skinny drawers etc. to try and help, but it really needed  a makeover!

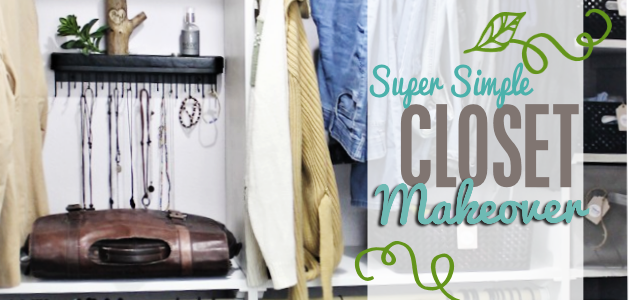
When you’ve finished with this one, check out our second post Unique Closet Organizer Ideas which shows it filled up!  Plus, if you like this closet makeover be sure and check out our Frugal DIY Bedroom Decorating Ideas which was part of our Budget Bedroom Makeover Series.

CHECK OUT OUR ORGANIZED CLOSET AFTER WE BUILT IT!
Unique Closet Organizer Ideas on a Budget

Do you need some closet organizer ideas on a budget? Want to make your closet look special? Look how we fixed up our DIY closet shelving (from our last post) to not only make it hold more, but also look spectacular! Plus, you can download our free printable bin tags.

Closet Organizer Supplies

Our closet dimensions were 40″ Deep x 81″ Wide. Normal 8′ ceiling. The height of the shelving unit itself was also 81″ tall.

  • 4 ea.  Sheets 4’x8’ – 3/4”MDF (approx. $23 each) – $92
  • 2 ea.  6’ Dowels 1.5” Diameter (approx. $6 each) – $12
  • 8 ea.  Dowel Hangers (approx. $3 per set. We used 4 sets) – $12
  • 8 ea.  8’ – 1’x2’ Pine Boards (known as furring strips, these were approx. $1.25 each) – $10

Total materials cost was approx. $126

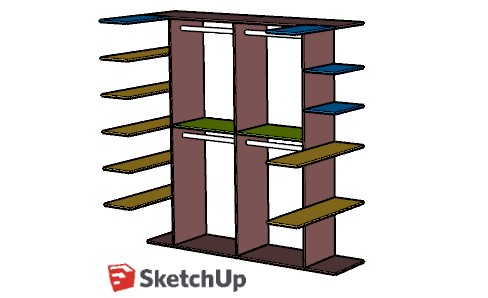
Google SketchUp File

Google SketchUp is a free ONLINE software that allows you to design all kinds of things. We’ve provided the SketchUp file for our specific shelving unit, which was made to our closet specifications.

Download  SketchUp File (File is zipped)

Instructions

NOTE ON DRESSES: I actually don’t wear dresses or own any, which is why there is no  spot for them. Obviously for those with dresses the plan would need to be adapted to allow for those.

As you can see, our closet was in need of some dire help. Could your closet use a little more space and organizing? We’ll show you how to build closet shelves along with the rods and cubby holes. We tripled our space! Even amateur woodworkers (like us) can do it with a few tools. Ours was measured and designed in the free software Google SketchUp. (File included.)

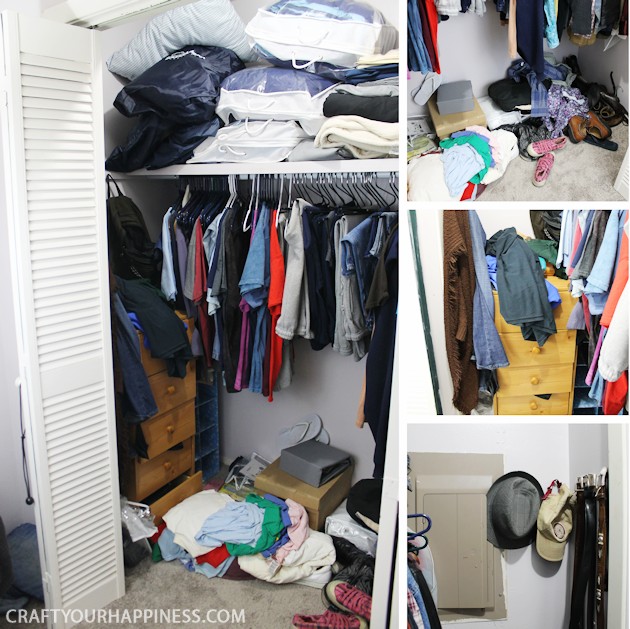
Measuring and Designing
First we emptied out the closet. Roy ripped out the single shelf and bar.  He then measured the closet and took those measurements to his computer and opened up his Google SketchUp program and proceeded to design our new shelving system. You can, of course, do it by hand.

He purchased the materials needed then tore back the carpet in the closet so he could start the base.Could your closet use a little more space and organizing? We’ll show you how to build closet shelves along with the rods and cubby holes. We tripled our space! Even amateur woodworkers (like us) can do it with a few tools. Ours was measured and designed in the free software Google SketchUp. (File included.)

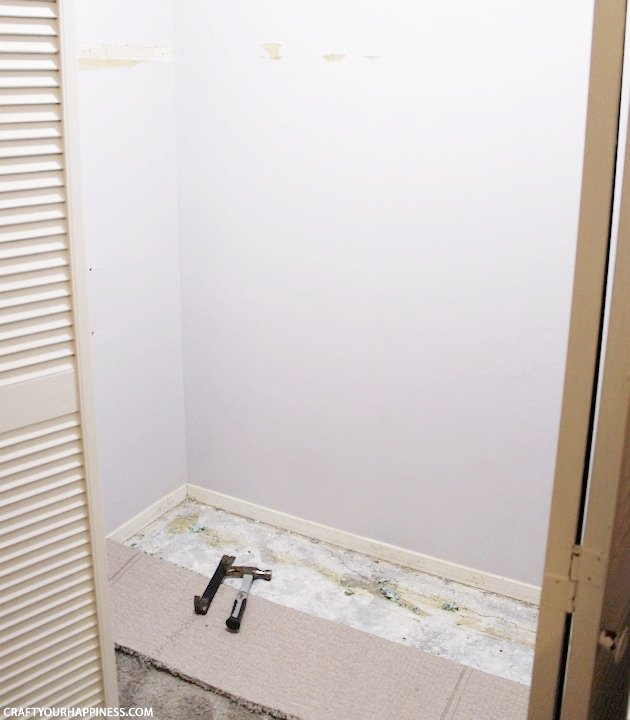
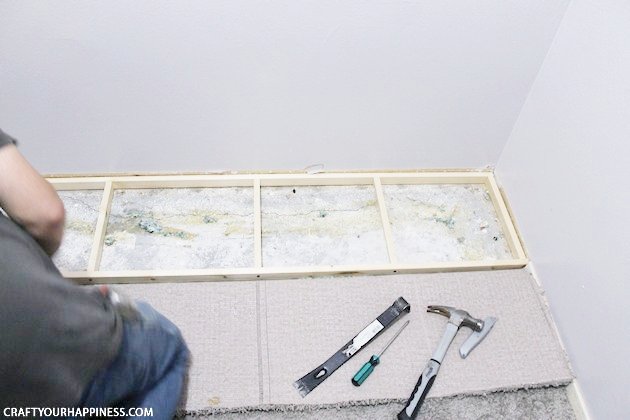
The base was made by creating a simple framework with 1″x2″ lumber.  This is not glued to the floor, but it is important that it reaches the full width of the closet to the walls.

Could your closet use a little more space and organizing? We’ll show you how to build closet shelves along with the rods and cubby holes. We tripled our space! Even amateur woodworkers (like us) can do it with a few tools. Ours was measured and designed in the free software Google SketchUp. (File included.)

A common jigsaw was used for cutting the MDF to the shelf dimensions.Could your closet use a little more space and organizing? We’ll show you how to build closet shelves along with the rods and cubby holes. We tripled our space! Even amateur woodworkers (like us) can do it with a few tools. Ours was measured and designed in the free software Google SketchUp. (File included.)

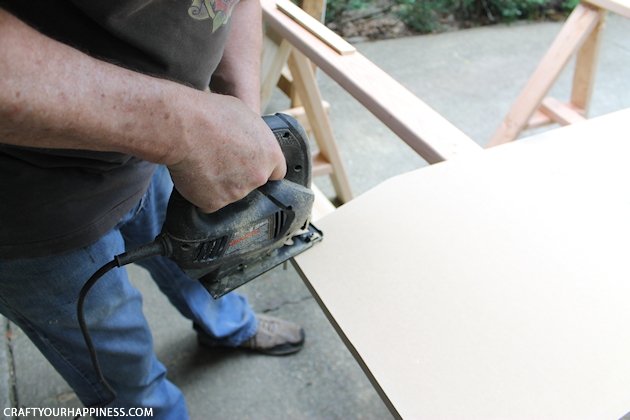
Careful measurements were made to put pencil lines in the exact positions where the upright boards would be placed.Could your closet use a little more space and organizing? We’ll show you how to build closet shelves along with the rods and cubby holes. We tripled our space! Even amateur woodworkers (like us) can do it with a few tools. Ours was measured and designed in the free software Google SketchUp. (File included.)

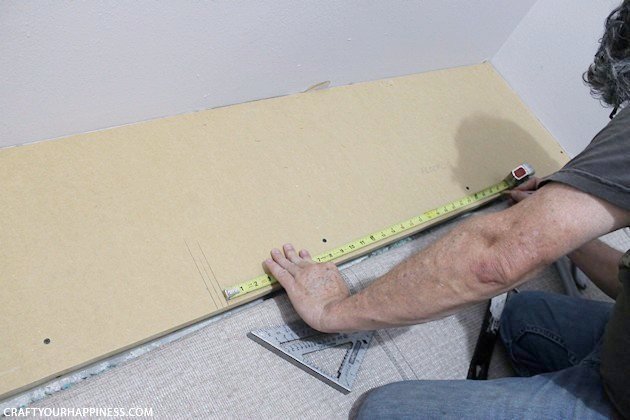
In this pic, the first 1″x 2″ boards were screwed into place in the wall to allow for proper placement of the first upright.Could your closet use a little more space and organizing? We’ll show you how to build closet shelves along with the rods and cubby holes. We tripled our space! Even amateur woodworkers (like us) can do it with a few tools. Ours was measured and designed in the free software Google SketchUp. (File included.)

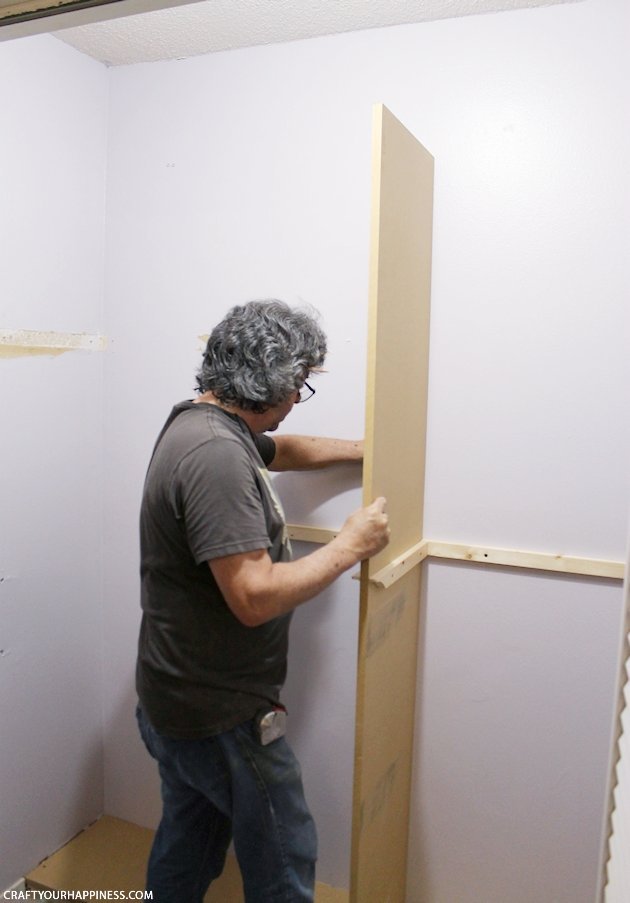
Glue was not used to attach the shelves.  We just used properly lengthed screws.Could your closet use a little more space and organizing? We’ll show you how to build closet shelves along with the rods and cubby holes. We tripled our space! Even amateur woodworkers (like us) can do it with a few tools. Ours was measured and designed in the free software Google SketchUp. (File included.)

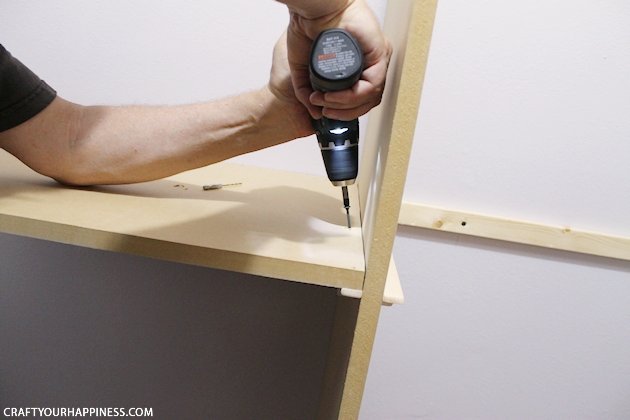
Coming along great! Notice the angled cuts of the uprights at the bottom of the shelving unit.  This was to allow the uprights to be deep enough to hold clothes, yet taper in to meet the base at the bottom.

Could your closet use a little more space and organizing? We’ll show you how to build closet shelves along with the rods and cubby holes. We tripled our space! Even amateur woodworkers (like us) can do it with a few tools. Ours was measured and designed in the free software Google SketchUp. (File included.)

Placement of the top shelf. This took a bit of maneuvering to position it into place.  Of course, screws down into the uprights were needed to hold everything securely in place.Could your closet use a little more space and organizing? We’ll show you how to build closet shelves along with the rods and cubby holes. We tripled our space! Even amateur woodworkers (like us) can do it with a few tools. Ours was measured and designed in the free software Google SketchUp. (File included.)

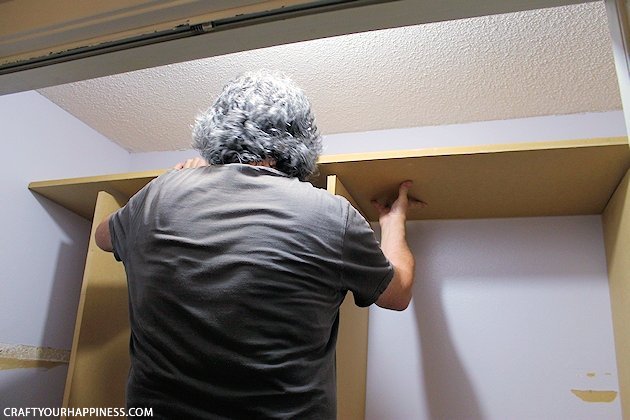
Attaching the closet dowels into their holders.Could your closet use a little more space and organizing? We’ll show you how to build closet shelves along with the rods and cubby holes. We tripled our space! Even amateur woodworkers (like us) can do it with a few tools. Ours was measured and designed in the free software Google SketchUp. (File included.)

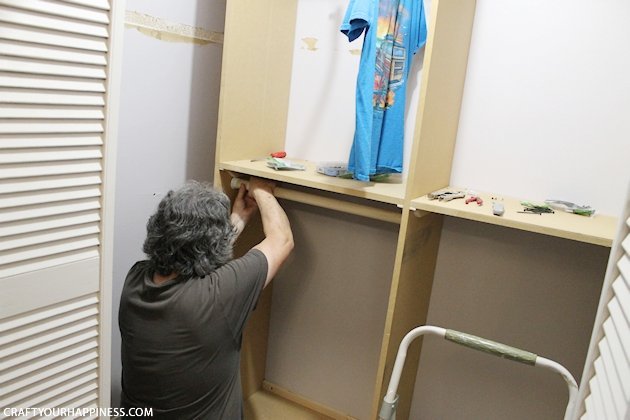
Coming along nicely.  This pic shows the corners.  The “cubby’s” were designed to hold things not accessed very often.

Could your closet use a little more space and organizing? We’ll show you how to build closet shelves along with the rods and cubby holes. We tripled our space! Even amateur woodworkers (like us) can do it with a few tools. Ours was measured and designed in the free software Google SketchUp. (File included.)

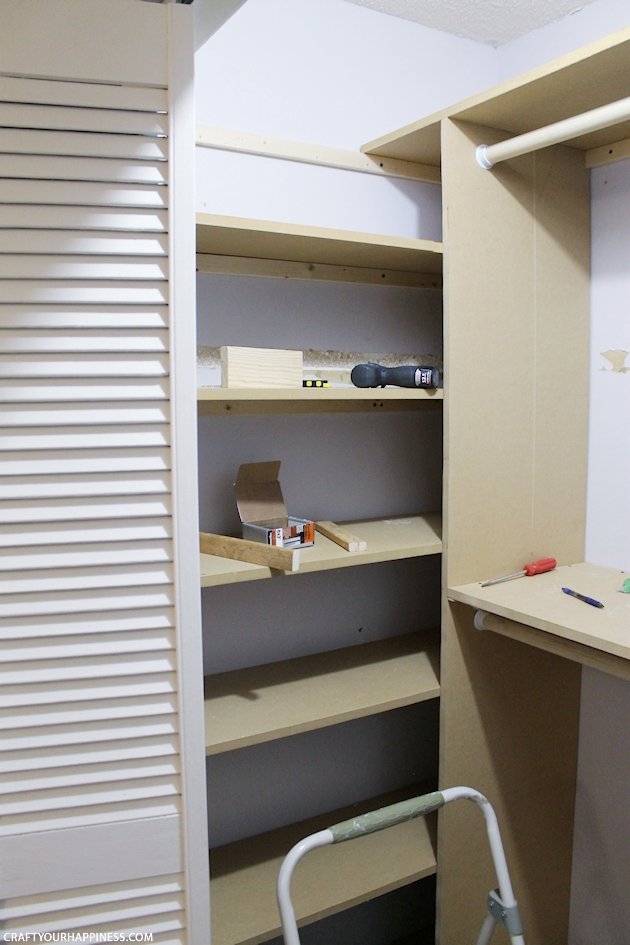
Another angle to show more detail about how the shelf support boards were positioned.Could your closet use a little more space and organizing? We’ll show you how to build closet shelves along with the rods and cubby holes. We tripled our space! Even amateur woodworkers (like us) can do it with a few tools. Ours was measured and designed in the free software Google SketchUp. (File included.)

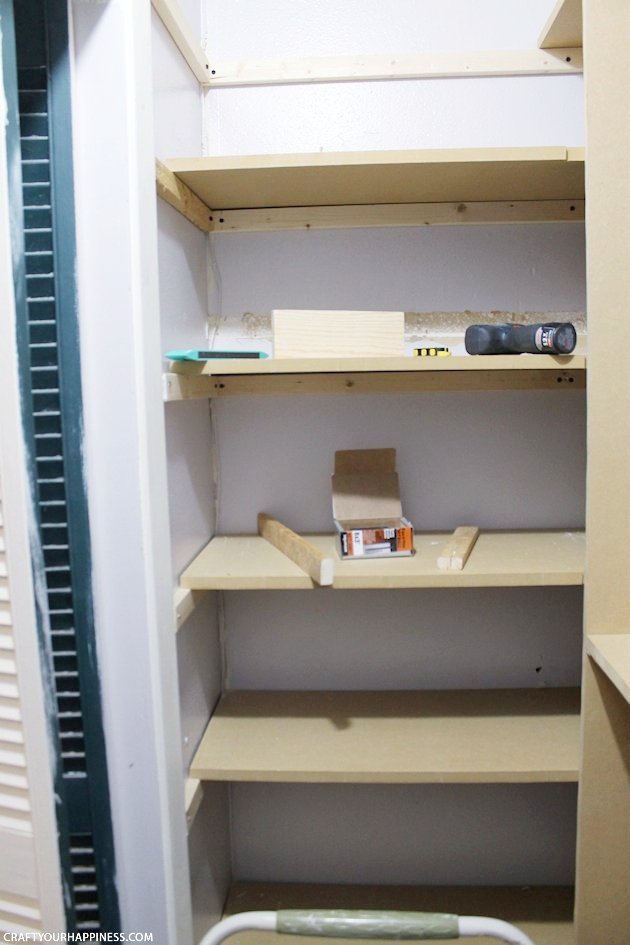
Every closet is different, so you just have to work around your own unique circumstances. Our closet has the main breaker box for the house inside it.

Could your closet use a little more space and organizing? We’ll show you how to build closet shelves along with the rods and cubby holes. We tripled our space! Even amateur woodworkers (like us) can do it with a few tools. Ours was measured and designed in the free software Google SketchUp. (File included.)

As you can imagine, leveling the shelf supports is important.Could your closet use a little more space and organizing? We’ll show you how to build closet shelves along with the rods and cubby holes. We tripled our space! Even amateur woodworkers (like us) can do it with a few tools. Ours was measured and designed in the free software Google SketchUp. (File included.)

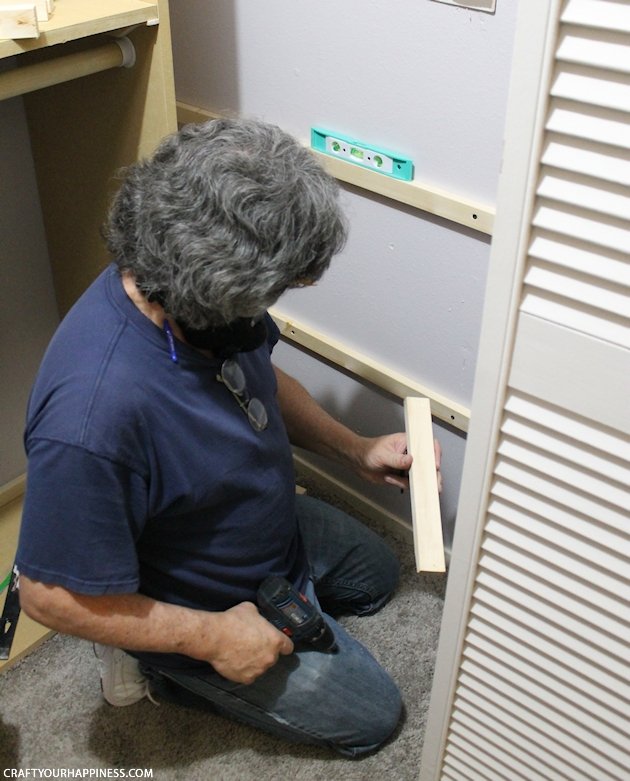
Painting is what pulls it all together and it begins to blend the closet into a unit, making it feel like it was always meant to be there.Could your closet use a little more space and organizing? We’ll show you how to build closet shelves along with the rods and cubby holes. We tripled our space! Even amateur woodworkers (like us) can do it with a few tools. Ours was measured and designed in the free software Google SketchUp. (File included.)

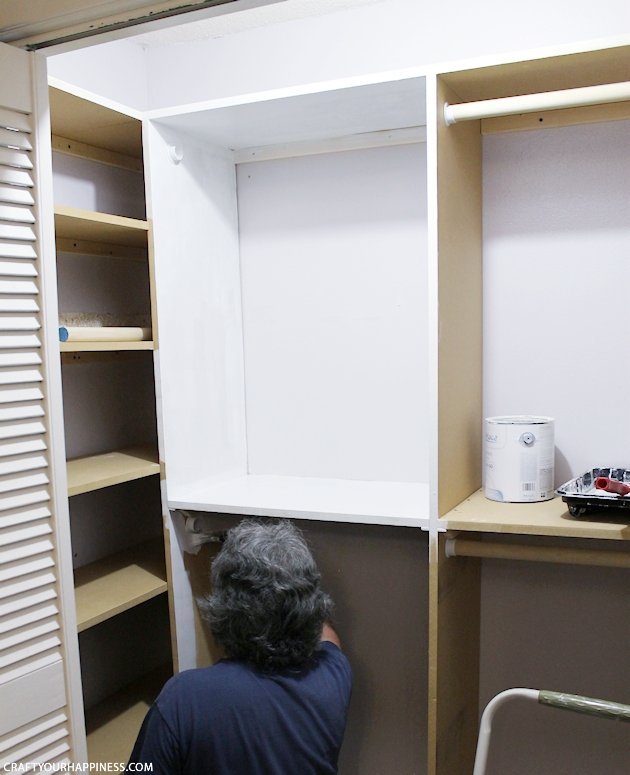
What to do with that ugly breaker box?Could your closet use a little more space and organizing? We’ll show you how to build closet shelves along with the rods and cubby holes. We tripled our space! Even amateur woodworkers (like us) can do it with a few tools. Ours was measured and designed in the free software Google SketchUp. (File included.)

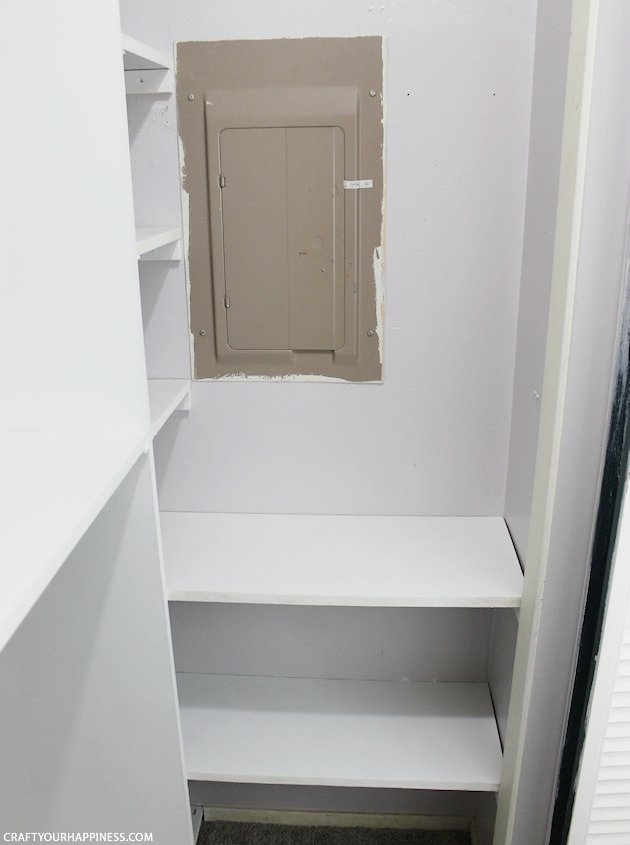
This is going to take more than a single coat of paint! Next post we add something else.Could your closet use a little more space and organizing? We’ll show you how to build closet shelves along with the rods and cubby holes. We tripled our space! Even amateur woodworkers (like us) can do it with a few tools. Ours was measured and designed in the free software Google SketchUp. (File included.)

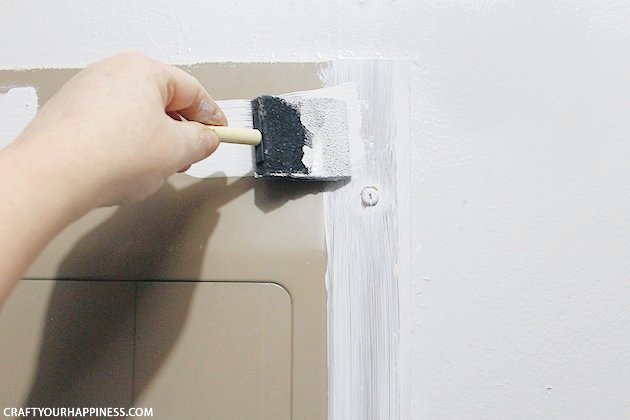
Ready to fill with clothes, shoes, and accessories!   That’s our NEXT post!

Could your closet use a little more space and organizing? We’ll show you how to build closet shelves along with the rods and cubby holes. We tripled our space! Even amateur woodworkers (like us) can do it with a few tools. Ours was measured and designed in the free software Google SketchUp. (File included.)

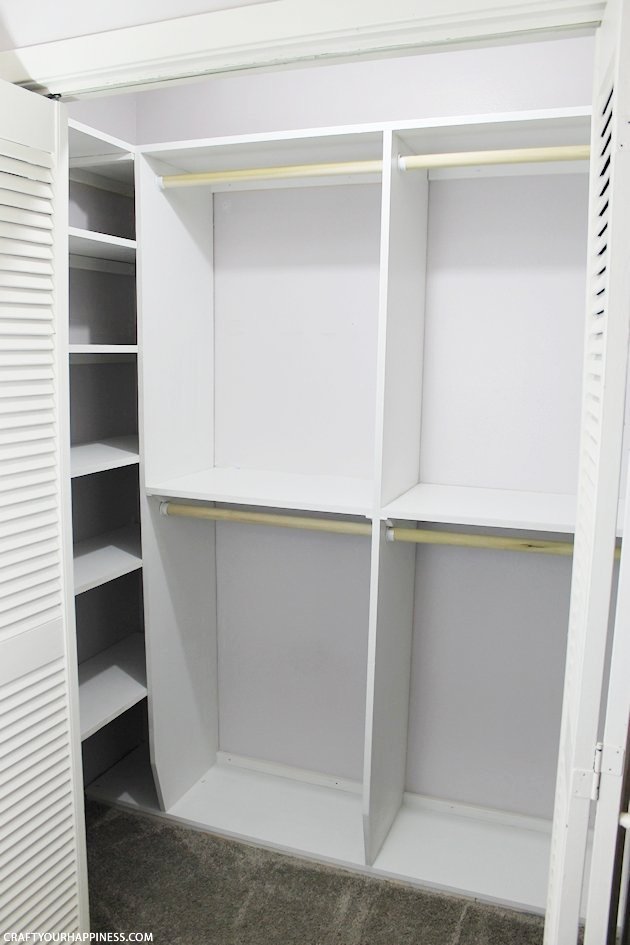
And that’s how to build closet shelves!
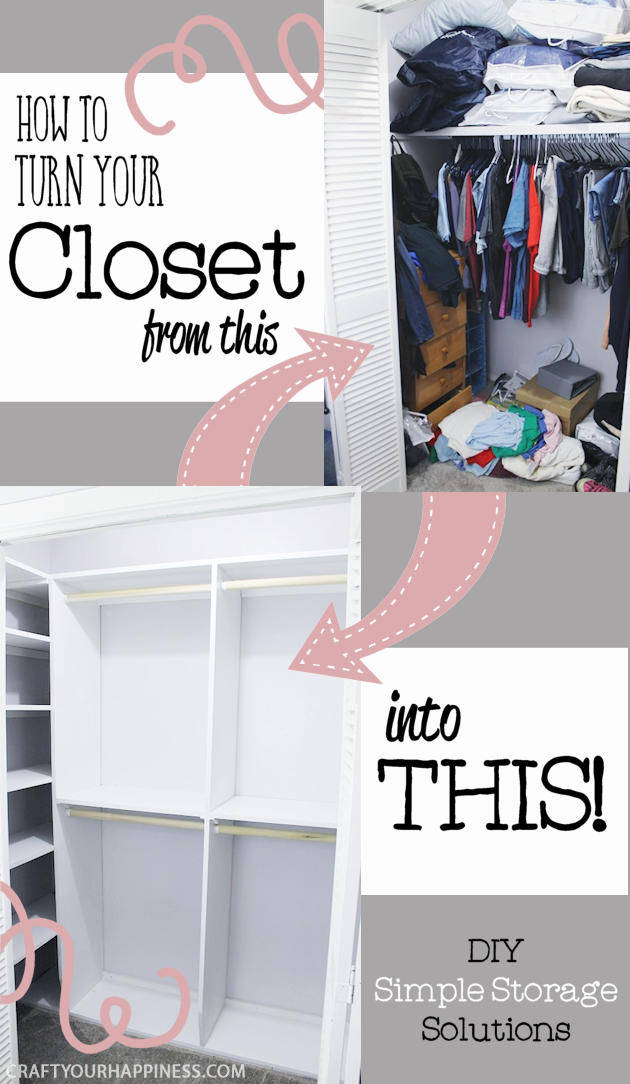
 Could your closet use a little more space and organizing? We’ll show you how to build closet shelves along with the rods and cubby holes. We tripled our space! Even amateur woodworkers (like us) can do it with a few tools. Ours was measured and designed in the free software Google SketchUp. (File included.)


2 Comments

  1. We have been in this house 41 years, raised 5 children, and just now seeing what I SHOULD have done decades ago. Our closets are just like these. So I believe that I have found a project that I want to do. Thank you for sharing.

    Reply

Leave a Comment

Your email address will not be published. Required fields are marked *

This site uses Akismet to reduce spam. Learn how your comment data is processed.