![]() If you’re a blogger you’re most likely taking photos for your posts. We’ll show you how to make quick and easy DIY photo backdrops for smaller items that’s inexpensive and easy. All you need is a foam board, some contact paper, or spray glue and scrapbook paper of your choice. Cover both sides and get two backgrounds in one! We did all wood backdrops but you can do them in any color you like that works. Using contact paper is the easiest but scrapbook paper also works if you use the right type so you can’t see seams. Wrapping paper would also be another choice. You might also enjoy our other ideas for bloggers such as how to make a Home Photo Shoot Area, and some really unique Home Office Ideas.
If you’re a blogger you’re most likely taking photos for your posts. We’ll show you how to make quick and easy DIY photo backdrops for smaller items that’s inexpensive and easy. All you need is a foam board, some contact paper, or spray glue and scrapbook paper of your choice. Cover both sides and get two backgrounds in one! We did all wood backdrops but you can do them in any color you like that works. Using contact paper is the easiest but scrapbook paper also works if you use the right type so you can’t see seams. Wrapping paper would also be another choice. You might also enjoy our other ideas for bloggers such as how to make a Home Photo Shoot Area, and some really unique Home Office Ideas.
DIY Photo Backdrops Supplies
- Sturdy Foam Board. We used 22″x30″. The link is for a 22″x28″ but I would not go smaller. They make them larger too which gives you the ability to photograph larger things if needed. Typical size foam board is carried by Walmart, craft stores and some Dollar Tree stores.
- Contact Paper Wood Grain is great. This is one I used. Marble contact paper would also be good of you can seam it well. Check the size of the paper. Get it as wide as you can, 17″ or more if possible. Keeping in mind you will have a seam. Some papers don’t work for that very well.
- Scrapbook Paper You will need to buy this at a craft store or Walmart as you need several sheets of the same color. Seaming can really show on these so be careful. Wood grain works best.
- Spray Adhesive (For Scrapbook paper.) I’ve used the one I linked to for years but there are many others.
- Scissors for scrapbook paper or better yet a Paper Cutter if you have one. I own the linked one.
 Instructions
Gather the supplies you need for the type of covering you will use. FYI: Contact paper is the easiest but use paper of your choice. 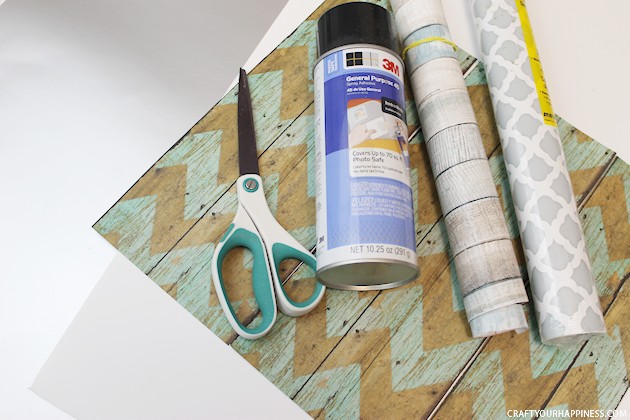
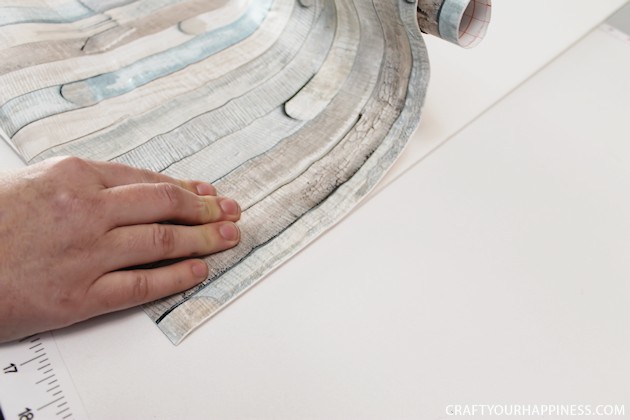
Plan out ahead of time, with the backing still on, how it will lay out, depending on the design. Then remove the backing a couple of inches and start placing it on the board while smoothing as you go so there are no bubbles. 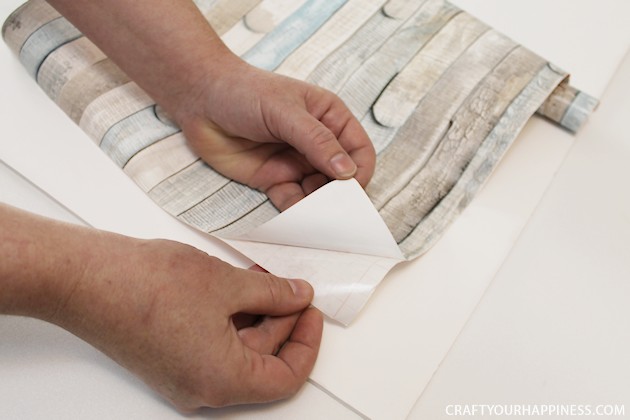 THIS IS REALLY A TWO PERSON JOB. One to hold the roll as one to un-peel, place and smooth.
For the Scrapbook Paper version you need to find a pattern that works well. Because these are typically 12×12 sheets, wood grain tends to work best. So that you don’t have even lines that are easily seen, cut the pattern into strips along the printed seams in the wood. For the pattern shown, we cut each sheet into 3 strips that had 2-3 printed “boards” on each strip. Using a paper cutter could assure straighter pieces so I suggest you do that if you have one. 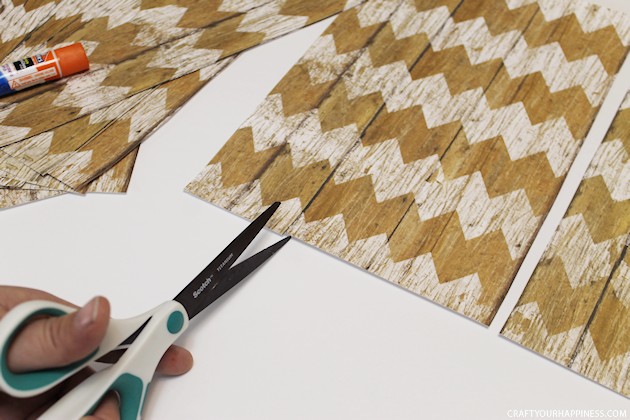
You’re now ready to put them on the board.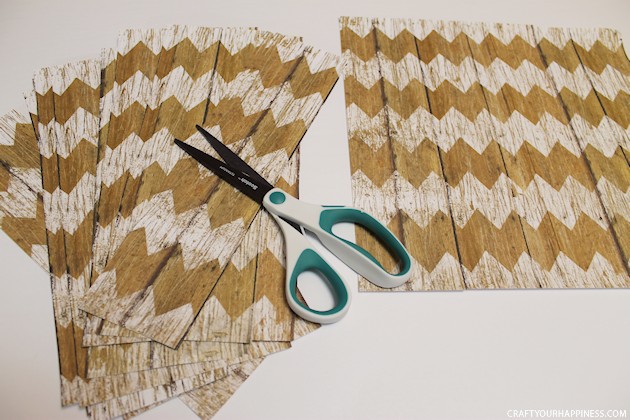
You need to stagger them in order to get an authentic wood look when you are finished. This makes them appear more like actual wood planks. (Depending on your paper you’ll see what we mean as you test.) This took a long time with the glue stick and did not hold really well but, as it says on the photo, we used it so we would not have to run outside to use spray adhesive on each piece. Never use that stuff inside.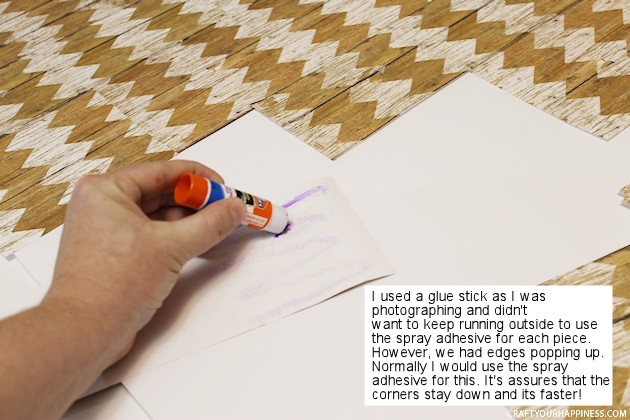
This shows how we staggered pieces. 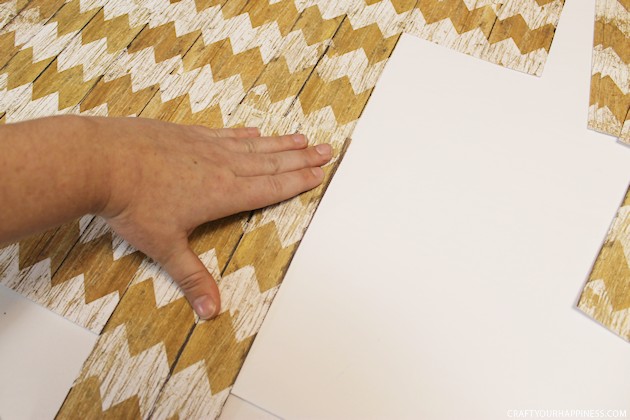
You will have some pieces that go off the edge when you’re done. Just cut those off. 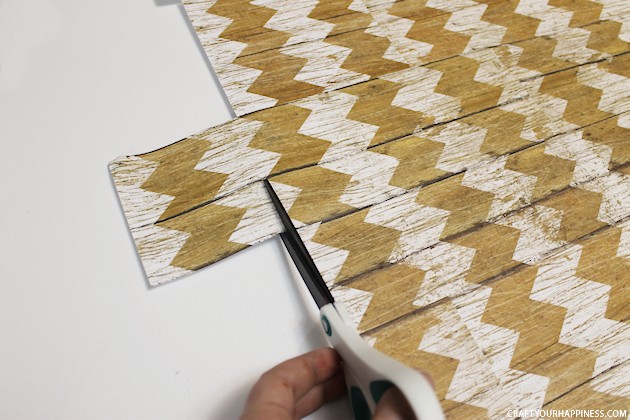
If you have any white board showing through in spots, use a marker to cover it. 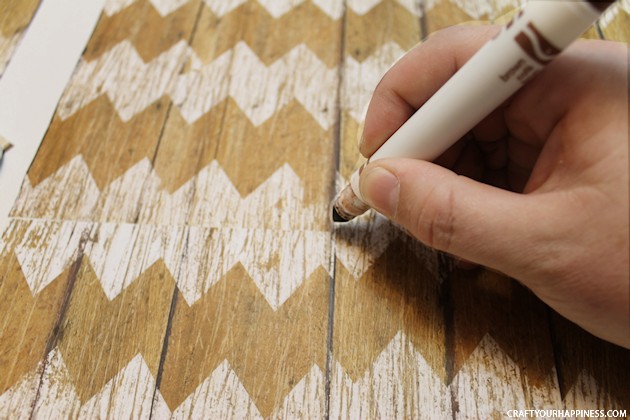
You’re finished with one side. You can do a different paper or contact paper on the back!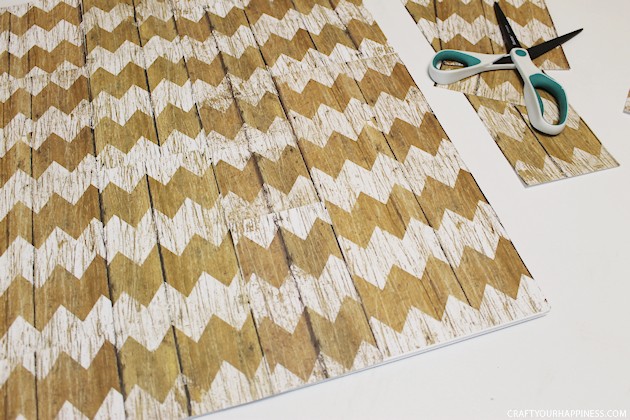 Here are a few of the DIY Photo Backdrops we used ourselves. All were made using the same process with different wood-grain scrapbook paper sheets. Get creative!
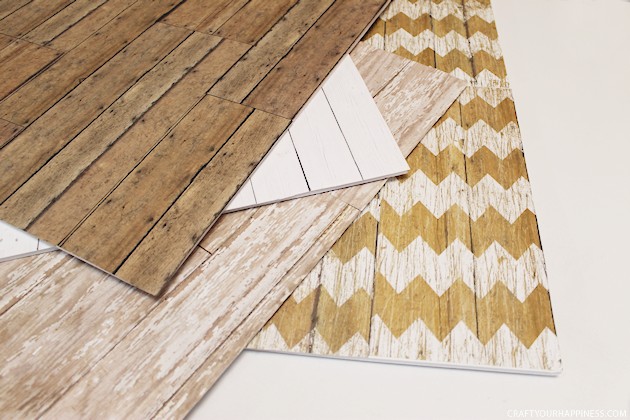
This works great for smaller to mid-size items!
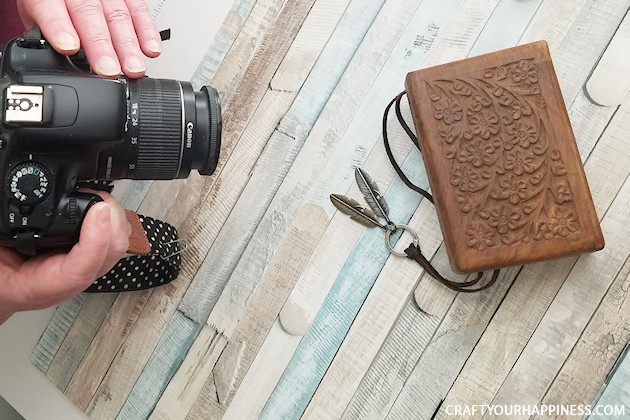
Beautiful! And you’d never know it wasn’t wood. 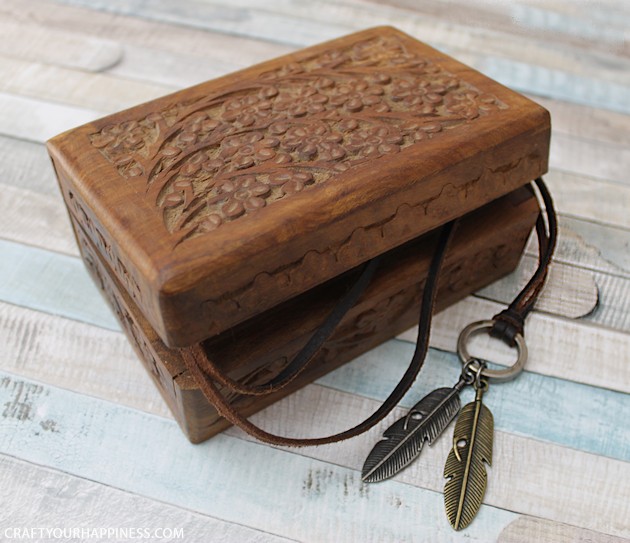
![]()
![]()



2 responses
Great Idea! I never have a backdrop when I need one.
Hey Eunice! Thanks a bunch!