![]()
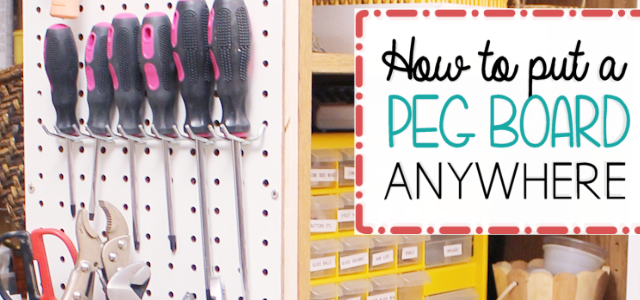
Pegboards are a clever and inexpensive way to organize your stuff. Ends up they are fairly easy to do with just a few tools. You can make them any size and put them just about any place! A quick coat of paint and they are pretty stylish! I used a variety of pegboard hooks but also made my own containers from stuff I had! Read or download our free directions for all the pointers.![]()
 Supplies
- Pegboard. Many times you can find pieces the size you want at hardware stores. You can also saw them with a good type of hand saw.
- Wood strips for framing. For larger boards you can use 1"x2" long strips. For small boards you don't want them more than about 3/4" square. Otherwise they will cover more of the holes and you'll have less hanging space.
- Nails or screws, hammer or screwdriver.
- Good hand saw. Or any electric saw.
- Paint (optional)
- Peg board hooks

How To Hang Pegboard Anywhere
- Decide where you want your pegboard. Any spot with a flat surface you can place a few nails or screws into will work.
- Measure the length and width.
- Cut wood strips for the sides, top and bottom area of where you will be mounting the board.
- Nail or screw on your strips around the area.
- Cut the peg board to fit the area you choose.
- If you want to paint it first now is the time!
- Set the pegboard in place, nailing or screwing it INTO the WOOD STRIPS you previously attached. You want to mount your frame so that at least some of the nails or screws hit a stud or hard surface.
- You're ready to start hanging!

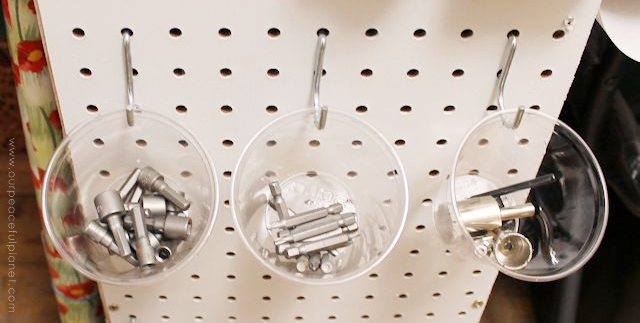
Make Your Own Hanging Bins
You can easy attach baskets or plastic bins to your peg board as long as you can drill a hole for them to fit over the hooks. This means there is an endless supply of things you can hang to hold stuff! I used dollar store drawer organizers I had and then some plastic cups!

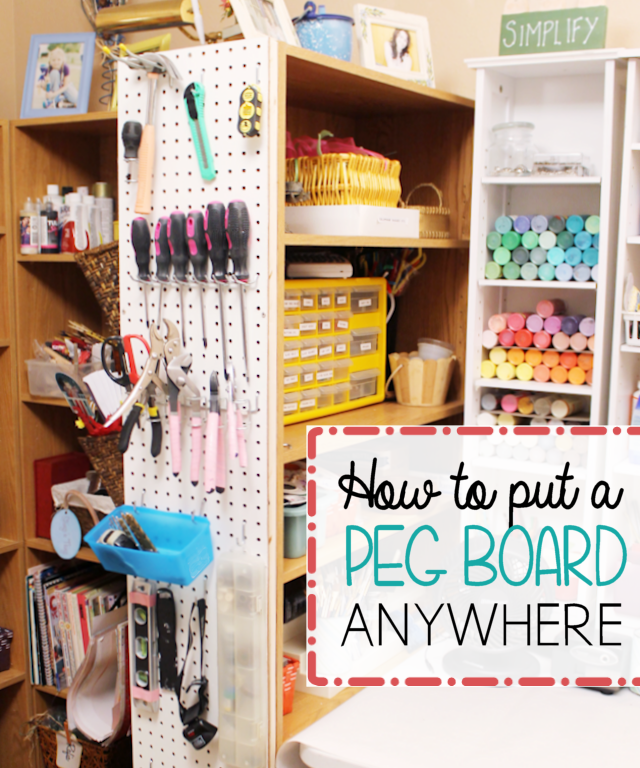
Finished Product!


