![]() When I was 16 I received a “Hope Chest” from my parents. That’s what we called them back then anyway. It’s just a cedar chest for teens to keep special things in, which is what I used it for. I still have it and it’s filled with keepsakes from childhood and teen years and also includes my wedding dress I made myself. The chest is a heavy bugger and it’s followed Roy and I through 40 years of marriage and dozens of homes. I’ve always found a spot to put it in each house. However, in our current small home, after redoing things, I found myself with no place it would fit. It was shoved in the hallway blocking traffic as I pondered what I would do.
When I was 16 I received a “Hope Chest” from my parents. That’s what we called them back then anyway. It’s just a cedar chest for teens to keep special things in, which is what I used it for. I still have it and it’s filled with keepsakes from childhood and teen years and also includes my wedding dress I made myself. The chest is a heavy bugger and it’s followed Roy and I through 40 years of marriage and dozens of homes. I’ve always found a spot to put it in each house. However, in our current small home, after redoing things, I found myself with no place it would fit. It was shoved in the hallway blocking traffic as I pondered what I would do.
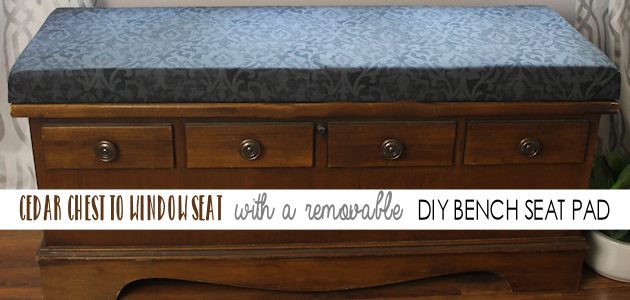
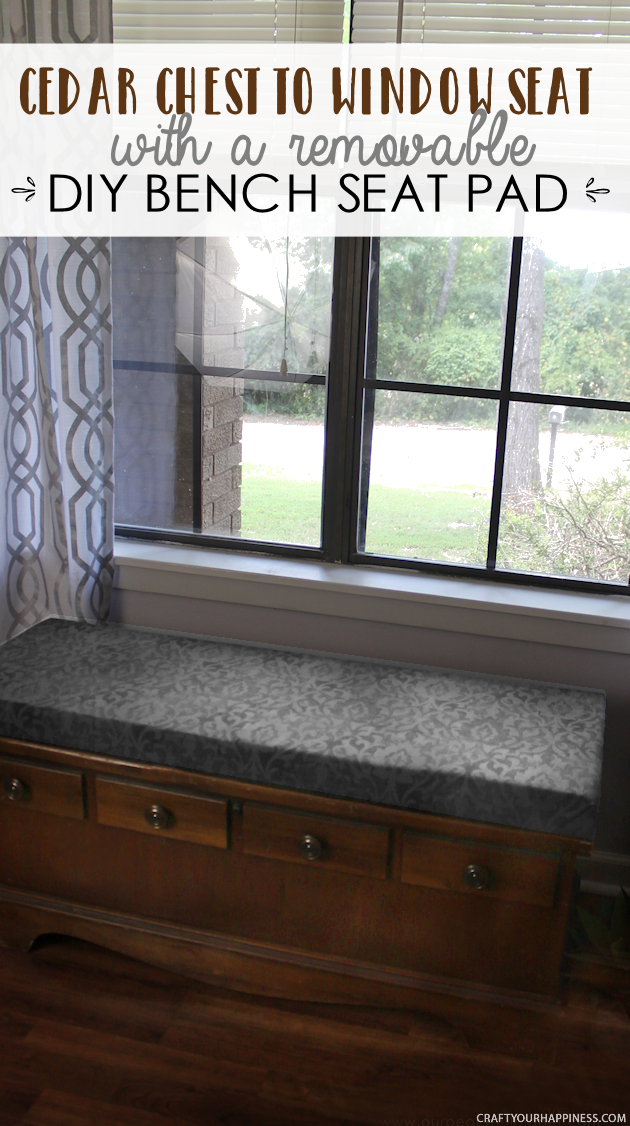
Then my daughter Jennifer came out for one of her visits. She was redoing a few things in my house (its nice to have a free personal decorator) and the next time I walked into the living room there was my cedar chest sitting in front of the big front window. I looked at it and thought…. “Why didn’t I think of that?” For one thing it makes a nice little window seat but the real reason I loved it was because it gave Oliver and Barnaby the ability to sit and look out the front window. All I needed was to pad the top somehow.
Now, I’ll admit I didn’t take great care of the chest through the years and it was pretty dirty and marked. Still, I didn’t want to paint it, drill holes in it or change out the original knobs. I wanted it kept as it was when I received it all those years ago. Just cleaner… and with a padded top. So we brain stormed how to attach a pad without screws and came up with the idea below.
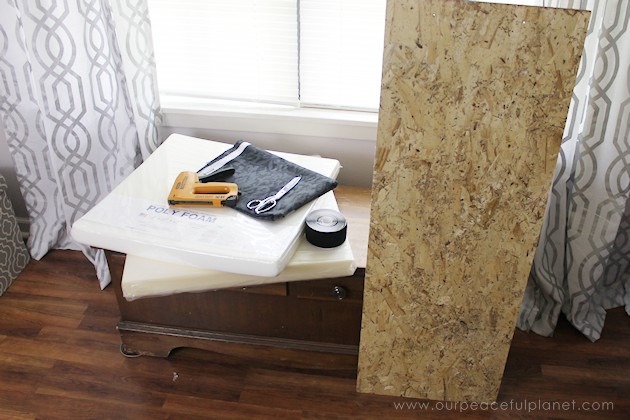
 DIY Bench Seat Supplies
Board Base Notes: I wanted a firm base that I could attach the Velcro to and also staple my fabric to which is why I use a board base rather than doing a bunch of sewing.
- Wafer board for base 1/2″ measured to fit top of chest
- Poly foam to fit the chest. We purchased ours at Hobby Lobby and used 2″ deep squares. $20 total. Amazon: 1″ Full Long Sheet or 2″ Full Long Sheet
- Staple Gun
- 2″ Wide Velcro Type Sticky Back
- Material of choice. Make it heavy and able to hold up to wear.
- Marker
Instructions
This is my hope chest. Needs a good cleaning. Notice the slider things under each corner to help us move it. Many memories are held inside this chest.

The supplies to make a seat cover are minimal.
We could not find poly foam in a longer sheet so purchased two this size. 1″ would have also worked. 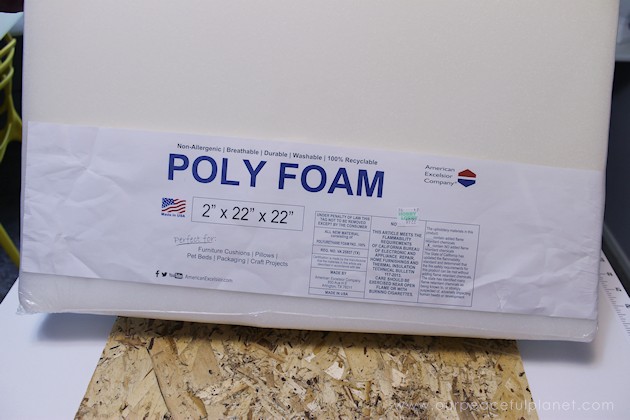
Mark your foam to fit the board.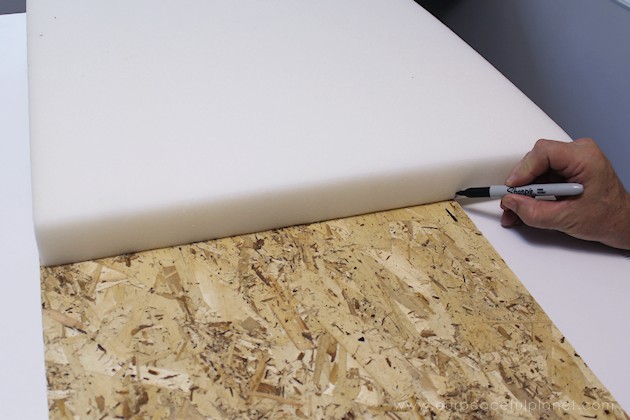
Use a ruler or straight edge of some sort and mark where you will cut then cut with scissors.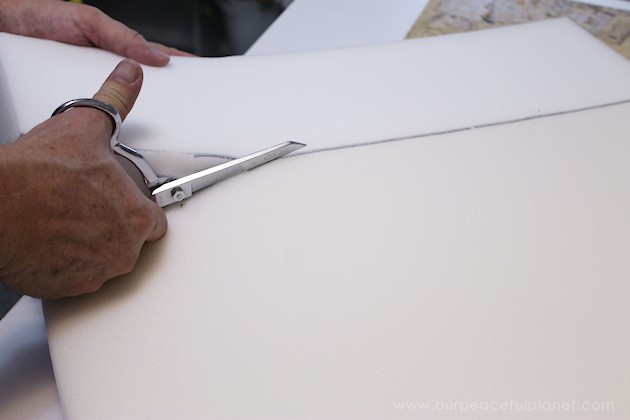
Measure the first to the second piece if you were not able to get the foam in a single sheet.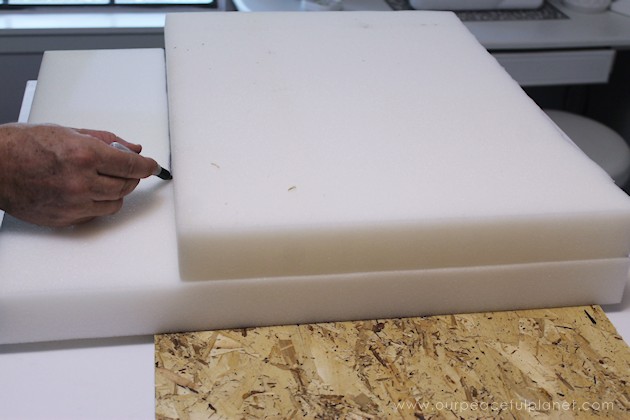
Place the fabric print side down. Align your foam on top and in the center.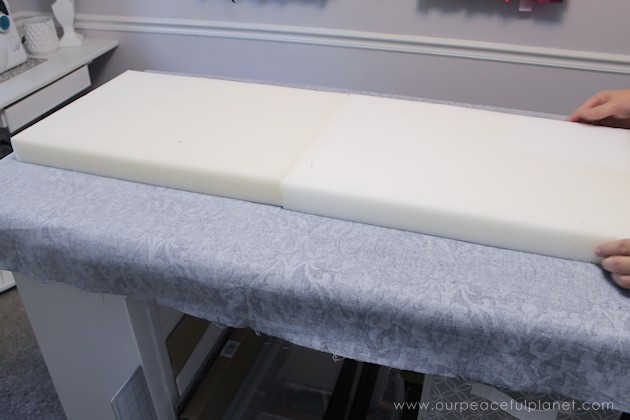
Place the wood on the foam. Trimming the material, as needed we folded over the very edge and stapled it in place on one end first.
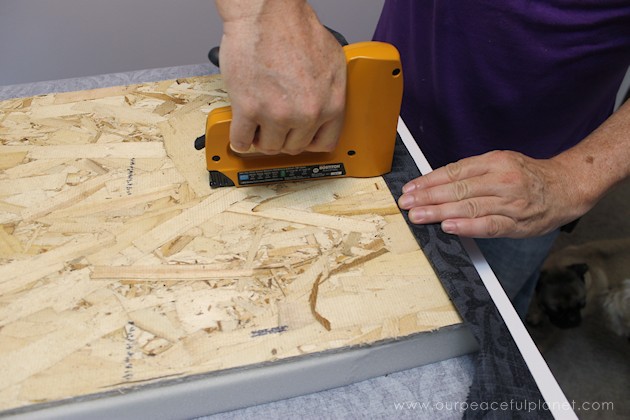
Pulling the material taut, do the same on the other end. 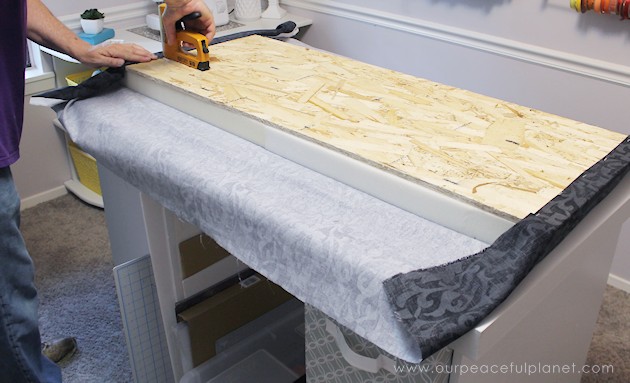
Next you will do the sides. Make a nice corner square. Most importantly KEEP THE MATERIAL NICE AND SNUG AS YOU GO. Otherwise you’ll have wrinkles on the top. 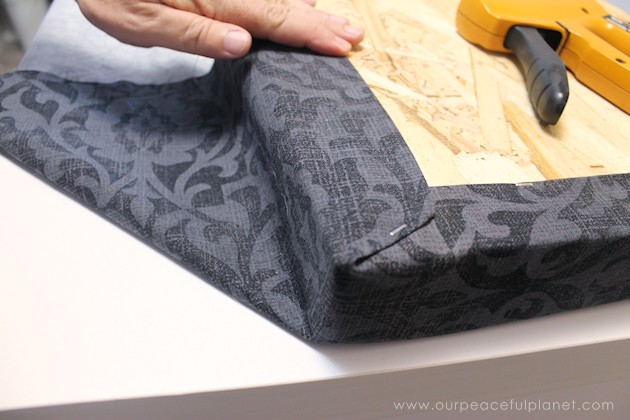
One end finished.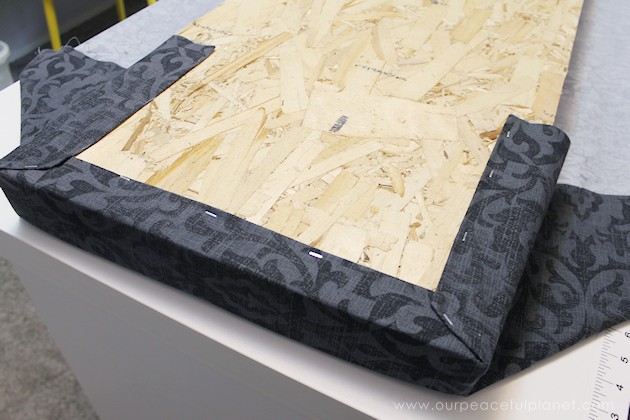
Roy trimming as needed before folding it under for stapling. 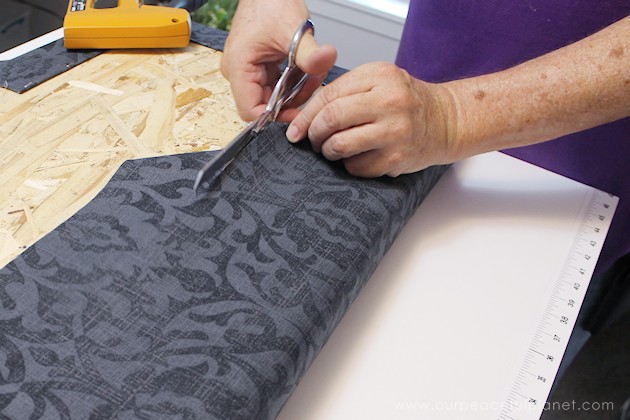
Stapling the remaining sides, again keeping the material taut. 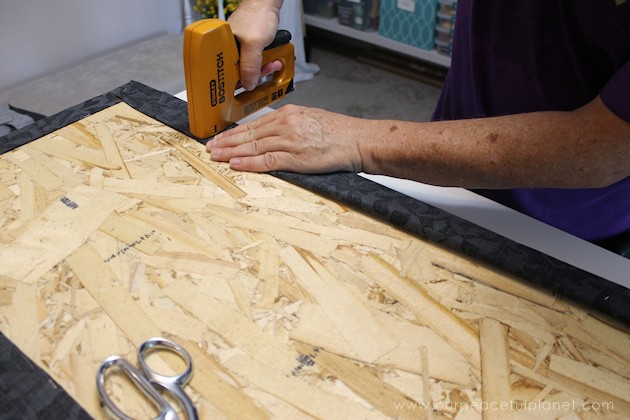
We decided to take a scrap piece of material to go over the wood section so it wouldn’t add scratches.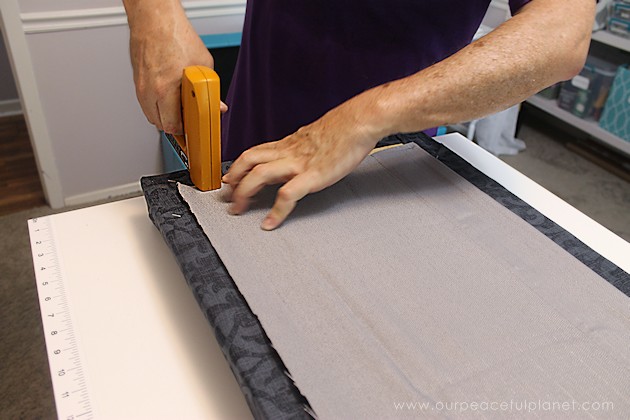
Next we cut our extra duty Velcro pieces to fit. 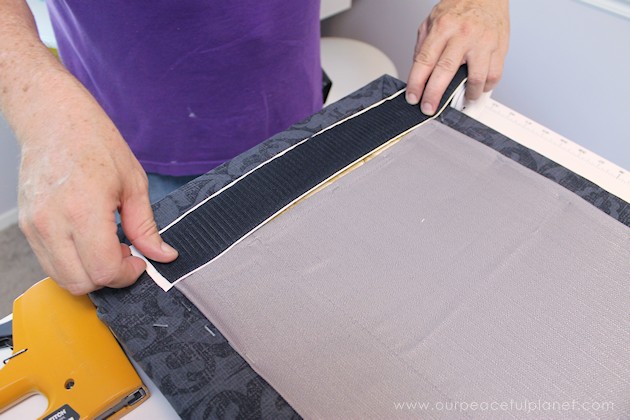
They were sticky back. 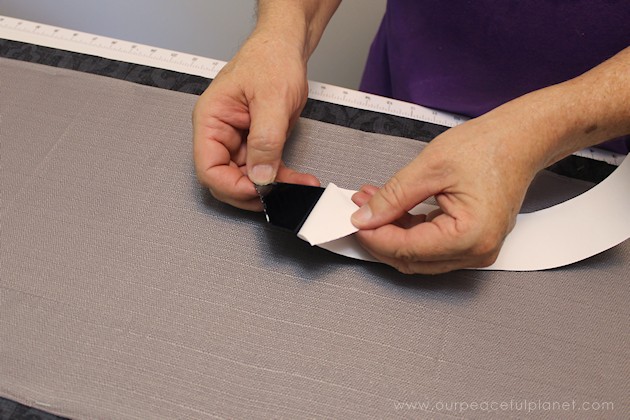
We still added some staples to give them a good hold. 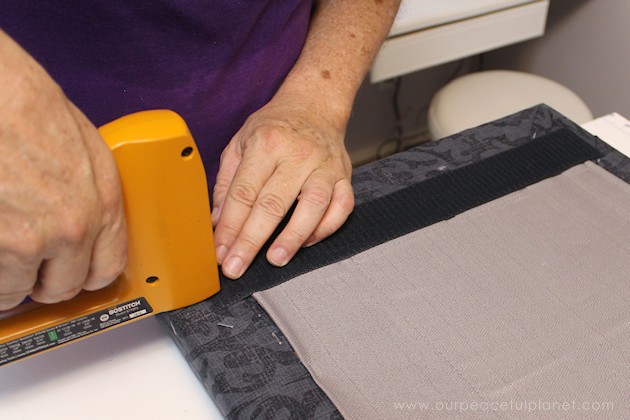
We then placed the bottom two Velcro pieces in place on the chest. This was before I did cleaning and touch-up work on the front and sides of the chest itself. Old English does an amazing job at covering scratches and marks. 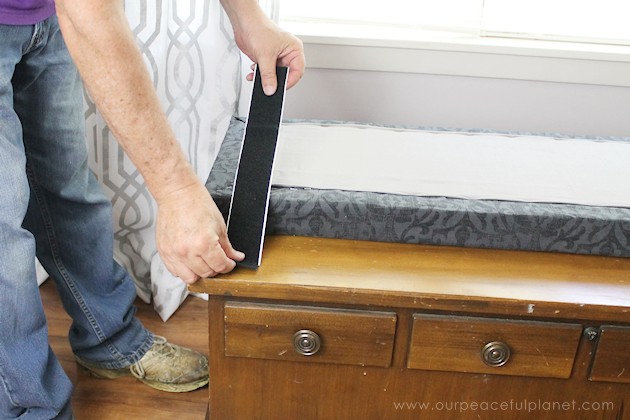
We just let the adhesive do the job on the bottom part. It was pretty strong.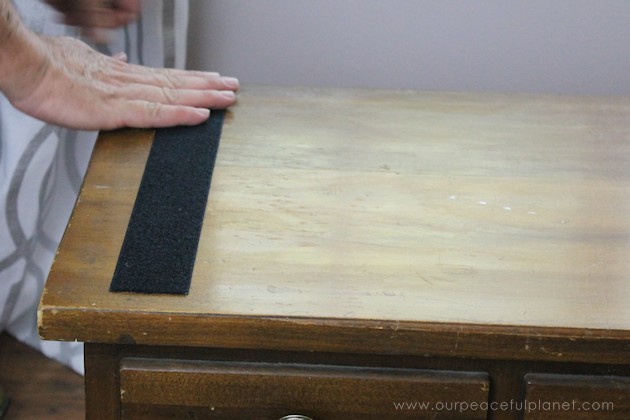
It’s now ready to set the top onto.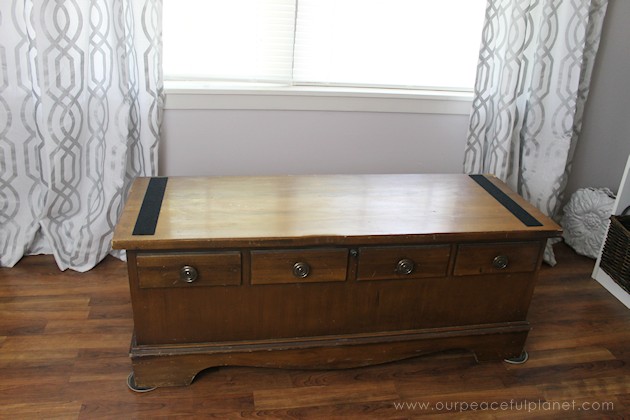
Make sure your Velcro lines up well. 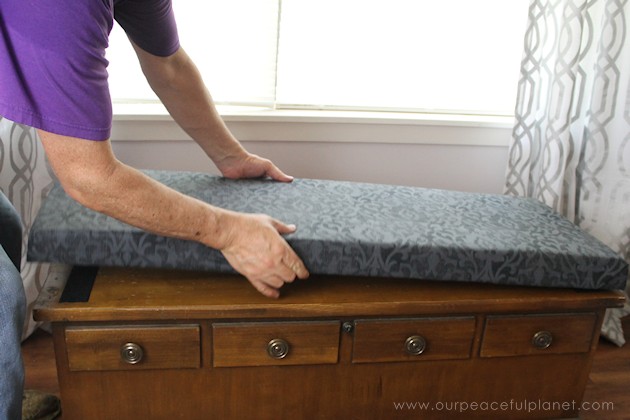
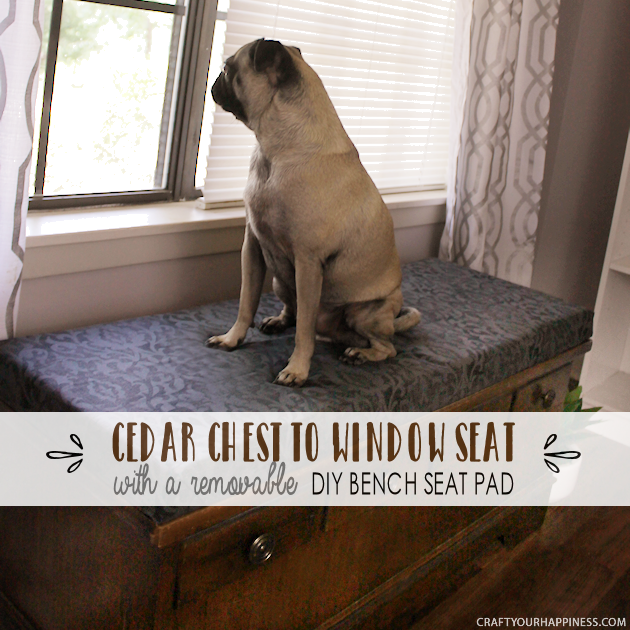
The finished DIY bench seat. 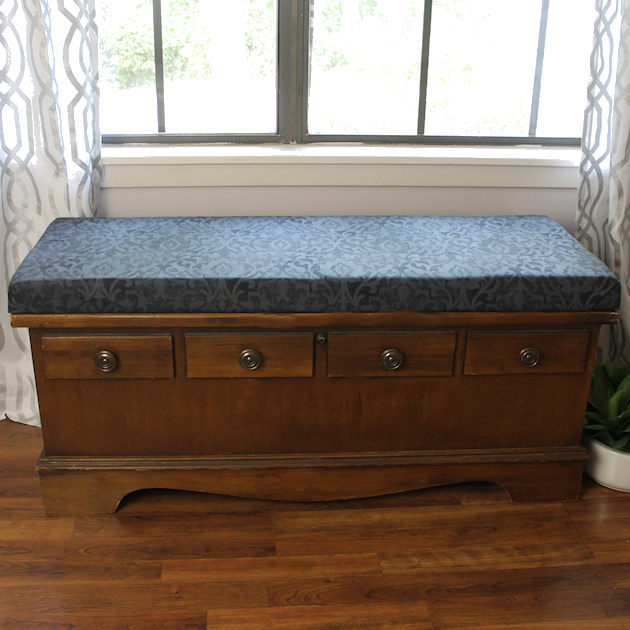
The dogs love it and don’t slide off now when they jump up. Plus people can sit on it too, of course!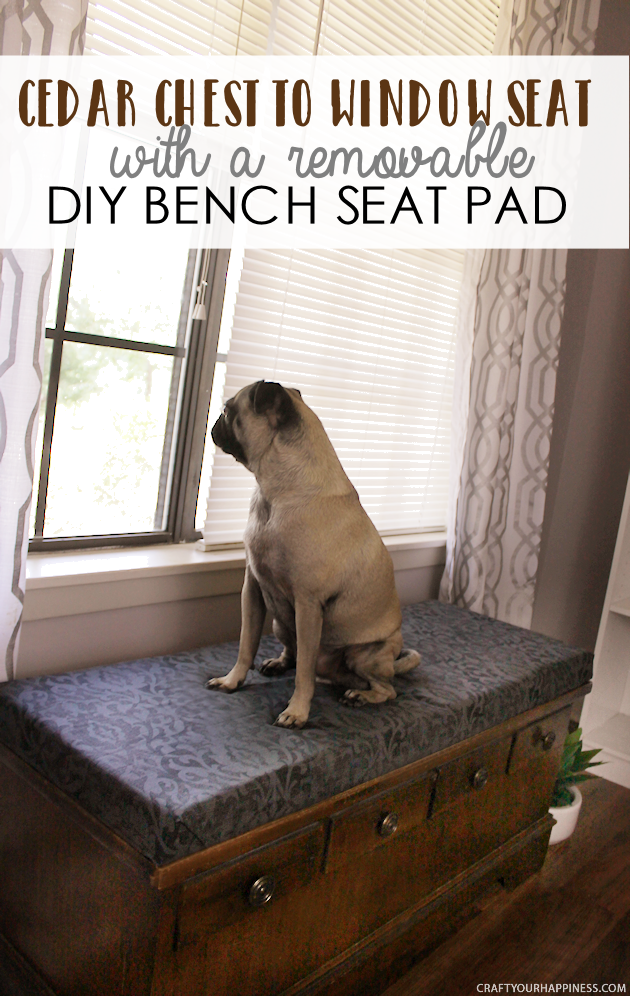
![]()
![]()
