![]() I’m kind of embarrassed to admit this but we were using a stand up clothes armoire as a simple DIY pantry in our kitchen because we didn’t have enough space to hold all our food stuffs. Hey, you do what you need to do. And I needed more space for my canned goods. Roy, who’s not a carpenter, finally decided he was going to make us a pantry as part of our outdated kitchen transformation.
I’m kind of embarrassed to admit this but we were using a stand up clothes armoire as a simple DIY pantry in our kitchen because we didn’t have enough space to hold all our food stuffs. Hey, you do what you need to do. And I needed more space for my canned goods. Roy, who’s not a carpenter, finally decided he was going to make us a pantry as part of our outdated kitchen transformation.
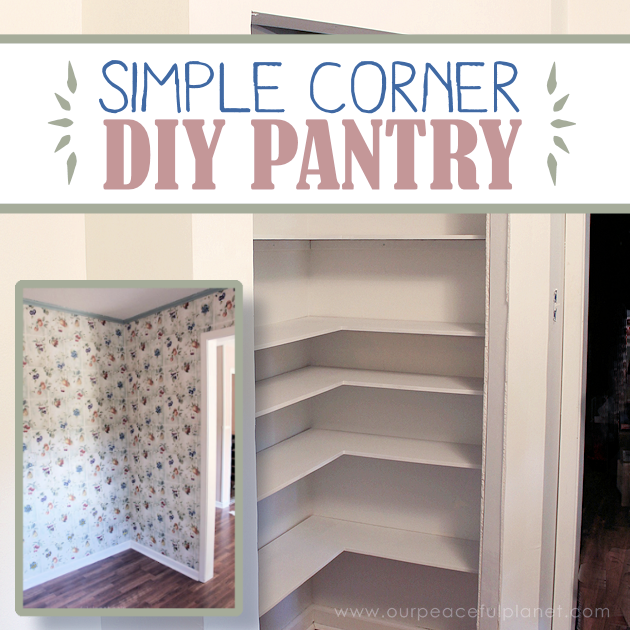
It would be small and in the corner, but it would be floor to ceiling. So he designed it using Googles free program SketchUp. Then he bought the materials and started building! I’m amazed at how much this small pantry holds. I was able to empty the “armoire” pantry and a couple of cupboards. You can watch him make it start to finish below. If you enjoy these do it yourself wood projects, you might also like our DIY Bed Canopy.
Supplies
I had not added these when the post was originally created so I asked Roy to try and recall the cost. Here is what he used and the cost to the best of his memory.
- 12 2″x4″ : $36
- 3 pieces of wallboard. $30
- Door: $32
- Drywall Compound, Spreader and Sandpaper (we had these) 12 lbs of compound runs $12 on Amazon.
- Paint, White (we had this also)
- You would most likely need trim which varies in cost.
SHELVES
- 6 each 1”x2”x8’ boards (shelf supports) Approx. $1.32 each ($7.92)
- 2 each 1/2”x4’x8’ (shelves) Approx. $12 each ($24)
TOTAL COST $98 (not including the things we had already)
 Simple DIY Pantry Plans
We’ve had so many people ask about sizes and plans that we’ve added a download that has that information. Or the best we can give anyway. Roy used the free software Google Sketchup to draw up the plans to fit our space. We’ve included the pictures which show all the dimensions and the actual Google Sketch up file itself should you want to grab the program and pull it in.
Plans pdf

Google Sketchup File (zip format)
After unzipping the .skp file can be opened in the free program Google Sketchup.

![]()
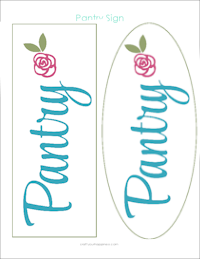
Pantry Sign Printable
I’d had some requests for the Pantry sign which I cut out of vinyl using my Silhouette Portrait machine. I created a printable if anyone was interested in a similar sign with colors. It can be printed and laminated if desired.
This is the corner it was going in to. Not very big is it? (FYI it has been painted)
This is what we were using for a pantry along with a couple of the kitchen cupboards.
Roy LOVES messing around Google SketchUp and he designed the new pantry.
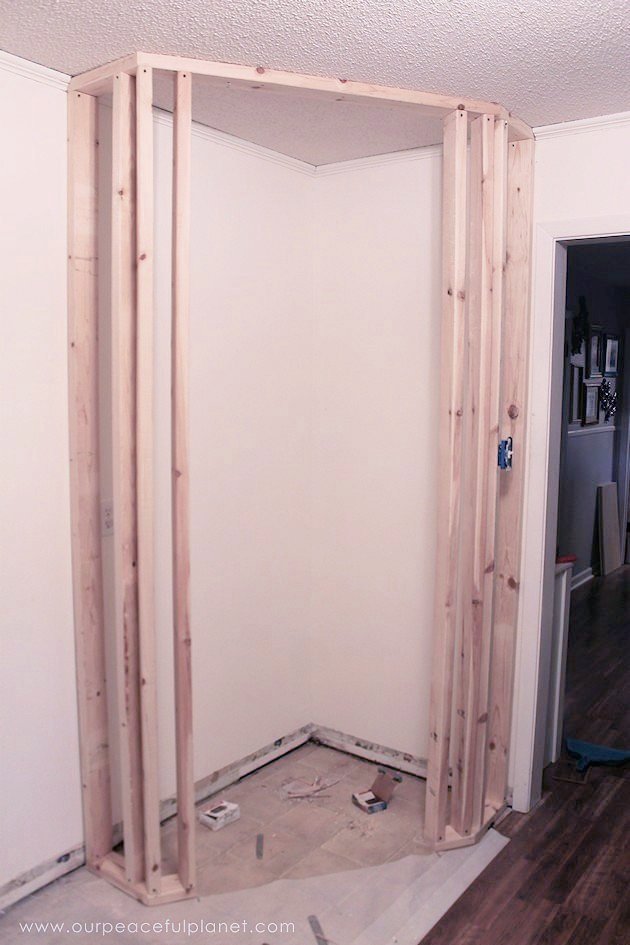
The start of the framing now begins!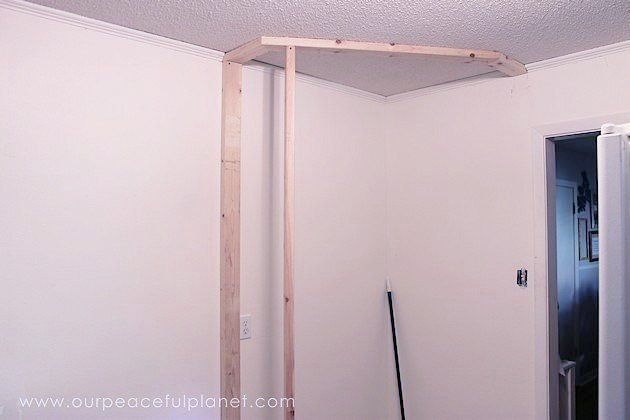
![]()
![]()
The outlet was on the wall which would now be “inside’ the pantry so Roy had to move it. Fairly easy job. 
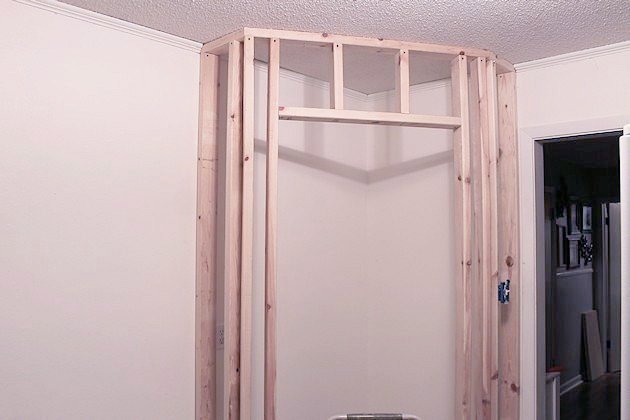
After the frame was up, the sheet rock was cut and put up. 
Then wood strips were added for the shelves. We purchased six 1″x 2″s and cut them to lengths for holding our shelves.
The sheet rock was mudded and sanded by our son Adam. 
Roy began painting the inside. 
After carefully measuring the dimensions, shelves were cut out of 1/2” MDF board. These shelves will eventually lay down on top of the supports we previously installed.

More sanding by Adam. 
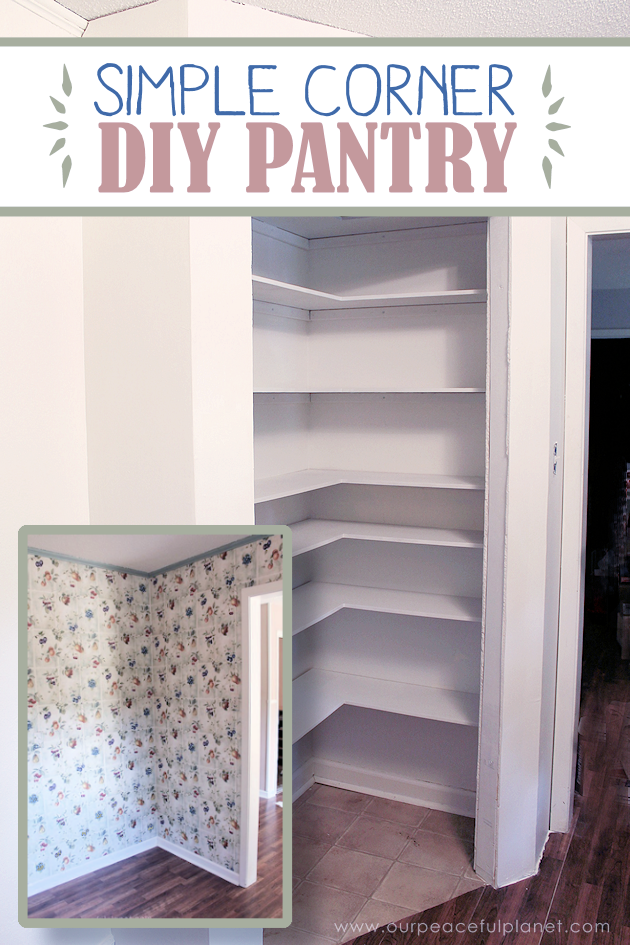
Shelves inserted and painted. The final step. The door!
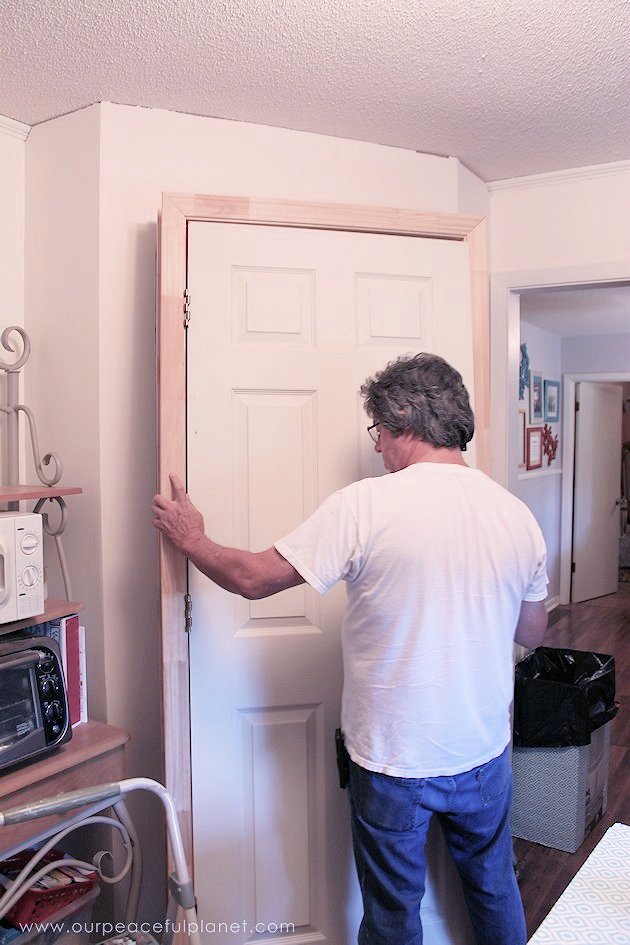
The door and frame were painted.
![]()

Though this will be part of the decorating post you get a sneak peek. We added a label to the door.
Perfect! You’ll see more later!
Actually there was one more step. Roy added some shelving on the side so we could get rid of a bakers rack that held a variety of appliances. Now came the fun part. Filling the new pantry!


I can’t believe how much stuff we could fit into that small pantry. We opened up so much cupboard space in addition to getting rid of the old armoire. 
I purchased a special container on wheels for Oliver’s dog food. We can now store paper towels inside rather than in the garage. 
Items that are not used as much go on the upper shelf. 
I don’t get all fancy with my organizing in here as there is such a turnaround. I just keep it neat. 
![]()

![]()
![]()
it!