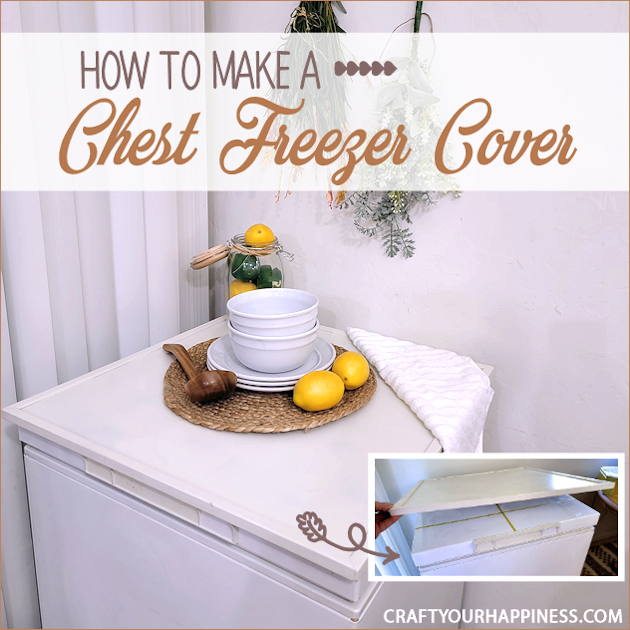
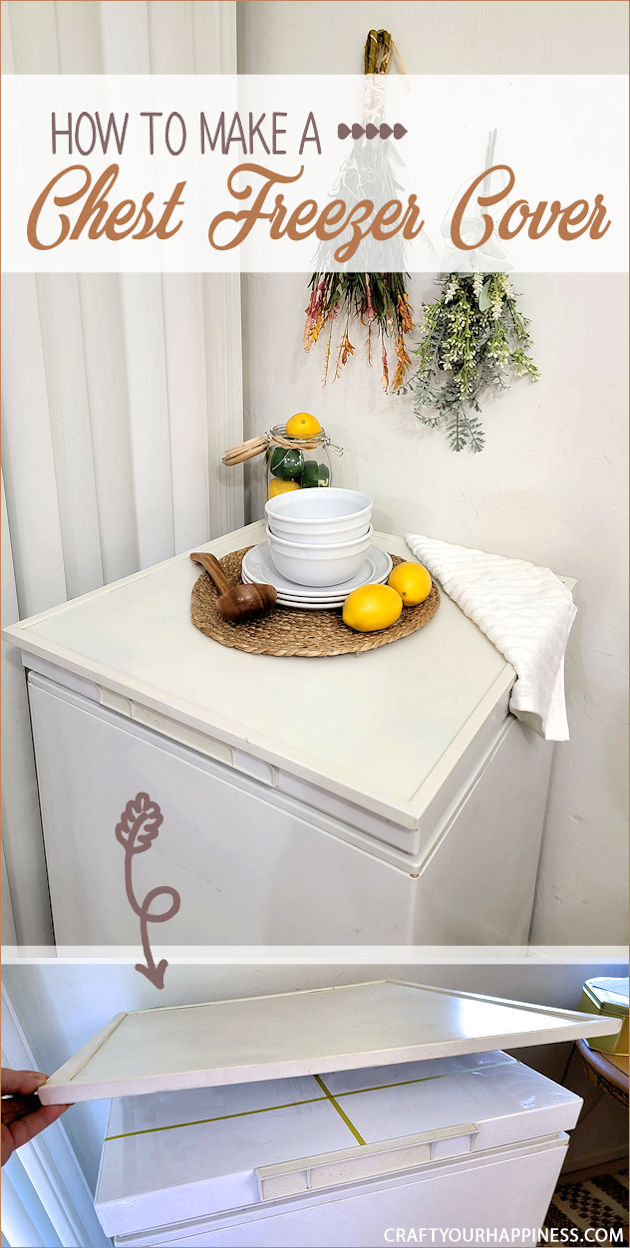
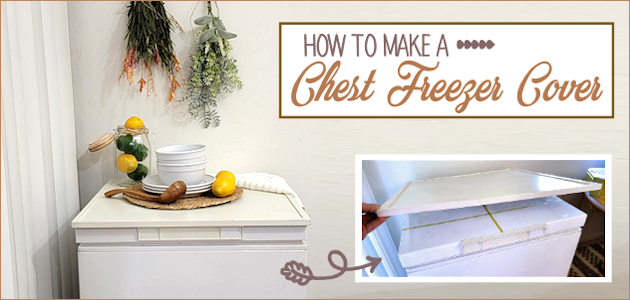
Check out how to make a chest freezer cover that lifts! Chest freezers take up space and are not always the most appealing if you need to keep them in the house. Well, we came up with an idea to help out! It’s a lift-up cover that can be painted to look however you want. (It can also double as a cover for keeping inventory on the actual lid of your freezer! We have another post on that idea linked below.) It does require a piece of masonite and some small wood trim that will need to be cut with some type of saw. Check out the details below! If you’re looking for other great kitchen ideas check out Our Amazing Outdated Kitchen Transformation which is FILLED with unique inexpensive ideas including How to Make a Kitchen Trash Can on Wheels that Fit Any Spot!
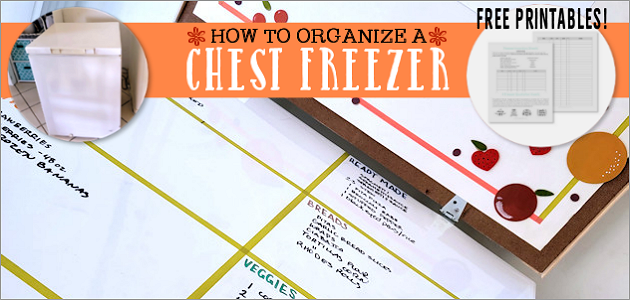
Don’t forget to check out our Fun Way To Organize a Chest Freezer FREE Inventory Printables
Supplies
NOTE: As everyone’s freezer will be different these are just general supply ideas. This would work for a bigger freezer but you would need more hinges and more wood.
MOST CAN BE PURCHASED AT A HARDWARE STORE
- Masonite wood to fit the top of your freezer. Sturdy aprox. 1/8 to 1/4″ thick. ( Our small freezer was 23.5″ square. Measure your freezer for size.)
- 1″ or smaller wood corner trim
- Saw to cut wood
- Hinges (The type depends on your freezer. These will be drilled INTO the back of your freezer lid. They would be mounted with epoxy if desired.)
- Decor for under lid (OPTIONAL) We used what we had.
UNDER THE LID SUPPLIES (optional)
There are a variety of ways to decorate the under side of your lid.
- Wood pieces (we only used these because we had them)
- Acrylic craft paint
- Washi tape
- Heavy foam or poster board. (this works best for small lids)
- Glue Gun
Instructions
Measure the lid of your freezer.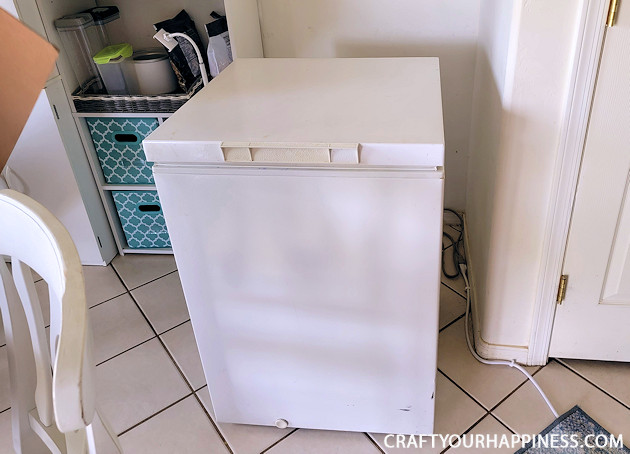
Cut your masonite to fit the lid exactly.
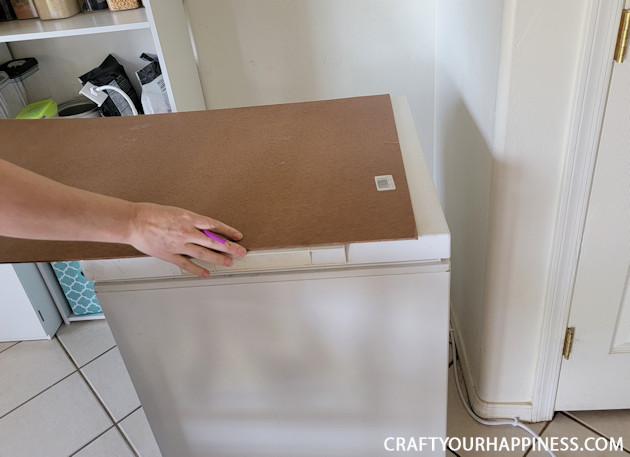
Cut the trim pieces to fit 3 edges. You will need to angle cut the corners. The BACK will have no trim.
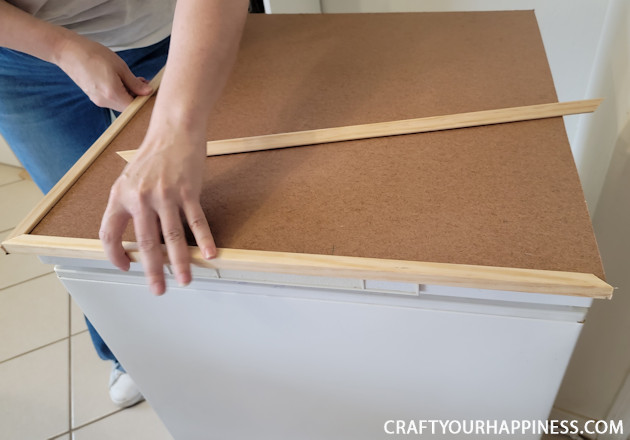
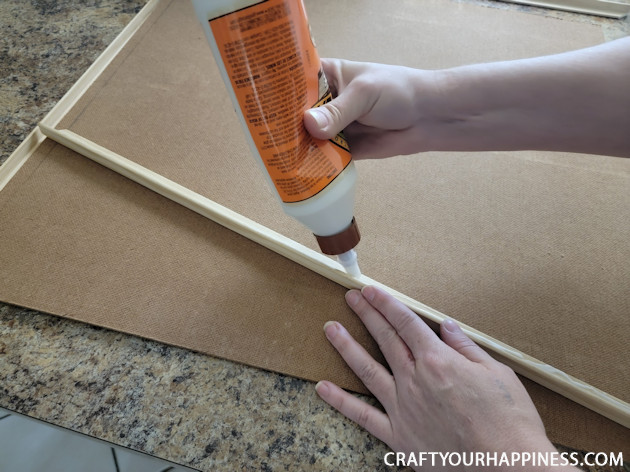
Glue the trim onto your masonite.
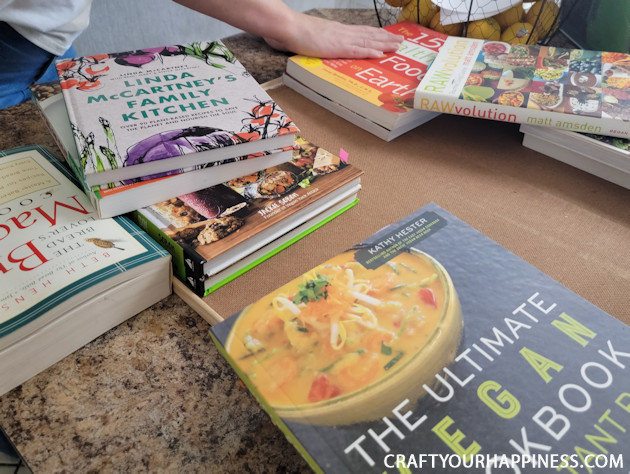
We pushed heavy books around the edge of our glued trim to hold them in place while drying.
After the trim has dried you are ready to paint or cover the lid.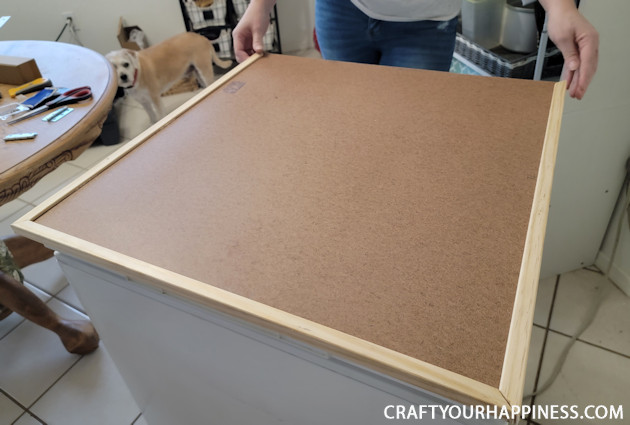
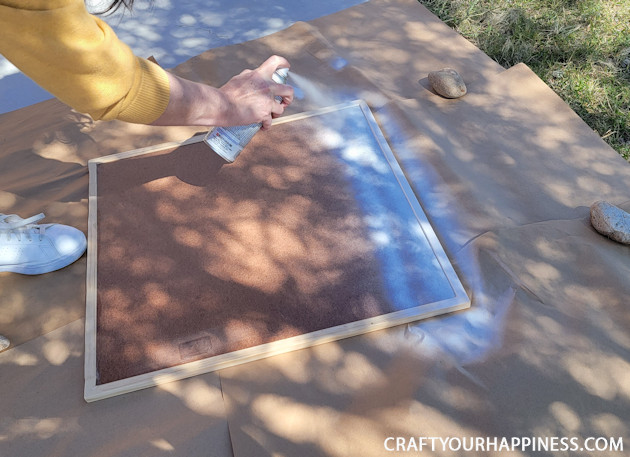
We opted to spray paint our lid. You could also cover it with contact paper etc.
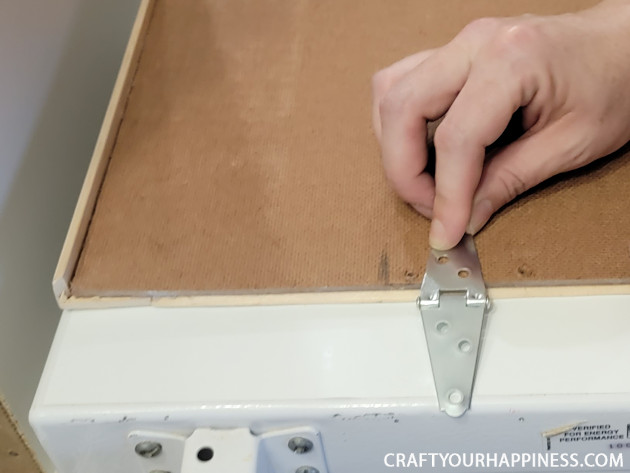
Next, add the pre-sized hinges that fit you freezer.
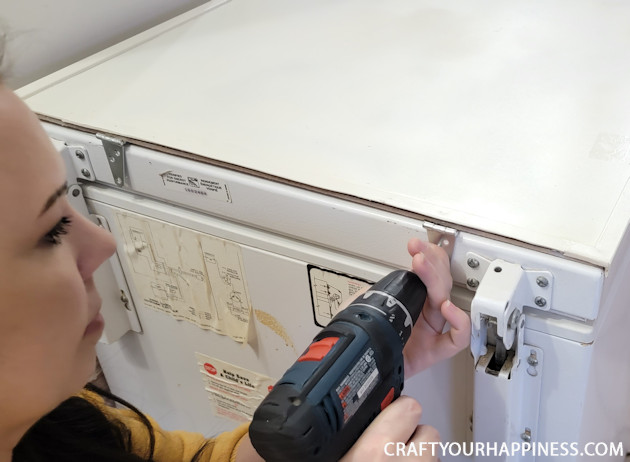
NOTE: We drilled our hinges into the back lid of our freezer after making sure it would be safe. You could also use strong epoxy if you prefer not to drill.
The lid is done!
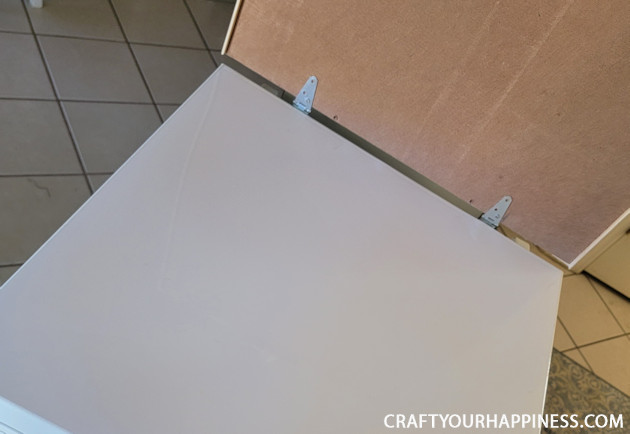
You can lift it up easily. We wanted to use our actual freezer top to write on inventory. We have another post on how to do that! Fun Way To Organize a Chest Freezer FREE Inventory Printables
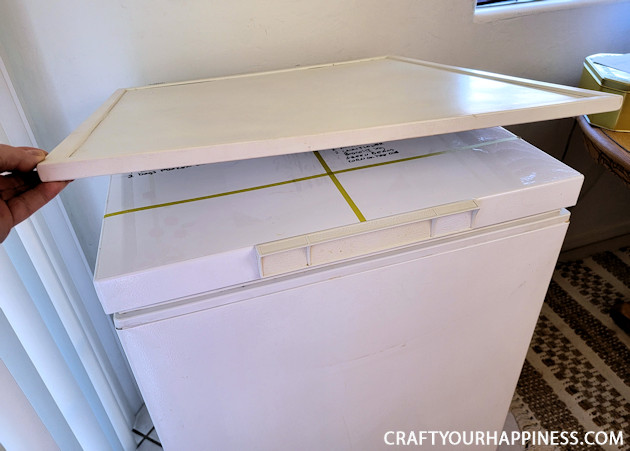
You can actually set things on the lid if desired though it’s obviously not as convenient to open. 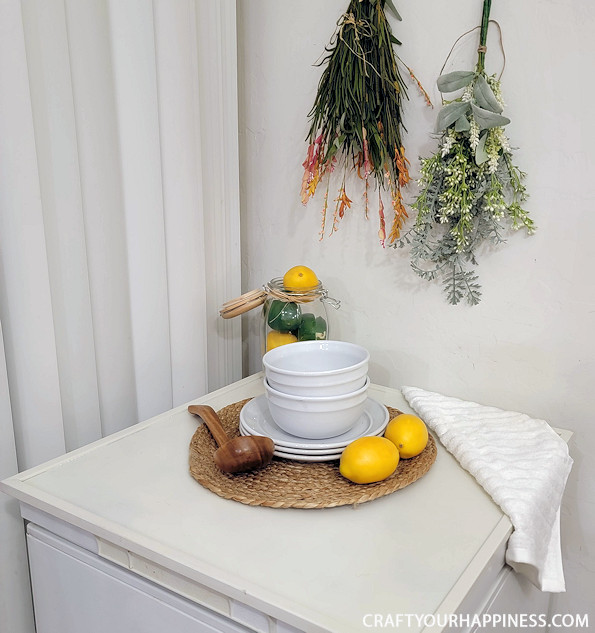
Optional Under the Lid Decor
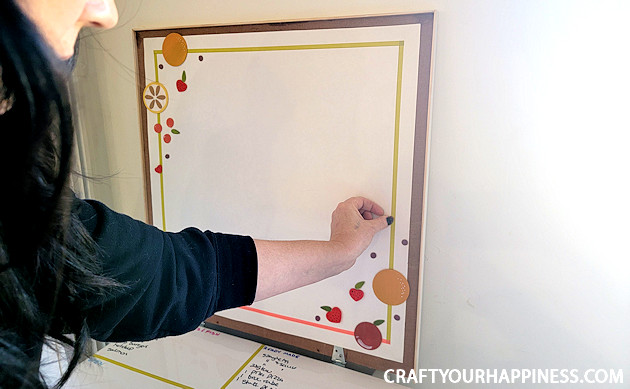
We decided to decorate the underside of our new freezer cover. This is optional of course. We rummaged around in our craft supplies and used these small wood pieces we found along with paint. Measure and cut your posterboard to fit under your lid. Glue it in place.
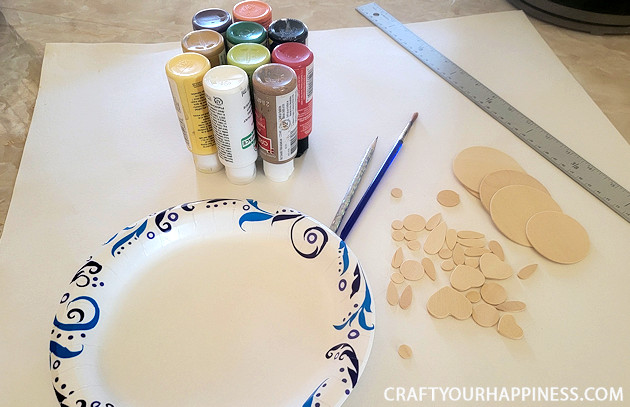
We then painted our wood pieces with a fruit design.
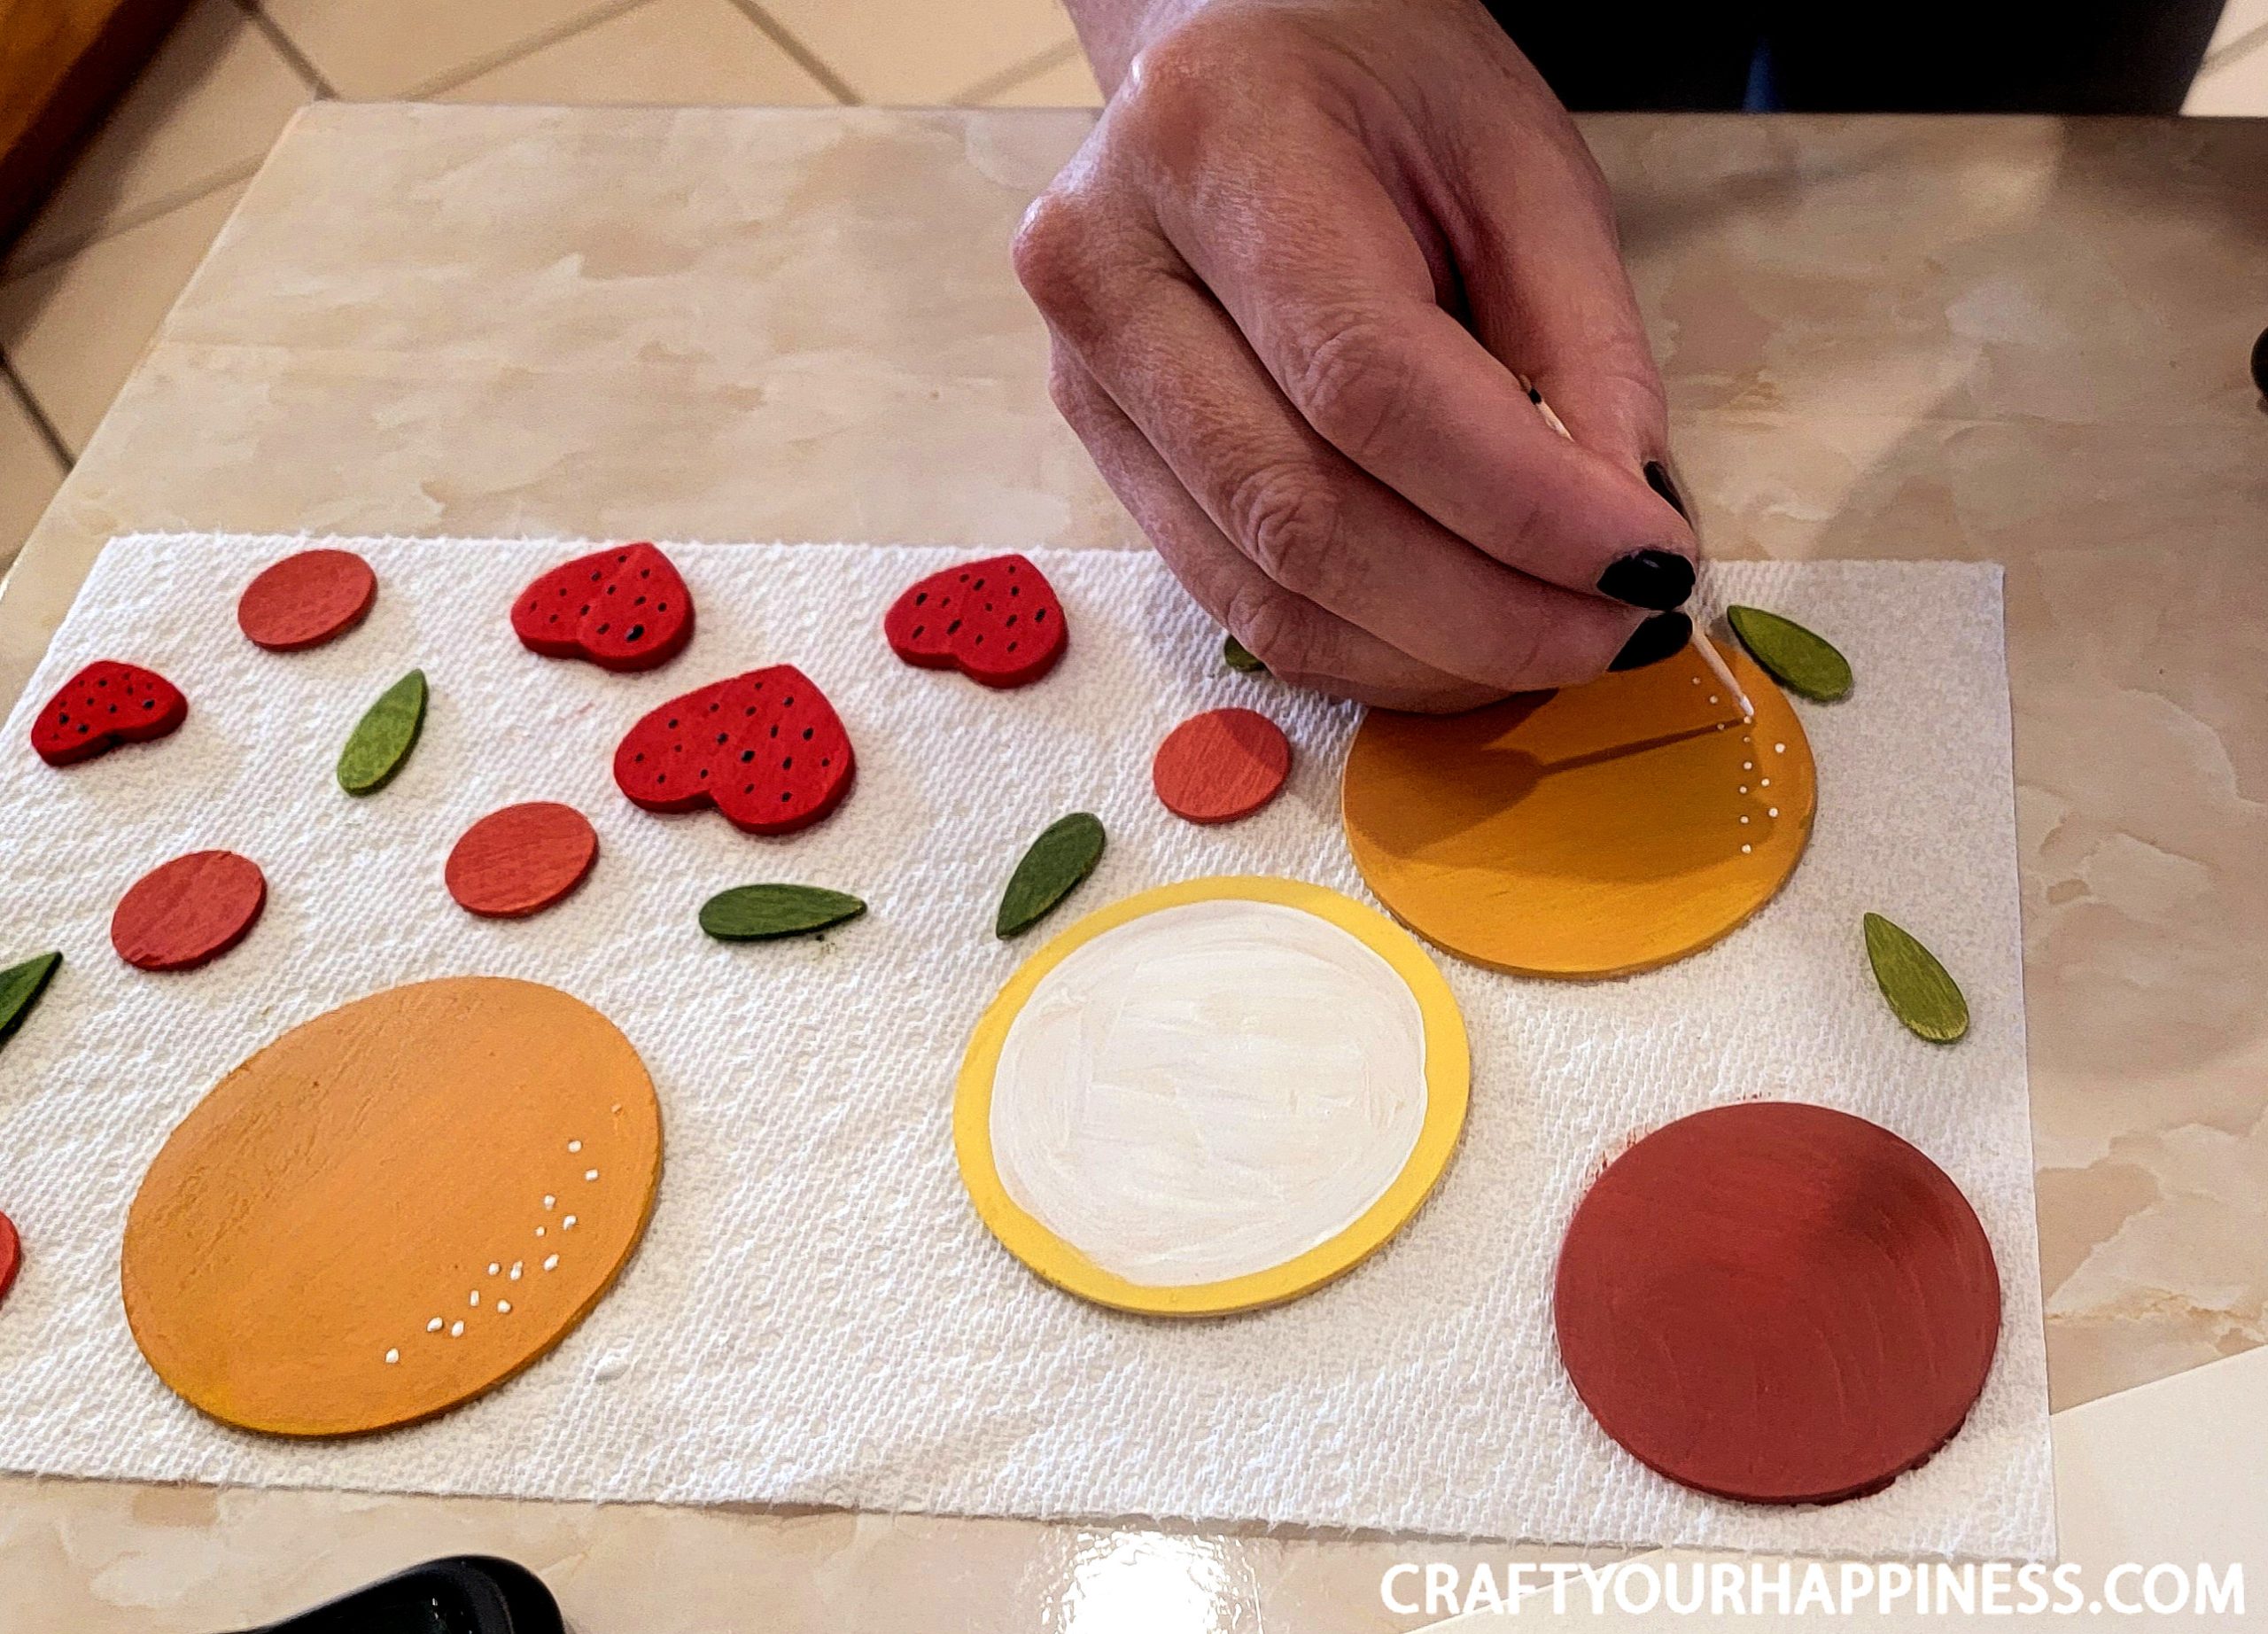
Glue the pieces underneath. We also used washi tape.
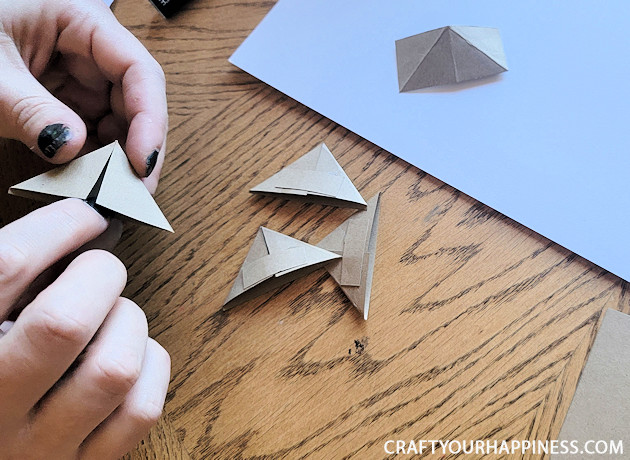
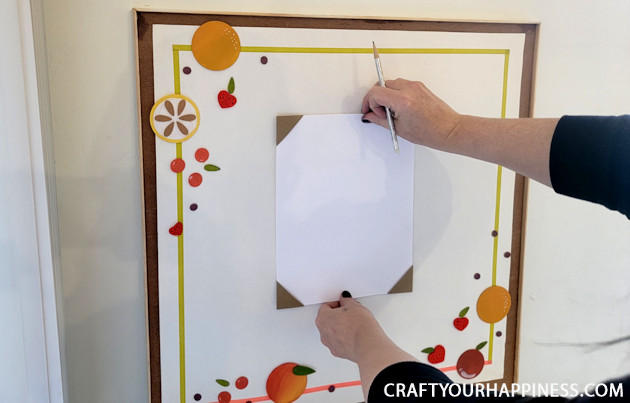
We wanted to make a quote holder. (cause that’s how we roll!) We made our own corner pieces to hold various paper quotes we printed. (These are available for FREE on our freezer inventory post.)
Glue the corners where you want them making sure a standard piece of paper will fit.



2 responses
This is cute.
I think I’d use a good glue. I’m no good with a drill lol it’s a great idea xxx