Being a person who likes to make everything I own “mine” in some special way I’m going to show you how to decorate your laptop easily and possibly with things you have on hand. Nothing to elaborate, though you can go wild if you want! I opted for a more subtle look. I used some Washi tape I had on hand, some paper items I printed myself and then a purchased set of stickers. It took less than 30 minutes! Remember, this is just my own idea. You can use whatever you like! Scrapbook stickers are great for decorating with! If you like this idea, please check out our DIY mouse pad post below!
How to Make a Custom 10 Minute DIY Mouse Pad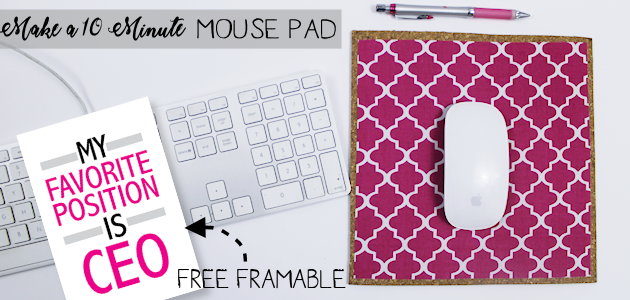
Supplies
- Washi Tape
- Silver Washi Tape used in post
- Silver Flourish Stickers (used in this post)
- Packing Tape (for laminating) This is the best type to use.
- Stickers (in general)
- Double Sided Tape (for your own printable) OR removable spray adhesive
- Xacto Knife
- Detail Scissors
- My brand of laptop
- My wireless mouse
- My mini USB hub
- Micro Fiber Cleaning Cloths I use (for computer, monitor)
Instructions
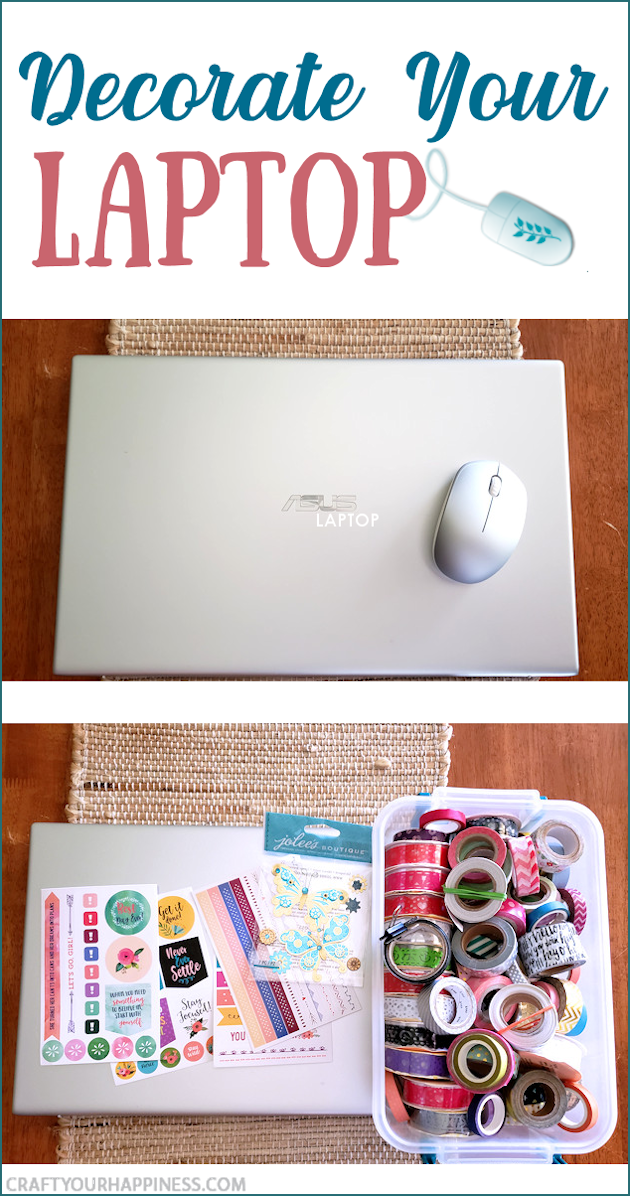
Here is my little ASUS laptop. A bit plain for my taste.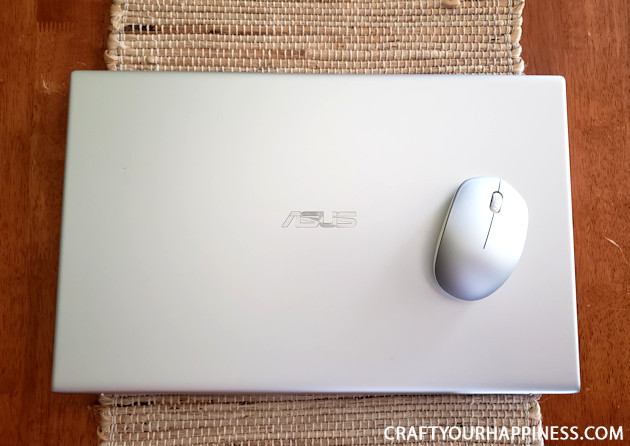
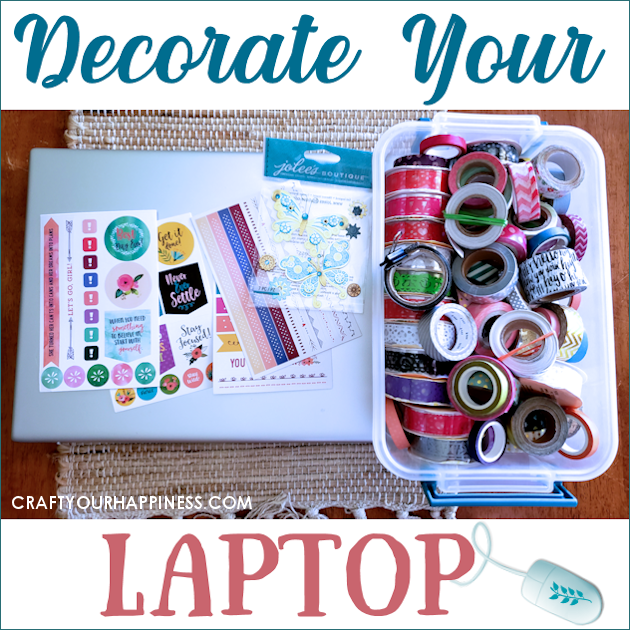
I dug out all of my stickers and washi tape to see what might work.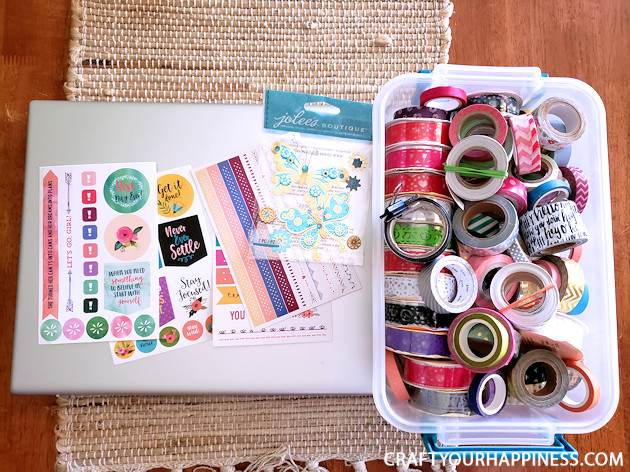
Before I stuck anything to my laptop I cleaned it really well with a soft cloth to assure things would stick well.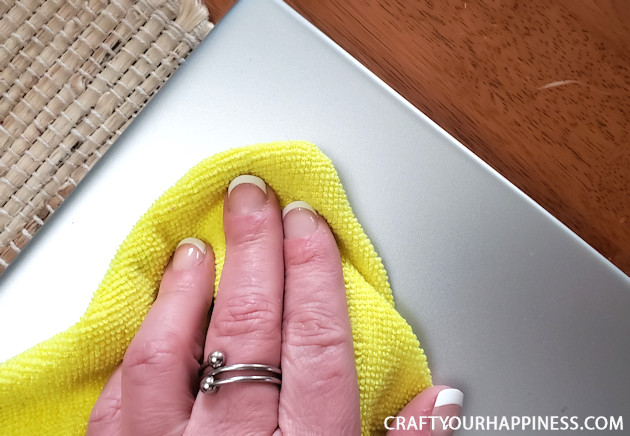
I found the Washi tape I wanted but decided to order these specific stickers I loved.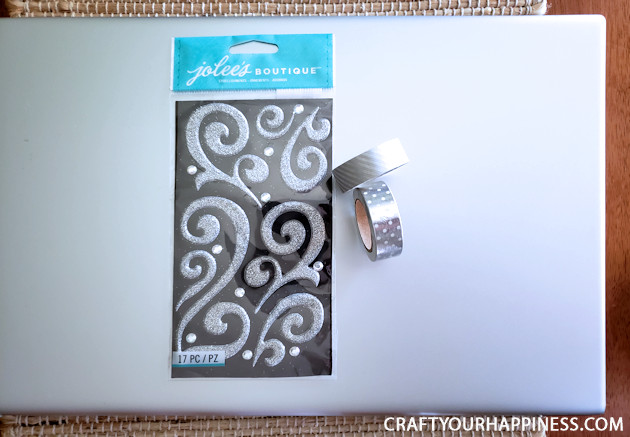
These stickers are slightly “raised”.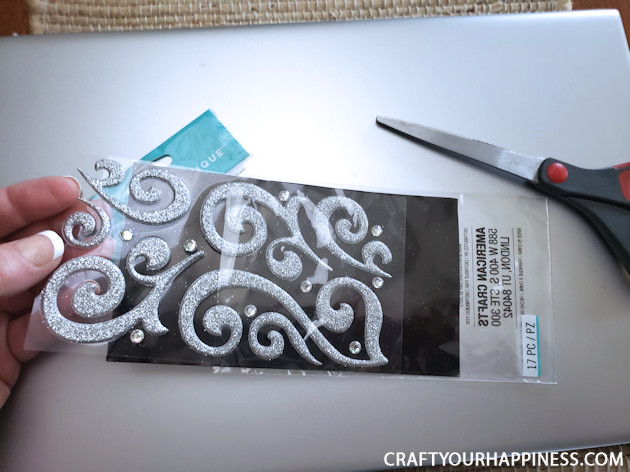
I cut them apart into separate pieces.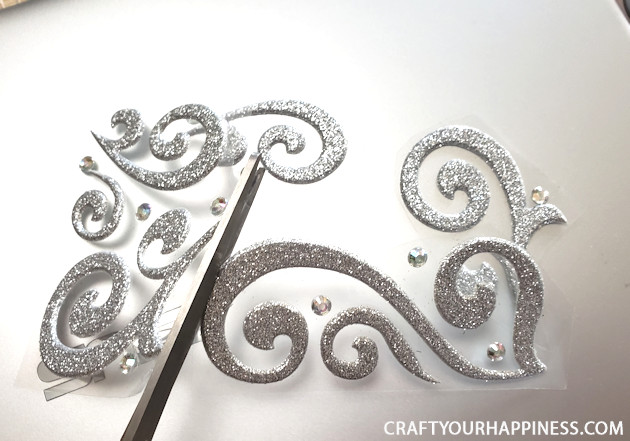
Then I arranged them out on my computer top with the backing still on them. 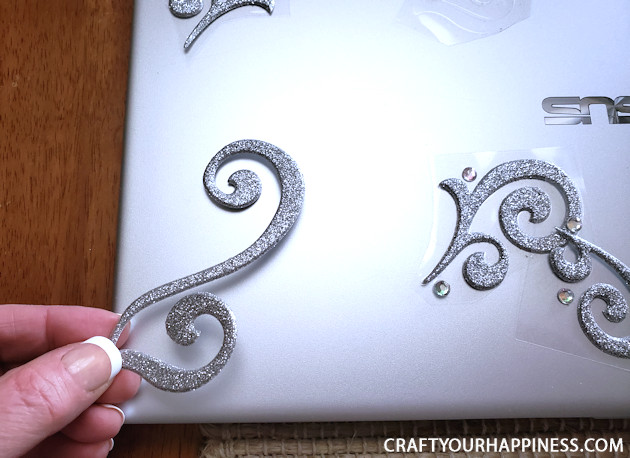
Once I decided on the layout I peeled the backing off and pressed them in place. I also used the small gems that came with them.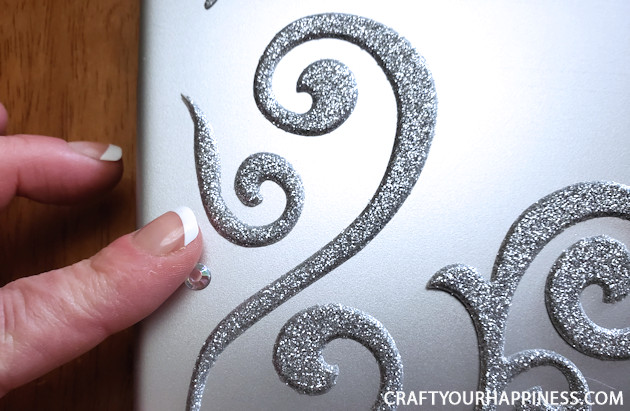
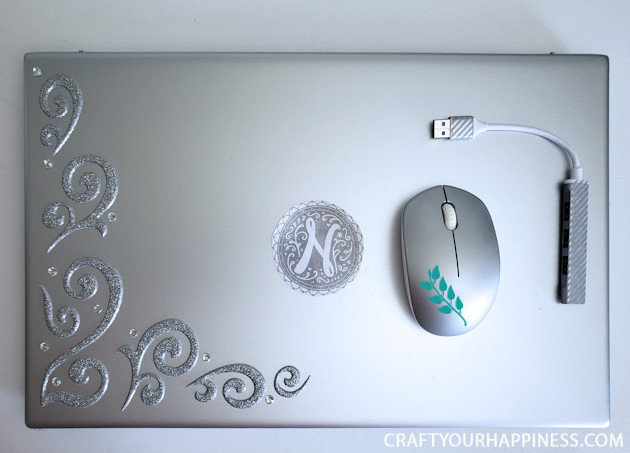
This was the finished result!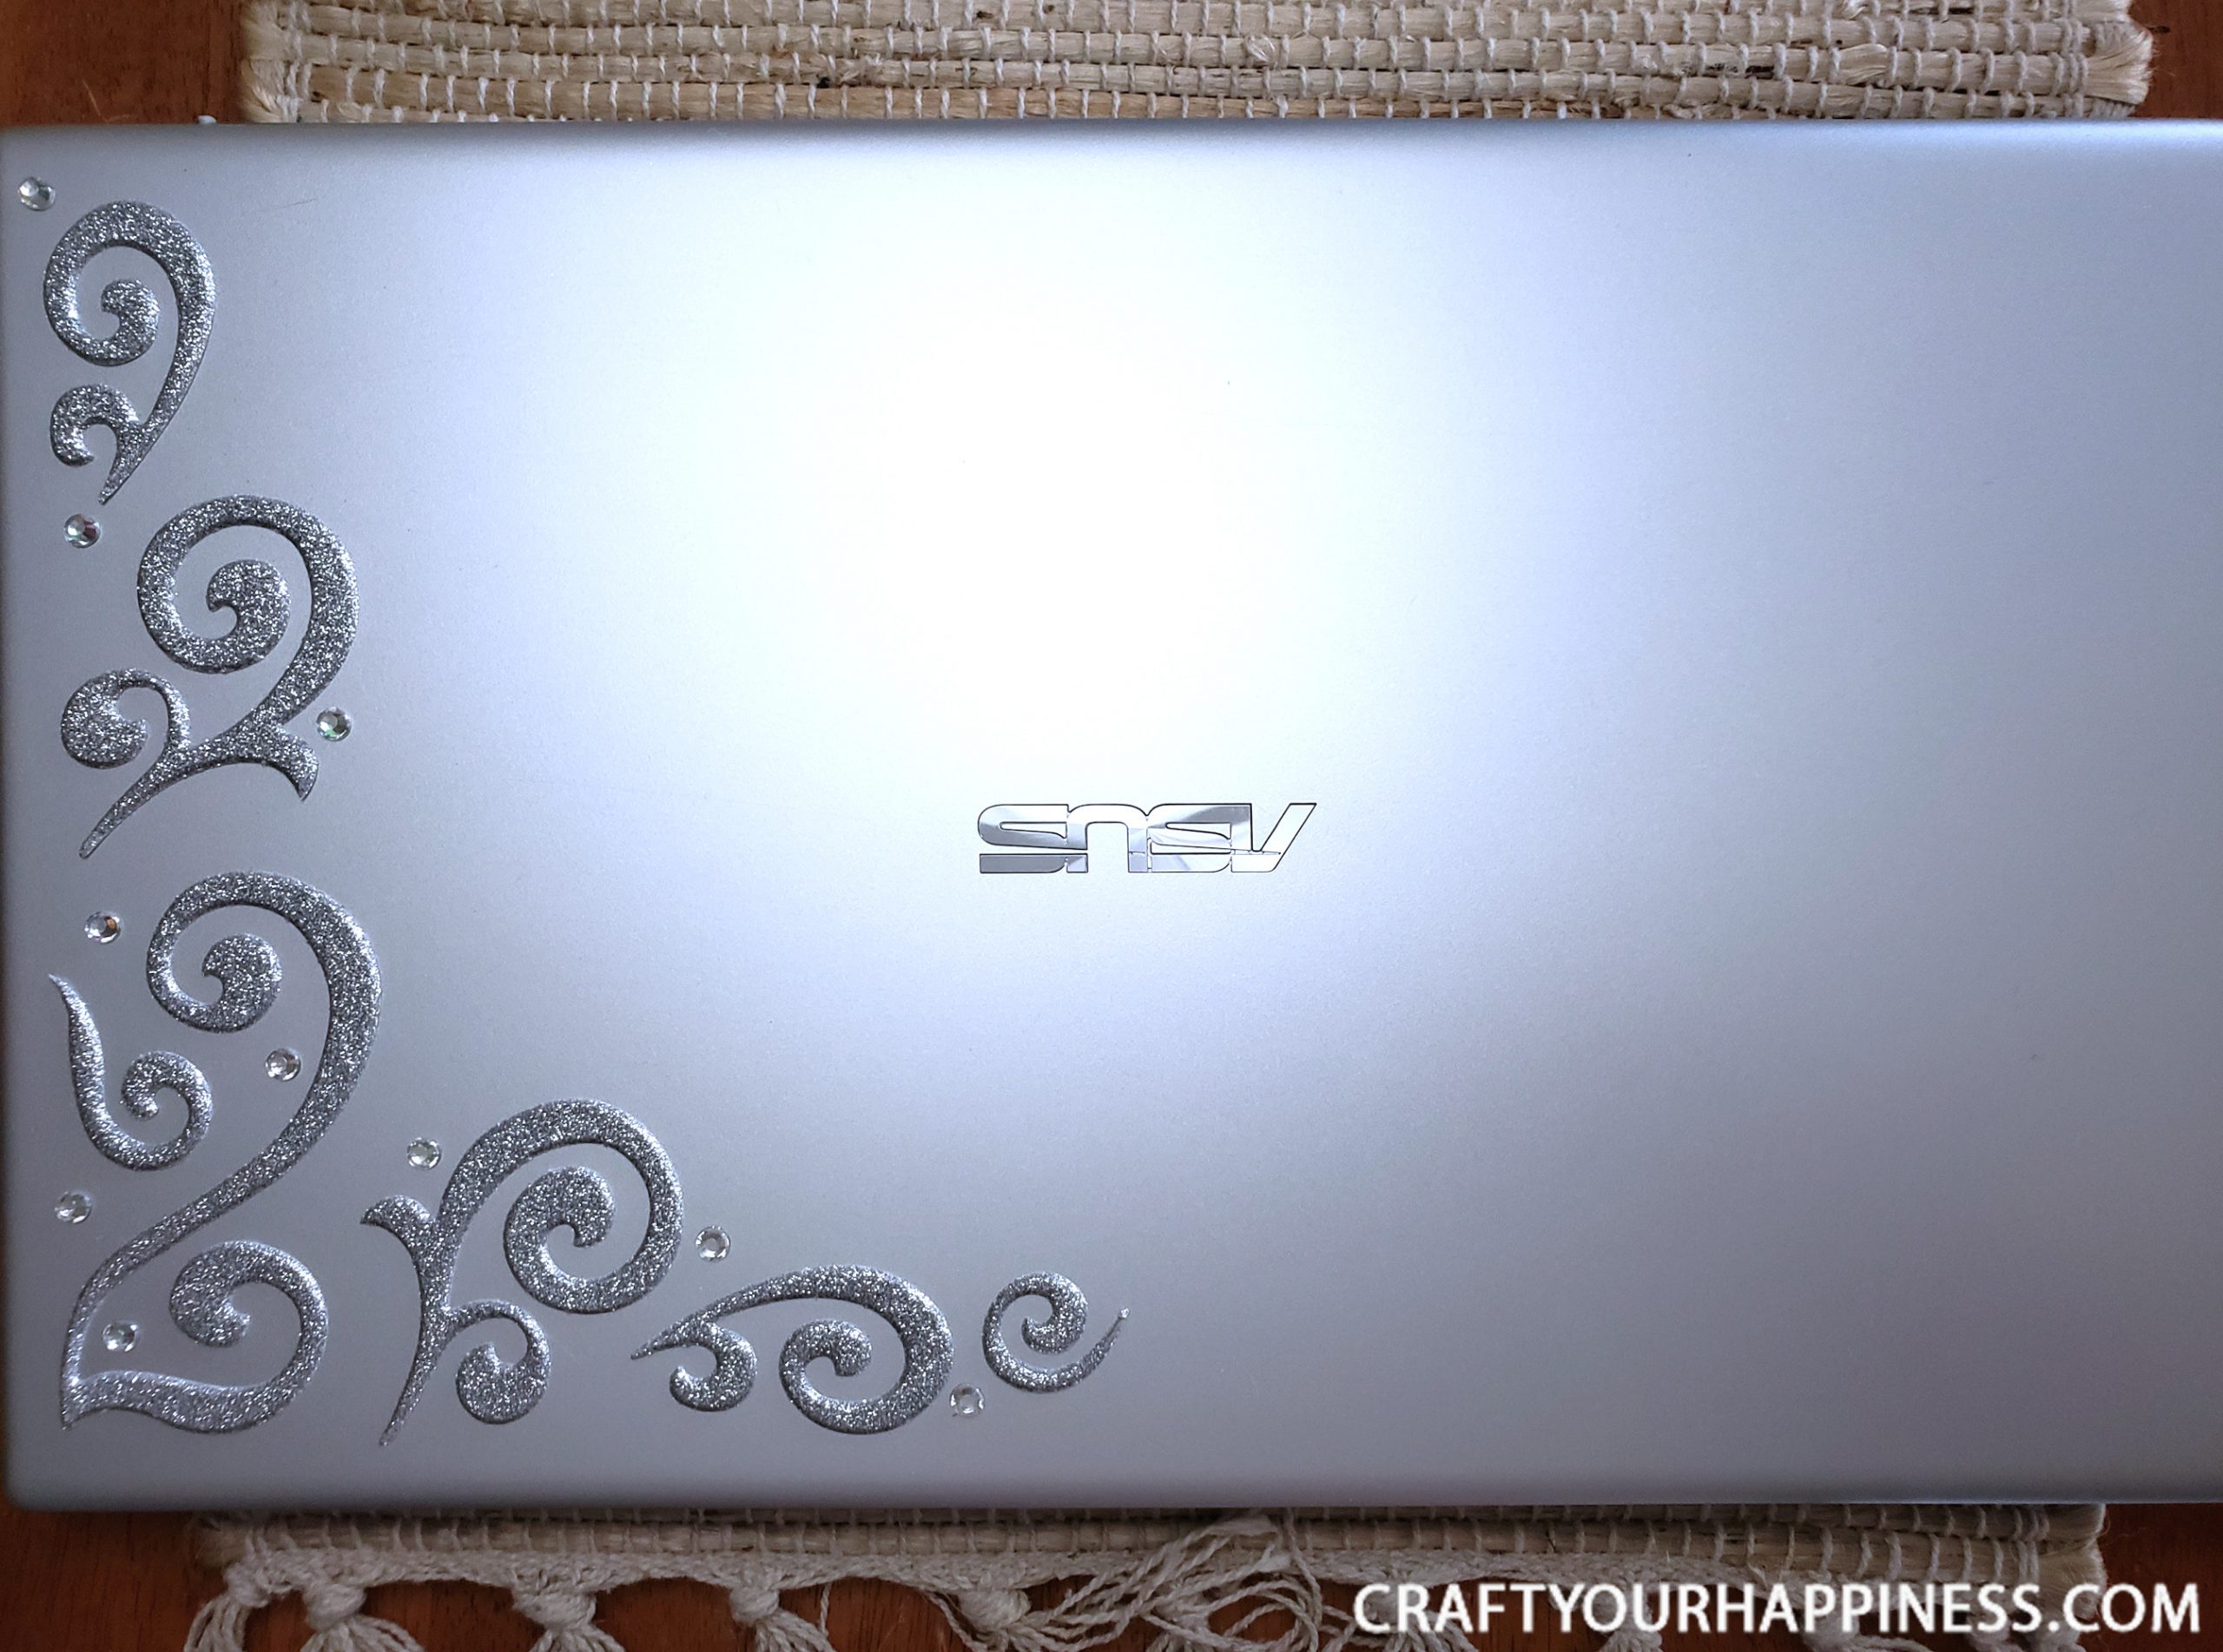
I wanted to print my own quote that matched my colors. I also printed a monogram with my initial. I covered these with packing tape as laminate.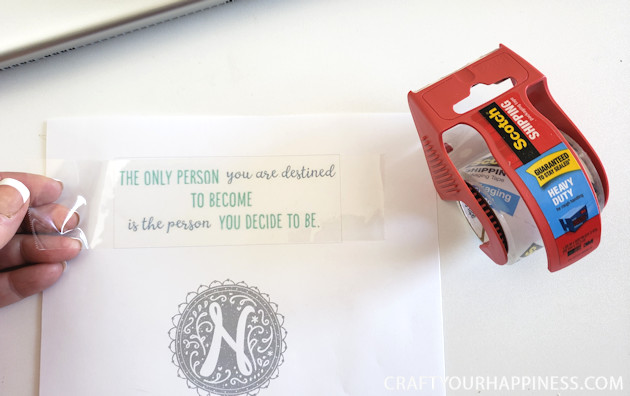
Then I carefully cut them out with detail scissors.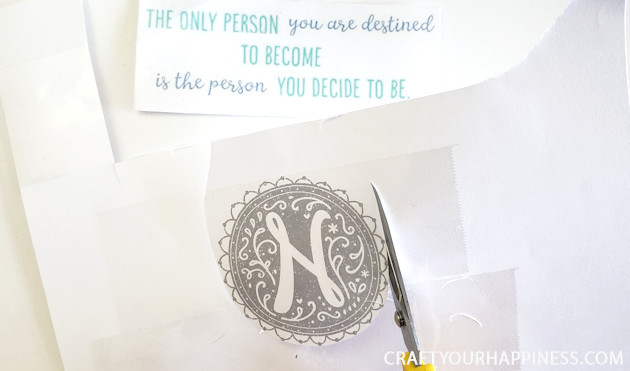
I wanted to cover the logo on the top of my laptop so I made the monogram just big enough to do so. I used double-sided tape to adhere it. You could also use removable spray glue for a closer seal.
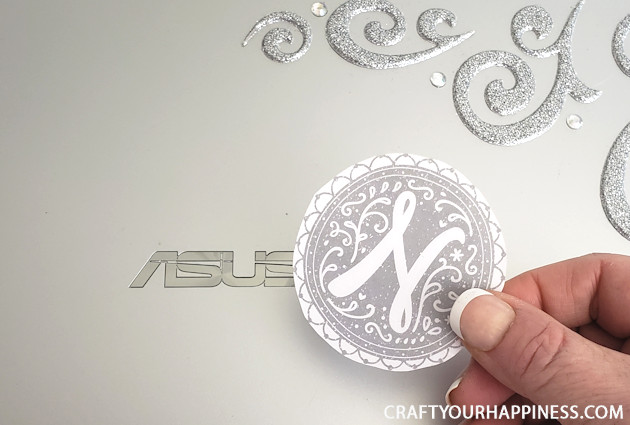
I also stick my printed laminated quote in place.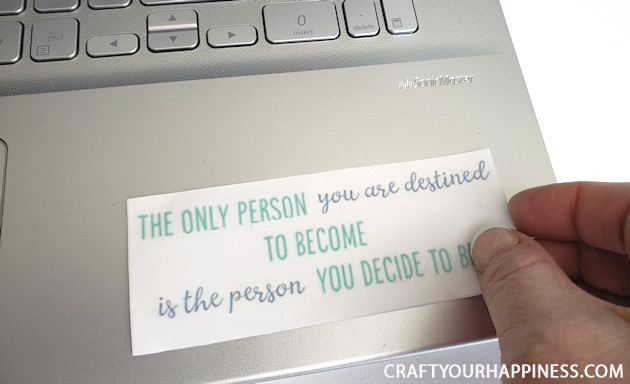
I took my Washi tape and cut it to fit on specific keys on my keyboard. I only put the tape on the space bar, the delete key and then as a strip of decoration above the keyboard. 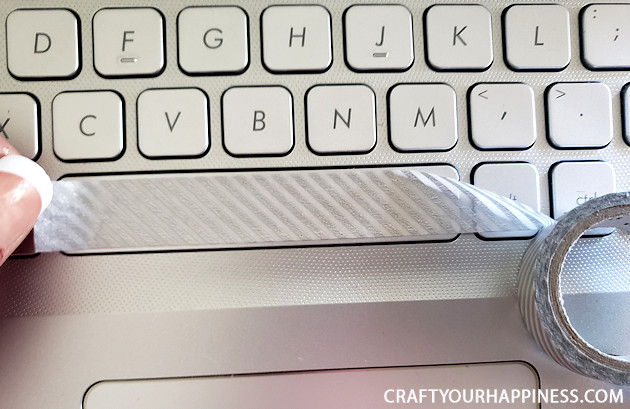
Once the Washi tape was in place, I CAREFULLY trimmed it to fit with an Xacto knife. Do NOT put down into the keyboard! Just barely trim it.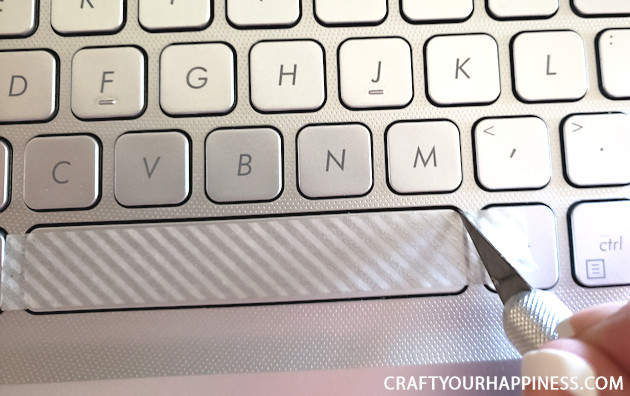
Here you can see where I placed my Washi Tape. Feel free to put yours where you like!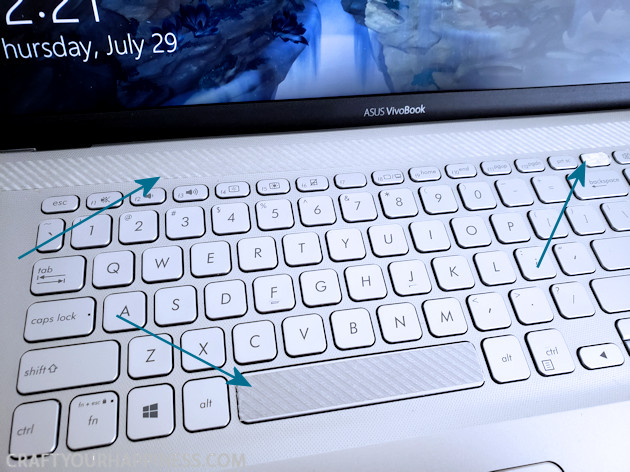
This is the finished keyboard and quote. I also put a strip of Washi tape on my small USB hub to match and placed a small scrapbook sticker on my mouse.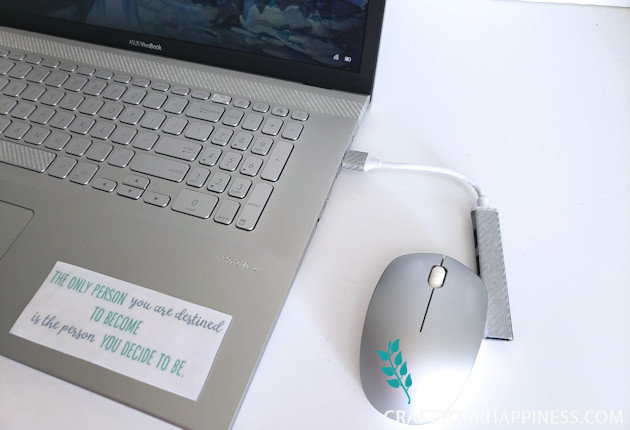
This is my completed laptop. It’s much more “ME” now!