
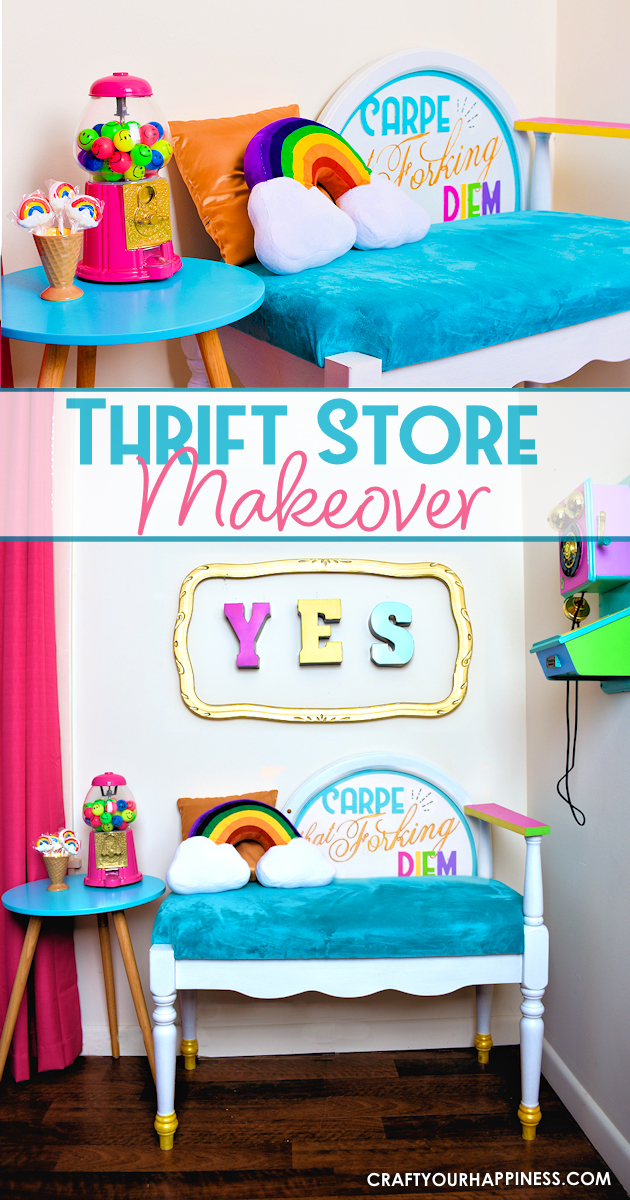
As a crafter there’s nothing more satisfying than doing a thrift store makeover from something you found at the local Goodwill, Salvation Army or other second hand shop. I LOVE thrift stores because you never know what you’ll find. They’re a treasure trove of unique things just begging for a makeover. We found this old telephone bench for a few dollars and gave it a glorious colorful retro modern makeover!
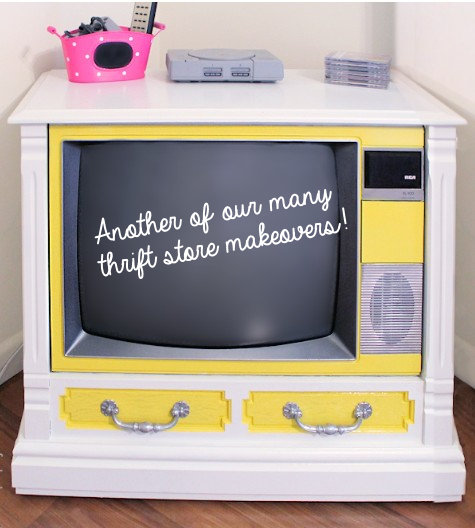 This is an inspiration post from our Buff Your Stuff Series where we highlight how to take old bleh items and make them awesome! Most times all you need is a little paint, fabric and ingenuity. As we had access to a CNC wood routing machine we did a bit of carving on the back part of the seat, however, that could easily be painted or stenciled. My daughter Amy put this in her home office and wanted something bright, and a little edgy. Like this? Wait till you see our other thrift store makeover ideas! Like how How to Turn a Working Console TV into a Piece of Art or a Before & After Modern Geometric Painted Dining Table or $2 Thrift Store Chairs To Gorgeous DIY Bench Seat!
![]()
Basic Supplies Used
- Wood Pieces for bench and arm rest.
- Colorful paint
- Fabric for seat
- Fabric for under the seat cushion
- Foam padding for seat
- Staple Gun We used a heavy manual one.
- Jigsaw
OTHER ITEMS IN PHOTOS
- Rainbow Cloud Pillows (similar)
- Pink Gumball Machine
- Ice Cream Cone Containers (similar)
- Retro wall phone (A similar retro phone was purchased and then painted to match the room.)
 Instructions
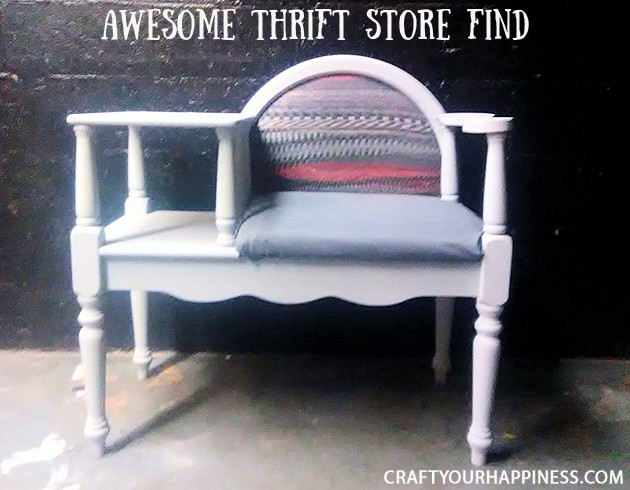
This is the bench as we found it in the thrift store. These were typically used to set an old fashioned telephone on but we had much bigger plans for this little lady.
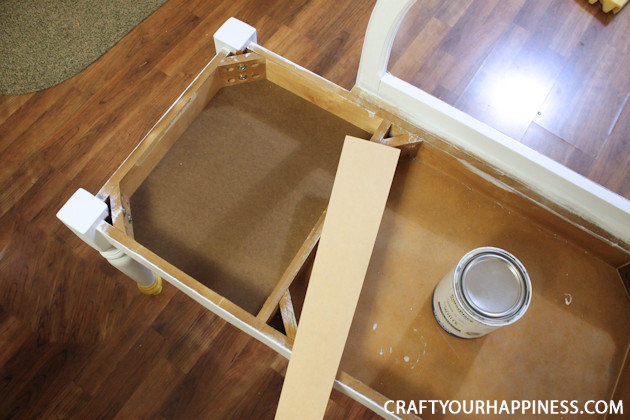
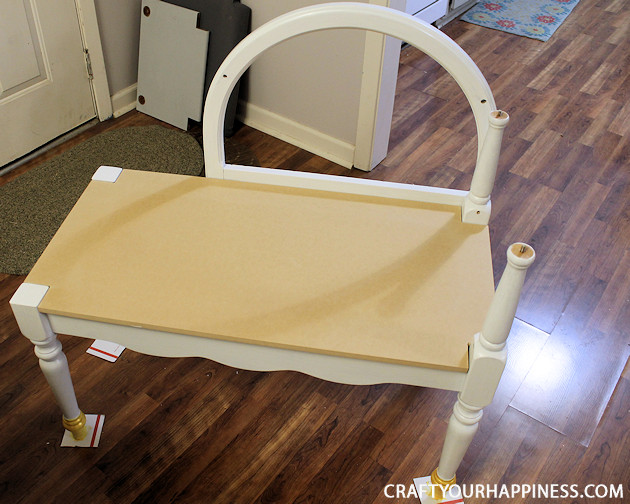
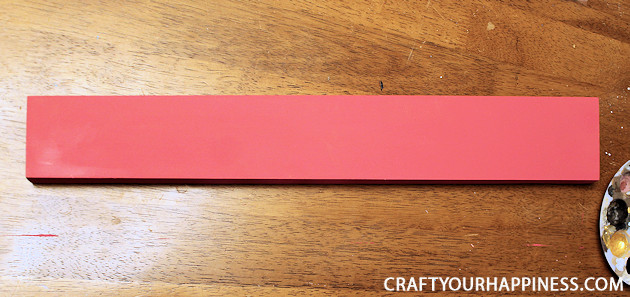
We started by removing the shelf from the top of the bench seat using a jigsaw. Then, we removed the bench top and the top of the arm rest by taking out the screws that were holing them in place. It was a pleasant surprise to find that the bench top was covering a couple compartments that we then decided to use as storage space. The padded back of the chair was also removed to make way for a new wood back. Once the bench was stripped down we were ready to paint! The board shown is a piece of MDF that we cut for the new arm rest.
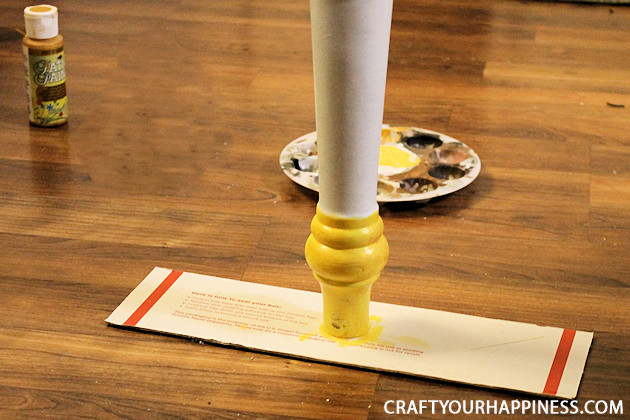
In order to add a little interest to the piece, we used yellow paint on the feet with a gold glaze.
Once the bench was painted, we needed a new bench top. We cut this out of MDF as well. We cut it to rest inside the legs but we did not attach it as we wanted to use the empty space below the seat as storage.
We opted to paint the new arm rest pink for an extra pop of color.
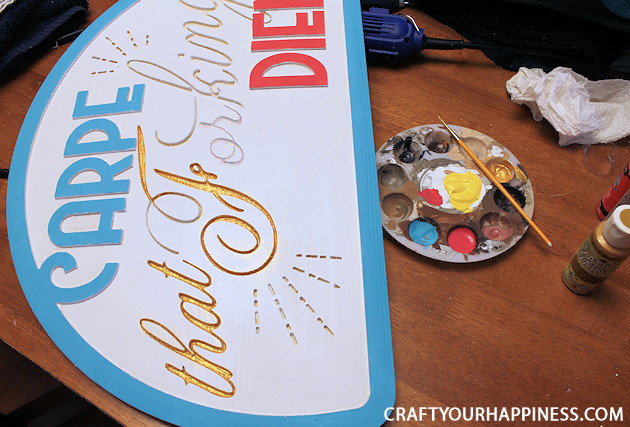
This is the back piece of wood we cut. As I mentioned we had use of a CNC wood carving machine which we used for the text. Had I not had that I would have painted, stenciled or used vinyl to decorate the back, or simply recovered the existing padded back with new fabric.
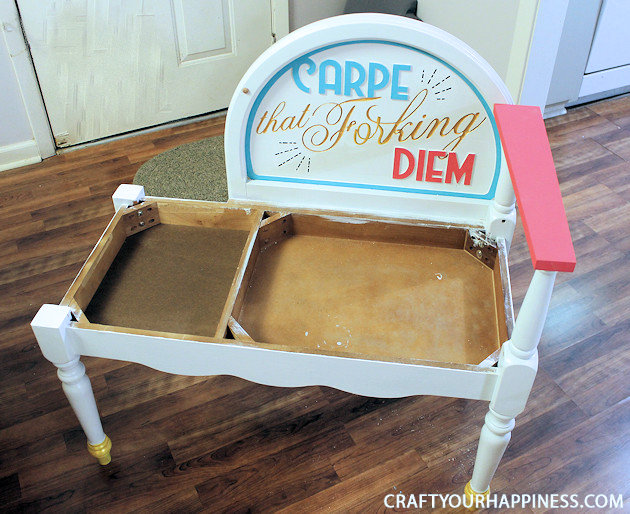
Once the new back was painted, we mounted it to the seat with screws and then attached the new arm rest.
We then traced our new MDF bench seat onto a piece of 4 inch foam and cut the foam to match the seat. We adhered the foam to the board using a spray adhesive.
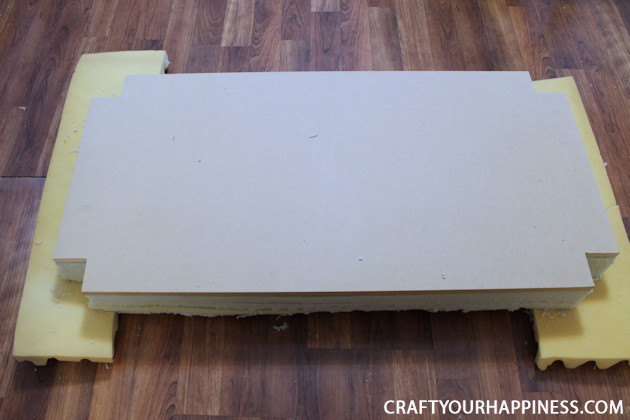
We then chose a bright teal/blue velvet material to cover the bench. After wrapping the bench seat in the fabric, we used a staple gun to attach it to the wood. Because this was going to be removable in order to access the storage space, we felt the bottom of the seat needed to look more finished. So we stapled some gold fabric onto the bottom to cover the rough edges of where the teal fabric was attached to the wood.
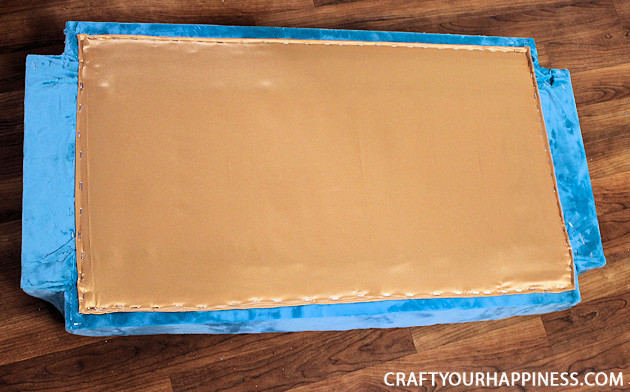
Once turned upright, we had a beautiful, and very plush, bench seat!
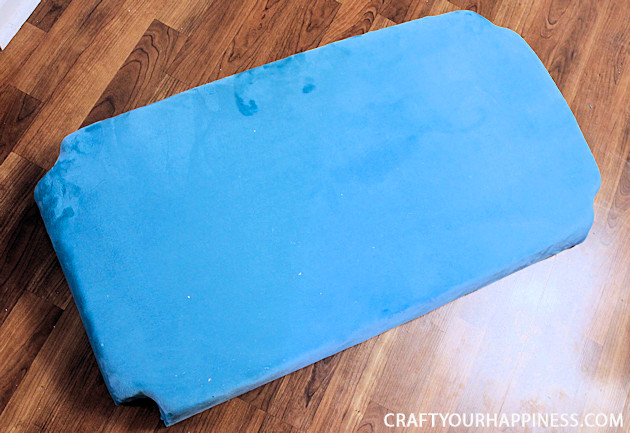
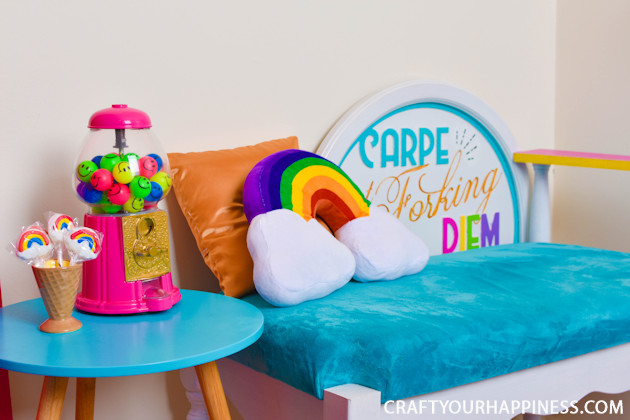
And here is the finished product!
We stitched a couple throw pillows out of some accent fabrics and placed them in the storage space we had created.
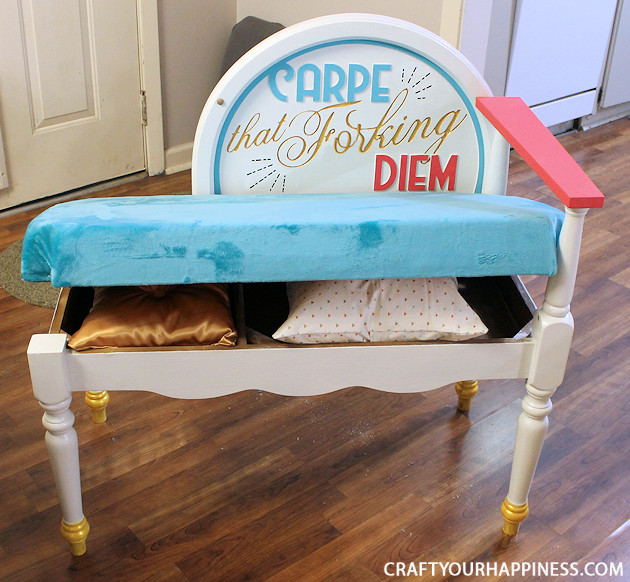
After the initial paint job we decided to repaint the arm rest and lettering, as shown in the final photos.




One response
Cute!