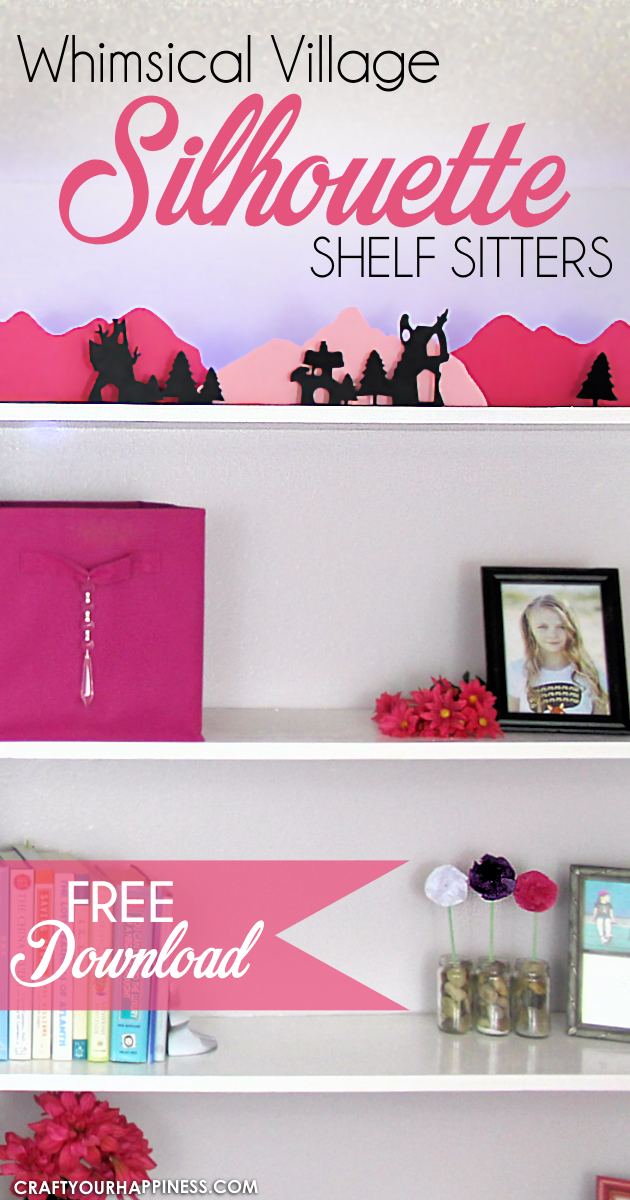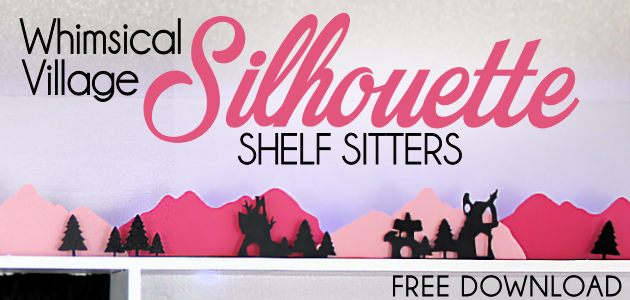
![]() These paper town shelf sitters are great for placing on high shelves that you really never quite know what to put there. They’re whimsical, unique and cost mere pennies to make! They are, of course wonderful for kids rooms or like me, an adult who likes unique and fun decor in her office. I had a full set of shelves with a window and window seat in the middle along one wall and I wasn’t sure what to put on the top shelf. As is typical of me, I wanted something unique. I came up with the idea of a fairy town but buying real small fairy houses would have cost a small fortune. So I talked to my daughter Jennifer and we came up with the idea of a paper town. She drew it up for me. It’s a mixture of a hobbit/fairy/gnome village and I love it. She made all the patterns herself. We have both PDF and Silhouette files. I put a string of LED lights behind it and its just lovely.
These paper town shelf sitters are great for placing on high shelves that you really never quite know what to put there. They’re whimsical, unique and cost mere pennies to make! They are, of course wonderful for kids rooms or like me, an adult who likes unique and fun decor in her office. I had a full set of shelves with a window and window seat in the middle along one wall and I wasn’t sure what to put on the top shelf. As is typical of me, I wanted something unique. I came up with the idea of a fairy town but buying real small fairy houses would have cost a small fortune. So I talked to my daughter Jennifer and we came up with the idea of a paper town. She drew it up for me. It’s a mixture of a hobbit/fairy/gnome village and I love it. She made all the patterns herself. We have both PDF and Silhouette files. I put a string of LED lights behind it and its just lovely.
If you’d like to see some more whimsical paper decorating ideas, check out our paper 3D dragon craft wall decor (also in my office) and our Darling Little Birdies DIY Room Decor.
Shelf Sitter Supplies
NOTES: These will stand straight up unless they are by a vent. The sturdier the card stock the better they will stay straight. You can also use tooth picks hot glued at an angle to act as a brace if needed.
- Cardstock of choice (I used two shades of pink for the mountains and black for the village.) The heavier the better.
- X-acto Knife (unless using Silhouette machine files)
- Cutting Mat
- Double Sided Tape
- Ruler
- Glue stick for gluing mountain pieces
- 100 ft LED Lights with Remote (what I used) Other sizes
 Pattern & Instruction Download
pdf version

Silhouette File Version (zip file)

 Instructions
Gather your supplies. How many items you cut will of course depend on the size of the area where you will be placing your village.

The top shelf is where I decided to place mine. 
I took each pattern and stapled it to the cardstock so I would not have slippage as I cut with my X-acto knife.
Then, on a safe surface or cutting mat I cut out each item, being careful to NOT cut on any of the dotted lines. Those are for folding only.
This is the cut out piece. You can see small pieces that I have not popped out yet.You can also see how careful you must be in your cutting. The middle tree is only held on by its small stump. 
I now use a ruler and pen or other object to crease along the dotted line to help in folding. 
Bend carefully up. You want to do it in increments so your piece sits straight up.
The mountain pieces require gluing them together.
I also added tape on the flat part in back.
These are all the cut out pieces. I arranged my town so that the lines where I pieced the mountains together did not show.
Using double sided tape, I attached my pieces to my shelf near the shelf ledge.
It turned out great!
I then bought a remote light set and placed it behind the town.
This is how it looks when the lights are low.
Is that awesome or what?

![]()

![]()


One response
hello, i am happy that i visited your site by chance. i loved the village so easy to make.
i am a new paper flower crafter and i think starting it as a full time business soon after my retirement.
Nice to know you.
ghada