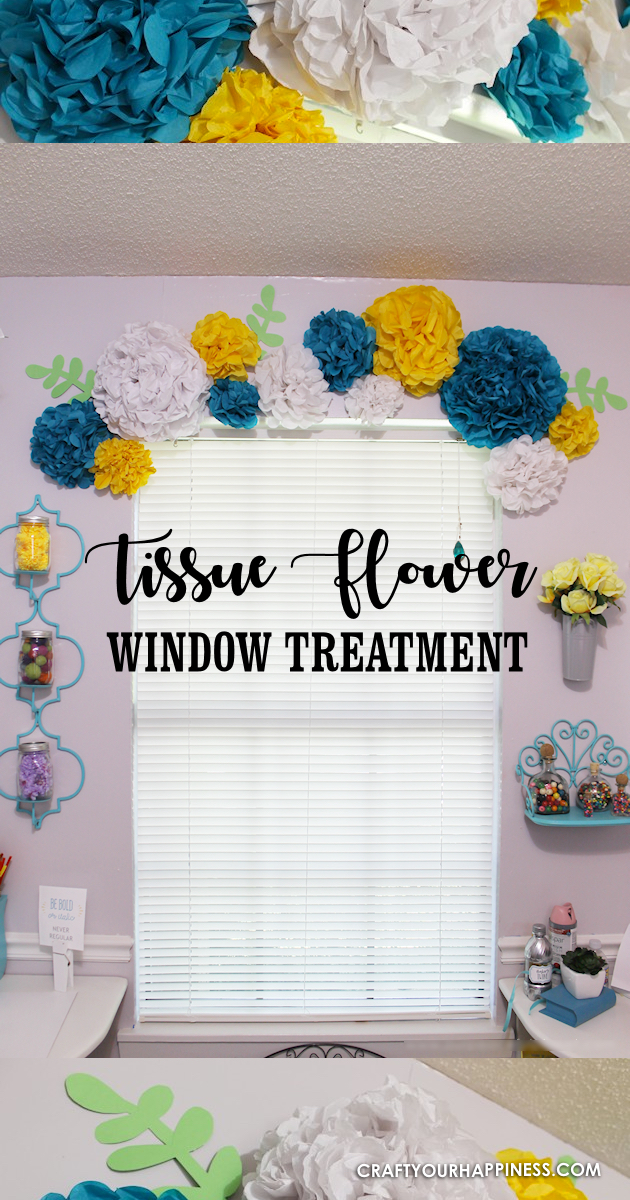
![]() This is one of the more clever ways to decorate a window that just had blinds on it. It’s gorgeous and can be a focal point for the room if desired! And all it takes is a few tissue paper flowers that are so simple to make, a 6 year old could do it. So yeah, its not only easy, its cost effective and the result is dramatic. I get excited just talking about it! I love unique decorating in my home so if you’d like more creative and inexpensive ways to decorate your home take a peek at our Darling Dollar Store Plastic Plate Kitchen Wall Decor, our DIY Cash Statement Piece Wall Decoration Idea and our Butterfly Dream Catcher with Special Meaning. And that’s just to name a few!
This is one of the more clever ways to decorate a window that just had blinds on it. It’s gorgeous and can be a focal point for the room if desired! And all it takes is a few tissue paper flowers that are so simple to make, a 6 year old could do it. So yeah, its not only easy, its cost effective and the result is dramatic. I get excited just talking about it! I love unique decorating in my home so if you’d like more creative and inexpensive ways to decorate your home take a peek at our Darling Dollar Store Plastic Plate Kitchen Wall Decor, our DIY Cash Statement Piece Wall Decoration Idea and our Butterfly Dream Catcher with Special Meaning. And that’s just to name a few!
Window Treatment Ideas Flower Supplies
- Tissue Paper (these are 20×26)
- String
- Command Strips (We used these and cut them in half to hold each flower to the wall)
- Green Cardstock (for leaves if desired)
- Marker
- Leaf Pattern download below

Leaf Pattern Download
pdf

 Instructions
To make the flowers, all you really need are three things. Tissue paper, string and scissors.

![]()
NOTE ON STORE PURCHASED TISSUE FLOWERS: You CAN purchase the tissue flowers. They come like this. We bought some to test. You still have to do all the work of pulling the layers out. The biggest problem is they put WAY TOO MANY LAYERS of tissue paper. Much more than is needed and the flower ends up looking too crunched up. These have 10 sheets each. We took them apart and made two flowers out of each one. You only really need 4 sheets per flower for the best look. These also cost a lot more. Considering all you’re doing is saving the time fanning the tissue paper, its much cheaper to just make them from scratch. Should you decide to buy this type, Amazon has a nice selection.
 The sheets we used are 20″ x 26″. Use no more than 4 or 5 sheets.
SIZES OF FLOWERS
LARGE FLOWERS: For flowers that are 10″ or larger you can fold over the 5 sheets FIRST before doing the accordion folding. These flowers need more bulk to them.
SMALLER FLOWERS: For say a 6″ flower, cut 8 sheets 6″ by about 10″ or 12″ long. DO NOT do STEP 1. Start with doing the accordion folding and continue from there. It will only take a short time before you realize what size works best.
STEP #1 for flowers approximately 10″ or larger.

STEP # 2 Accordion fold
![]()

![]()

![]()

Once you’ve finished the accordion fold bend the tissue paper in half. 
![]()

Cut a piece of string long enough to tie around the center of your paper.
Tie it in a snug knot.
![]()

Mark a curve on each end for cutting. Some people like to do points.
Cut off inside the marker curve you made. 
However long your tissue paper is will be the size of your flower. 
Pull the ends together. You can staple or tape them if desired. We’ve found that’s not necessary as once you start pulling up the petals they stay together. 
Very carefully, so as not to tear the tissue, start pulling up one layer at a time. 
Go around the flower doing this.
Once one layer is done, move to the next. Fluff them as you go.
Eventually you’ll get to the last layer.
You’ll end up with a gorgeous flower!
These are the ones we made for my craft room. 
This was the window I was going to decorate with them.  We placed them above my window using command strips cut in half.
It’s a good idea to lay out your plan on paper before starting. 
Print out the free leaf pattern.
Tape it to one or two sheets of green cardstock.
Cut out your leaves. 
![]()

![]()

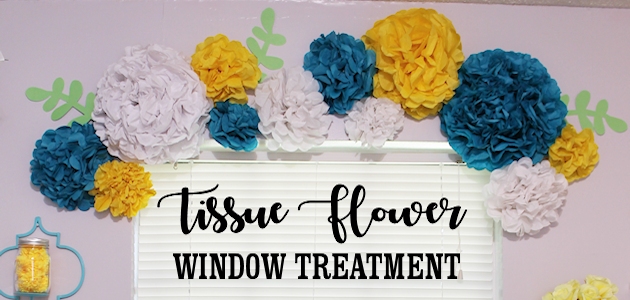
The finished window decor!
![]()

![]()

![]()

I wanted a teal pull on my blinds. I had this old crystal from a chandelier. I was going to buy some glass paint as I wanted it to be transparent, then I remembered my post on How to Paint Mason Jars. That effect was just what I was after. So I figured it would work on this just as well as mason jars.
I mixed a little food coloring gel with some Mod Podge.
Then I painted over the crystal bauble. 
I should have hung it on wire to dry but I put it in a small plastic cup and put a fan on it.
It turned out great!
Just what I was wanting.
![]()

![]()


2 responses
Fabulous!ll
Thanks Peggy!