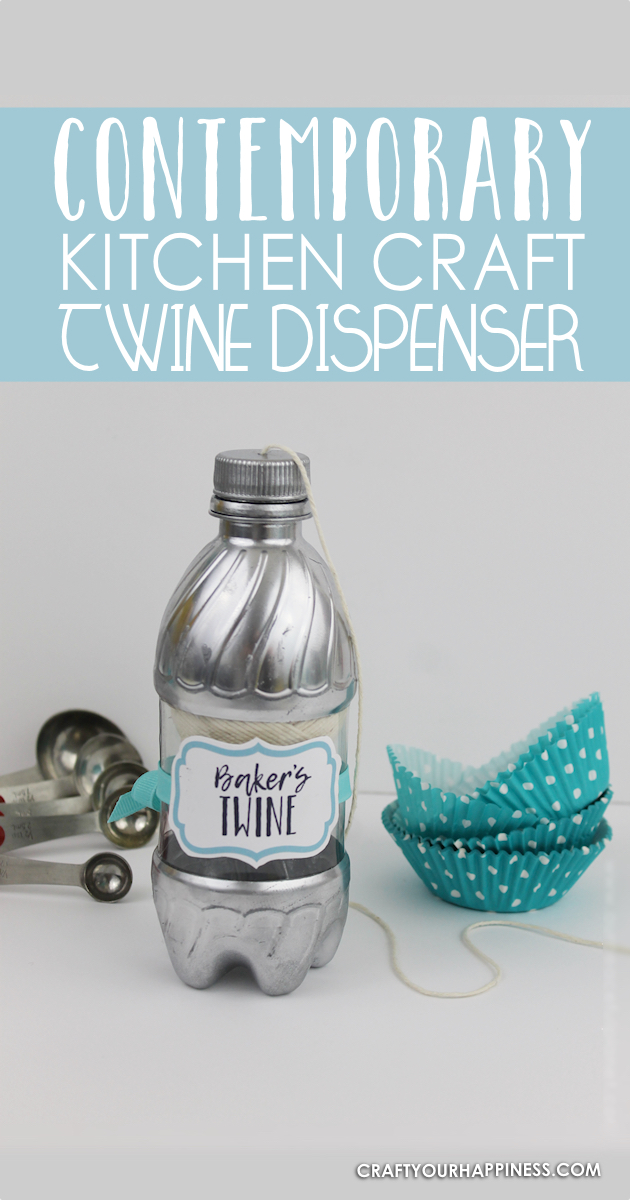
![]() This is part of our matching Contemporary Kitchen Craft Series set. Its a baker’s twine or string dispenser and as with all the items in this series, it looks nice and its upcycled from a soda bottle! It’s very easy to make and it’s incredibly handy to have for dispensing a quick bit of string when you need it! We made one of these string dispensers a few years back that was a different style but this one was made to go with our set. To view this entire set visit our Contemporary Kitchen Craft Series page.
This is part of our matching Contemporary Kitchen Craft Series set. Its a baker’s twine or string dispenser and as with all the items in this series, it looks nice and its upcycled from a soda bottle! It’s very easy to make and it’s incredibly handy to have for dispensing a quick bit of string when you need it! We made one of these string dispensers a few years back that was a different style but this one was made to go with our set. To view this entire set visit our Contemporary Kitchen Craft Series page.
Kitchen Craft Baker’s Twine Dispenser Supplies
- Small plastic bottle. We used a 12 oz Pepsi Bottle
- Masking Tape
- Paper towels
- X-acto Knife
- Dry Erase Marker
- Hot glue or Tacky Glue
- Rustoleum Metallic Bright Silver Spray Paint (Its the best metallic we’ve found but use what type you like)
- Ribbon, teal
- Drill with bit the size of the string
- Free Label Download
Label Download
pdf

Instructions
Gather your supplies.
 Using masking tape, tape off the center of the bottle just below and above the ridges. Cover the center space with tape or a paper towel.
 Spray paint the top and bottom of the bottle in the color of your choice. Let dry thoroughly to prevent fingerprint marks.
 Once dry, remove the tape from the bottle.
 Using the link above, download and print the free label. Cut out the label and set it aside.
 Using a drill, create a hole in the center of the bottle lid. The hole should be the same size as your twine.
 Cut a ribbon at 22 inches in length.
 Fold the ribbon in half to find the center.
 Apply a dot of hot glue to the center of the ribbon.
 Apply the ribbon to the center of the clear portion of the bottle. The hot glue dot will be the front of your dispenser.
 Using a dry erase marker, make a mark on the back of the bottle, directly across from the hot glue dot.
 Draw two lines down the clear portion of the bottle, 2 inches to either side of the mark.
 Using an X-acto knife, cut along the two lines you just drew.
 Then cut one line along the bottom of those two lines, connecting them and creating a flap on the back of the bottle.
 Grab your label and apply hot glue to the back on either end.
 Apply the label over the front of the bottle, directly over the hot glue dot used to apply the ribbon.
 Once dry, grab your ball of twine and feed the end up through the flap on the back of the bottle. The string should come out the mouth of the bottle.
 Then insert the ball of twine in through the flap, allowing it to rest in the bottom of the bottle. Make sure that the ball can easily move around inside the bottle.
 Close the flap over the ball of twine and keep it closed by pulling the ribbon ends around to the back of the bottle and tying a bow.
 The twine coming out of the mouth of the bottle should then be fed through the hole made in the bottle cap. Once through the hole, simply apply the bottle cap to the bottle and pull twine as needed.

And just for fun we did a pink one. Ü

![]()

![]()


