![]()
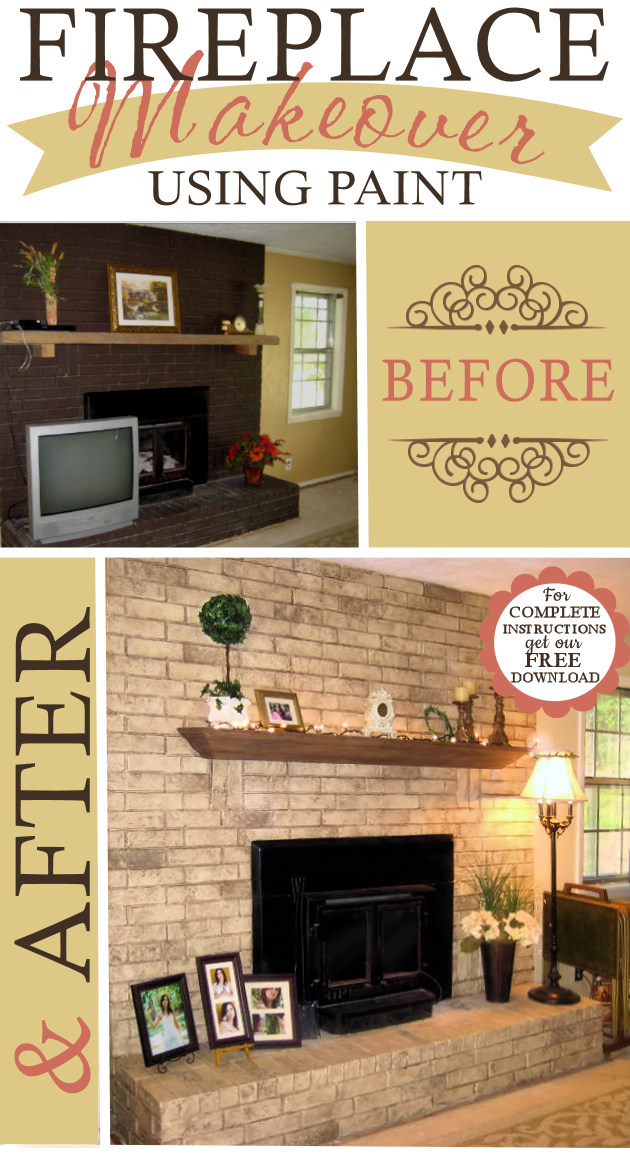
You won’t believe how easy & inexpensive it is to do a dramatic fireplace makeover! All you need is some normal paint and a wadded up paper bag. No kidding! You can even use those small bottles of craft paint though you might need two or three. You’ll seldom see such an amazing difference for such little time and money.
And once you get your fireplace looking all new and spiffy you can make a picket fence fireplace cover for it. We also have other great classy living room ideas on a budget.
Fireplace Makeover Supplies
- Brush to clean the bricks thoroughly before painting.
- House Paint 1 gallon, semi-gloss, for grout color and brick base. A cream was used for the sample.
- Paints for the brick surface. Typically one or two colors but its up to you. This type of craft paint works great. You’ll need a few bottles. Grey was used for the example.
- Bristle Paint brush
- Wadded up piece of paper bag
- Water-Base Polyurethane 1 quart (optional but a very good idea to keep the paint from wearing off)
 Detailed Printable Instructions

 Visuals
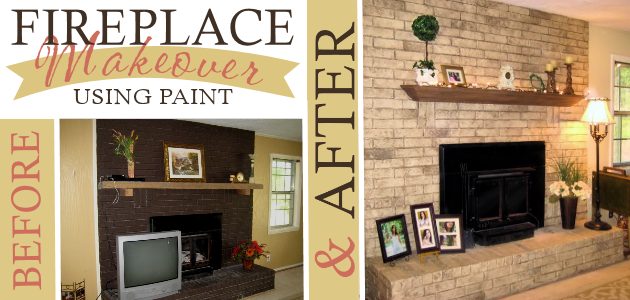
Below we show you a close up view of the steps needed to paint your brick fireplace. As you can see it was an amazing difference for ours!

![]()

Brush the dirt off the entire fireplace making sure to get into the indentations. 
Paint your brick with the color that will be your grout color. Make sure to get into all the crevices due to how porous brick is. Make sure the grout is covered well between the bricks. 
You will now use the paint that will be the main brick color. You can add water if desired to make it thinner.
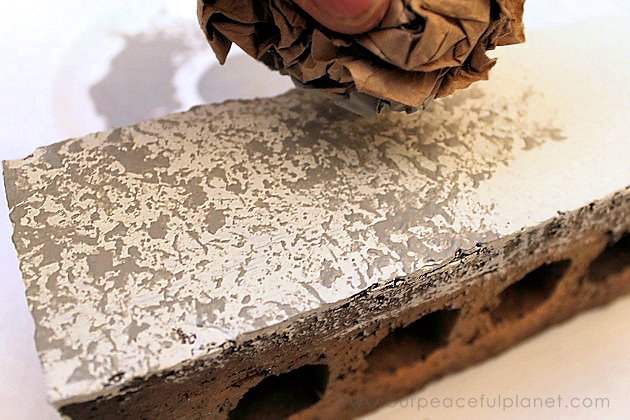
Wad up a piece of a paper bag tightly and dab it into the paint. Blot any excess paint off the bag before starting if needed.
Starting at one side of the brick start dabbing the paint onto the brick. 
Determine how much or how little you want on the brick.
This is the brick blotted lightly and evenly. 
In order to make it look a bit more realistic either blot more of the same color on parts of some bricks. I chose to use a darker grey to go over the brick in spots. After the coats have dried, it’s a good idea to cover the brick faces with a coat of sealant to help protect the color. 
This is my finished brick. Your color options are endless for a fireplace makeover!
![]()


11 responses
[…] Easy and Inexpensive Fireplace Makeover Using Paint by Our Peaceful Planet […]
Looks absolutely beautiful. We don’t have a fireplace here in our desert Arizona home, but if we did, I’d want it to look like that. 🙂
lol! I grew up in Mesa Arizona so I know what you mean. For Christmas my parents bought a cardboard fireplace so I could hang my stocking on it! Thanks for stopping by Brandi!
This looks amazing! Great job!
Thanks Karrah. Ü
Wow, it looks so much better! Love it.
Thank you Christine!
Your fireplace makeover looks so natural! It’s amazing what can be done with a little paint! Thanks for sharing at DI & DI 🙂 We enjoy seeing your creativity each week!
Thanks Lori!
Love how your fireplace turned out! I would like to do something like this but don’t have the hubby quite on board with the idea yet. Thanks for sharing your technique!
Thanks Linda! It’s super easy. Good luck on talking him into it! Ü