![]()
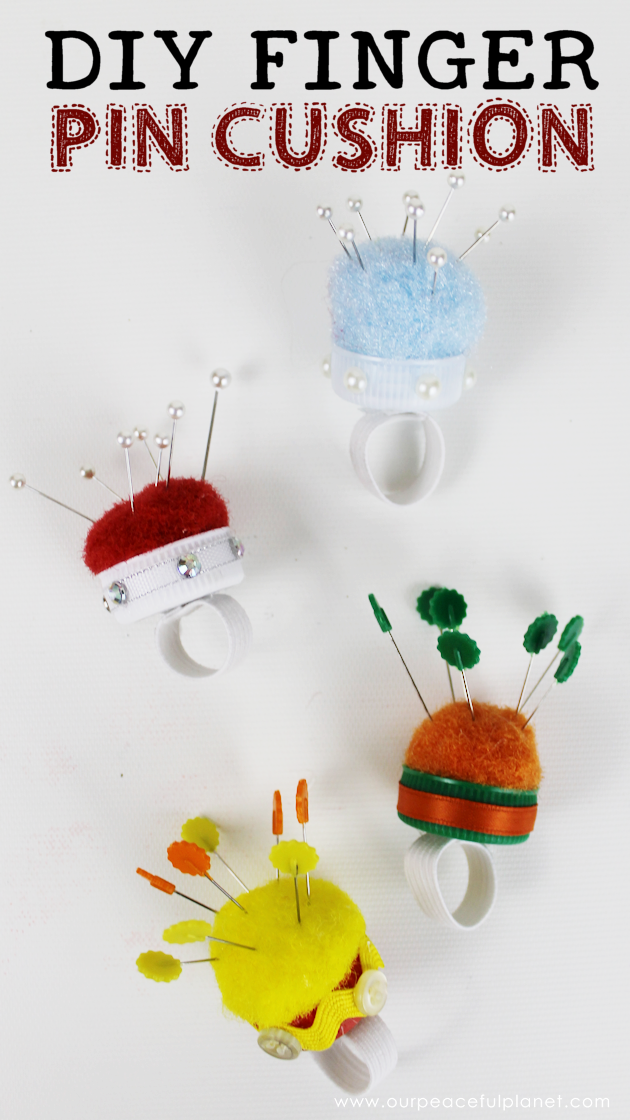
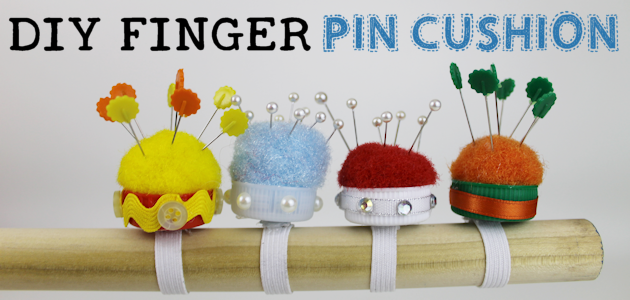
This tiny 10 minute pin cushion is a huge help for anyone who sews. Made using the lid from a plastic bottle you can make it any color or style you want! Great for keeping pins handy and putting pins back as you pull them out. Give them as gifts with a matching set of pins.
And if you’re a gum chewer you gotta check out our Chewing Gum Holder/Saver we made using this same type of lid. For many more upcycle ideas using plastic bottles visit our Plastic Bottle Crafts. ![]()
![]()
![]()
 Pin Cushion Supplies
Note: The pom pom must be large enough to squeeze into the lid and give a nice puffy, thick surface. The 1" size is too small. The one's shown measured about 1 3/8" which "might" be considered 1 1/2" size. (I purchased mine in a large bag of mixed sizes.) The lids come in a variety of colors or you could also spray paint them if desired. The ones shown were kept as is.
- Lid from plastic soda bottles.
- Large Pom Pom (mine were at least 1 3/8" in diameter.)
- 3/8" Elastic strip about. 3" in length.
- Hot Glue Gun
- Extras: Ribbon, Ric Rac, jewels, buttons etc.
Instructions

These are the basics of what you need along with a glue gun. 
![]()
You can decorate them using all types of items. 
![]()
Place a large glob of hot glue in the bottom of your cap. 
![]()
Squeeze and push your pom pom down into it firmly. 
![]()
Decorate as desired. 
![]()
Measure your elastic. 
![]()
Glue the elastic onto the bottom. 
![]()

![]()

![]()

![]()

![]()

![]()

![]()


20 responses
Thank you what a great idea for pompon know my daughter and I can make something with the Pom poms .
Well like I said yours is a bit easier. Thanks for getting back with me.
I like your idea of the finger pin cushion. I have made those in the past but I did mine with material and stuffing or cotton balls.
What I did was measured what length of elastic I needed to go around the finger then I glued the ends of elastic to the inside the cap. I then took a small piece of material cut it in a small square just big enough to stuff it so that it will be tight. I put small amount of hot glue around the stuffing or cotton balls (1-2) folded up the material one side @ a time then I put glue to finish sealing it up. I then put hot glue around inside the cap and put bottom side down in the cap then pushed remaining loose ends of material inside the cap. I made sm, med and lg ones and they sold like hot cakes I almost couldn’t keep up. LOL
I think I got $1.00 early and depending where I was I got $1.25-$1.50 for them. It may sound like more work but it really isn’t. Just thought I would share with you all.
P.S. I liked using cotton balls better but depending on the size of your capof how many to use.
Let me know if you should try it so I will know if you liked that way.
Thanks Jerri for sharing your own method. The more ideas the better!
It very useful and not so hard to learn, it so wonderful, I like it very much.
[…] and then hot glue the other end. After I was done I found that Nancy (the originator of this craft) had linked to another post that gave more […]
I made one today and love it. Thanks for the directions.
That’s awesome Susan! So glad we inspired you!
Edit: I saw the photo of the one you made on Hometalk. Turned out great!
These are absolutely precious! While I do think that 3″ is a bit too long, the whole idea and the look of these little guys makes a person smile.
Thanks for sharing!
Yeah we used used 3″ to start then you trim to fit. Thanks for commenting Sherry. They are cute little buggers. Ü
Great idea…and I just thought of this…for those who don’t want to wear it on your finger…glue a magnet on the bottom and pop it on your sewing machine…or make one of each!
That’s an excellent idea Donna!
What a great idea!! I’d love it if you shared this on the DIY blog hop!
http://www.pleasuresofthenw.com/diy-party-no-3/
Oh goodness, how cute are those??? Great idea and very fun!! Thanks for sharing at our DIY Crush Craft Party!! Hope to see you this Thursdays at 7pm EST. Have a great rest of the week!
This is a precious idea! I will be making some for my Operation Christmas Child boxes!! Thanks a bunch!!
You’re so very welcome Patty. I’m so glad you found it useful!
Your finger pin cushions are absolutely adorable! What a perfect gift for Mother’s Day and beyond for the sewers in our life.
Thanks Marie! Glad you enjoyed them!
So clever! And useful!
A fun little craft for Mother’s Day
Pinning 🙂
Thank you Christina!