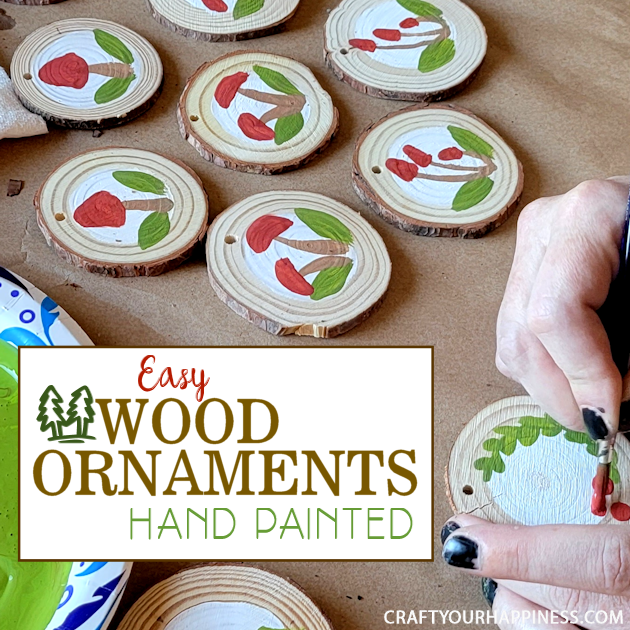
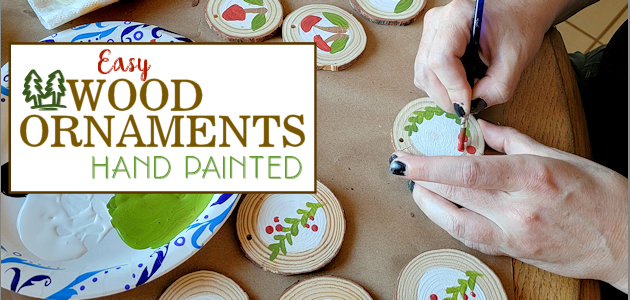
For our first Christmas in our new home we wanted to create a different vibe for our Christmas tree without spending a fortune on new ornaments. I called my decor expert, my daughter Jennifer, and she did not disappoint! I did buy a few things to use in the makeover, trying to keep things as inexpensive as possible. All the items used are linked below. The painted ornaments don’t have a pattern as they are so simplistic. You can of course do any design you like! Make sure to check out our entire Christmas Category for more unique simple ideas~
Make a Countdown From Wood Slices For Any Event!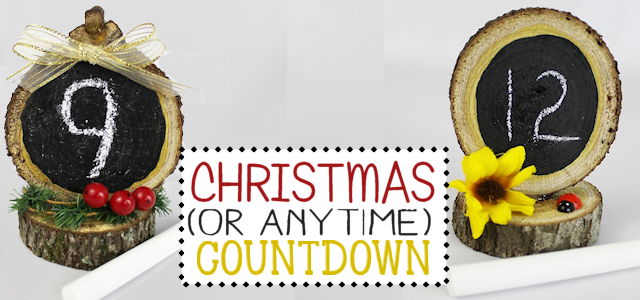
Pocket Mistletoe DIY For Quick Kisses!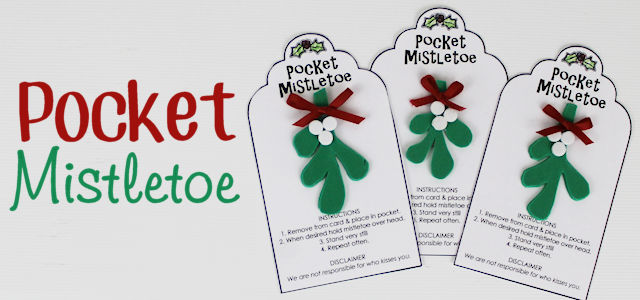
Supplies for 6″ Tree
We purchased these 3 things for our tree. (We already had some faux birds to put on the tree)
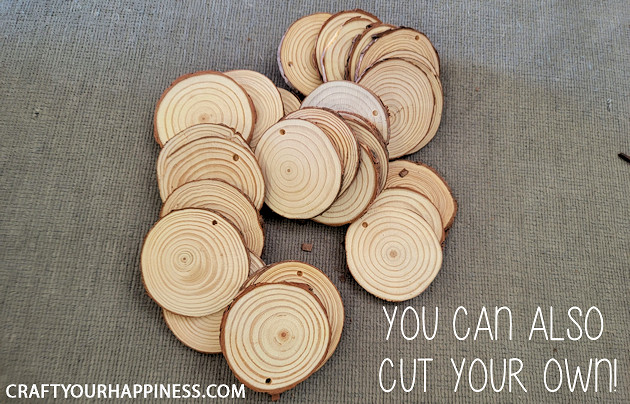
- Wood Slices, 30 approx. 3″ (You can also cut your own if you live in an area with trees)
- Burlap Ribbon (one roll did our 6′ tree)
- Plastic Christmas Balls (We bought the cheapest we could find. They looked amazing once on the tree!)
- White Holly Berry Picks (We bought ours on sale at Hobby Lobby. Any type of holiday pick will work.)
- Artificial Pine Needle Pics (50 pieces) We used these ALL over the house!
Instructions
These are the basics we used to give our tree a makeover.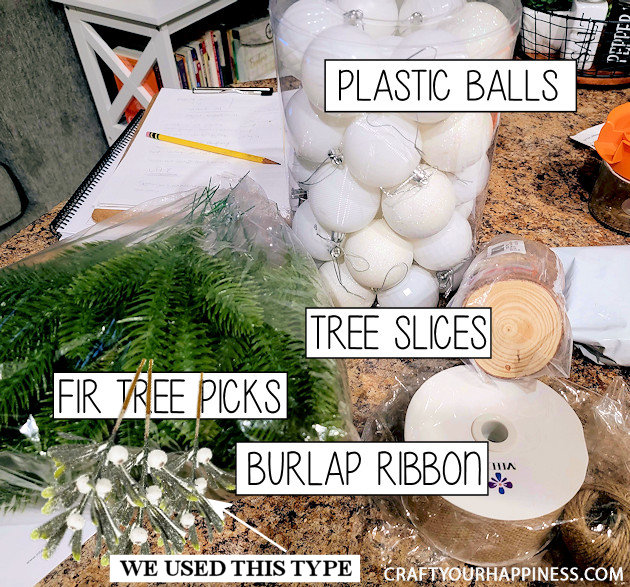
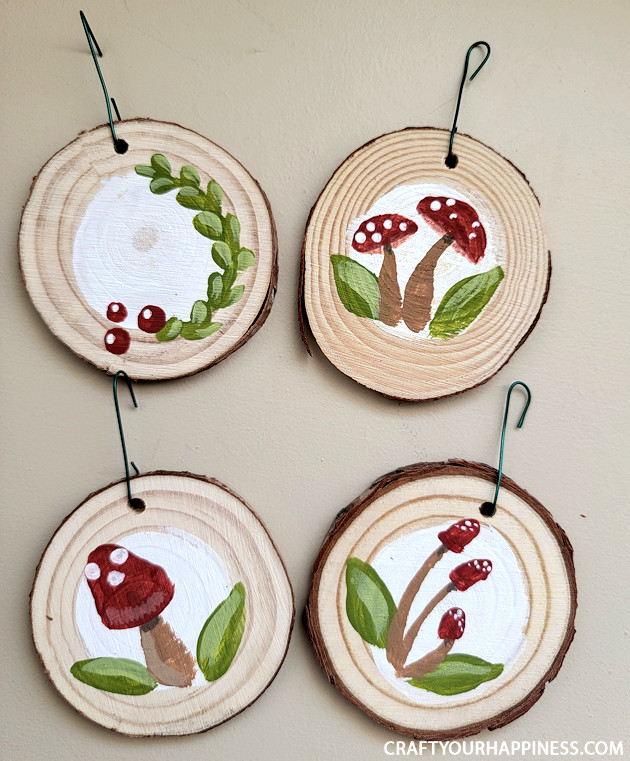
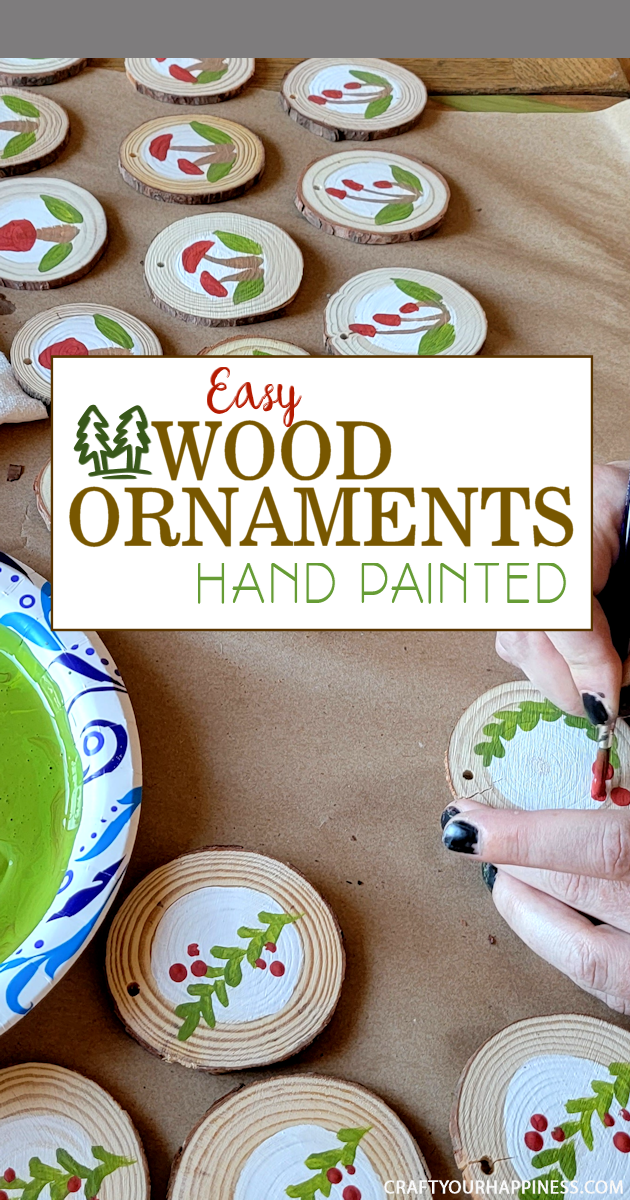
You can buy the discs cut or cut your own!
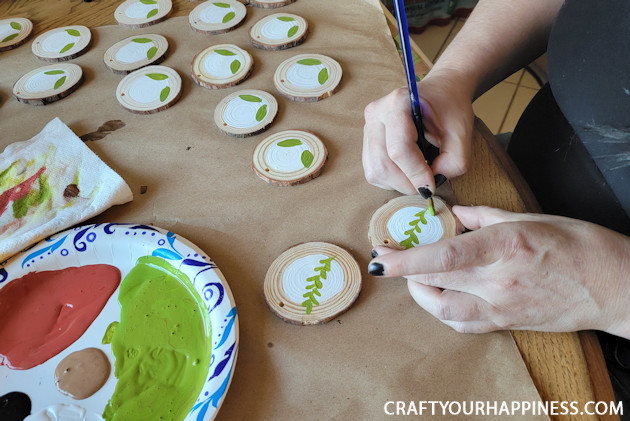
Use any simplistic design you like. We went with earthy plants.
FYI You can also spray the discs with clear sealer before painting to prevent the wood absorbing the paint. 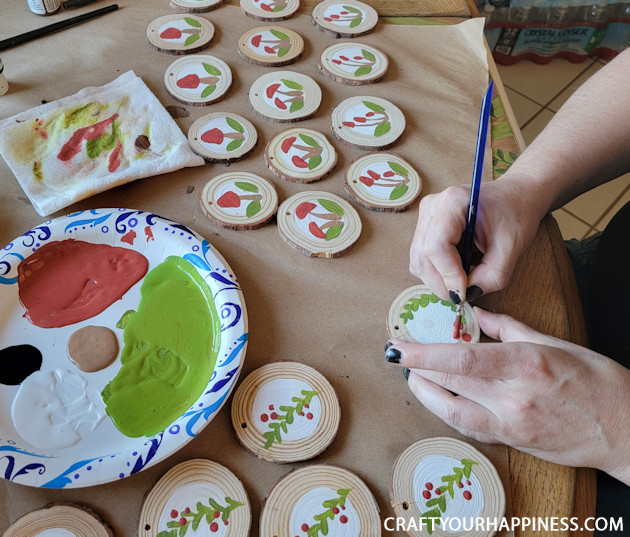
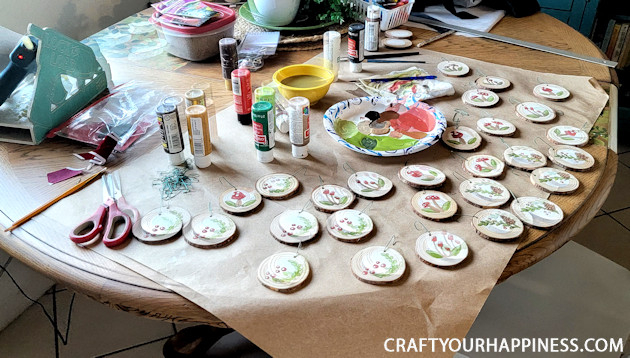
Once finished we let them dry. Cover with another coat of clear sealer if desired.
ASSEMBLING THE TREE
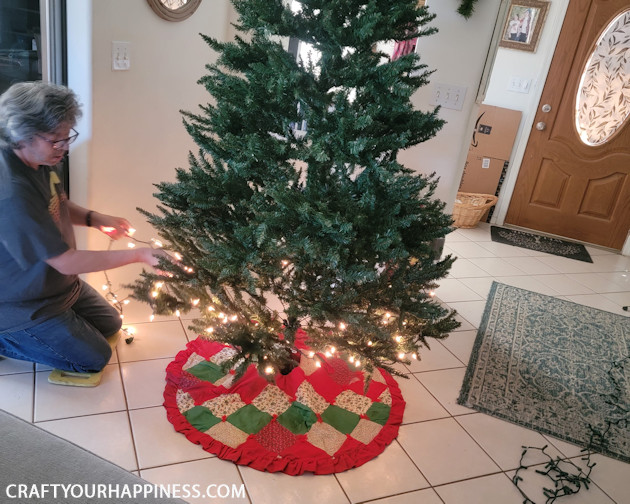
Lights only!
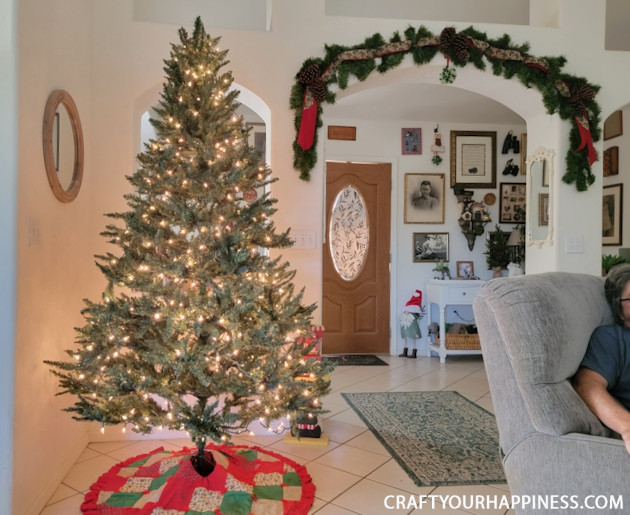
Next, we draped one roll of burlap ribbon around the tree.
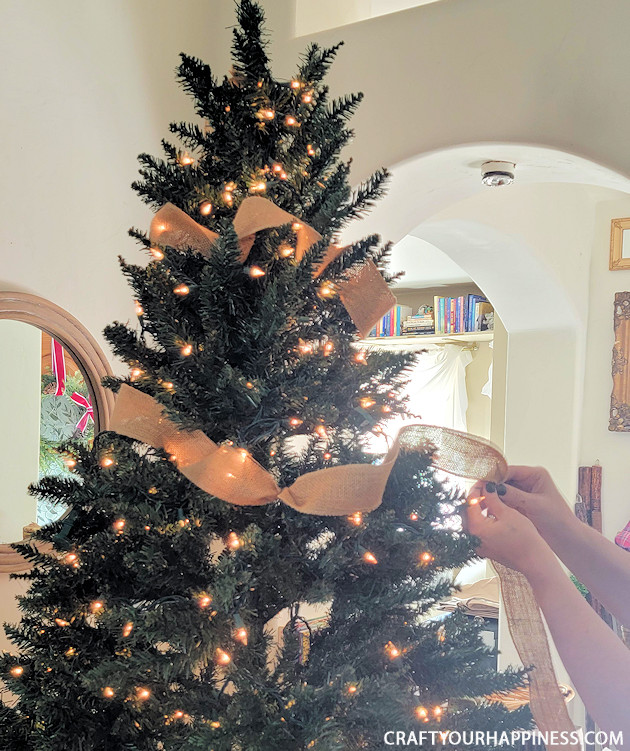
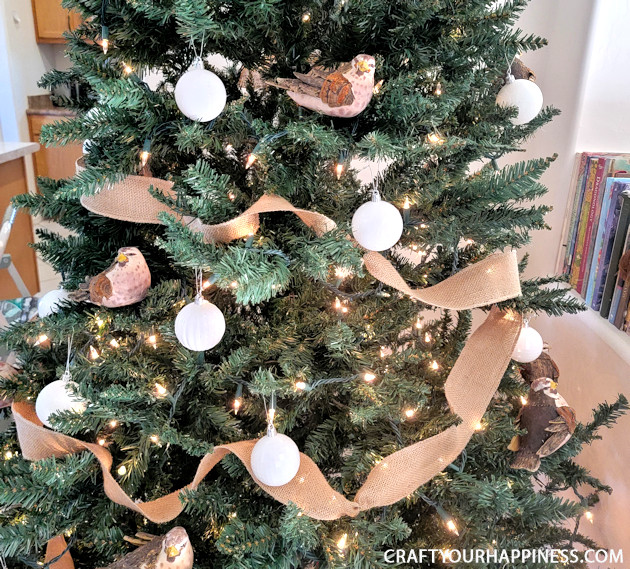
Then we hung our inexpensive white plastic balls.
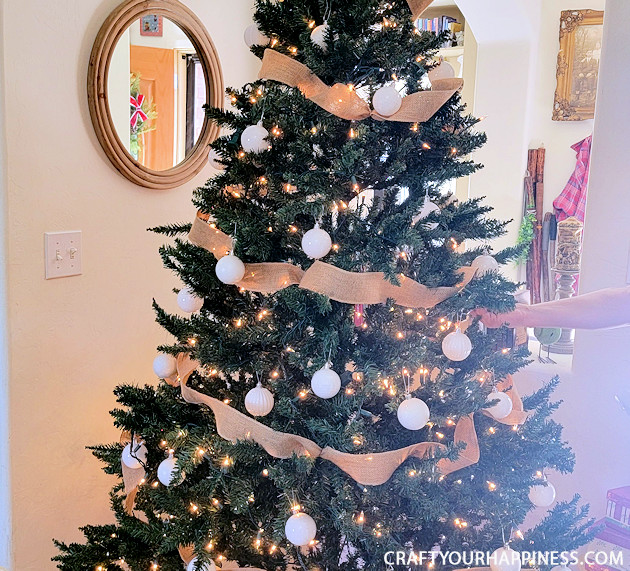
We already had the brown birds so we set those on various branches.
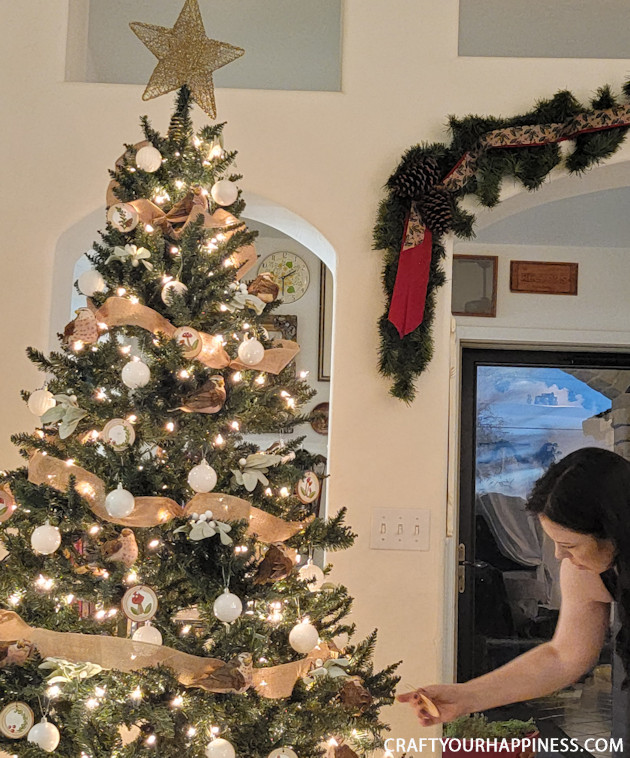
For a final touch we hung the wood ornaments and then laid a few white holly picks on various branches. It turned out gorgeous!



One response
Kind remarkable, thanks for this surprising article which inspired me !