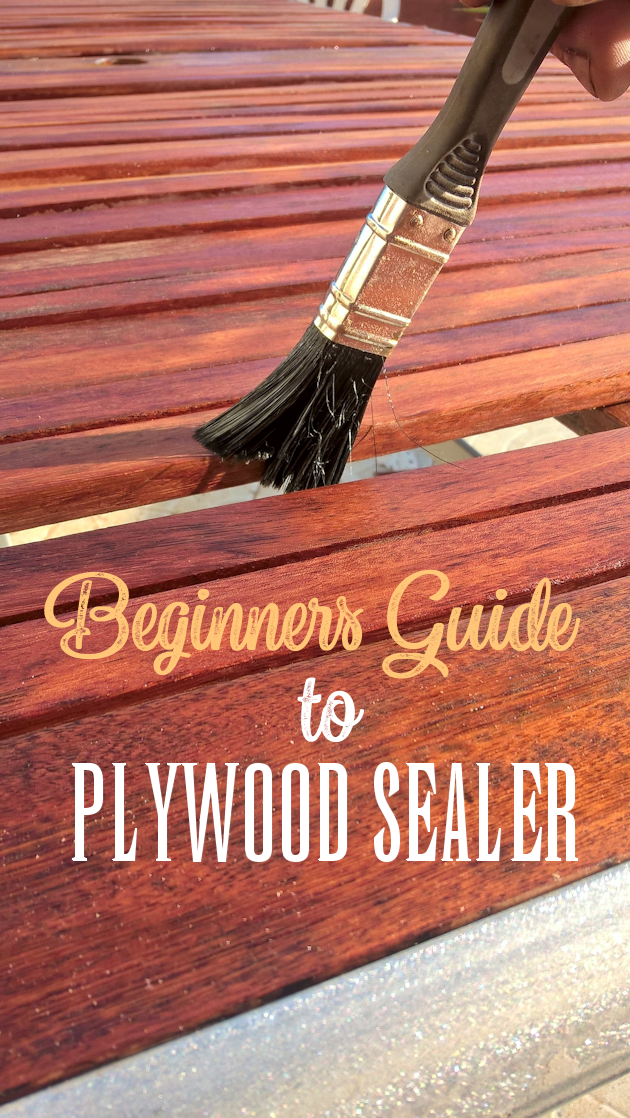
Plywood is one of the most popular variations of processed wood and is used worldwide due to its flexibility and cheaper prices. Many professional woodworkers prefer the use of plywood in significant projects. Creative DIY projects, with the inclusion of a coating all over to get a finished look, are also very easy to attempt by using plywood.
Various customizations and modifications are made on pieces of wood to eventually transform them into plywood. Thin layers of wood veneer are strongly attached with glue to align the grains of wood between adjoining planks. The types of wood used to manufacture plywood are usually oriented strand boards (OSB), particle boards, and medium-density fibreboard. Despite the remarkable durability of plywood, it is still wise to seal them with a coating to sustain the resilience of the exterior. Without a seal, moisture can seep in and permanently defile the piece of plywood from the inside. This article provides a comprehensive beginner’s guide on plywood sealers.
Advantages of Sealing Plywood
Ever pondered on how to waterproof wood? As mentioned above, sealing plywood makes it watertight, raises its durability, and prepares it for use under any circumstances or environment. While plywood itself is very long-lasting and sturdy, exposure to certain conditions can accelerate the depreciation. Sealing it can help avoid such situations and paves the way for additional painting or design on top.
Shield Against Sunlight and Moisture
Prolonged exposure to the sun can also cause wood to deform over time. Sun rays affect the rigidity of the wood, making it malleable. A little pressure on the surface can then cause the material to give away and permanently contort. Hence, the wood loses its appearance and effectiveness for further use. Exposure to moisture can cause even more damage relative to sunlight. Wet wood begins to rot in due course, and is a major concern for woodworkers all around the world. Moreover, the presence of water in the interior makes the wood structurally vulnerable and split in different places, causing irreversible damage and making it unusable.
Avert Growth of Mold
While rotting in itself is a major downside to exposing the wood to moisture, there are other problems associated with this. Mold is an unwanted anomaly in households that can originate from drenched wooden planks stored in your garage workshop. Exterior wood is the most prone to mold growth due to humidity levels, or the rain, and can no longer be implemented in projects due to health concerns. A proper seal over the piece of plywood can prevent all the aforementioned issues, as well as give the plywood a smooth appearance.
Types of Plywood Sealers
Plywood can be sealed using various materials, based on their intended use. The biggest benefit of implementing plywood is its extreme durability, and sealers enhance just that. Below is a list of various types of plywood sealers that you can consider for your next project.
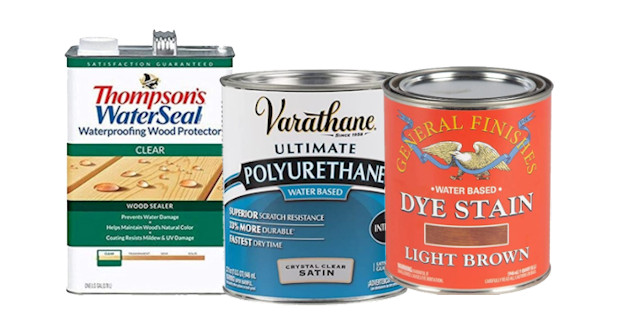
- Basic Water Sealer: This is a simple waterproof coating that is attached to the plywood. Multiple coats can be applied for increased protection.
- Varnish (Polyurethane): This special varnish can not directly be applied to the wood, as that would make it wet, which beats the purpose. Further modification to the wood is also not possible after this. Apply masking tape over the surface of the wood before polishing it with varnish.
- Light Watery Stain: This is a pale-toned stain that protects the plywood from the UV rays of the sun. Applying these stains requires certain procedures. Make sure to check the instructions before attempting to use them.
- Flex Seal: This is a container that sprays liquid rubber that can seep into minute pores and gaps to seal them with a waterproof, rubber coating.
- Polyvinyl Acetate (PVA): This glorified material serves 2 jobs at the same time: makes the plywood watertight and makes additional attachments easier to join due to its strong adhesive properties.
- Epoxy Filler: Distinctly perforated portions of plywood can be filled with epoxy to secure them and give them a consistent exterior texture.
- Basic Oil Stain: Large plywood planks can be coated with oil to prevent moisture from affecting them. Using oil is a cheap alternative and can be used on any size of wood, unlike some of the other sealers mentioned above.
Standard Steps for Sealing Plywood
Different plywood sealers have their own procedures of application. However, the standard steps remain the same. Below is a list of steps that you need to take to seal the plywood.
Step 1
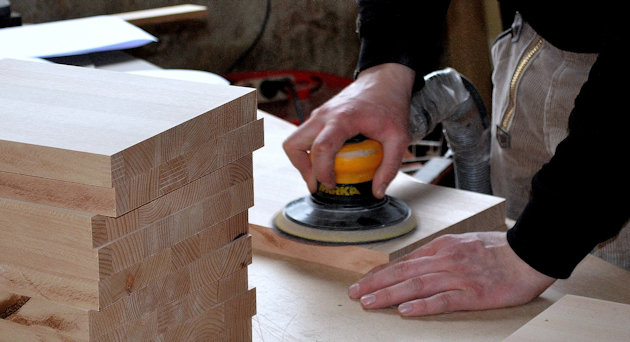
Use thin sandpaper for an initial smoothening of the surface of the plywood. Make sure to sand it along the grain of the wood in order to sustain the natural composition.
Step 2
Increase the intensity of sanding with relatively thicker sandpaper to obtain a polished outlook. The thickness of the paper depends on your necessity.
Step 3
Clean the dust from the plywood with a piece of clothing or a brush. Make sure you remove all the specks of dust from the surface, as the following steps involve sealing the plywood.
Step 4
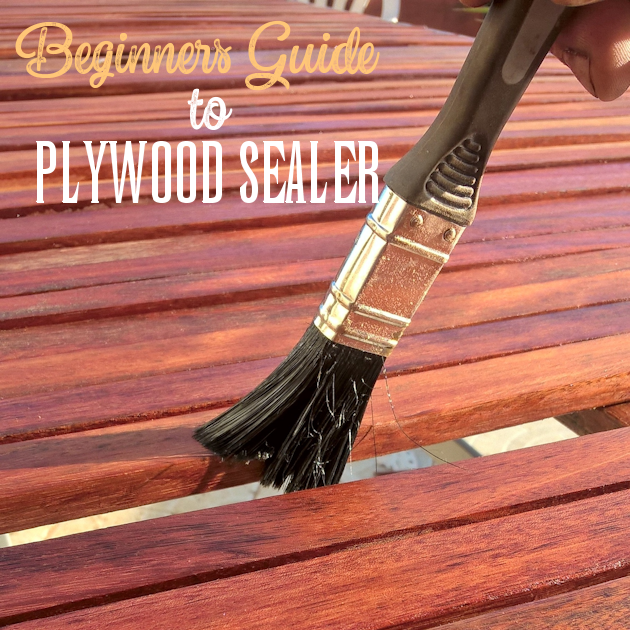
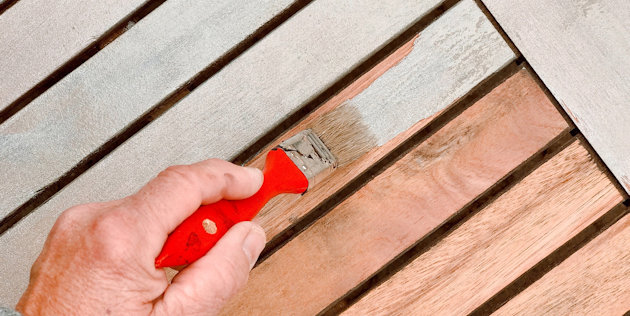
Gently apply the sealer evenly over the surface of the plywood once the dust has been completely cleaned off. Failure to attach it uniformly may result in remaining air holes, paving the way to future damage. Make sure that the piece of wood is not wet before installing the sealer.
Step 5
Wait for the seal to dry and settle once one side is secured, as you might decide to seal both sides. Rushing through this process may permanently damage the plywood and prevent it from being re-sealed in the future.
Step 6
Once the seal is properly attached, use the heavier sandpaper to lightly brush over the sealed surface. The issue regarding the air holes mentioned in step 4 has a chance to be fixed in this step. Make sure you do not rub too hard on the seal, as this might tear it in the process. Previously rough portions can be smoothened through this method.
Step 7 (optional)
Apply one last coating over the plywood for better protection. This increases durability, but also raises the complexity of the process.
Conclusion
Plywood has plenty of use in our daily activities. Ranging from address plaques on doors to beautifully crafted indoor furnishings, plywood can be used to craft them all. Sealing plywood is an established practice amongst professional woodworkers, and they are indeed very good at it. These coatings go a long way towards keeping your valuable pieces of plywood protected from external damages of most forms. Durability is key, and these seals ensure that!