 Photo by Anna Shvets from Pexels
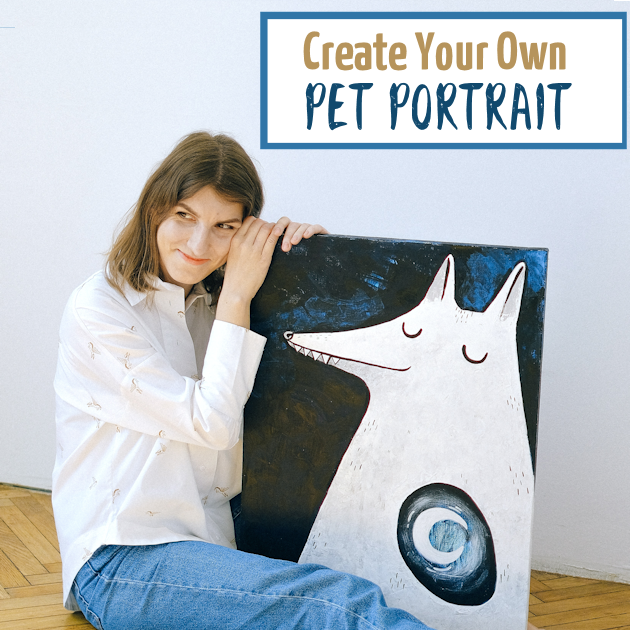
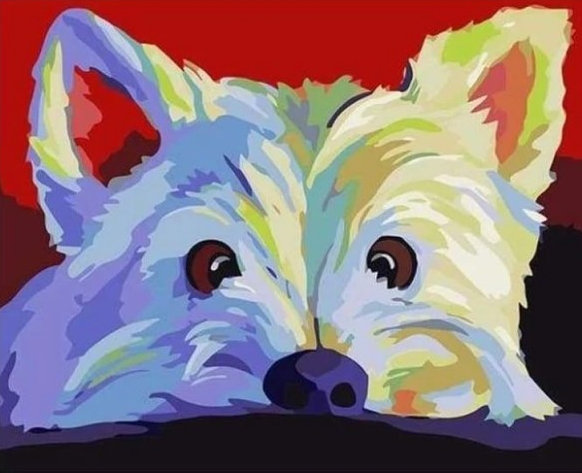
Pets are our best friends. We always wish the best for them and make sure we serve the best to them. Their existence in our life is very special and some of us want them to be with us forever. You might be the type of person who adores their pet more than anything, always thinking about ways to do something special. Painting a portrait of your pet can be a great way to appreciate them and show others how much you love your pet. We are here to help you create your own pet portrait by yourself with some super easy steps. Check it out!
How to Make a Keepsake Dog or Puppy Paw Print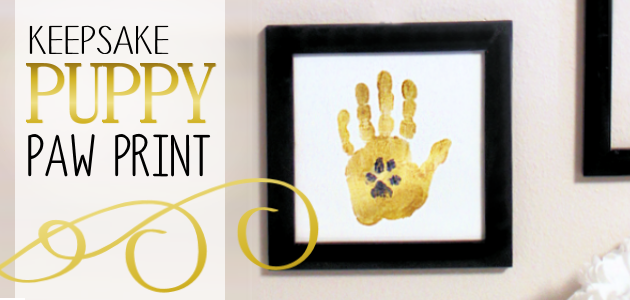
Why Have a Pet Portrait?
You might think that while you can just take a picture of your pet with your camera, why not have a pet portrait as well?
A pet portrait is more than just a picture. It’s a reflection of your emotion towards your pet. The bond and affection you bear with your pet are expressed finely when you make a portrait by yourself. Also, it expresses how important your pet’s existence is in your life. Moreover, it’s a fun task for recreation. After the portrait is complete, you’ll feel a blend of joy, a sense of accomplishment, and relief. It will be like a trademark of your relationship with your pet. It is indeed one of the best gifts you can give yourself as a pet lover.
Besides, you can present your pet lover friend a portrait of his or her pet done by you as well. There is no reason for anyone to not love a pet portrait even when it’s not perfect. The emotion behind it is what makes it so special.
Upcycled Simple DIY Cat TeePee From TV Tray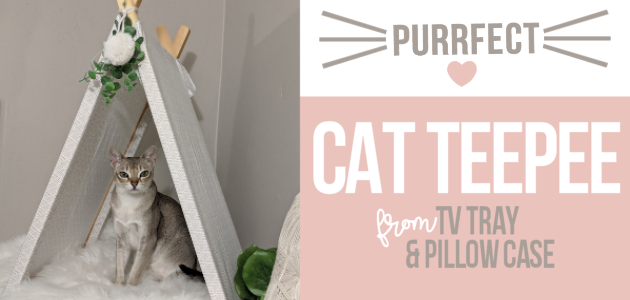
How to Make a Pet Portrait
When making a portrait, the only goal should be to make it as close and as identical to your pet as you can. One should be able to recognize that it’s your pet and not some random animal. So, stay focused, give it your time, and certainly don’t rush!
Follow these steps and you’ll be on your way to creating a special pet portrait.
- Collect Your Supplies
First things first, collect and arrange all the supplies that will be required for creating your portrait. Properly arrange the board or canvas, the colors, the brushes, pencils, erasers, and any other tools you’ll need in a well-organized place.
- Prepare the Board or Canvas
Preparing the board or canvas prior to the painting is very essential for smooth painting. The better you prepare the canvas with thin acrylic gesso layers, the better you’ll be able to effectively pull the portrait off.
How you should prepare your board or canvas depends on what type of canvas you’re using. If you’re wanting more guidance, you can simply get a paint by numbers Australia canvas kit that’ll help you make a portrait of your pet easily with just a few directions of color fillings.
- Apply a Wash
Rather than painting straight on the white surface of the board or canvas, applying a wash beforehand is better for the colors to gain more gravity towards the canvas. For this purpose, burnt umber paint works really well to maintain the density of the colors.
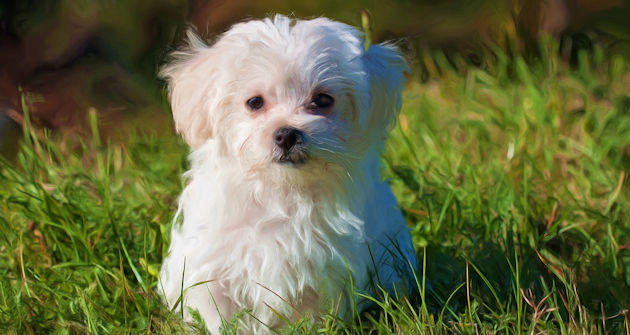
- Select a Picture of the Pet
If you plan to make a portrait of your pet by keeping it still in front of your canvas – the traditional way of doing portraits – it’ll be almost impossible!. Think about it, will you be able to keep your pet still for so long? And even if you could, why torture your pet? That’s why it is best to select one of your favorite pictures of your pet and make a portrait following its structural details and posture.
- Decide on the Style
You should make up your mind with the style you want the portrait to be. That is, if you want it plain, colorful, relaxing, dramatic, etc. You can make your pet cat or dog wear different costumes in the portrait to make it humorous as well. Small costumes like simple bows on dogs and cats look really cute in portraits.
How to Make a 5 Minute Dapper Puppy Dog Bow Ties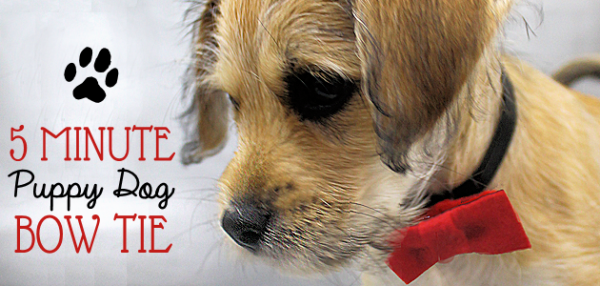
- Select or Imagine a Background
You don’t necessarily have to keep the background in the picture you select for your portrait in your painting. Remember, the main focus of your portrait should be your pet. So, keep the background as plain and simple as you can with colors that best suit the color of your pet.
- Create a Sketch Outline
It is very essential to make a rough outline of your pet and its posture with a pencil first. It doesn’t have to be absolutely perfect but the better you sketch your pet, the easier it’ll be for you to execute the portrait.
- Paint the Background on the Canvas
If you have decided what you want the background of your pet portrait to be, start painting it. Try to use neutral colors that will highlight your pet. Color the background carefully, missing the sketch of the pet.
- Paint Your Pet
Now it’s time to paint your pet. We advise you to follow our order below to make sure you don’t miss any layers and important details.
- Paint the eyes first.
The eyes of any animal are the most difficult part to paint. There are several details in the eyes including the reflection, shades, and shadows that are difficult to portray. How realistic the eyes look depends on how you carry out these details. - Move to the Face
The next thing you should move to after painting the eyes is your pet’s face. It is the focal point of the portrait and how well you paint will determine how much the portrait reflects your pet. So, make sure you spend a good amount of time highlighting every unique feature. - Paint the Body Texture
Most pets have a definite type of body texture such as fur or feathers. So, while painting the whole body, try to recreate the texture and stroke the colors one after another. There will be different shades on your pet’s body but do not try to make the shades in all the parts of the body altogether. Follow a sequence of colors. - Highlight the Features of Your Pet
All animals are different from each other. Make sure to highlight the unique features of your pet as much as possible throughout the portrait. This might be a birthmark or colored shape on its fur. Doing so ensures that it doesn’t look like a random animal portrait but recognizably your pet. - Add Whiskers (If Any)
Don’t miss out on the whiskers if your pet has them. The whiskers should be added at the very last, after you’re done painting the whole body of your pet. Use the thinnest brush you have to draw the whiskers. And try to make each with only one stroke. - Add Other Finishing Touches
Even after you’re done with painting all the necessary details, there will be many finishing touches, shades, and strokes of colors that you might still feel it requires. Don’t hesitate to add them until you’re absolutely satisfied.
- Evaluate Your Painting
Done adding all the finishing touches? If there’s nothing left for you to add to make the portrait better, make a final evaluation. Bring your pet by your side and compare the portrait with it. Maybe even ask some friends or family their thoughts and feedback. Does the portrait reflect your pet? If it does, well done. Mission accomplished!
We believe with these tips you will create a masterpiece. And when you do, make sure to hang it proudly for all to see. Thanks for reading till the end!
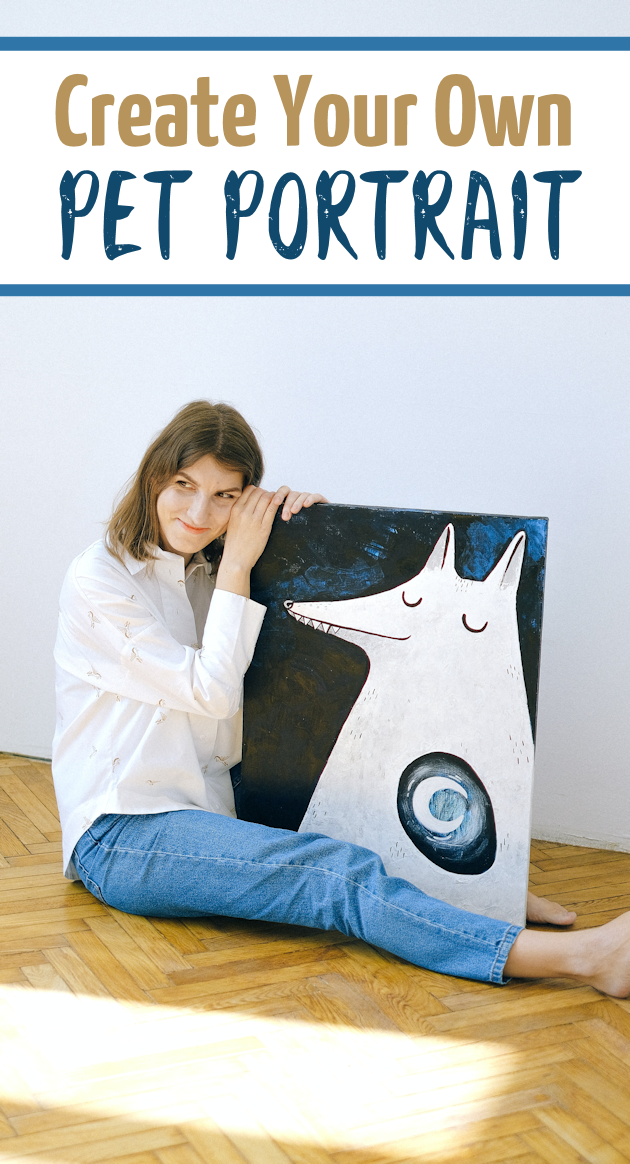 Photo by Anna Shvets from Pexels


