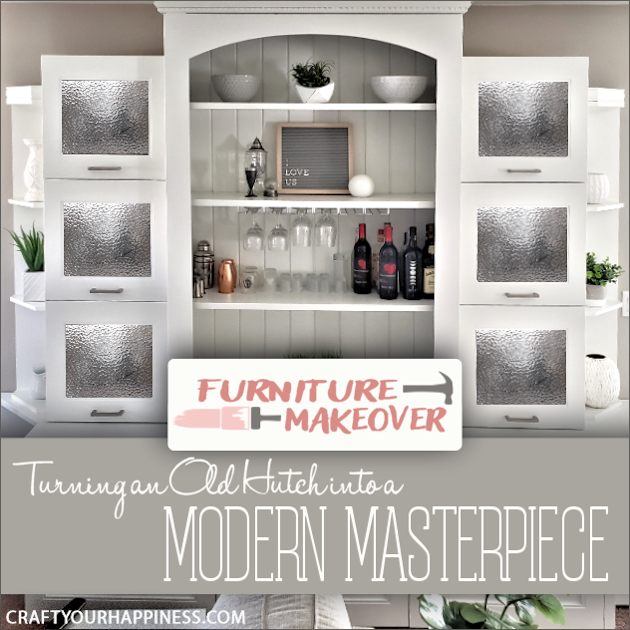
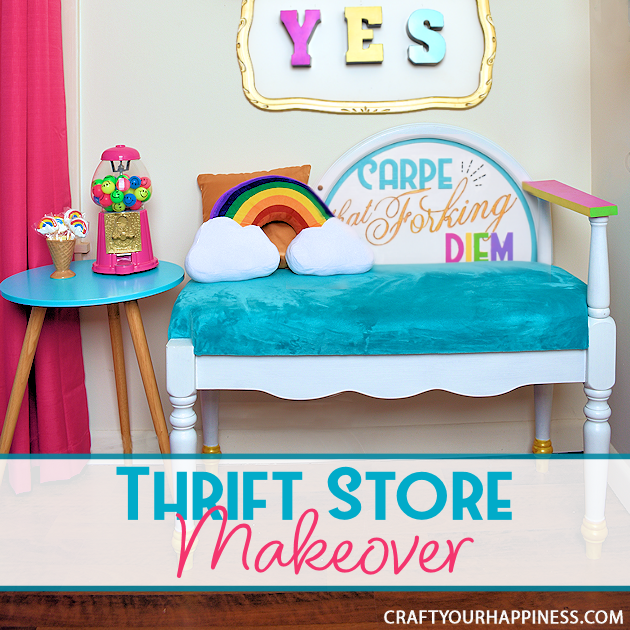
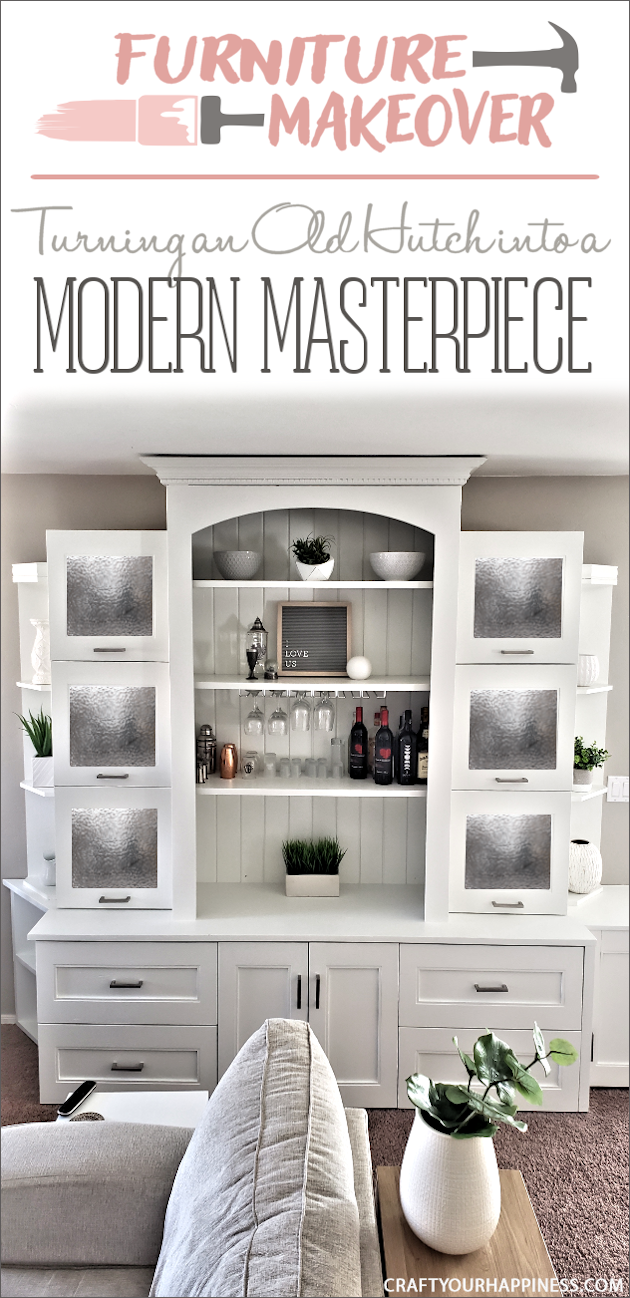
 One of our favorite things is taking old furniture and giving it a new look and this hutch makeover is a perfect example! We took an old, huge, dark hutch and turned it into a modern, beautiful hutch using paint, new hardware and a little ingenuity. It’s amazing what just a coat of paint will do but adding new hardware and other goodies such as the under the shelf stemware rack for glasses. You can makeover your own furniture or hit the thrift store for some great pieces to redo such as we did with our Thrift Store Makeover Bench and Before & After Modern Geometric Painted Dining Table. One of our most creative projects shows How to Turn a Working Console TV into a Piece of Art!
Supplies Used
- Paint – We used Sherwin Williams ProClassic Interior Waterbased Acrylic-Alkyd in Arcade White
- Primer – We used Kilz All Purpose 2 primer. Any good quality primer should work.
- Wood Filler
- Sand Paper
- Hardware: Brushed Nickle Cabinet Pulls
- Stemware Rack (Under cabinet glass holder)
Optional if making modifications:
- Drill (We own this cordless Bosch and Love it!)
- Screws
- Circular Saw
- Plywood
- Wood Glue
 Instructions
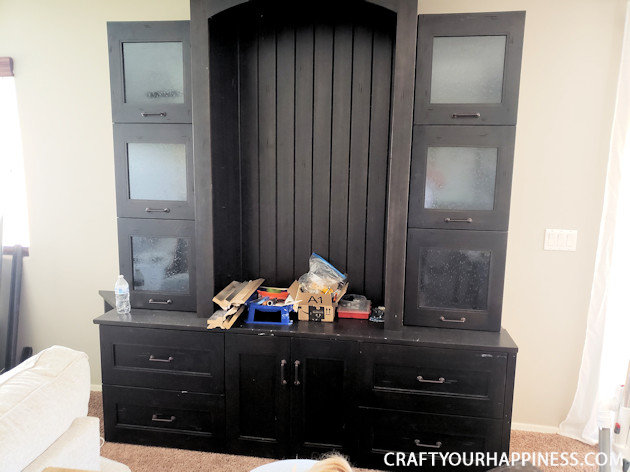
It’s hard to see in this photo, but the old hutch had seen better days. We decided to start by adding a cupboard to the bottom right of the hutch to help balance out the corner shelves located on the left side of the hutch. You can barely see them poking out on the left in this photo.
I used a cabinet that had once been part of an old desk. It was the right height for the hutch, but was too deep, so I used a circular saw to cut off the back half of the cabinet.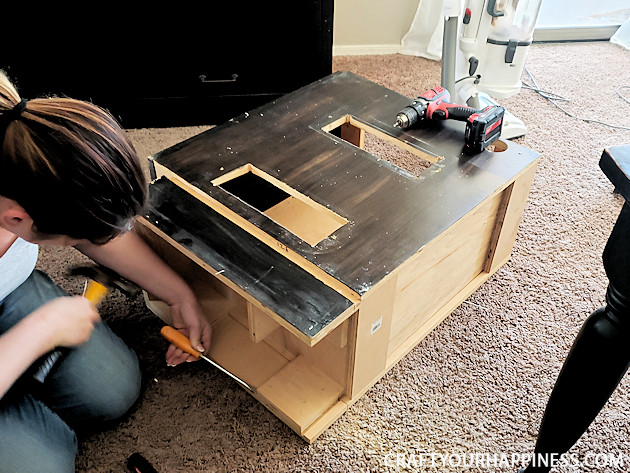
There was a matching corner shelf for above the new cabinet area that needed to be removed prior to installing the addition.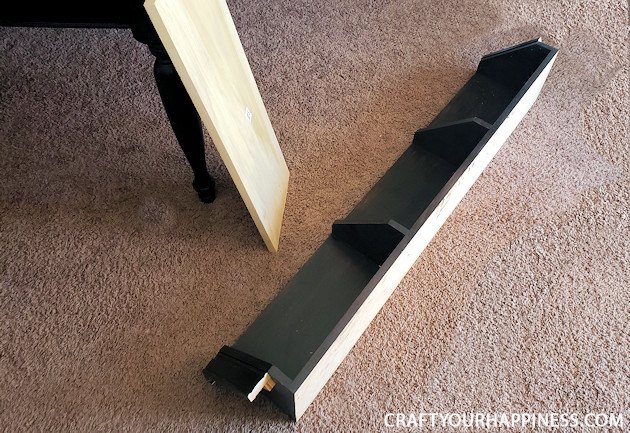
Once the new cabinet was cut, we put it in place and cut a piece of veneered plywood to put on top. We then used a couple screws to mount the cabinet to the hutch. The new top was glued and nailed into place, before it was wood filled and sanded to match the shape of the existing hutch top.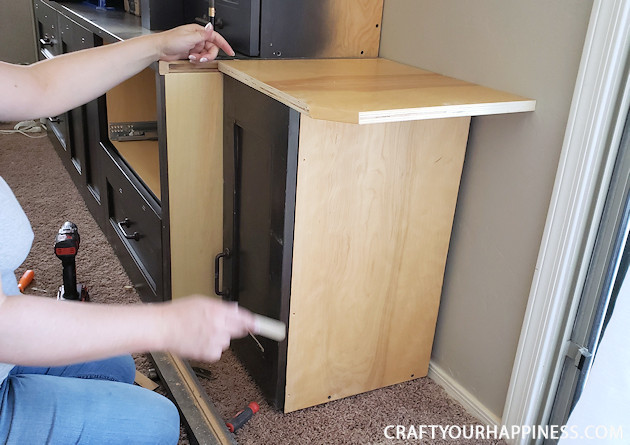
We we wanted a more built-in look, and so we decided to add some crown molding around the top of the hutch to make it flush with the ceiling.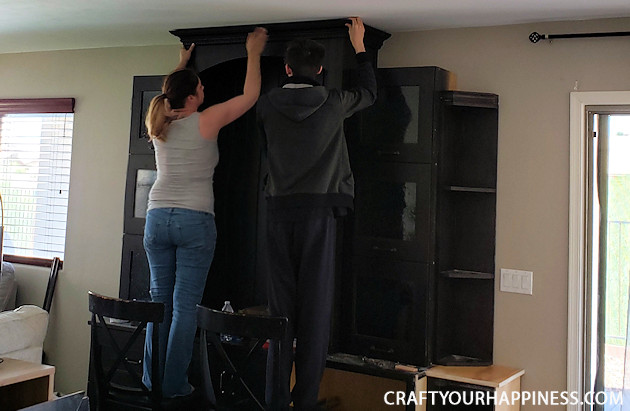
Now that we had the structure the way we wanted it, we removed the hardware and taped off the glass to prime it.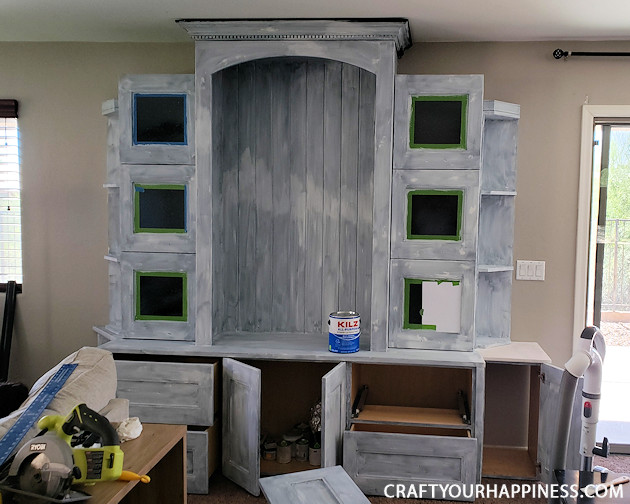
Because we didn’t pre-sand the entire hutch, we chose an adhesive primer and did 2 coats.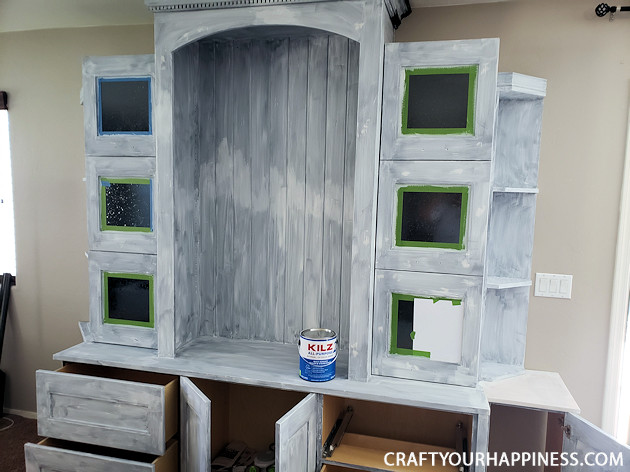
Once that was dry we painted the exterior of the hutch. We new this would get a lot of wear and tear, so instead of standard interior paint, we used a water based alkyd paint that was designed for cabinets. Best decision ever! It is self-leveling paint that dries to form a smooth, sturdy and cleanable surface that can take a beating.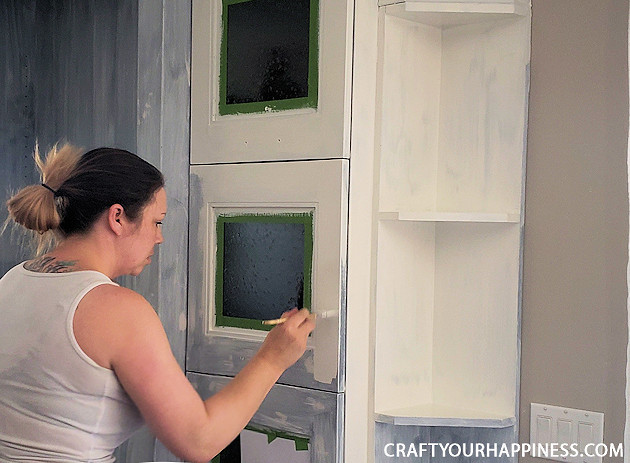
Once the hutch exterior was painted, we removed the framed glass doors and drawers to paint hidden areas we couldn’t get to with them on. Like inside the cupboards.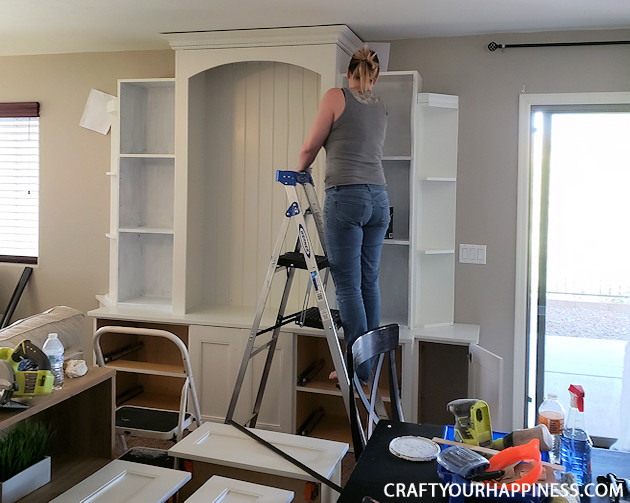
And around the drawer edges.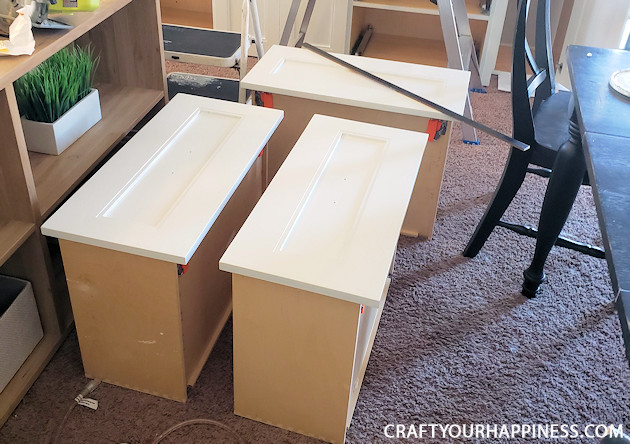
We removed all the hardware from the framed glass cabinet doors in order to paint their interiors.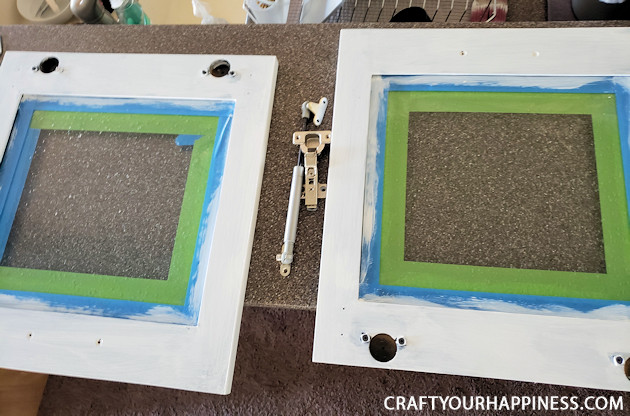
Making sure to keep each set of hardware with the appropriate door. This is always a good idea with old furniture, in case things don’t line up the way they should when you put it back together.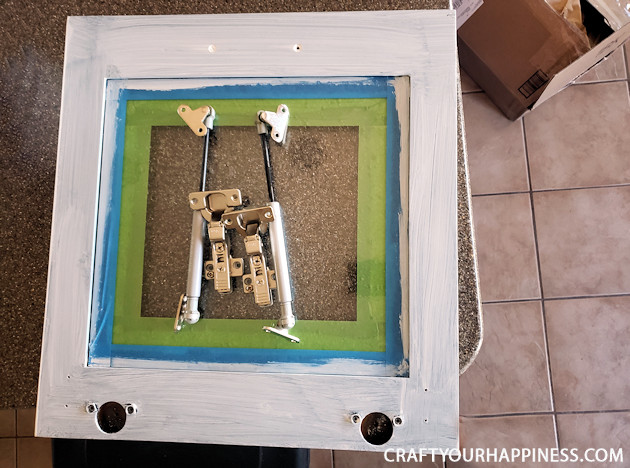
I wanted to use a shelf on the new hutch for wine storage. So we picked up this stemware rack for $30 on Amazon!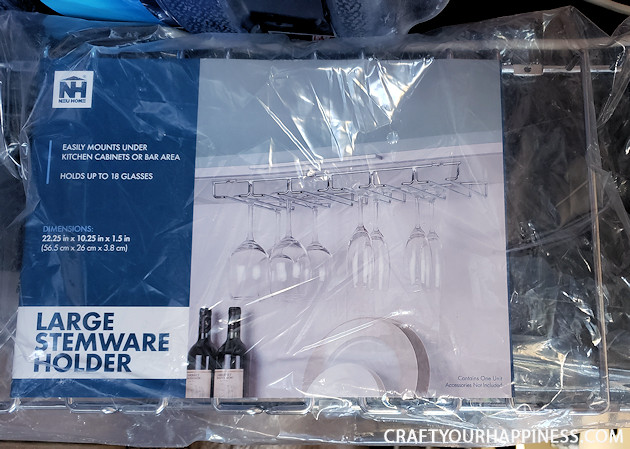
It installed easily with 6 screws and is really sturdy. It also matched our new hardware and really pulled the piece together.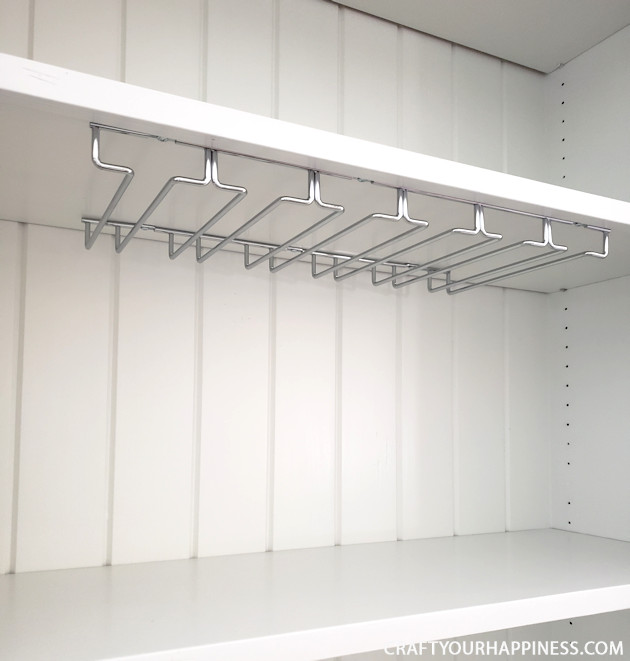
Our new hardware came from amazon, as well. We wanted something more modern than the old iron handles, so we installed these clean, simple nickel handles to all of our cabinets and drawers.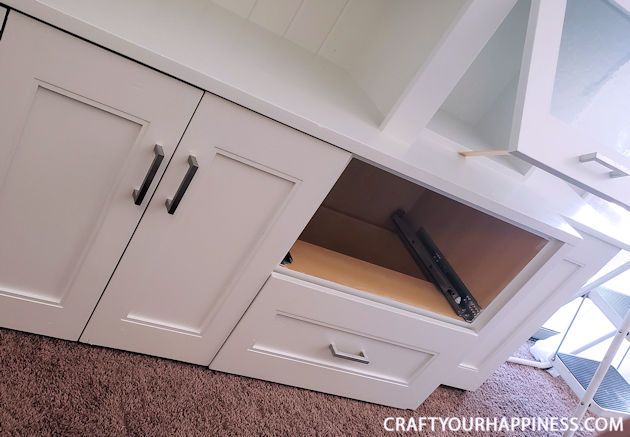
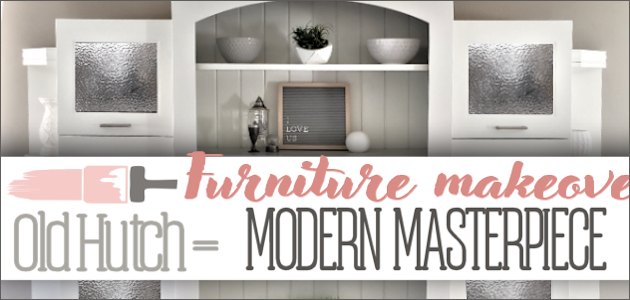
Once we were done I was blown away by the transformation! This dark, heavy, beast of a hutch was now a clean, modern, breath of fresh air. Success!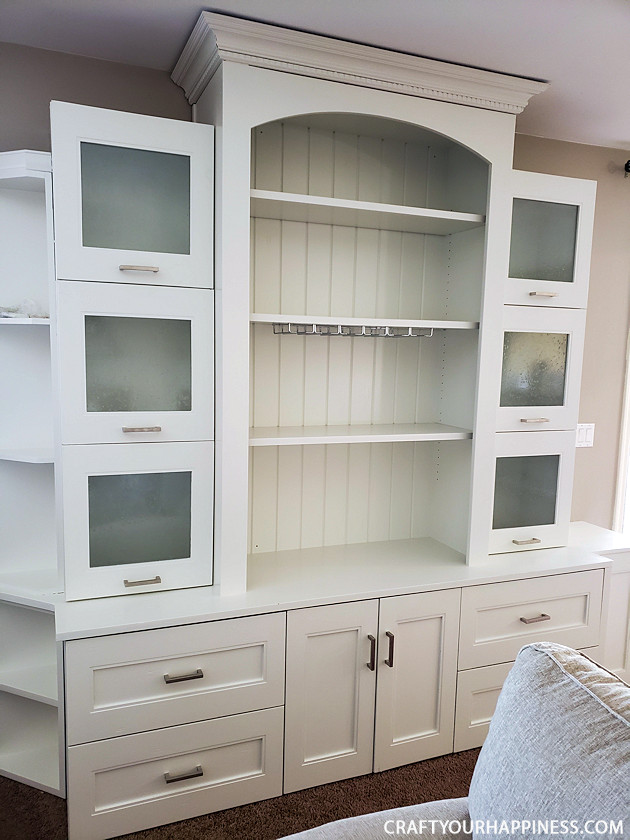
We loaded up our drink station and added some décor.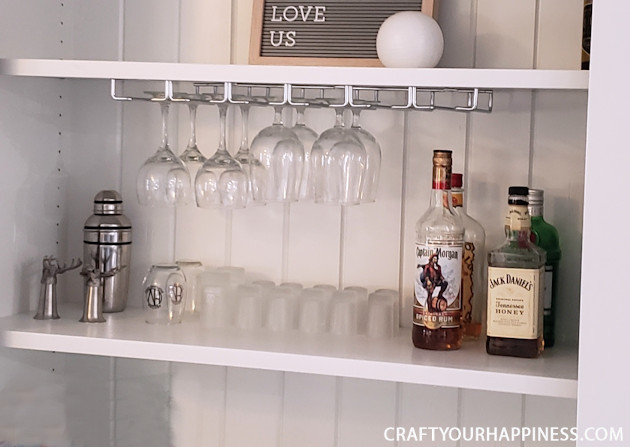
And that’s it! I hope this has inspired you to revamp some old furniture around your place. You’ll be amazed what a little paint and some new hardware can do.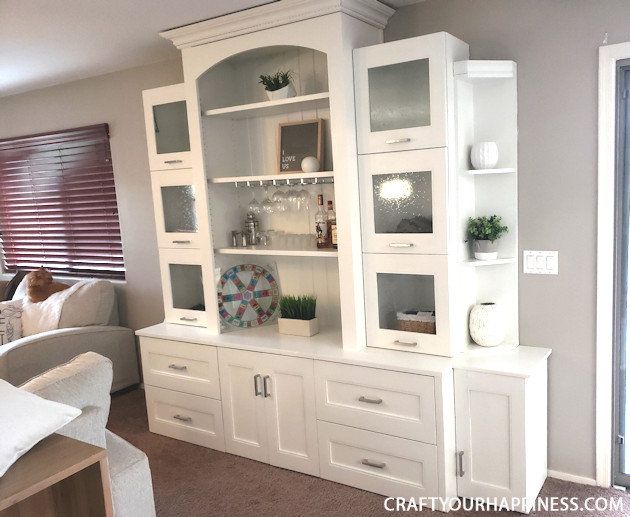
![]()




6 responses
A stunning redo! Great job!!!!
It really looks nice!! I have an old hutch cabinet in our small basement living area….that inspired me to paint it. Our paneling down there is gray. I wonder if I could paint it white and lightly brush gray over it…
yes!!!
Do you feel like the white gets dirty easily and it’s not easy to clean. My daughter repurposed a bedroom suit in white and she says it gets dirty quickly.
It just depends on how much it’s touched. We used semi-gloss paint which cleans easily!
Do you ever have issues where the white gets dirty and not easy to clean off? My daughter repurposed a bedroom suit and she feels the white gets dirty quickly.