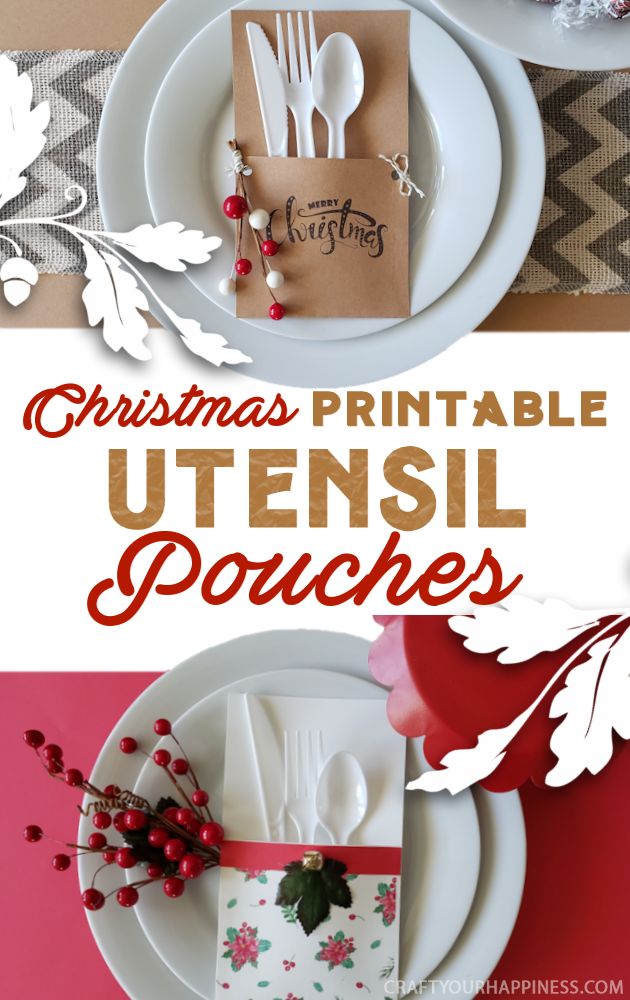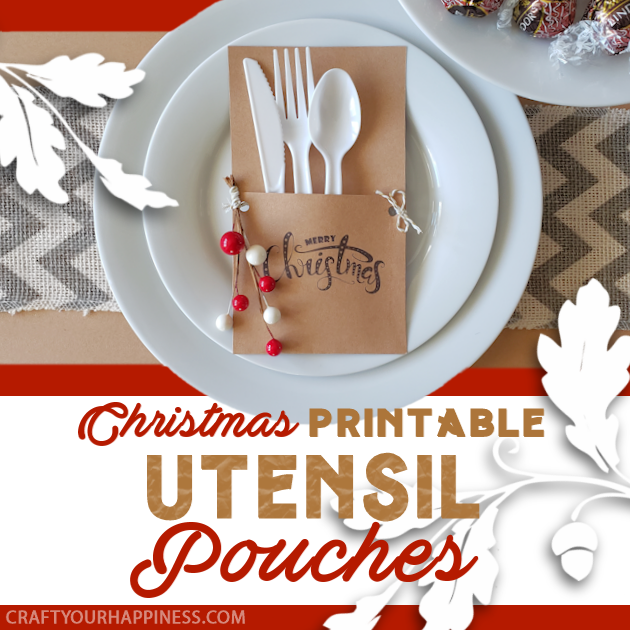
![]() Add extra cheer to your holiday meals with our FREE Christmas printables utensil pouches! Quick & easy to make, your plastic utensils never looked so good! Use them for any special holiday meal or make a set for just the kids. The free download has 7 different patterns to choose, from including classy to fun. All you need is a printer and paper but we give you some great ideas to customize them if you’re so inclined. We literally used what he had on hand.
Add extra cheer to your holiday meals with our FREE Christmas printables utensil pouches! Quick & easy to make, your plastic utensils never looked so good! Use them for any special holiday meal or make a set for just the kids. The free download has 7 different patterns to choose, from including classy to fun. All you need is a printer and paper but we give you some great ideas to customize them if you’re so inclined. We literally used what he had on hand.
If you’d like some more quick and easy holiday ideas check out our Peace Dove Gift Ornament and Poem. It’s a great meaningful neighbor gift that costs almost nothing. We also have a free printable DIY Nutcracker Container to fill with whatever goodies you like. Our Pocket Mistletoe is also a huge hit. Honestly, we have too many fun ideas to mention but you can check them all out here.
![]()
Christmas Printables Utensil Pouches Supplies
You can literally make these cute utensil pouches with just some paper and a printer and glue. But the sky is the limit as far as customizing them whether it be some glitter, jingle bells, or ribbon. We literally used things we had on hand to add a little “extra” so some of ours.
- Cardstock (though in a pinch you can use regular paper) White works best for the colorful graphics though we include two black graphics which look great on colored paper, especially brown Kraft paper.
- Stick glue
- Hot glue (for adding extras if desired)
- Scissors
OPTIONAL ITEMS
- Hole punch
- Free pattern below
- String/Twine We used Brown Baker’s Twine but there are many options
- Some small pieces of holiday foliage, jingle bells
- Ribbon, glitter, corner punches
![]()
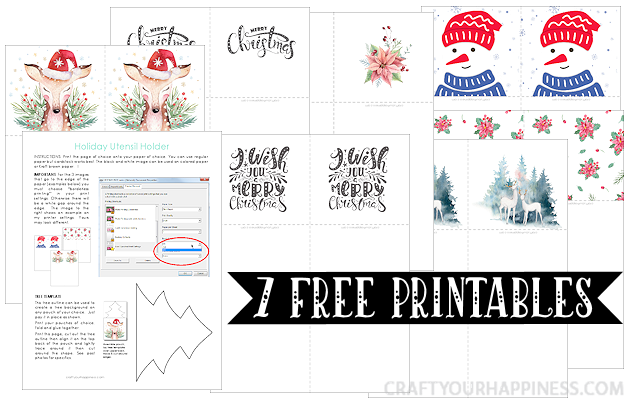
Free Christmas Printables Pattern Download
IMPORTANT: Two of these patterns require you to used the “borderless” printing seeing on your printer. The instructions are included in the downloadable packet.
pdf
![]()
Instructions
Print as many patterns as you need on cardstock. Gather any extra “goodies” you might like to use. We are going to show you a variety of ways we customized several of the pouches below. Feel free to get creative!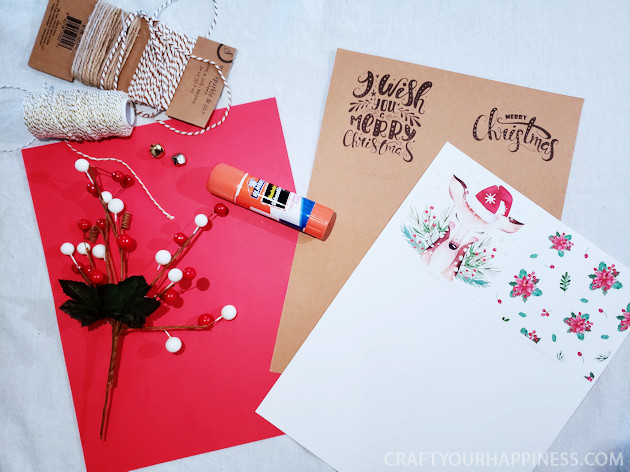
Cut along the horizontal light grey dotted line up the middle. 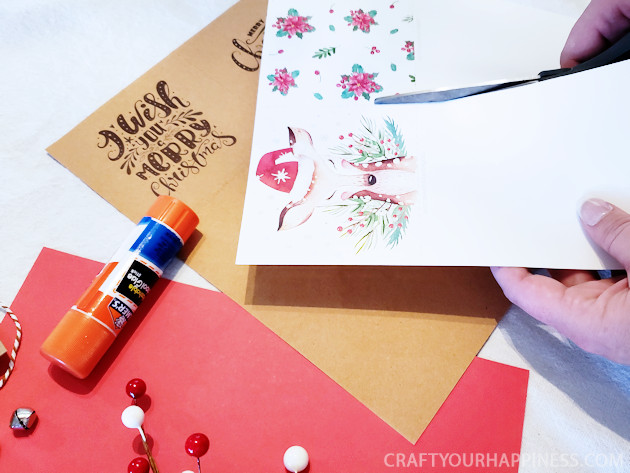
Fold along the vertical dotted line.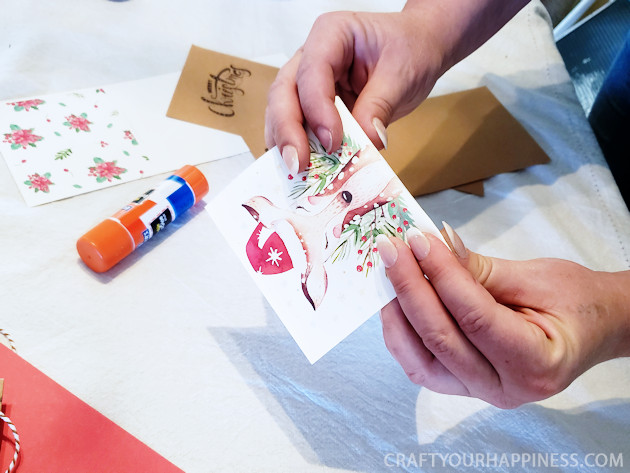
Glue the edges together with your glue of choice. Make sure to only glue about 1/4″ in. Fold up and form the pocket.
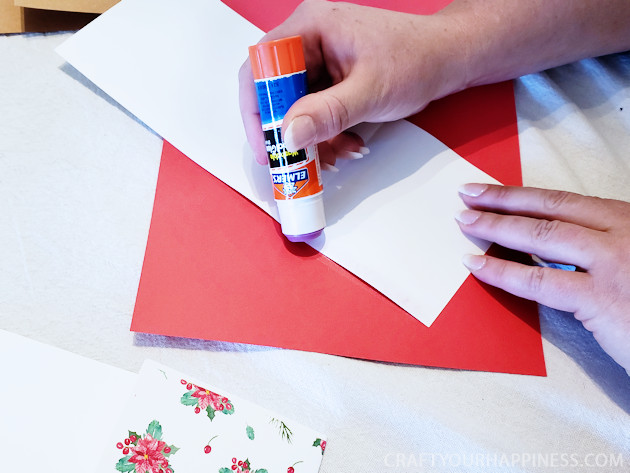
For our poinsetta pattern we decided to add a small strip of red paper. Ribbon would also work!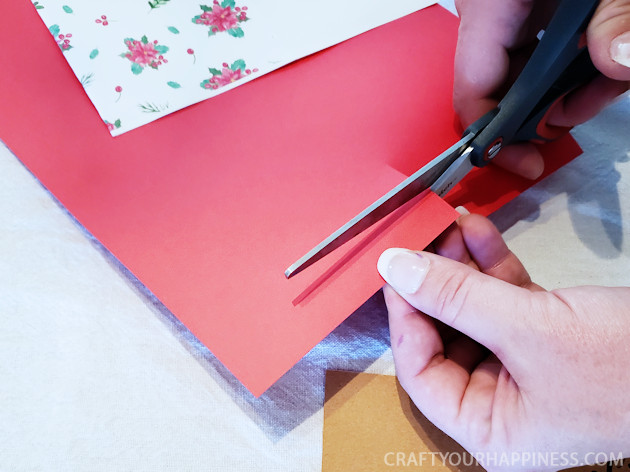
Glue the back of the paper strip.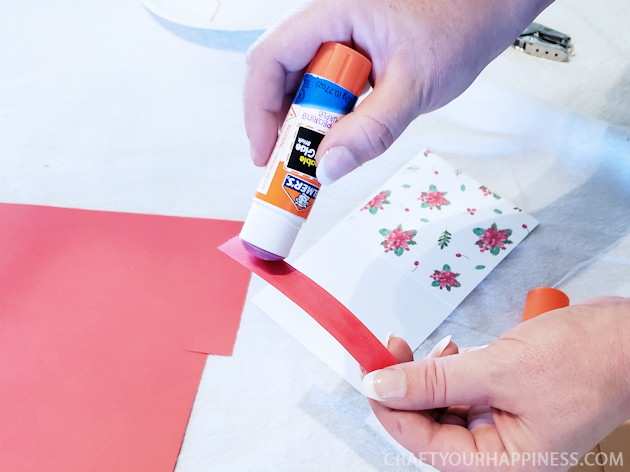
Place it along the top of the front pocket. 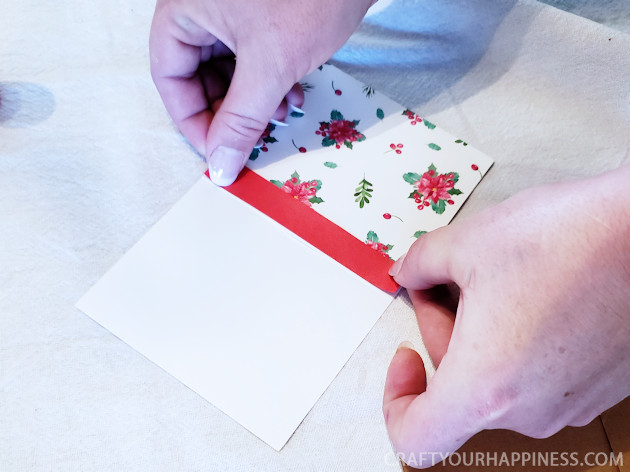
Since we had some holiday foliage we cut one leaf off to use for this pouch.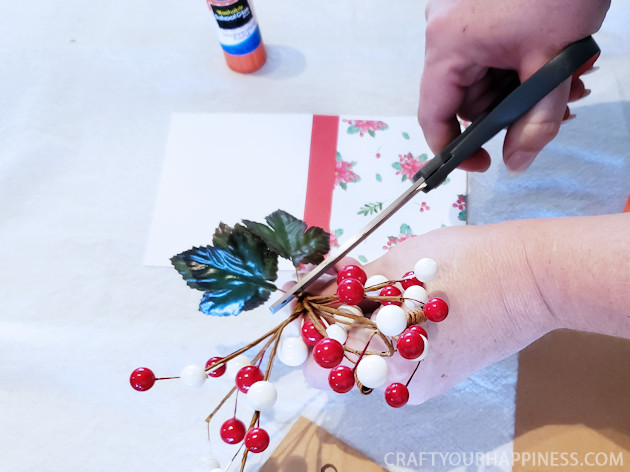
Using hot glue, we placed a small dab in the middle of the pouch. 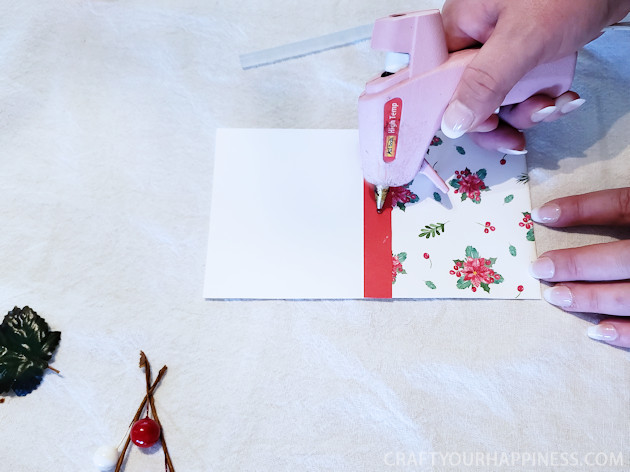
We then added one leaf and glued a jingle bell into the center of that. 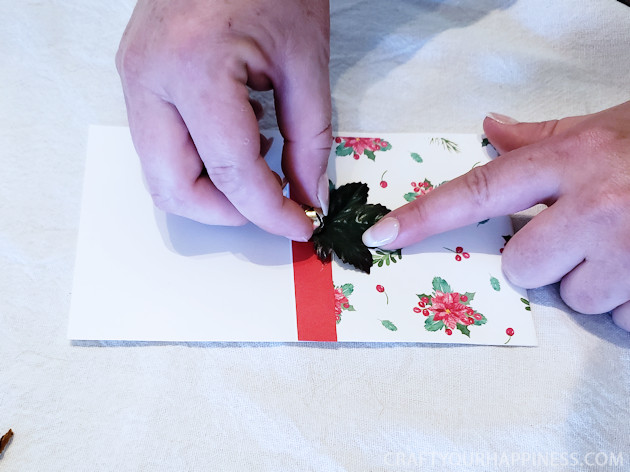
We printed the black text onto brown paper. Then decided to punch 5 holes up each side.
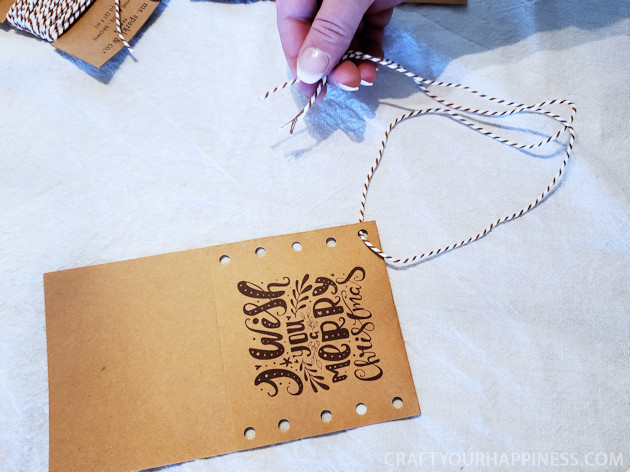
Taking some baker’s twine we wrapped the edge through the holes and tied it off on each side.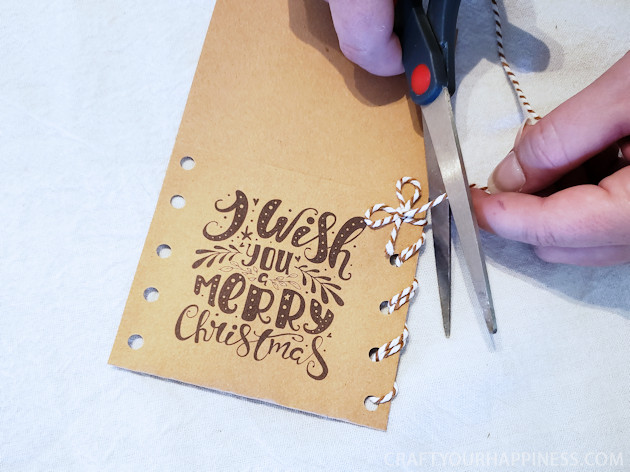
For our other black text with punched a single hole on the top left and right of the pouch then tied one side with twine tied in a bow and on the other side tied a sprig of holiday berries we had from some old Christmas decor.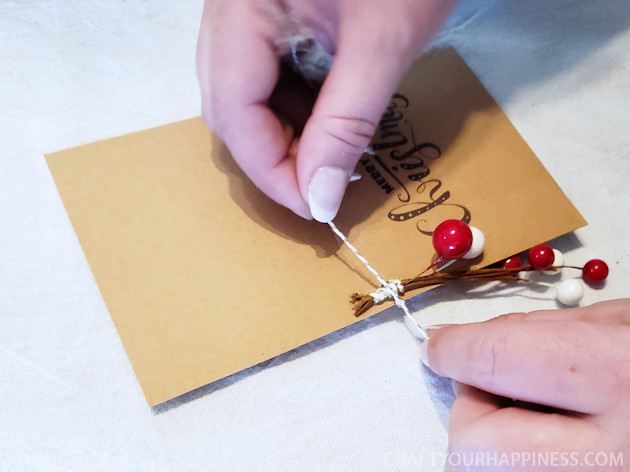
For the deer we decided to do something different on the pouch and cut the top back portion into the shape of a tree. The pattern for that is included and can be used on any of the pouches. Print the instructions sheet which includes this tree pattern. Print your pouch and fold it over. You will now take the tree and use it as a template to trace on the back part of the pouch.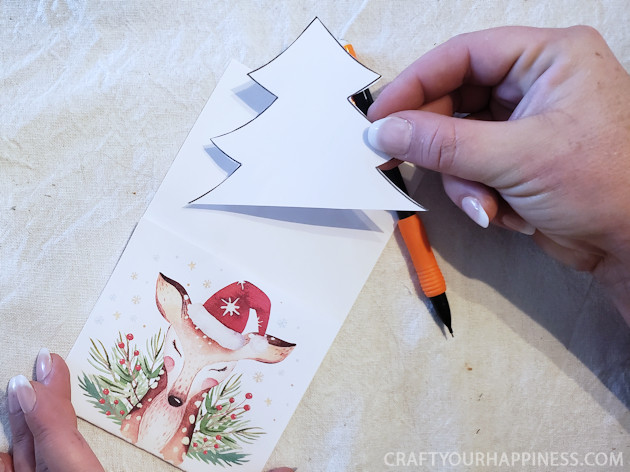
Lay it in place and lightly trace around it as shown. 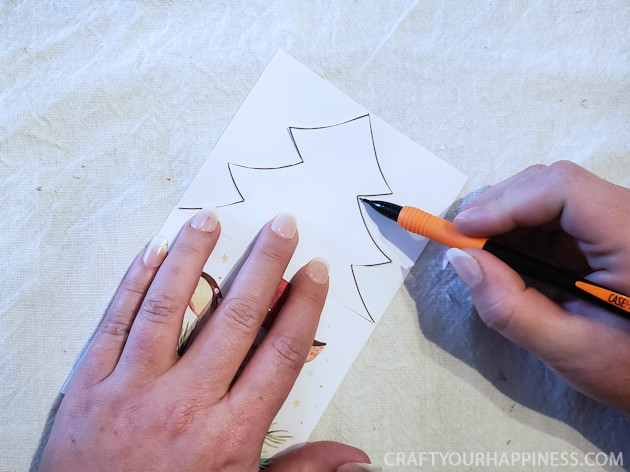
Cut along your traced lines on the back part of your pouch.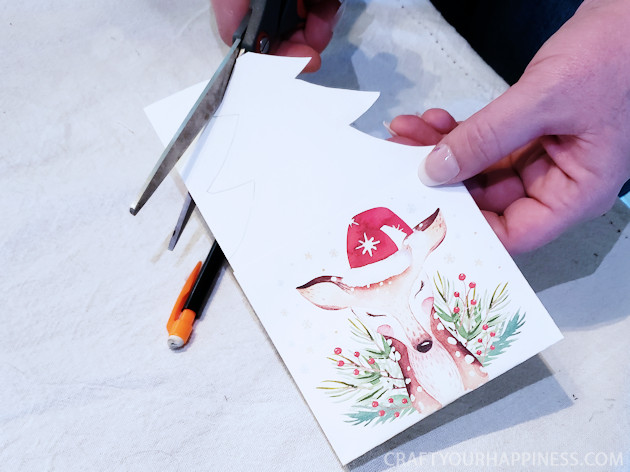
To decorate the tree a bit more we punches some soles out of red paper.
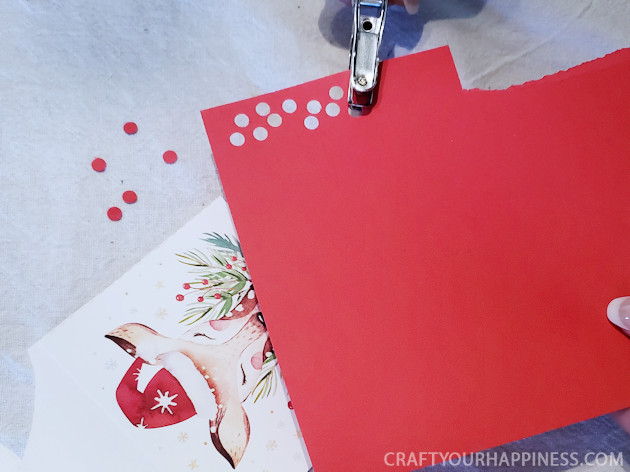
Then glued some of the holes onto the tree. 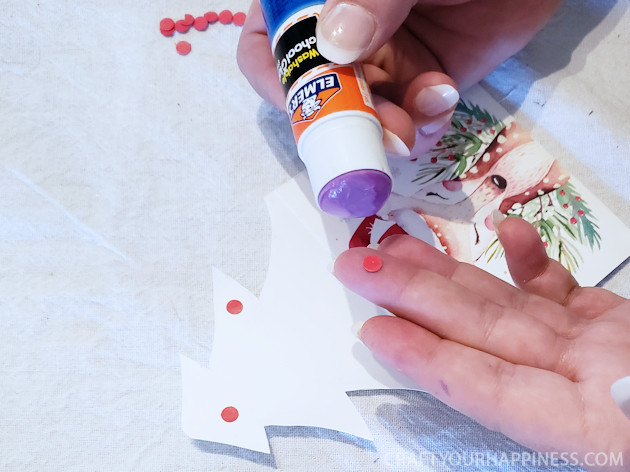
These are four of the 7 pouches we printed and decorated. Easy peasy!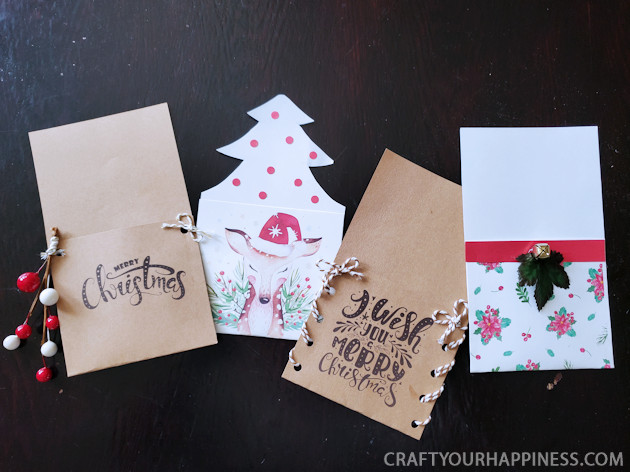
The finished Christmas printables utensil pouches look classy even with a fancy place setting!