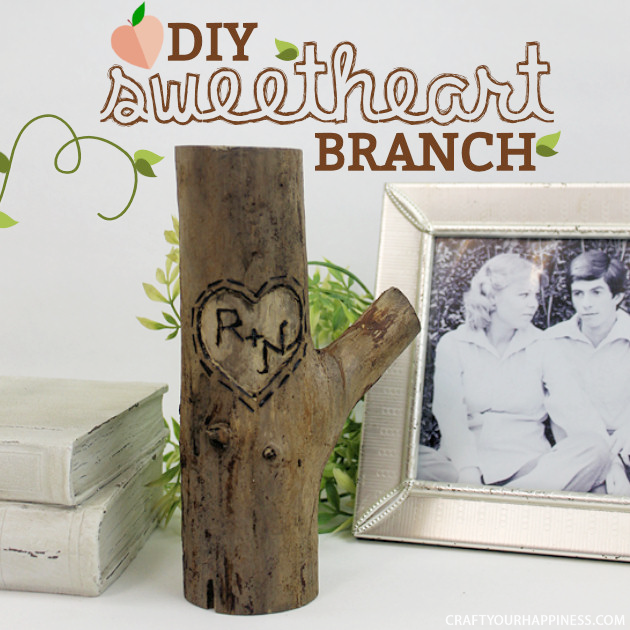
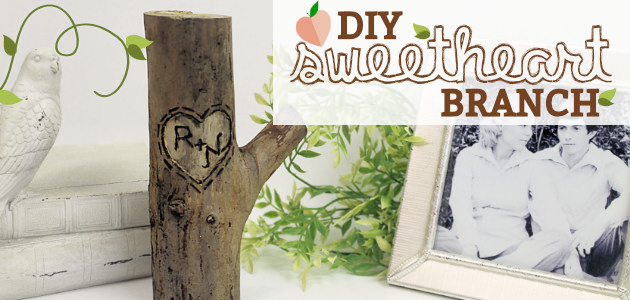
![]() If you’re looking for a unique gift idea for couples this darling carved sweetheart branch is perfect and inexpensive. You can make it with a couple of carving tools, which are cheap, and a marker. Or if you happen to own a rotary or Dremel tool and/or a wood burner, you can use those. We show both ways of making it. It can also be used in so many ways! Give it as a cute decor gift to newlyweds, give it for Valentines day, an anniversary or use them as wedding decor. You can also make them any size you wish! If you are looking for more romantic ideas, check out our Love Note Kit and our Soda Bottle Heart
If you’re looking for a unique gift idea for couples this darling carved sweetheart branch is perfect and inexpensive. You can make it with a couple of carving tools, which are cheap, and a marker. Or if you happen to own a rotary or Dremel tool and/or a wood burner, you can use those. We show both ways of making it. It can also be used in so many ways! Give it as a cute decor gift to newlyweds, give it for Valentines day, an anniversary or use them as wedding decor. You can also make them any size you wish! If you are looking for more romantic ideas, check out our Love Note Kit and our Soda Bottle Heart
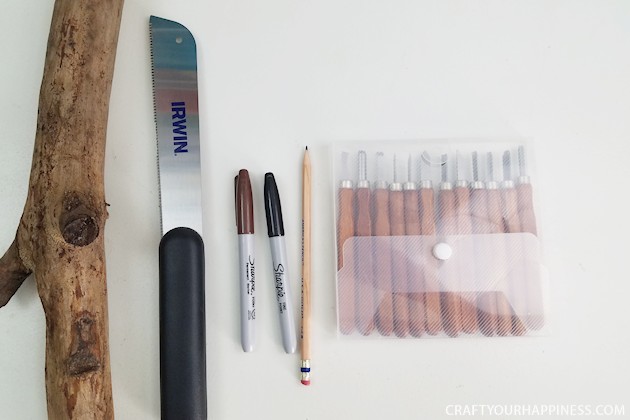
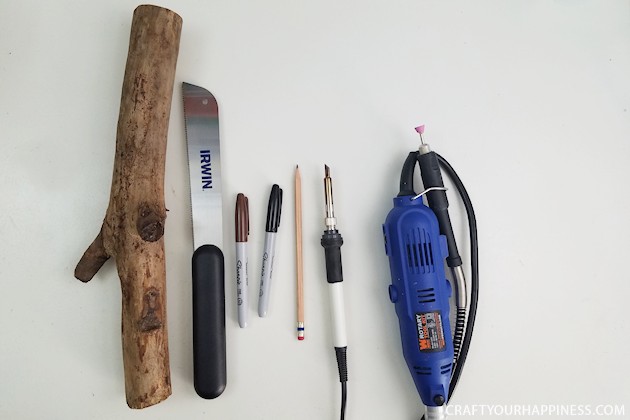
Sweetheart Branch Supplies
You can do this in two ways. We’ll show both. If you have a already have a Dremel or rotary tool and/or wood burner you may prefer to use those. But an inexpensive chisel kit worked great. Either wood burn the initials and dots on or use the marker.
- Branch any size you wish. Having a small offshoot smaller branch really adds to the look.
- Saw for branch. This is my Crafting Saw and it’s awesome! It cut through our branch very easily. I’ve used it for all kinds of things.
- Chisel Kit (The link goes to the exact one I have.)
- Sharpie Marker Black Brown (Or a full set of colors for the best deal)
- Pencil
- Dremel or Rotary tool (OPTIONAL) I own this inexpensive one that has the bits needed.
- Wood Burner (OPTIONAL) I own THIS ONE because it has a blade that can slide through plastic.
Instructions For Carved Version
Gather your supplies. If your branch has bark, remove any loose pieces prior to beginning. Our branch had loose, flaky bark so we opted to remove all of it.
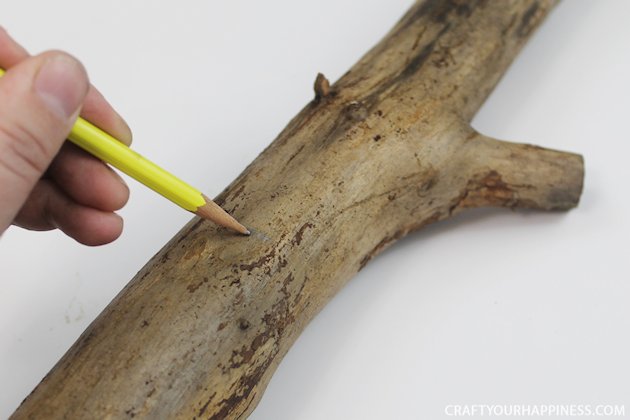
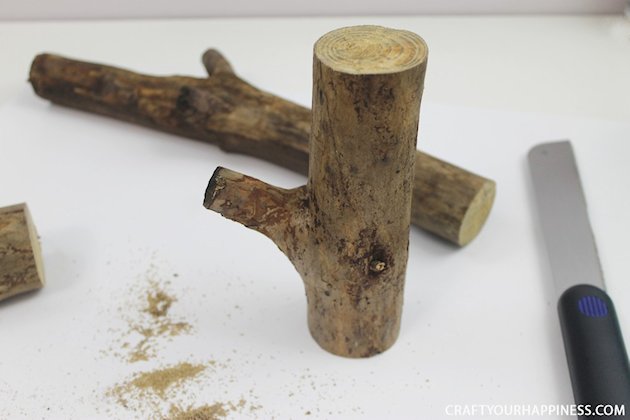
Using a pencil, mark where you will cut your branch in order to get the shape and height you want. Keep in mind that the branch should stand flat when cut.
Cut your branch. We used our handy Irwin saw and it took all of 3 minutes to cut the branch. (These things are AMAZING for cutting all sorts of materials!) Be sure to keep the cut-line straight so that your branch stands on its own.
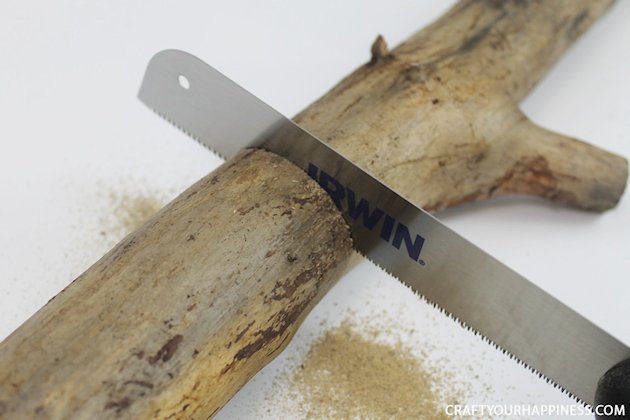
Since our branch was about 2.5″ in diameter, we cut an 8″ section with a branch sticking out to give it a more natural look.
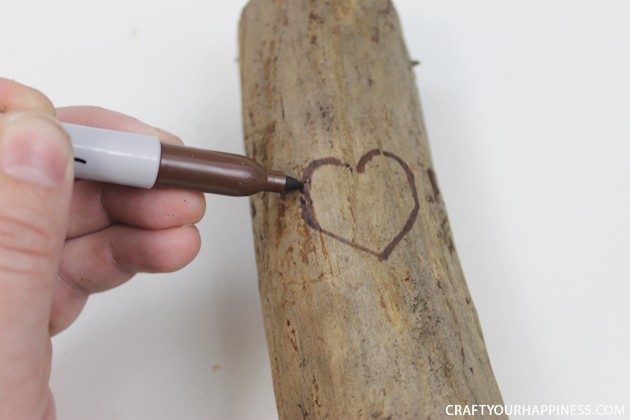
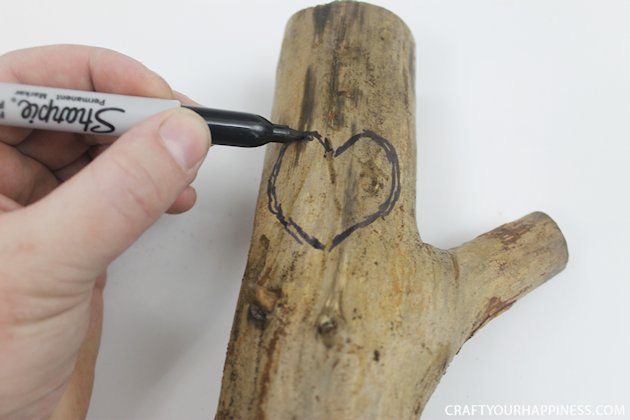
Decide which section will be the front of your branch and draw a heart onto the surface using your sharpie. Don’t worry about making it perfect! The imperfections just add more charm.
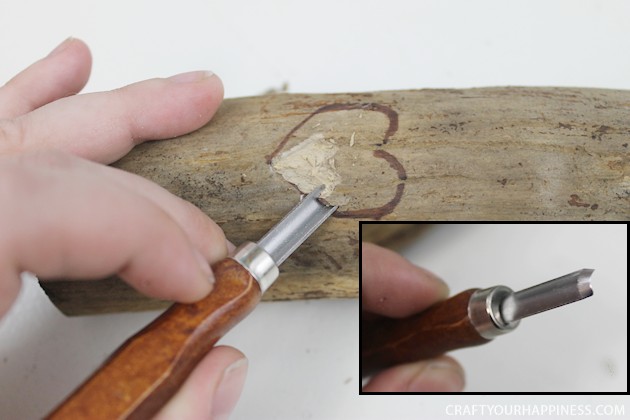
Once your heart is drawn, grab your chisel set. Begin to carve out the interior of the heart using the rounded fluting gouge. This will allow you to easily remove large pieces of the wood.
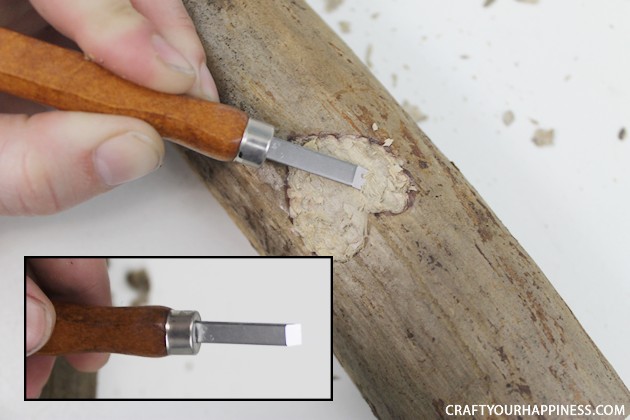
Once the center of the heart is chiseled out, take the flat paring chisel and smooth out the bumps left by the rounded chisel.
Now we’re ready for the fun part! To create a wood-burn look, grab your sharpie and outline the interior edge of the heart. Whether you use black or brown is up to you! Be aware that the sharpies may bleed into soft wood so testing on a scrap piece is recommended.
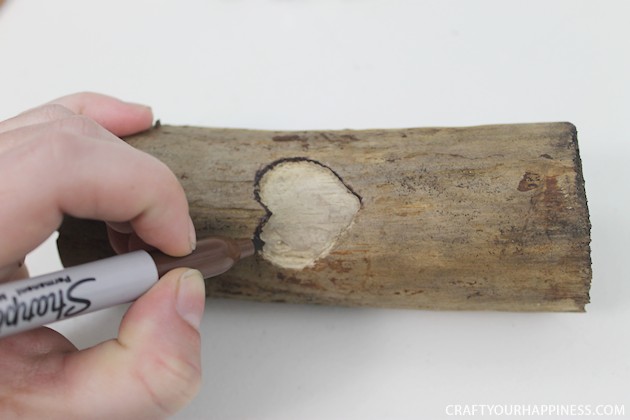
Add the initials of your choice and any additional decor. We did a basic stitch-like line around the border of the heart.
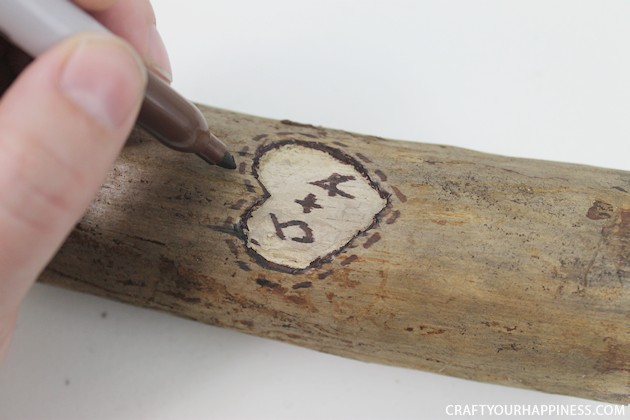
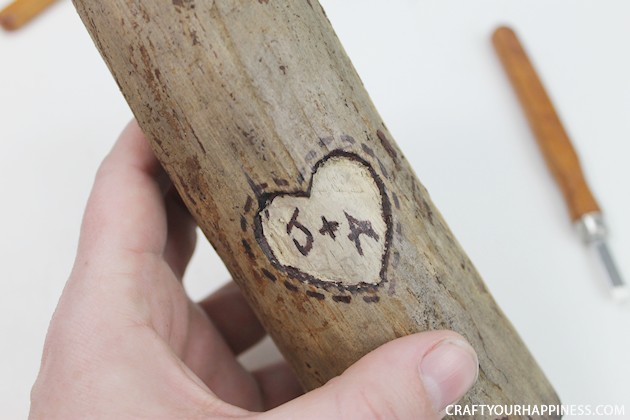
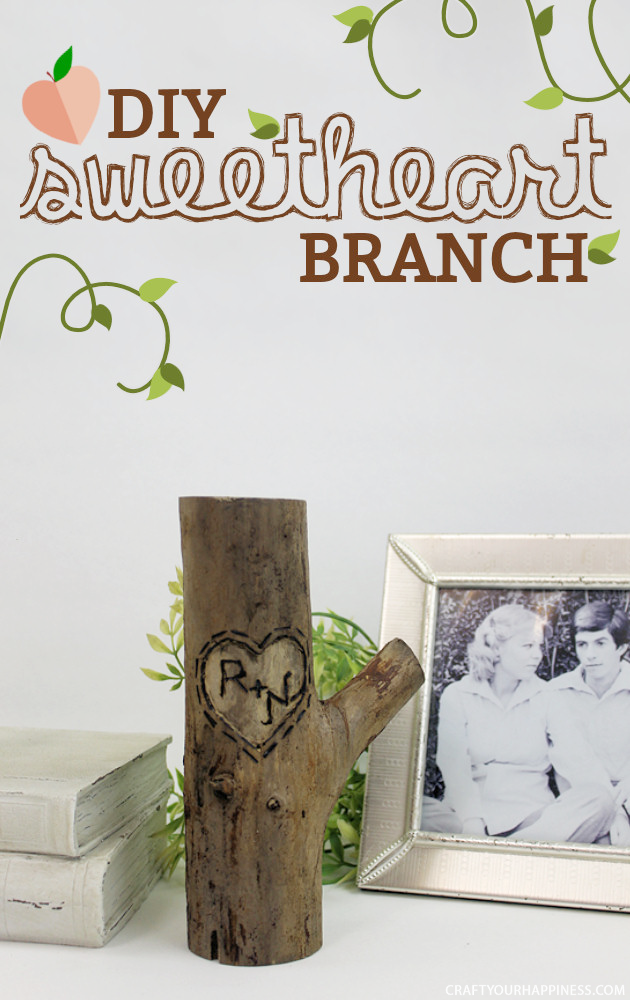
When complete, you’ll have a darling decor item that honors you and your sweetheart for years to come! This adorable craft also makes great gifts for anniversaries, weddings, Valentine’s Day and more!
Instructions for Rotary Tool/Wood Burn Version
Gather your supplies. If your branch has bark, remove any loose pieces prior to beginning. Our branch had loose, flaky bark so we opted to remove all of it.
Once you’ve cut your branch, decide which section will be the front of your branch and draw a heart onto the surface using your sharpie. Don’t worry about making it perfect! The imperfections just add more charm.
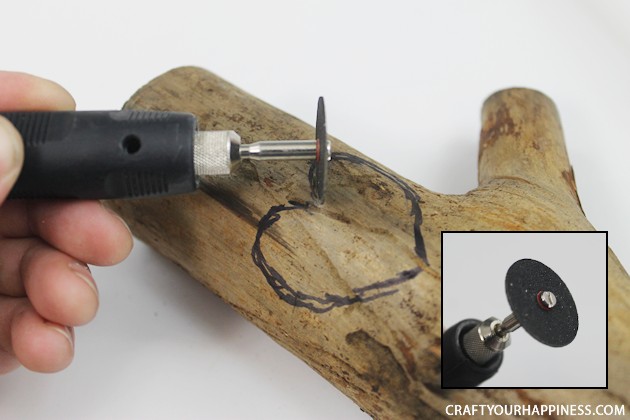
Using your Dremel with a grinding bit, cut along the outline of the heart.
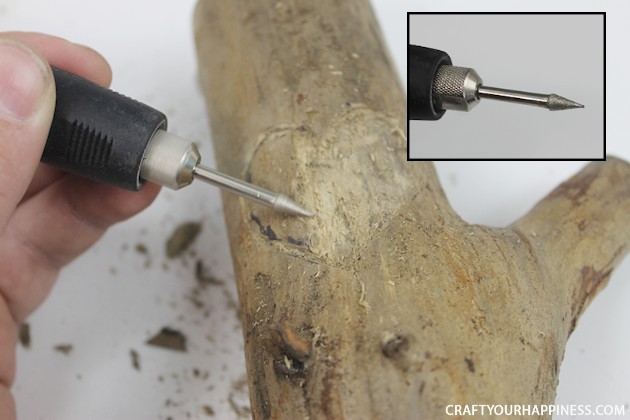
Once the frame is cut, use a pointed metal tip to gouge out the interior of the heart.
Once smooth, heat up your wood burner and begin by burning around the edge of the heart.
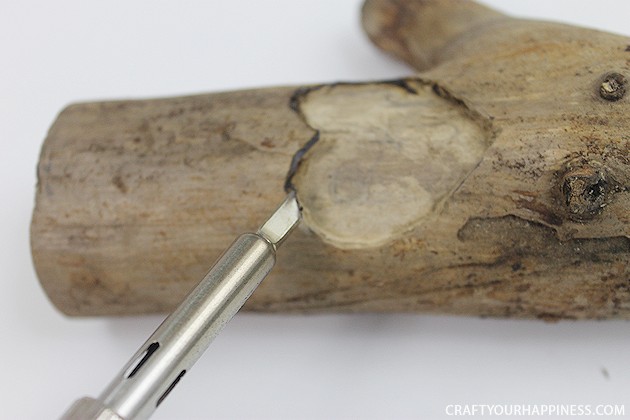
Next, burn your initials into the heart. In order to get a good balance, start by placing the “+” in the center of the heart and work out from there. Don’t worry about smooth edges as the flat tip of the wood burning tool will create the same effect as a knife cutting jaggedly into wood. This just adds to the charm!
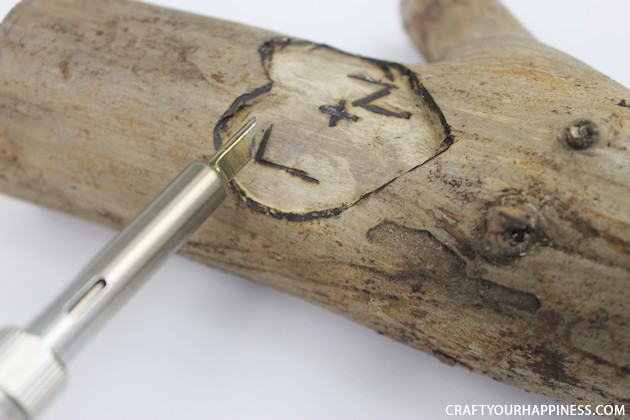
Once complete, add any additional decor you’d like. We opted for a simple stitch-like pattern around the heart.
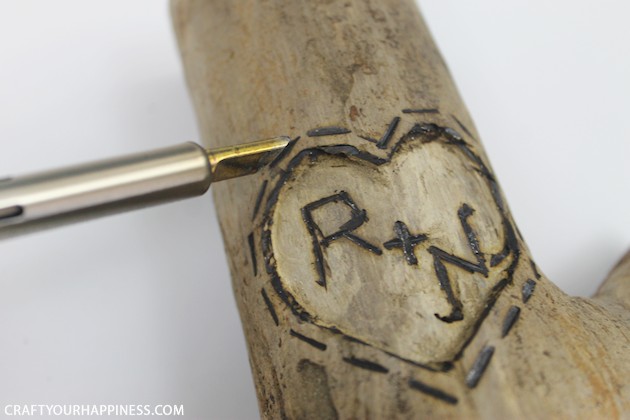
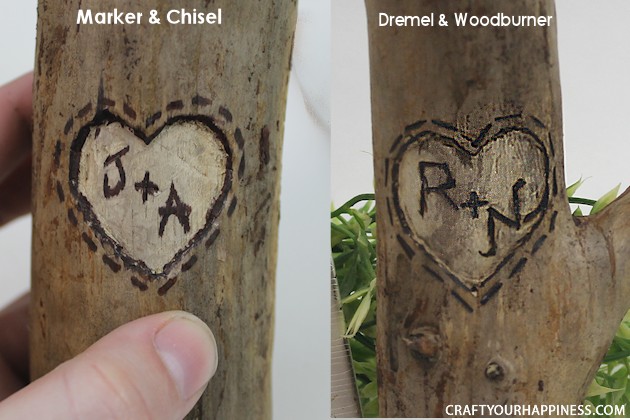
Don’t have a Dremel? Grab a sharpie! The final look is very similar and just as adorable! Whether you’re making these as wedding, anniversary or Valentine’s gifts, or just wanting to add some darling decor to your home to honor your sweetheart, these Sweetheart Branches are a quick and easy option! Don’t forget to share your photos with us via email or on Facebook!



5 responses
Love this!
Thanks for this idea! We have a bunch of burnt pine that I could do this with as gifts, perhaps with a key ring hook (or two) on them.
Awesome! So glad you found it helpful. Ü
I am going to do this. Valentines Day is coming up.
Awesome! So glad you liked it. Ü