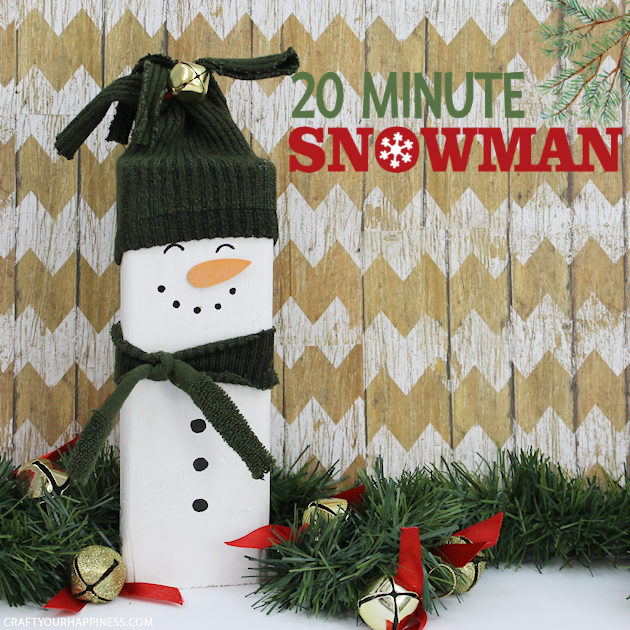
![]() 20 minutes is all you need to make this darling little inexpensive snowman (or snowwoman) Christmas decor. Plus he won’t melt! This is also a project kids can easily do. You can make a few of them to give to neighbors or make different heights to stand in a row.
20 minutes is all you need to make this darling little inexpensive snowman (or snowwoman) Christmas decor. Plus he won’t melt! This is also a project kids can easily do. You can make a few of them to give to neighbors or make different heights to stand in a row.
Need some more quick things to make? Check out our Christmas Category. You’ll find great fast ideas such as 22 No Prep Last Minute Gifts from Your Pantry : ALL NEW Tags! and a Peace Dove Gift Ornament & Poem.
Wooden Snowman Supplies
NOTE ON SOCKS: Because our sock was long enough we only needed to use one. You might need to use the other if you run short.
- 2″x4″ You can make him any height you want. Our 2″x4″ was 10″ tall.
- Ribbed Longer Socks with at least 8″above where the heel starts. The ribs tend to stretch well for the hat. (We used green because we couldn’t find red.)
- Wood piece for nose. We had a bag of these that had the right shape. You can always just paint it on too!
- Jingle Bell 1″
- Paint Orange, Black, White (You can also use medium point paint pens for the nose, face and buttons.)
- Red ribbon* (We decided at the last minute not to use a bow, though you can) so twine or heavy string would work just as well to tie the hat and thread the bell on. I love this colored set.
- Glue for wood nose.
 Instructions
Gather your supplies (Remember, you can use string in place of the ribbon)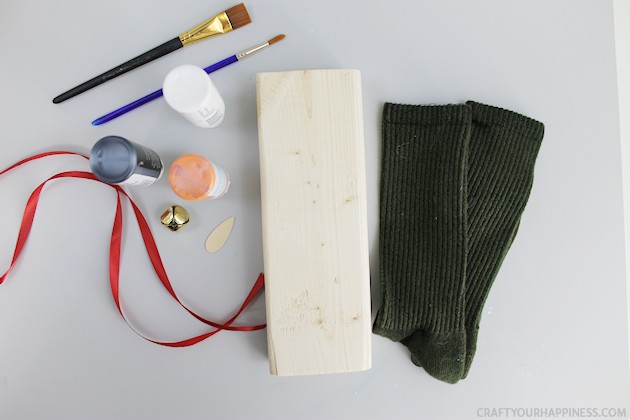
Paint the 2″x4″ white.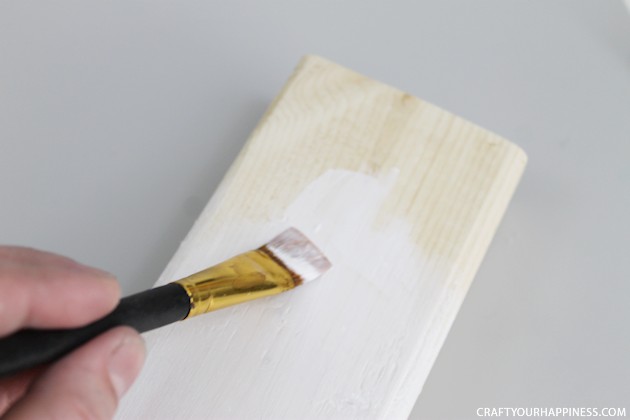
Paint the nose piece. You can also just paint one on your snowman. 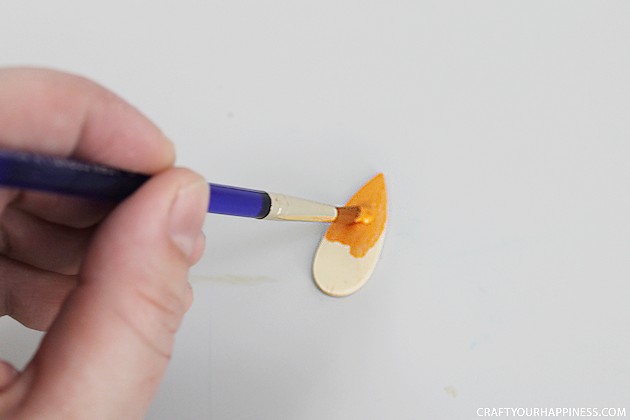
Cut an 8″ or so piece off the top end of one sock. 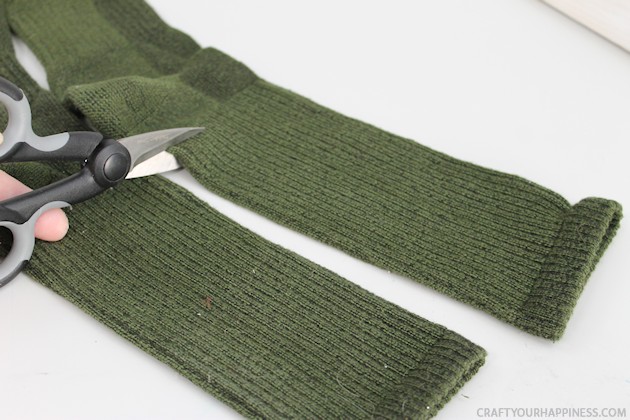
Cut the toe section off the bottom piece. 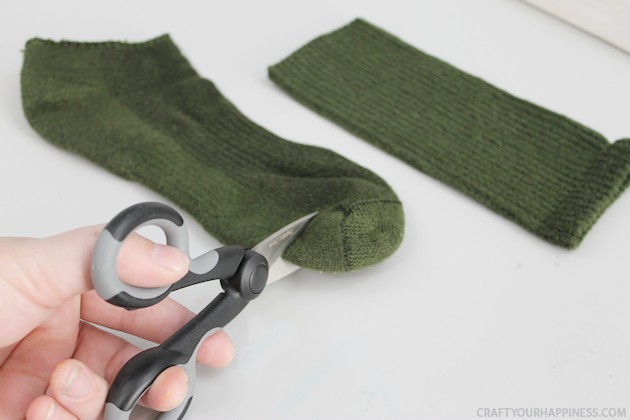
Off the same piece you cut the toe off of, cut a 1 1/2″ strip across the other end. 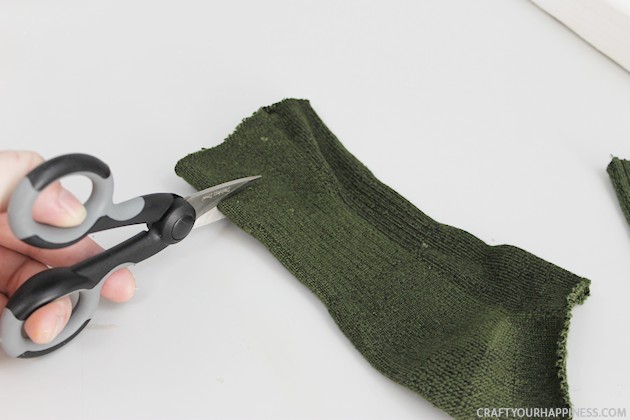
Cut one more 1 1/2″ strip off the same sock. 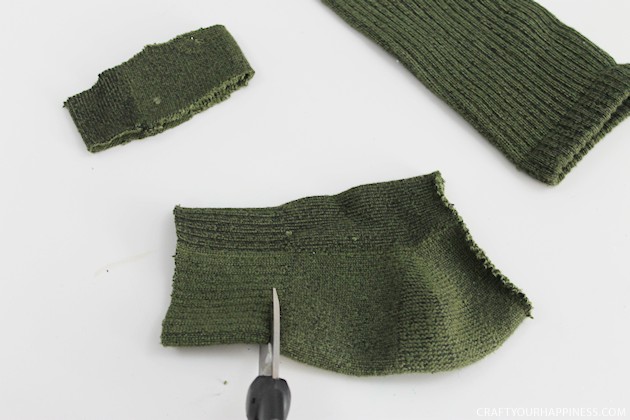
Cut this one so it is a long unattached piece. 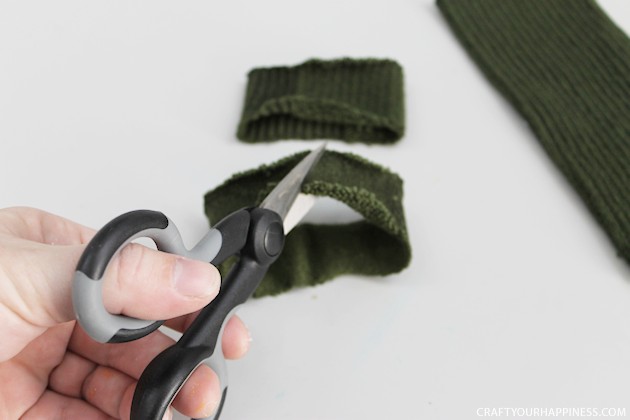
On the top of the sock section and where you cut it, you want to cut down 3″ evenly in two places, making four strips. You want the inside strips wider than the outer two. See the next photo.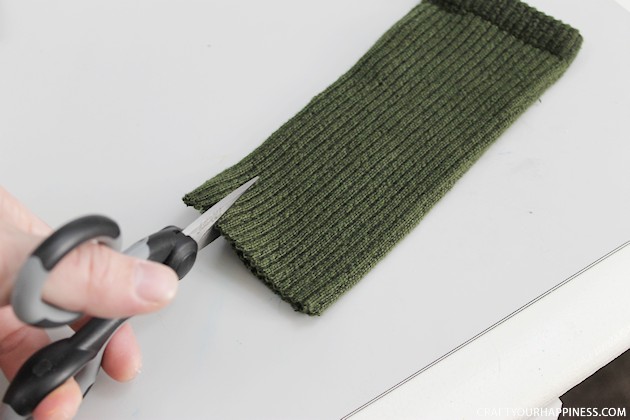
Notice how we cut it so the two middle ones were a bit wider. That is to make them match closer in size to the end pieces which are on a fold. THIS DOES NOT SHOW THE 3″ DEEP CUTS. We cut less, then realized we needed to cut down more afterwards.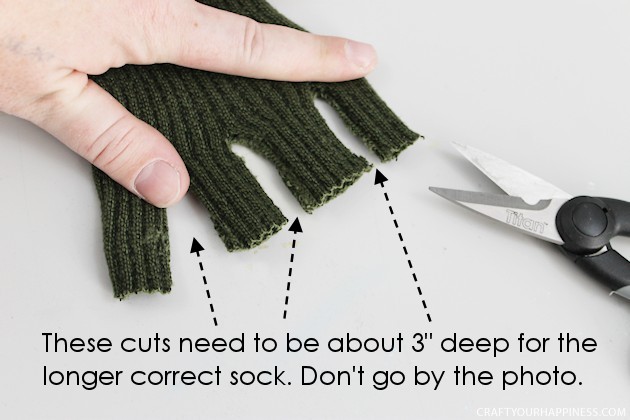
These are all the pieces needed for the hat and scarf. 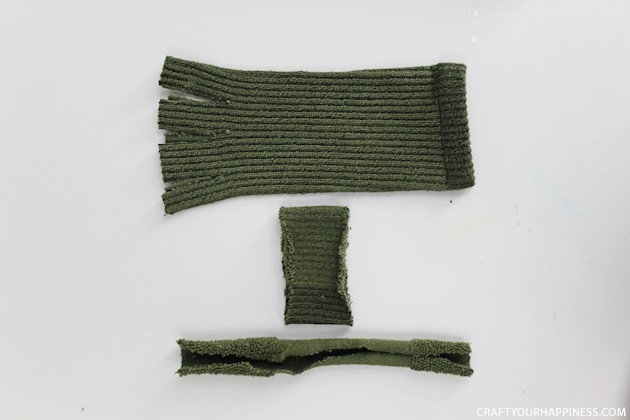
Paint on the face. 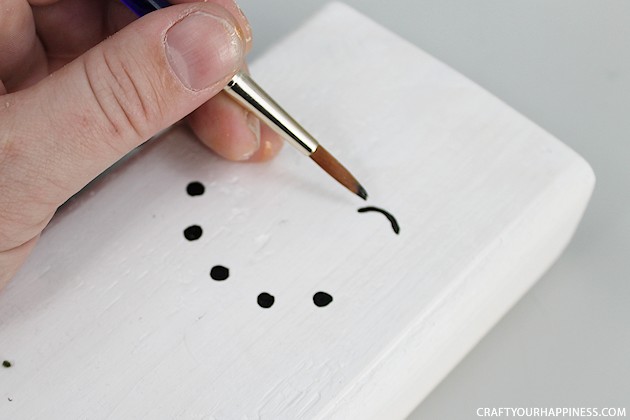
Glue on the wood nose piece. Or paint one on.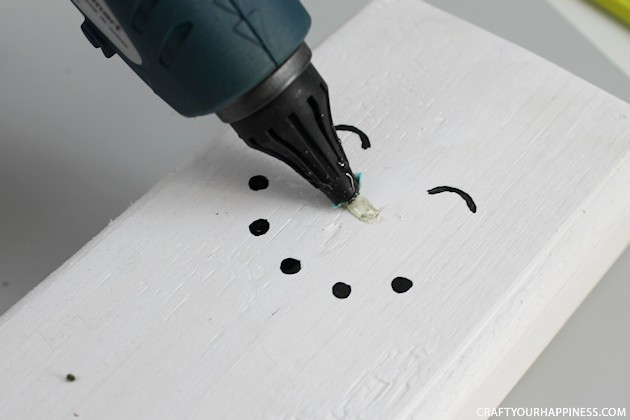 Paint on the buttons.
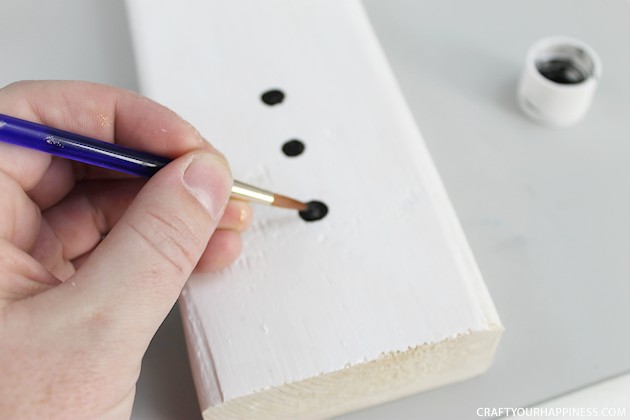
Slide the small piece of sock onto the snowman beneath his mouth where his scarf would be.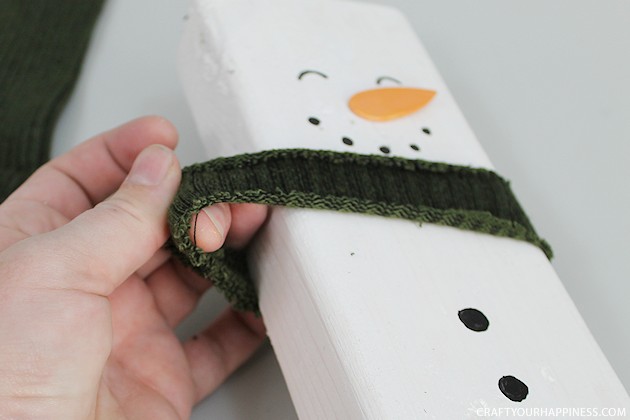
The thin piece of sock and loop it under the band you just put on. 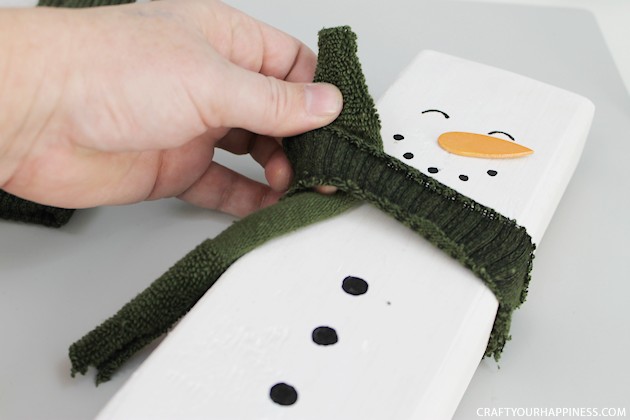
Make a single tie and pull it snug. 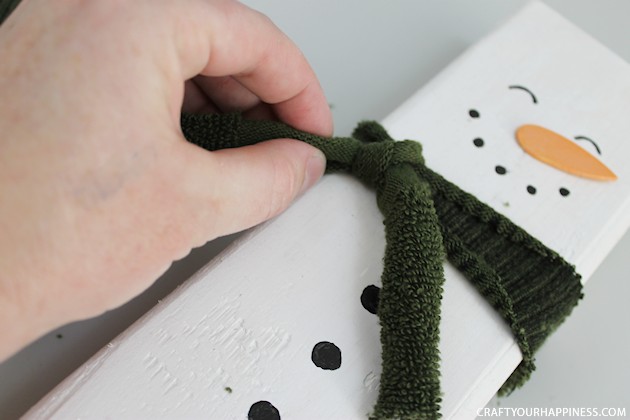
Pull the hat piece over the top of his head to above his eyes.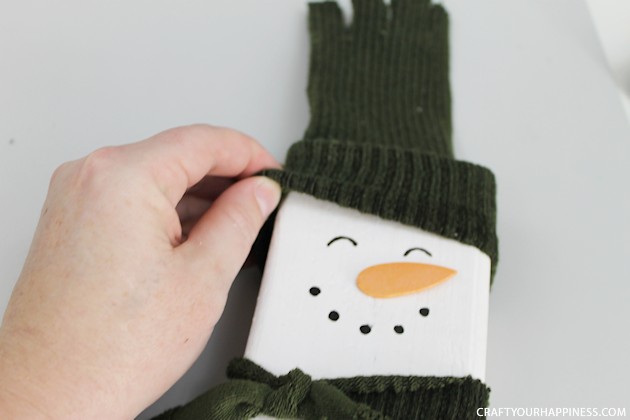
Take ribbon or string and tie off right below the top cuts. 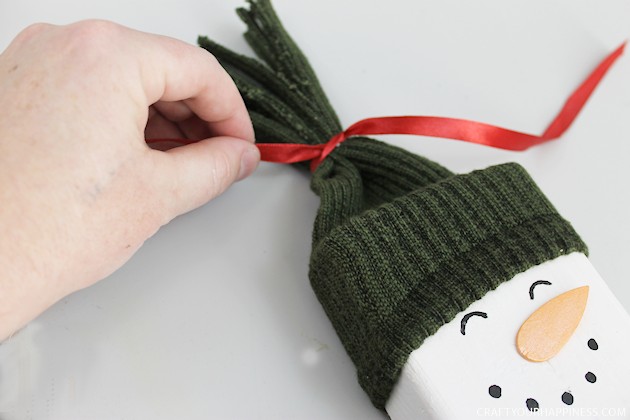
Pull on the long strips a small amount to stretch them out. If you used ribbed socks they should curl.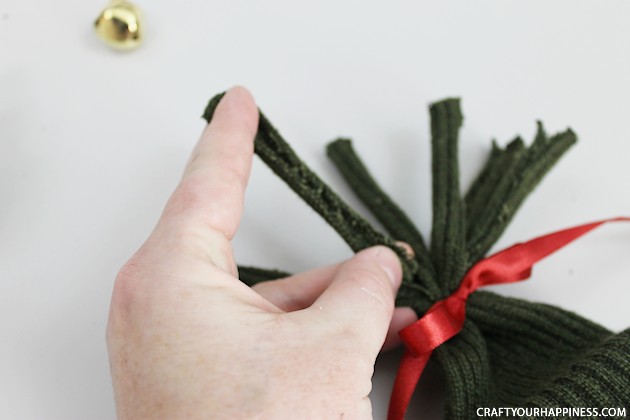
Slide the bell onto the ribbon or string. 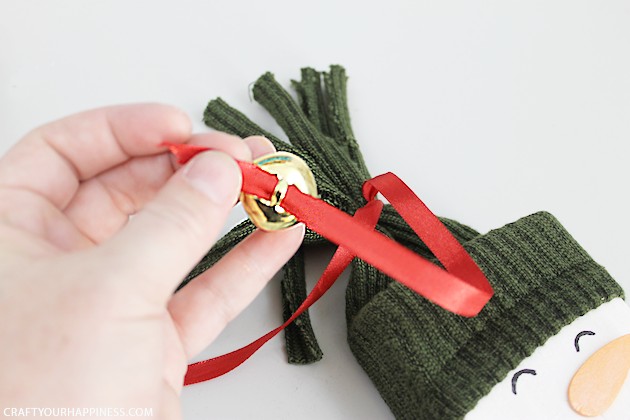
Tie it into a tight knot.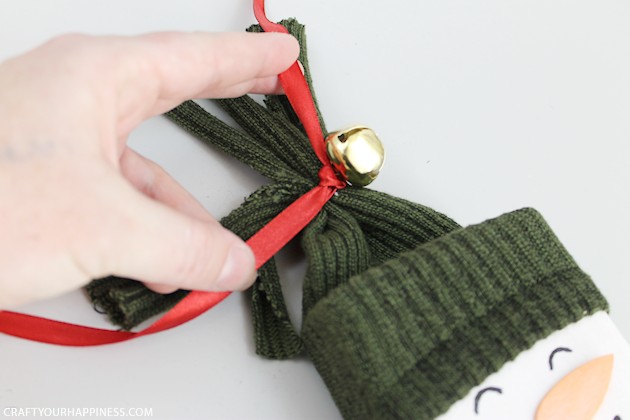
You could make a bow but we decided to cut the ribbon off close. 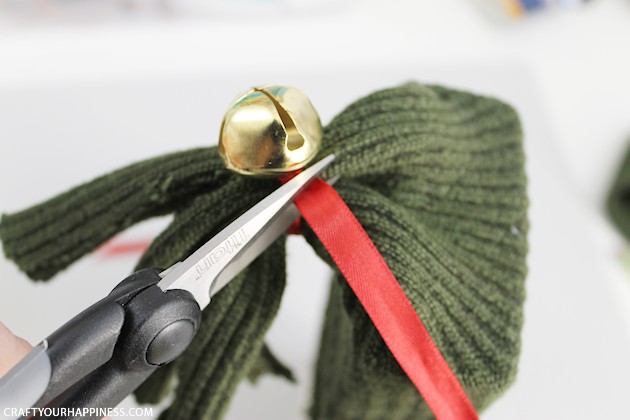
Your wooden snowman is complete!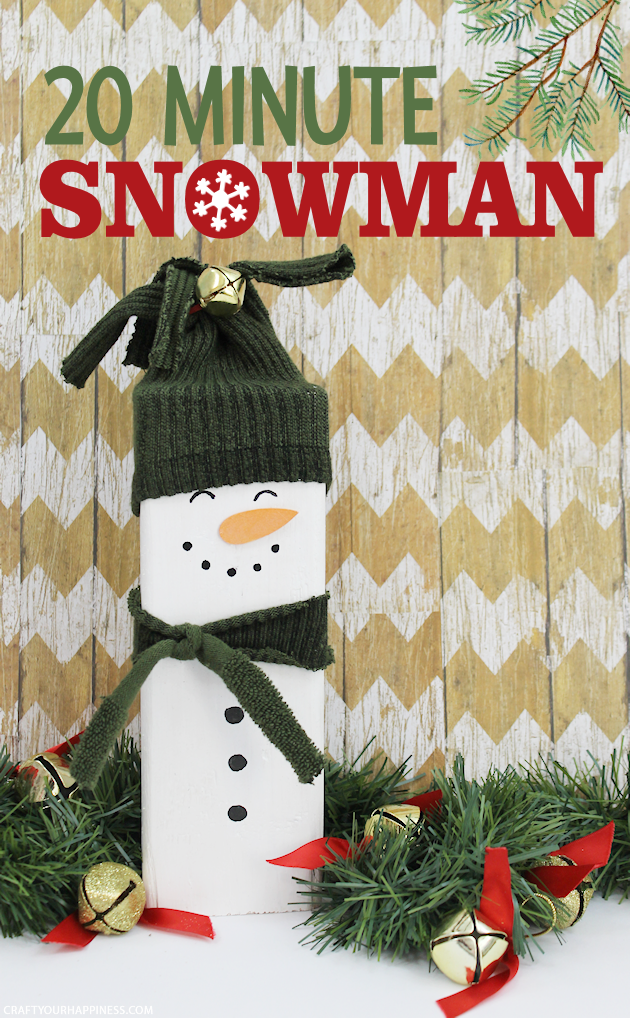
![]()

