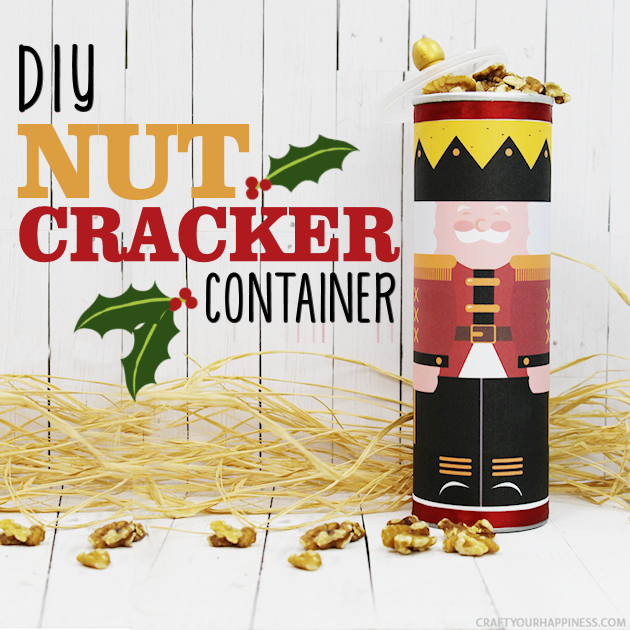
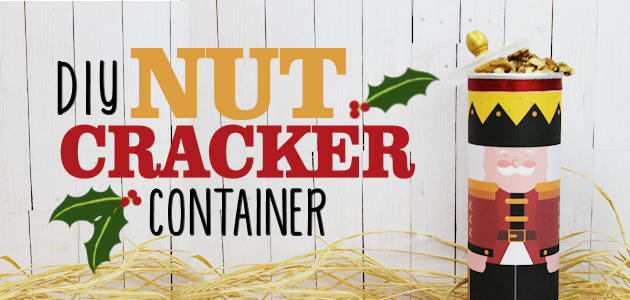
![]() This darling DIY nutcracker container is perfect for neighbor gifts during the Christmas season. You can fill it with nuts in the shell and give them a cheap nut cracker to go with it. But you can in reality fill it with anything, including non-food items that fit. And if you’re looking for more fun ideas for friend and neighbor gifts check out The Christmas Spider DIY : Free Poem Printable or our Peace Dove Gift Ornament & Poem. Lots more ideas are on our Christmas Category page!
This darling DIY nutcracker container is perfect for neighbor gifts during the Christmas season. You can fill it with nuts in the shell and give them a cheap nut cracker to go with it. But you can in reality fill it with anything, including non-food items that fit. And if you’re looking for more fun ideas for friend and neighbor gifts check out The Christmas Spider DIY : Free Poem Printable or our Peace Dove Gift Ornament & Poem. Lots more ideas are on our Christmas Category page!
How to Print the Download *IMPORTANT*
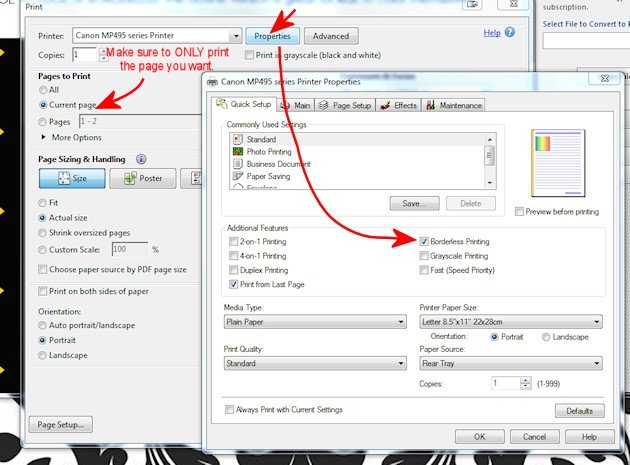
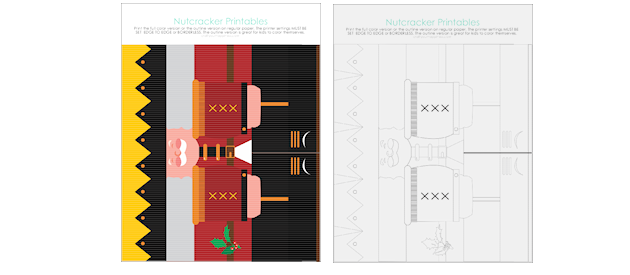
Every printer will have a settings area that will be somewhat similar. It’s very important that this pattern be printed borderless or it will not fit. After downloading the pdf, chose File/Print from the pdf menu. That will open up the print settings. Also MAKE SURE you tell it what page to print or it will print them both. If you’re just wanting the outlined version you definitely don’t want the color version to print and use up all that ink. Next click Properties and it will pop up another screen. This is where you choose “Borderless Printing” or “Edge to Edge”. It might be different on different computers.
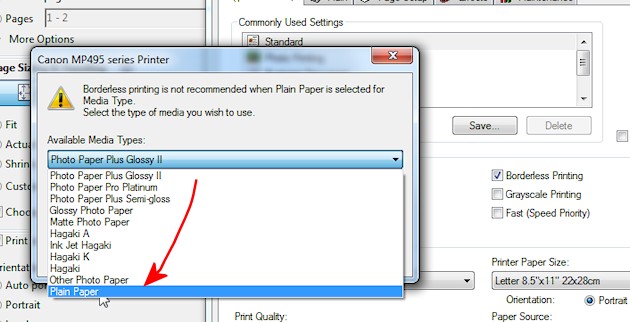
This is a screenshot from my Canon printer. On my printer it gives me another popup, seen in the second photo below, letting you choose the type of paper.
![]() Borderless is mainly for photos and printing at high quality. I had the option for just “paper” which I chose. If you don’t have the paper option choose as best you can. You can print this “standard” quality. The photo papers normally force you to choose high quality. Just do the best you can. On my printers in the past that didn’t give me the option to print borderless on normal paper I’ve printed it and chose a matte photo paper and then printed on normal paper. The problem is HIGH quality lays down a LOT of ink. Newer printers now have more settings.
Borderless is mainly for photos and printing at high quality. I had the option for just “paper” which I chose. If you don’t have the paper option choose as best you can. You can print this “standard” quality. The photo papers normally force you to choose high quality. Just do the best you can. On my printers in the past that didn’t give me the option to print borderless on normal paper I’ve printed it and chose a matte photo paper and then printed on normal paper. The problem is HIGH quality lays down a LOT of ink. Newer printers now have more settings.
 DIY Nut Cracker Supplies
- Pringles Can(s) Full Size
- Glue stick
- Red ribbon 1/2″ or 3/8″
- Small wood ball etc for top. We painted ours gold. Examples 1 Example 2
- Print out below
DIY Nutcracker Download
pdf
 Instructions
Print the free download and gather your supplies.
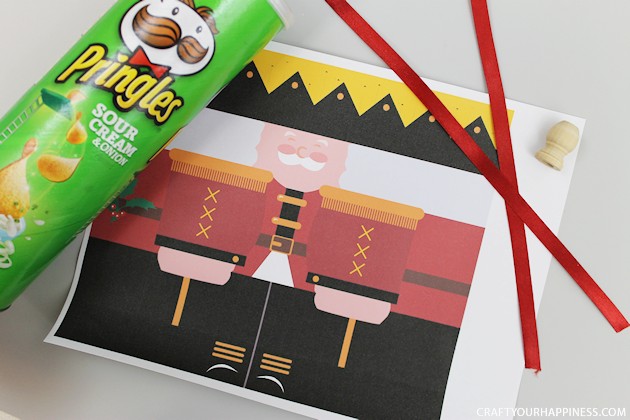
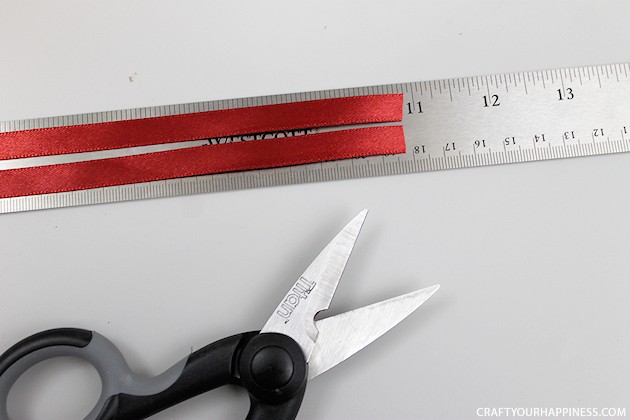
Cut two 11″ pieces of ribbon.
Grab your free printable. It will have text on the top of the printout. The photos don’t show that.
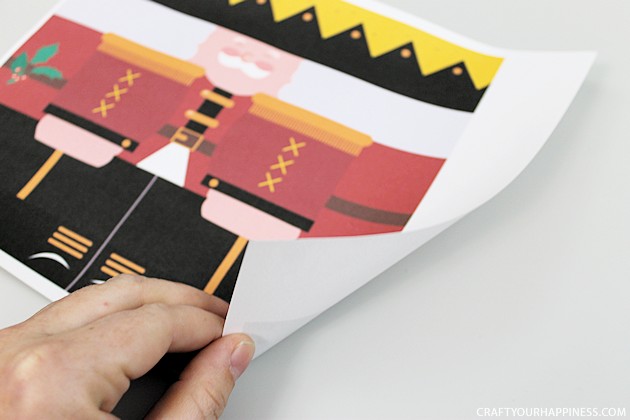
Turn it face down and grab the end that has the text printed on it. It’s not shown here.
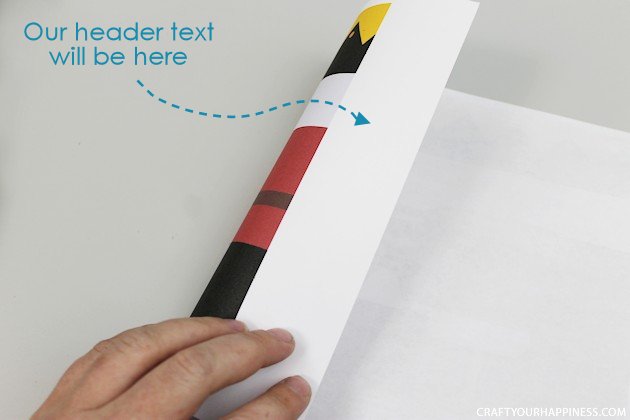
Apply glue across the entire edge of the paper, directly behind the text.
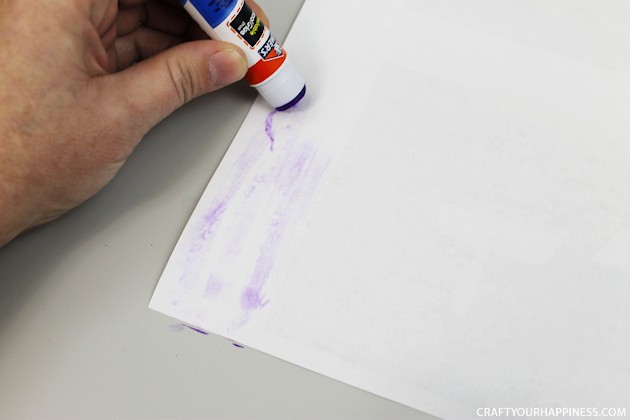
This will hold the paper in place while you wrap the can.
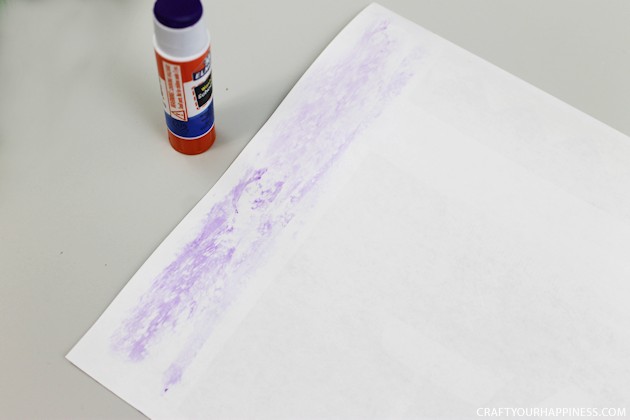
Center the paper between the top and bottom of the Pringle’s can and apply the glued area to the can.
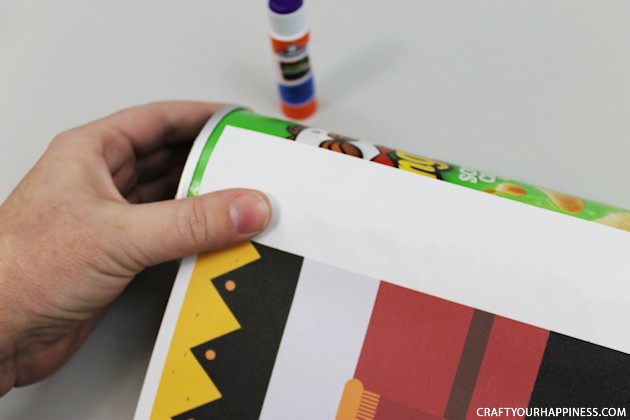
Wrap the paper around the can. The printed edges should meet up once complete.
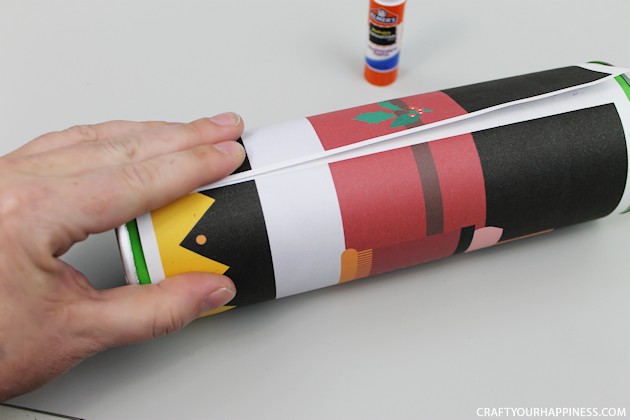
Apply glue to the back of the wrapped edge. Press into place.
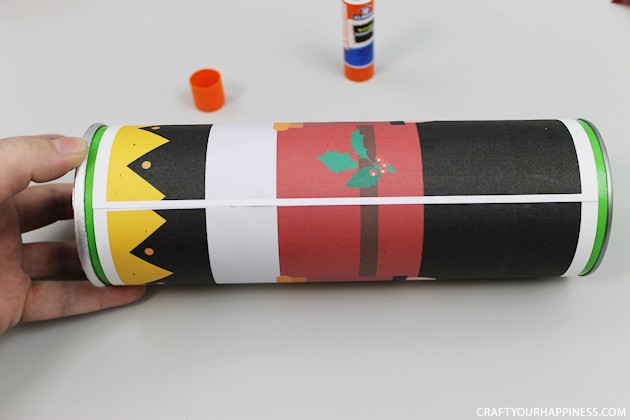
To cover the edges, place a dot of hot glue at the base of the can.
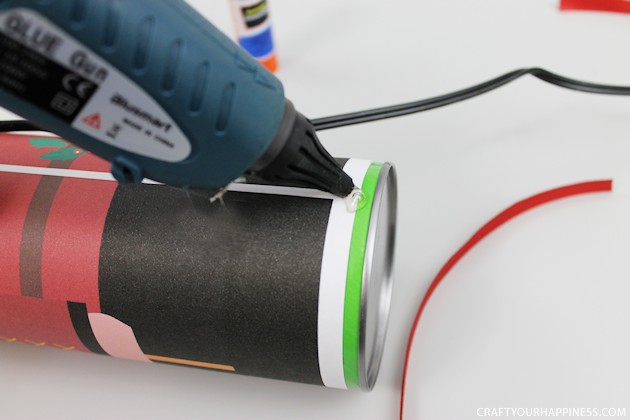
Place the tip of one piece of ribbon onto the hot glue and wrap the ribbon around the can. Place another dot of hot glue to hold the second end into place upon the first.
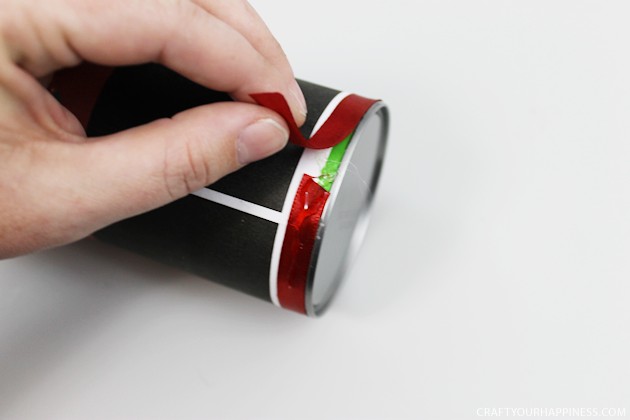
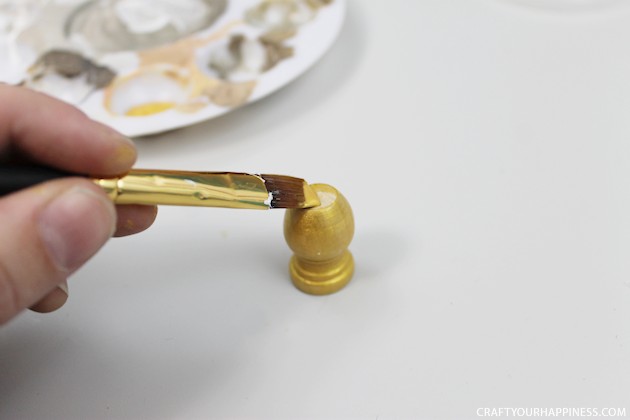
For the hat ornament, grab some gold paint and a small wooden knob.
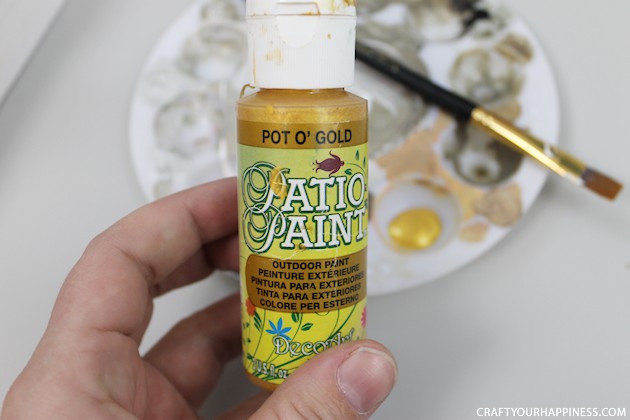
Paint the knob gold.
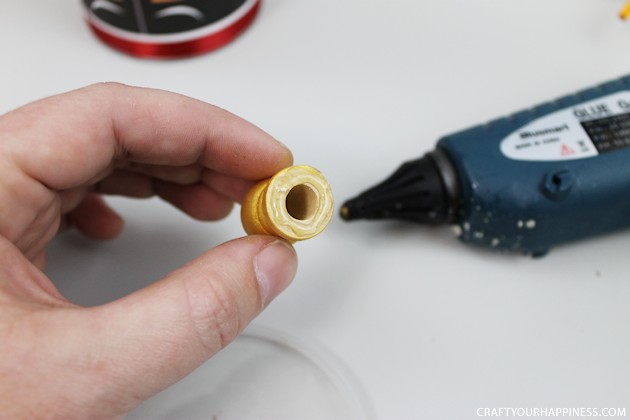
Once dry, apply hot glue to the base of the knob.
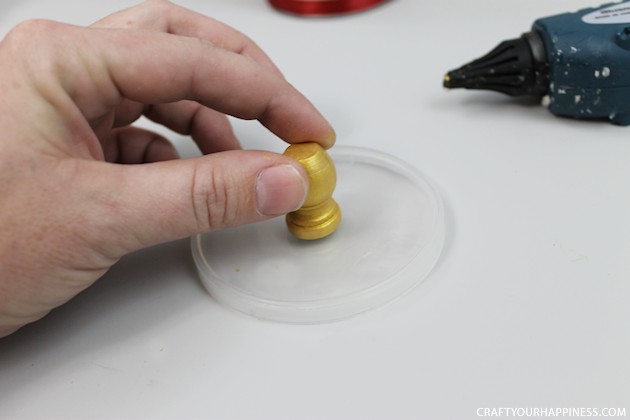
Place the knob in the center of the Pringle’s lid.
Your DIY Nutcracker is ready to fill!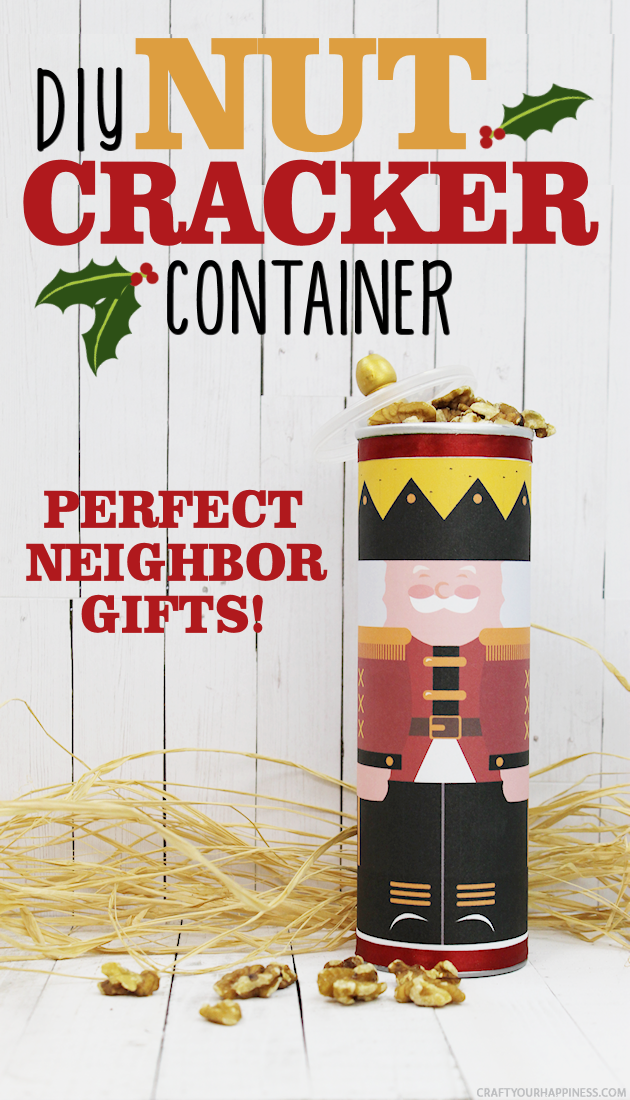
![]()



2 responses
Thank you so much. I’ve been looking for something to recycle these containers (my teens seem to plough through these snacks). Really love this. I was going to paint the screw top of a milk uht package and hot glue to the top.
Would be great packaging for lots of Chrissie pressure. Im thinking even a rolled up t-shirt.
Thanks so much Regina! I’m so glad you found them inspiring. That’s what we love to do! Great ideas!