![]()
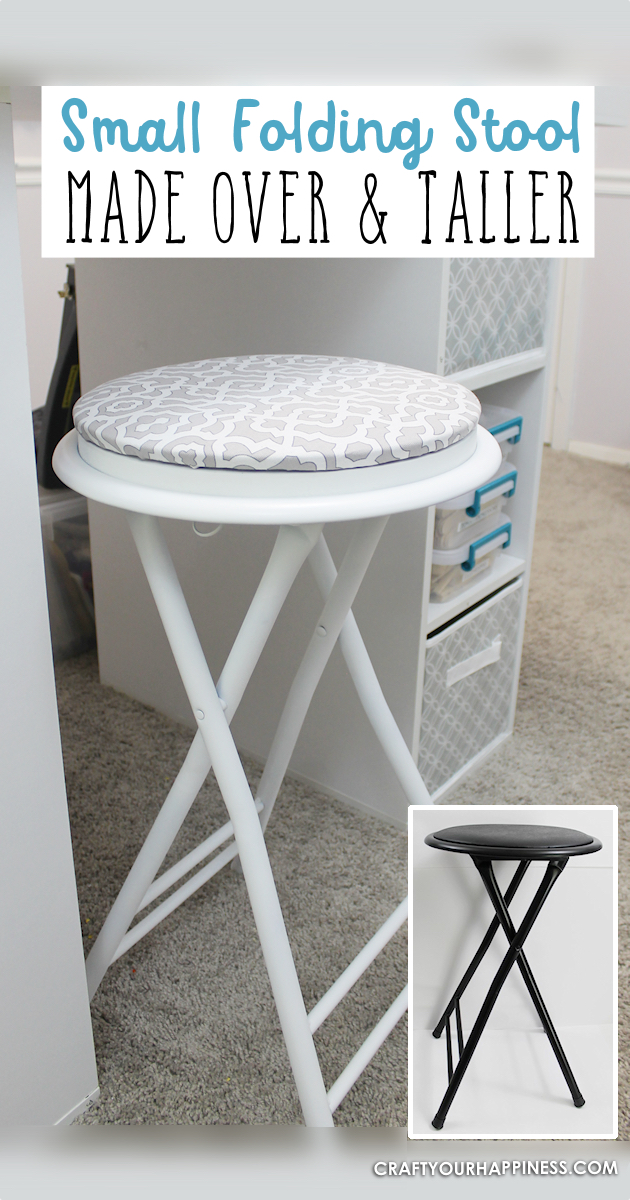
This cheap folding stool from Amazon was for my craft room. It just needed a little love. i.e. paint and material plus a wood circle to make it tad higher. I also added the feature of making the fabric top removable in case I want to change the color at some point. A little Velcro did the trick! This type of thing is what I refer to as a “Buff Your Stuff” item, meaning to take something you already have and give it a facelift. It can be something old or in this case something that needed changed. We’ve done a few chair makeovers but one of our most recent is where we took $2 Thrift Store Chairs and turned them into a Gorgeous DIY Bench Seat. Definitely check that one out!
Folding Chair Makeover Supplies
- Folding stool from Amazon (Or any stool you want to makeover)
- Paint
- Fabric
- Staple Gun
- Wood if needed for your stool or circumstance
 Instructions
This is the stool as it comes straight from Amazon. However, I would have liked it to be an inch higher.

I unscrewed the thin padded top from the bottom portion.
I purchased the fabric I could cover the top part with. Then I had Roy cut a circle out of 1″ wood. This would give me the added height I was looking for.
Then I painted my stool white.
I found that when I tried to cover the top portion of the seat the staples went through. So I purchased 1/4″ staples for my gun. Well guess what? They went through too. Just how short of staples did this company use anyway??
I decided to pry one up and see.
1/8th of an inch. I can’t even buy that short of a staple for my stapler. So I had to figure out how I was going to attach my fabric to the top part.
I decided adding in a circle of foam board would give me the little bit extra that would be needed so the staples would not stick through the top.  I then began my stapling. You have to do this one “corner” at a time making sure your fabric is pulled nice and smooth.
I would trim as I went.
You have to be careful to avoid getting side wrinkles. 
This was my final seat top. 
I decided a couple of coats of Scotchgard wouldn’t hurt. 
You may have wondered why I didn’t just cover this also but it would not have looked good. Trust me. So I painted the side of my 1″ board.  I now had to attach my wood piece onto the metal base. Because the holes in the base were so large I just used some washers then regular screws.
Then I used my drill/screwdriver to attach the wood circle. 
It’s now ready for the top material section.
I wanted the option to remove it should it get dirty over time or should I just want to change fabric at some point in the future so I decided to go with heavy duty velcro. 
The Velcro I had just happened to be sticky back. Otherwise I could have hot glued it in place. 
After attaching my Velcro and pulling off the backing piece I carefully pressed the seat in place. I was concerned if it would stick up on the edges but I don’t think that will be a problem, especially with being sat on regulary. 
This is my finished stool top. 

To fold it up you pull on the ring underneath the seat.
It’s a nice feature as it can be stored in a closet when not in use.
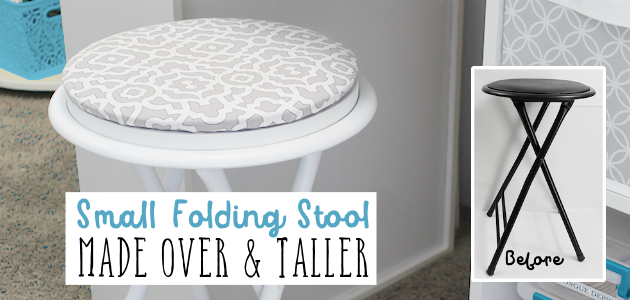
Before and after!
![]()

![]()

![]()


