![]() One of the things I find the most difficult to do on a budget is create unique light fixtures. Normal ones are pretty bleh and nice one’s are mega expensive. You can come up with your own ideas, and I’ve check out
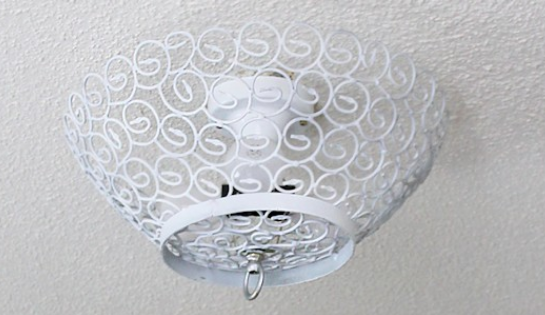
One of the things I find the most difficult to do on a budget is create unique light fixtures. Normal ones are pretty bleh and nice one’s are mega expensive. You can come up with your own ideas, and I’ve check out  plenty, but that can be tricky due to safety reasons. We did that for our Outdated Kitchen Transformation Series . We used a large wire bowl that we painted white. Looks awesome. However, I had three other rooms that had plain old three bulbs with a round or square cover that were held on by a screw thing in the center.
I wanted to do something simple, inexpensive, yet unique and safe. Then, an idea hit me. Oil markers… the kind that are used for decorating crockery mugs and dishes, then baked to set the ink. You can find them all on Pinterest or a good search. Now, as I’ve said many times before, I’m no artist so I needed something simple I could share with those of you who also might be like me. (If you do happen to be an artist you can really go crazy with these!) Pay attention to the pointers given then grab the color or colors you want and create your own custom light shade!
FYI For our living room and dining room we hit the thrift stores and bought two chandeliers fairly cheap. If you don’t mind a tiny bit of wiring you can read our post Ceiling Fan to Thrift Store Chandelier Makeover.

 Unique Light Fixtures Supplies
SAFETY AND HEAT ISSUES Oil based pens have been very popular the last few years for drawing on crockery food ware then baking for approximately 30 minutes at 450 degrees to set it. It is then safe, including dishwasher safe. Hence they are the perfect medium to use for your glass light shades!
- 1 Glass Ceiling Light Cover: 13″ Round with Clear Dots 6″ Globe 12″ Square
- Oil Based Paint Pens We suggest Sharpie Oil Based Paint Pens or Thorton’s Set of 15
- Because I wanted teal triangles in my craft room, I bought a specific Teal Oil Paint Pen
- Free printables below if desired
- Nail polish remover (to quickly remove boo boos)
- Cotton pads/Q-tips
 Free download
pdf


 Instructions
NOTES: This is one of those projects that you can do with or without patterns. If you’re like me and don’t have a lot of artistic skill then a pattern is a big help. But even I can put even dots or dashes or blocks around the edge of something and not have it look too bad so feel free to check out some of the ideas online others have done when drawing with oil markers on cups and plates. You just might find some designs you could do free hand.
I strongly suggest not covering your shade with a lot of paint. Keep the design light and sparse or even just on the borders, otherwise it defeats the purpose of letting light through. Think of putting small images scattered around it or scallops or dots on the edges. Just something simple but unique. We’ve shown you what we’ve done to get you started and even given you a couple patterns. The cool thing is you can see through the glass and put a small pattern behind it needed to help you trace!
TRIANGLE ON SQUARE COVER
This is a 12.5″ square that is in my craft room whose main color is teal. I could not find the color teal in the normal sets so I had to buy a teal one just for this project. I used the pattern that is in the free download packet up top.

Cut out your pattern. This is one corner. You can either print four of this page or print one and move it four times, which is what I did. 
The paper will lay on the inside of your shade, but because your shade is convex it helps to cut it in a few spots before taping it in place for tracing. 
I just made a quick triangle cut myself but do whatever works so it fits down into the glass cover. Then lightly tape it in place.
Turn it over and paint in where you see the triangles. Keep in mind you can take artistic choice and add or not add what you feel is needed. 
Once one corner is finished, remove the paper and align it again as before.
IMPORTANT: You will see that the triangles do not line up correctly on the overlap. Just decide for yourself where a triangle needs to go or does not need to go in on the overlap. Just do what looks good. 
I actually placed a bottle underneath in some spots to help hold the paper against the glass while I was painting with my pen.
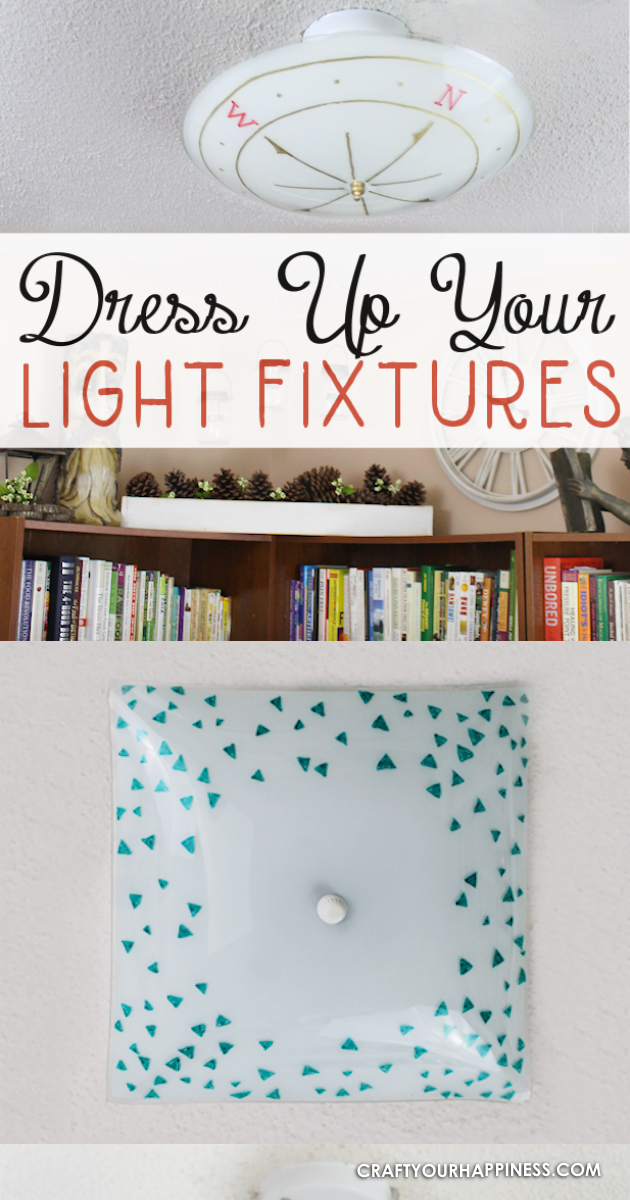
The finished glass cover.
FLOWERS ON CIRCLE COVER
This one is for my home office which has one of it’s colors as hot pink. I chose flowers.

I cut out all the flowers into close squares.
I then taped them on the back of the glass cover, spacing them until it looked good to me. I then turned it over to check the layout.
I then took my pink marker and traced them, then filled them in except for the middle open area.
Then I removed all of the back patterns.
I added some small dots between all the flowers here and there.
This is the finished light cover.
COMPASS ON CIRCLE COVER
This is the compass light cover that goes in my library. My husband Roy helped with this one. He created the design and drew it on as his hand is steadier than mine. Cut out both sides of the compass shape.

Cut down into each line to the end, including the ones with triangles. 
Here you can see all the cuts.

The cuts help you to lay the pattern inside the glass convex light cover. Tape it into place.
Do the same on the other side. 
Make sure the lines are straight and things look good. Then cut out the letters for North South East and West and place them where they will go. NOTE: You are going to hand draw a line from the outside edge of the shade. The letters will need to be in between that line and the inner circle line. You might want to wait to add the letters after you draw both lines. 
Using a gold pen and your third finger as a guide against the outside edge of the glass cover, draw a line around the edge of the entire glass shade. I’d estimate about 1/2 an inch or a little more. NOTE: BE CAREFUL TO NOT GET CUT IF YOUR SHADE IS ROUGH ON THE OUTSIDE EDGES. ALSO REMEMBER: Do not make the line too far into the shade as your letters have to fit between that line and the inner line. Like I stated, maybe 1/2″ or a little more. 
Draw the inner circle line following the pattern.
Draw on the inner lines and triangles. 
Chose a color for your letters and draw them on. 
Add three gold dots, evenly spaced, in between each set of letters. The best way to do this is to place a dot in the exact center between the letters, then add the other dots on each side.
This is the finished light cover.
![]()
FINALS FOR PINNING

![]()

![]()

![]()

![]()


4 responses
Beautiful!!!!
Thanks Jean! Ü
I really like this idea, and yours turned out so well! I think it is a good alternative for renters, especially since you can just put the old one back on.
Thanks!
That’s one reason I loved it so much. Great for renters. Ü