
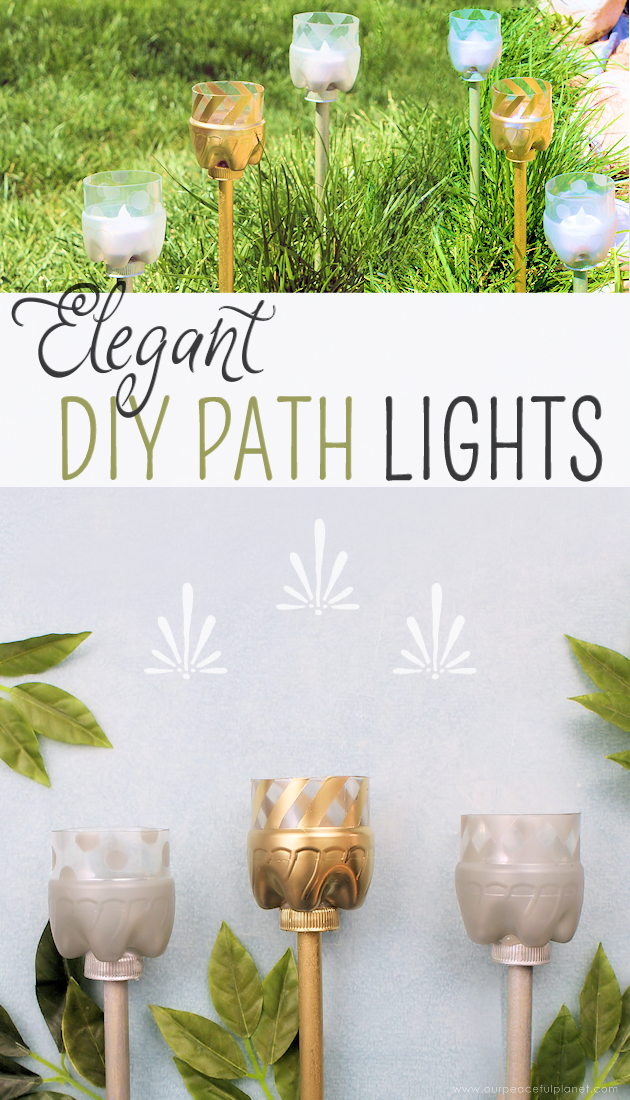
![]() Your home will glimmer in the night with these elegant gold and silver DIY path lights. They are made from plastic soda or water bottles, battery operated tea lights and a dowel so they are cost effective, energy saving up-cycles to boot! And they’re so much fun to make. You can make them in a variety of shades and designs and even heights. They are a classier, shorter version of our Outdoor Lighting Torches we made a couple years back. For more outdoor lighting ideas also check out How to Make Chinese Lanterns from Soda Cans!
Your home will glimmer in the night with these elegant gold and silver DIY path lights. They are made from plastic soda or water bottles, battery operated tea lights and a dowel so they are cost effective, energy saving up-cycles to boot! And they’re so much fun to make. You can make them in a variety of shades and designs and even heights. They are a classier, shorter version of our Outdoor Lighting Torches we made a couple years back. For more outdoor lighting ideas also check out How to Make Chinese Lanterns from Soda Cans!
Path Lights Supplies
- Plastic soda or water bottles (We used smaller Pepsi 12 oz bottles)
- Goo Gone (removes labels from bottles)
- Dowels 1/2″ x 36″ long, each cut into three 12″ sections
- Battery Operated Tea Lights (this type has a time of 6 hours on, 18 off)
- X-acto Knife
- Gold Spray Paint
- Sea Glass Spray Paint or Silver
- Masking Tape
- Hot Glue OR
IF YOU WANT TO KEEP THEM OUTSIDE IN THE WEATHER
Replace some of the above items with the following
- waterproof glue if keeping them outside for extended periods
- Wood Sealer (If kept outdoors)
- Drill or something to Polk small holes in bottom of cuts to allow for draining if kept outside
- Water proof tea lights with remote (only if you plan to keep them outside)
![]()
Instructions
Gather your supplies. While Sea Glass paint allows more light to escape from the bottles, any color will look just as amazing.
 Begin by removing the labels from the soda bottles. Use Goo Gone to remove any sticky residue left behind by the adhesive.
 Wrap masking tape around the bottle, just below the top bevel. This will become your cut line.
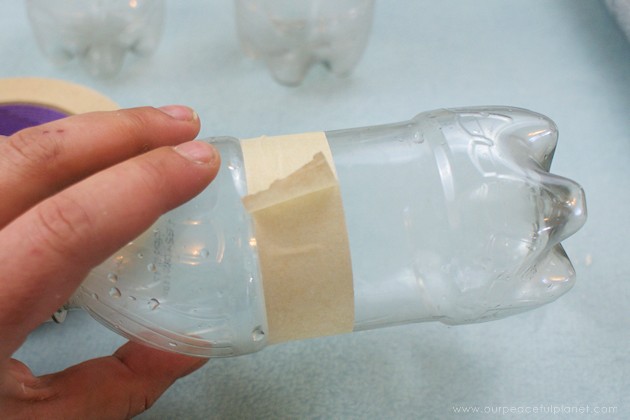 Using the X-acto knife, cut below the tape to separate the bottle into 2 pieces.
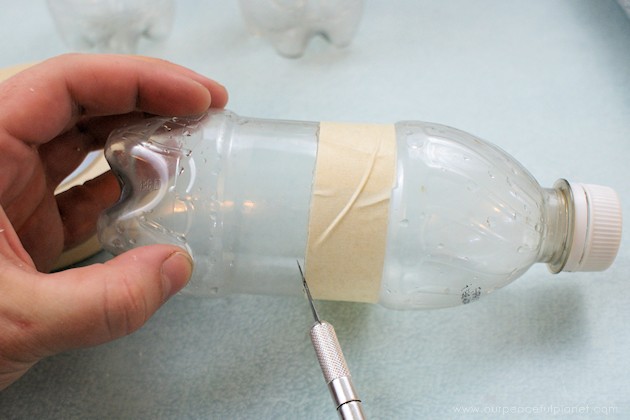 The bottom portion of the bottle will become your light holder. If you choose to discard the top portion of the bottle, be sure to save the bottle cap as it will be used later.
 Wrap around the top portion of the bottle base with masking tape. Using a dry erase marker, sketch on the design that you want to appear on your light holder.
 Once you have your design drawn, use the X-acto knife to cut out the design.
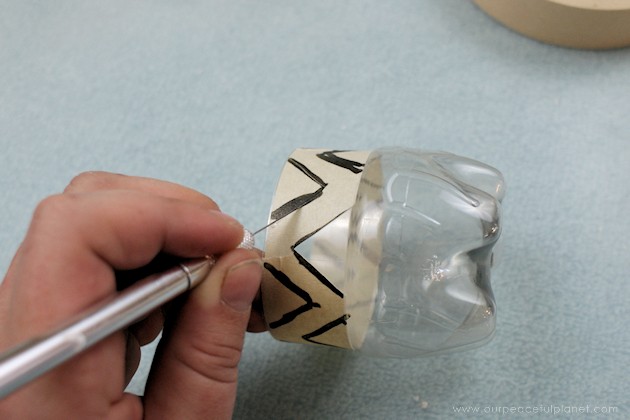 Carefully remove the sections that will be covered in paint, leaving the remaining tape in place to create the design.
 Trim up any rough edges as needed.
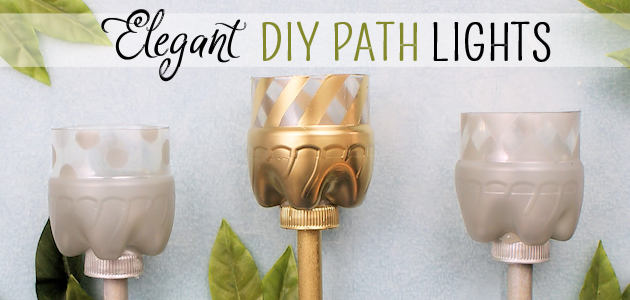
 When creating the designs, we opted for a chevron, polka dots and angled lines, but the possibilities are endless!
 Once the designs have been cut, your bottles are now ready for paint.
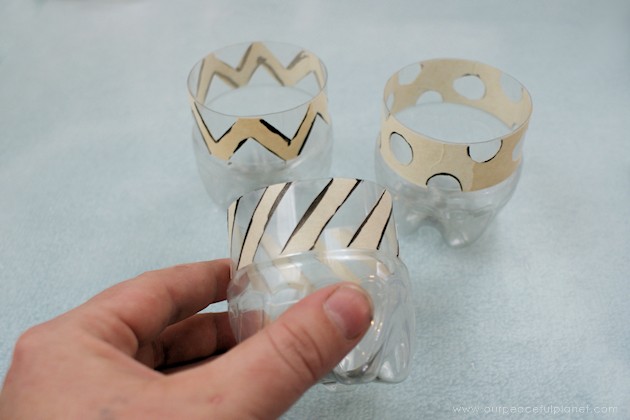 In a well ventilated area, spray the bottles with the desired color. Let dry.
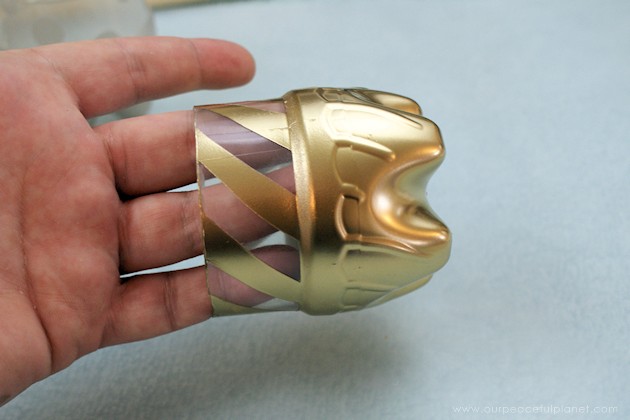
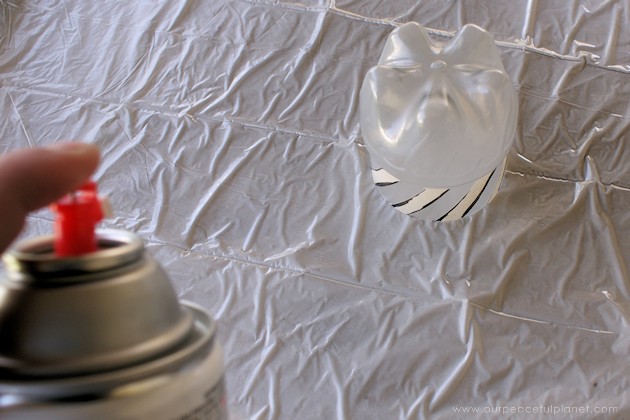 Once dry, remove the remaining tape to reveal your design.
 If using a solid paint, you can see that the design is much more visible and vibrant. Once the tape is removed, set aside the plastic bottles and prepare your stakes.
 To begin creating your stakes, cut the 36″ dowel into three 12″ pieces.
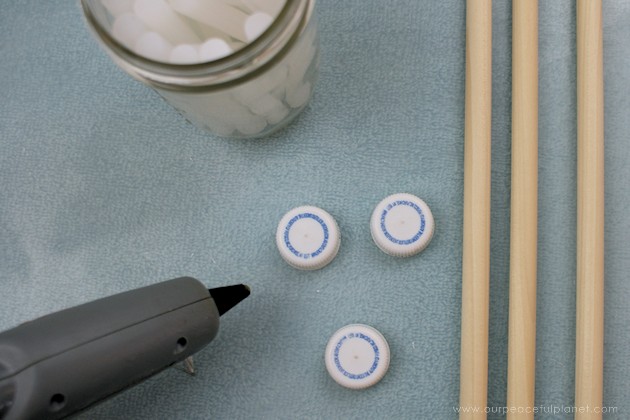 Using a hot glue gun, apply a generous amount of hot glue to the end of a dowel.
 Place a bottle cap onto the hot glue and hold in place until dry.
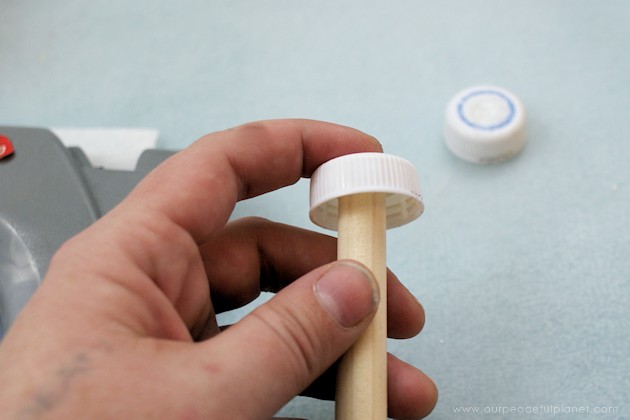 Depending on your color choices, paint the dowel and cap to match your bottle.
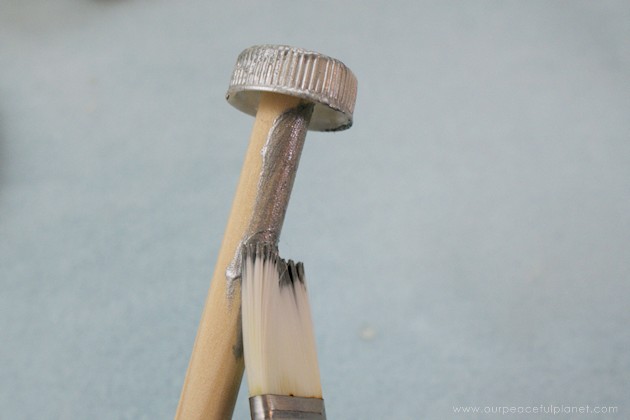 Once dry, apply a generous amount of hot glue to the top of the bottle cap.
 Place the base of the bottle onto the hot glue and hold in place until dry.
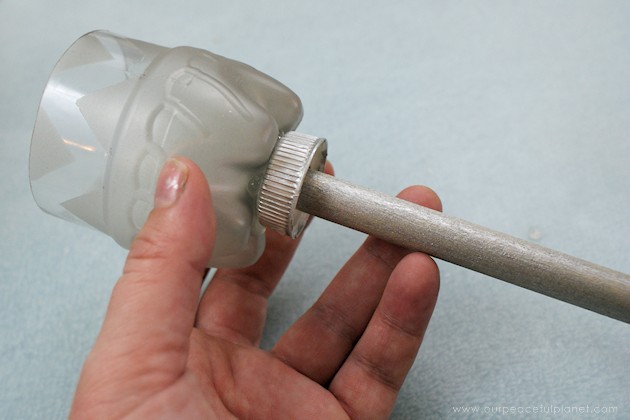 When complete, add a battery operated tea light into each one and you have a set of inexpensive, beautiful garden torches for your next BBQ or backyard event!

![]()
![]()



5 responses
These path light are beautiful. I’m inspired to try this project my self.
Amazingly beautiful.
Thank you Joanna. Ü
You should recommend people drill holes in the bottoms of the bottles so they don’t hold water.
[…] How to Make Your Own Elegant Path Lights from Soda… Spice Up Your Kitchen with These Delightful DIY Ki… DIY Handkerchief Bunny with Special Easter Greetin… Mini Felt Bunnies for a Variety of Uses : Easter C… A Make Do Small Kitchen Island From What We Had Metro Modern Self Watering Planters from Soda Bott… .yuzo_related_post img{width:204px !important; height:96px !important;} .yuzo_related_post .relatedthumb{line-height:16px;background:#ffffff !important;color:!important;} .yuzo_related_post .relatedthumb:hover{background:#e8e8e8 !important; -webkit-transition: background 0.2s linear; -moz-transition: background 0.2s linear; -o-transition: background 0.2s linear; transition: background 0.2s linear;;color:!important;} .yuzo_related_post .relatedthumb a{color:#000000!important;} .yuzo_related_post .relatedthumb a:hover{ color:#aaaaaa}!important;} .yuzo_related_post .relatedthumb:hover a{ color:#aaaaaa!important;} .yuzo_related_post .relatedthumb:hover .yuzo__text–title{ color:#aaaaaa!important;} .yuzo_related_post .yuzo_text, .yuzo_related_post .yuzo_views_post {color:!important;} .yuzo_related_post .relatedthumb:hover .yuzo_text, .yuzo_related_post:hover .yuzo_views_post {color:!important;} .yuzo_related_post .relatedthumb{ margin: 0px 0px 0px 0px; padding: 5px 5px 5px 5px; } jQuery(document).ready(function( $ ){ jQuery('.yuzo_related_post .yuzo_wraps').equalizer({ columns : '> div' }); }); Share […]