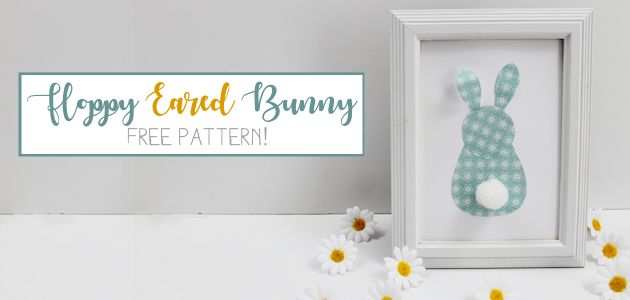
![]() This year, add a cute little floppy eared bunny to your Easter decorations. He only takes 5 minutes to make when framed, he’s a classy little addition to Easter time. He also makes a great gift. All you need is some paper, glue, scissors our free pattern below and a 5×7 frame with no glass to allow his little ear to flop. You can make him (or her) in a variety of colors. If you like this, you’ll love our Burlap Bunnies and our little Sock Chicks!
This year, add a cute little floppy eared bunny to your Easter decorations. He only takes 5 minutes to make when framed, he’s a classy little addition to Easter time. He also makes a great gift. All you need is some paper, glue, scissors our free pattern below and a 5×7 frame with no glass to allow his little ear to flop. You can make him (or her) in a variety of colors. If you like this, you’ll love our Burlap Bunnies and our little Sock Chicks!
Bunny Easter Decorations Supplies
- Paper for your bunny
- Background cardstock paper 5″x7″
- 5″x7″ frame
- Glue of choice
- Pom Pom for tail
- Pattern below

Bunny Pattern Download

Instructions
Gather your supplies.

Cut out the pattern pieces.
Using the pattern pieces, cut out a rabbit in the paper of your choice.
You will not be using the glass but can use it as a pattern to trace your choice of cardstock paper for your background. 
Layout your bunny pieces to get an idea of placement.
Glue the body piece on first.
Make sure you’ve arranged it so it will end up even on the background paper when framed. 
Next, add the head wherever you decided to place it, keeping in mind you will be sliding the ears under the top of it. Glue the tip of one ear.
Slide it under the head.
Do the same for the second ear. You can glue the second ear flat or keep them both loose. Taking a pencil, roll under one ear to make it floppy.
Use a white pom pom for the tail. Glue it in place and frame your bunny!
![]()

![]()

![]()


8 responses
Thank you so much. I have looking for a seed bomb recipe, I had one but can’t find it, That’s how I came across your bunny.
I love this. sweet and simple!
Thanks Yvonda!
[…] eyes or marker, your choice. If you’re looking for some other awesome bunny ideas check out our Cute Frameable Floppy Eared Bunny Easter Decorations and our Burlap Bunnies […]
[…] Felt Bunnies for a Variety of Uses : Easter C… Cute Frameable Floppy Eared Bunny Easter Decoratio… Carrot Garden DIY Easter Basket Plastic Bottle DIY Easter Baskets Easy Clay […]
[…] Cute Frameable Floppy Eared Bunny Easter Decorations […]
Darling bunny. I just printed out his cute shape. Thank you.
You’re so welcome Jody. have fun!