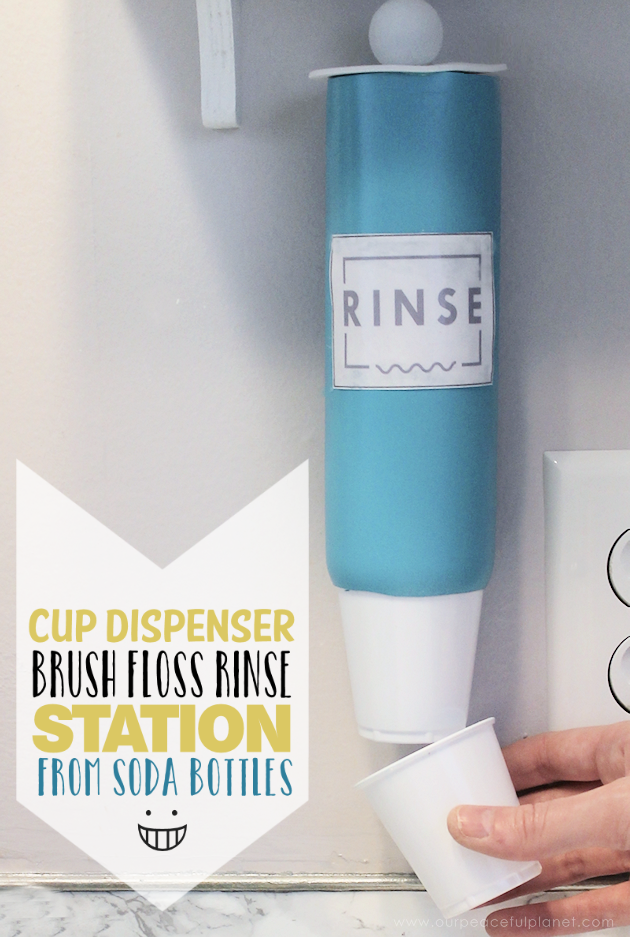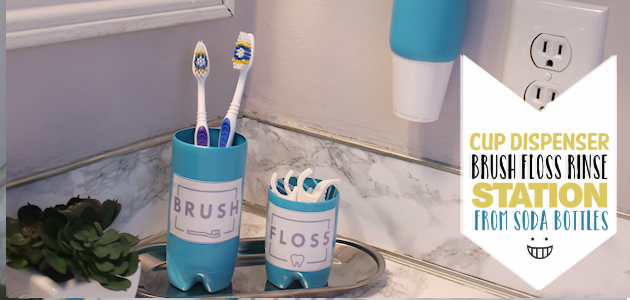
![]() You know how we love upcycles around here. Well, this matching bathroom set, which includes an awesome cup dispenser, is upcycled from three soda bottles, believe it or not! You can paint it any color you want and the labels are a free download below. The cup dispenser could actually be made alone and placed anywhere you like or need to have some disposable cups handy. (Like the side of the fridge during summer time.) See the full directions below and if you’re looking for more great upcycle ideas, you might want to hop over and check out our Geometric & Confetti Plastic Bag Holder & Dispenser or making Cloches Made From Soda Bottles.
You know how we love upcycles around here. Well, this matching bathroom set, which includes an awesome cup dispenser, is upcycled from three soda bottles, believe it or not! You can paint it any color you want and the labels are a free download below. The cup dispenser could actually be made alone and placed anywhere you like or need to have some disposable cups handy. (Like the side of the fridge during summer time.) See the full directions below and if you’re looking for more great upcycle ideas, you might want to hop over and check out our Geometric & Confetti Plastic Bag Holder & Dispenser or making Cloches Made From Soda Bottles.
Cup Dispenser Bathroom Station Supplies
NOTE: You can use a variety of small soda bottles for this project. The important thing to remember is that for the cup dispenser, the end must be able to be trimmed so that the cups are barely able to be pulled out. We made ours to fit the 3oz. bathroom cups. Depending on size you prefer, you could also use a 5 oz size cup.
- 3 plastic soda bottles. (We used the straight sided 17 fluid oz bottles of soda Walmart carries. The 20 oz Aquafina you see would likewise have worked.)
- Spray paint of choice
- Dry erase marker (to mark your bottles)
- X-acto knife
- Scissors
- Glues (Hot glue can be used for part of the project. I’d suggest spray adhesive for the labels and a strong, quick dry glue for the lid tab though hot glue can be used if you’re careful to not use too much.)
- Filler Flat Marbles, pebbles or sand
- Small piece of craft foam, for lid
- 1″wood ball for lid
- Labels (free download below)
- Packing tape (used for laminating labels)
- Iron (for rounding edges of two bottles if desired)
 Bathroom Station Download

Instructions
You can use a variety of soda bottles. We used the slimmer style on the left purchased from Walmart.

You will need three bottles, one for the cup dispenser, one to hold toothbrushes and one to hold the floss sticks. 
Using a dry erase marker, mark one bottle up from the bottom to where the toothbrushes will stick out about 3″ or so. The exact size is noy too important. You will also be adding a few clear filling marbles to give it stability, so keep that in mind. 
Mark the bottle that will hold the floss sticks. It will also have filler marbles inside. 
CUP DISPENSER
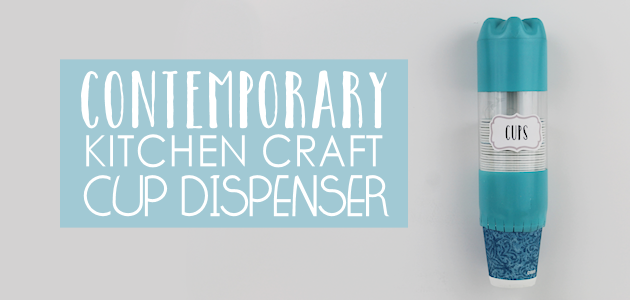
NOTE: Since doing this post we found a much nicer way to make a cup dispenser following our Contemporary Kitchen Craft Cup Dispenser post. It works so much better and looks awesome. Follow the instructions for it and then come back here to finish the other parts of your bathroom set!.
FINISHING TOP EDGES
This is an optional step but gives two of the bottles a nice finish. It should be done on the Toothbrush and Floss holder. Doing it on the cup dispenser could make the cups not fit in properly depending on the size of your bottle. This does NOT leave anything on your iron and gives your bottle a nice rounded edge. Lightly push the end of your bottle EVENLY against the end of a high heat iron for a few seconds. 5 to 10.

It will round the end and give it a nice finish. We have a 3 minute video you can watch and see it done in detail.
Next, spray paint your bottles. 
Print out the free labels. Use packing tape to laminate them. It works great and protects them from water! Cut out your labels and glue them on to the appropriate container. Spray adhesive works fine or any other quick dry glue.
The lid for the cup dispenser is made from a piece of foam and a 1″ round wood ball we painted white. 
We have three round patterns you can use for a lid, however, if none fit simply find a cup or something to use to trace to make a lid that is slightly larger than the top of your container. 
Cut a small tab and glue it on. We glued our onto the back of the bottle as a hinge using hot glue, but be VERY CAREFUL and only use a SMALL DOT OF HOT GLUE. It can melt the soda bottle. Glue the ball on top and it helps to hold the lid down. 
To hang your dispenser, you need to punch a hole in the top back for a nail. 
We then also affixed a command strip below to allow for all the pulling. 
Add your filler flat marbles to the brush and floss holder.  Hang your dispenser. If you look close you tell we rounded the top edge of the brush and floss container, before painting, using the iron technique.
![]()

![]()


