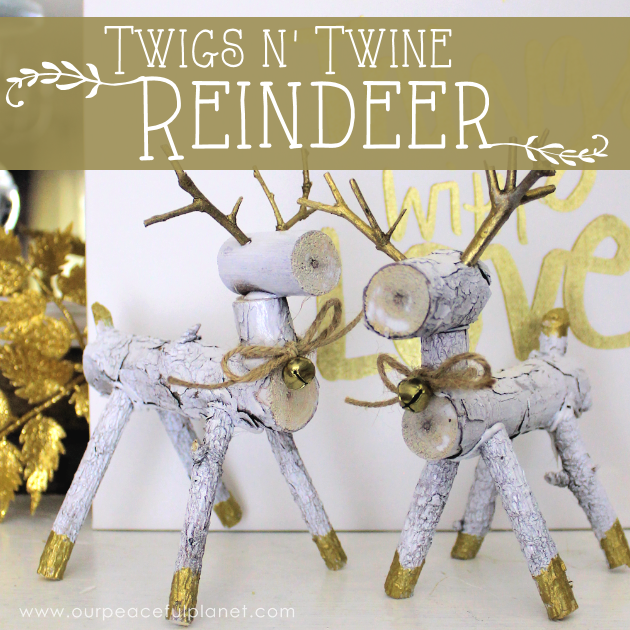
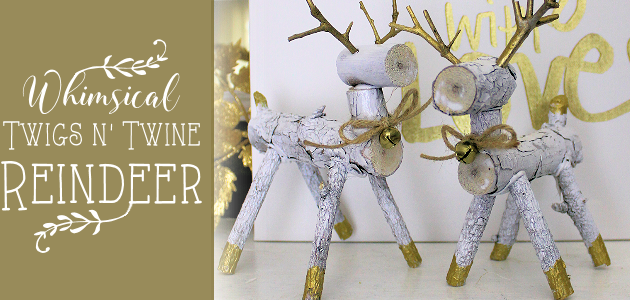
 These festive little wooden reindeer are a mixture of modern and rustic style and only require some tiny branches off your tree. Add twine and a bell and they’re complete! The best part is you can make them any size. And I mean any size. We made small 5″ ones but you could even make them from logs if you were so inclined! If you enjoy doing this, you might also like our unique little stand up Christmas Countdown from Wood Slices.
 Wooden Reindeer Supplies
NOTES ON GLUE: For the tiny reindeer, I used hot glue in the essence of time. This is actually not a good idea if your branches have bark on them as mine did because the sticks will pull the bark off easily. Either use sticks without bark or use larger branches and drill holes to place your sticks into for a firm hold. For larger reindeer I’d suggest a drill and wood glue.
- Small Branches
- Carpentry Hand Saw OR Table Saw We have this table saw. It’s fairly inexpensive as far as saws go.
- Hot Glue Gun (Read notes as this does not hold well)
- Wood glue for larger reindeer
- Drill (for long term holding)
- White paint
- Gold paint
- Brown Twine
- Bells
 Downloadable Template
Our reference sheet can be helpful when cutting your wood if your making a small reindeer. It’s in pdf format.

Instructions
Grab some branches. Or do like I did and call your dad up and have him cut you a few.

Decide on the length of the deer parts. We’ve included a basic sheet of sizes but you can adjust as desired.
If you are gluing, make sure to cut certain parts that go against the body at an angle. 
I just cut up a bunch of pieces to pick from. 
If some have rough edges, rub them on a piece of sandpaper. 
Glue on your pieces. Remember, I learned that these don’t stick well with bark on the branches. Best to drill holes in that case. 
You can see why we angled the leg pieces a bit. 
Now to add on the little tail. 
Ü
To make the antlers attach better I did drill a hole in the head piece which had the bark removed.
Make sure the antler pieces fit in and then remove them for painting. If you drill your legs in the same manner they will hold firmly. 
Paint the antler pieces gold. 
Paint your deer white. Paint the tips of his feet and tail gold. 
Grab some twine and bells. 
Put his antlers in and tie the twine around his neck and glue on a bell. 
![]()

![]()


17 responses
[…] How to Make Wooden Reindeer from Twigs & Branches […]
[…] Printable Christmas Placecards How to Make Quick Elegant Poinsettia Christmas Pla… How to Make Wooden Reindeer from Twigs & Bran… Fun Upcycled Portable Recipe Holder .yuzo_related_post img{width:204px !important; […]
[…] How to Make Wooden Reindeer from Twigs & Branches by Our Peaceful Planet […]
[…] How To Make Wooden Reindeer from Twigs & Branches from Our Peaceful Planet […]
Pinned. I love this new take on an old classic. Terrific. Best wishes for Thanksgiving. Linda @Crafts a la mode
[…] Twigs n’ Twine Reindeer from Our Peaceful Planet […]
[…] Twigs n’ Twine Reindeer from Our Peaceful Planet […]
[…] Twigs n’ Twine Reindeer from Our Peaceful Planet […]
These are just FANTASTIC! I’ve chosen your DIY reindeer as my feature this week over at the Friday Favorites Linky Party – swing by and snag your button!!
[…] Printable Christmas Placecards How to Make Quick Elegant Poinsettia Christmas Pla… How to Make Wooden Reindeer from Twigs & Bran… How to Make a Tribal Burden Basket For a Peaceful … How to Make a Quick Burlap […]
[…] Wooden Reindeer by Our Peaceful Planet […]
Love these! I wanted to try and figure out how to make some and now I don’t have to figure it out myself! Thanks for linking up to The Talk of the Town link party!
[…] How to Make Wooden Reindeer from Twigs & Branches […]
These are adorable!! Funny, I thought they were bigger. But they are so cute… I might make them as ornaments! Thanks for sharing at DI & DI.
These little deer are so sweet. I am hoping to get hubs to build me a full size one for the front yard. The printable pattern is very helpful, great tutorial.
Thanks for sharing. leanna
These are just darling! Thanks for the wonderful tutorial and measurement sheet.
Thank you Joanne (mother of three) from Nancy (mother of four) lol!