![]()
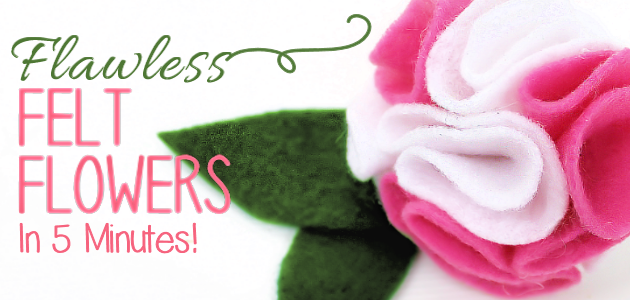
Learn how to make felt flowers in 5 minutes with only scissors, felt and hot glue! Using our templates it’s super fast and the flowers can be used for a multitude of purposes. Put them on a wreath or another decor item. Make pins out of them or hair clips! The sky’s the limit and so are your color choices! If you’d like more flower ideas check out our 5 Minute DIY Paper Flowers! ![]()
Felt Flower Supplies
- Felt colors of choice. (Thinner felt works better than heavier.)
- Hot Glue Gun
- Free Pattern below
- Good scissors
 Download

 How to Make Felt Flowers
Gather your felt choices, template and scissors.

Cut out the circle size and base you want. 
Cut out 10 pieces of the larger circle. (We used two colors to make it easier for you to see what we were doing. You can do that if you wish and cut out 5 of each color or do it all of one color.) 
Cut one piece of the base smaller circle. The color doesn’t really matter as it generally doesn’t show. 
Take one circle and fold it in half. 
Then fold it over one more time.
Place a dab of hot glue on one side of your base piece.
Lay your double folded felt circle on the glue with the point facing in and touching the exact center.
Place another dot of glue next to the first felt piece.
Place another double folded felt circle onto the second glue, centering it. Continue on in the same way.
Fit the fourth double folded circle onto the base.
Using large paperclips can help hold things down as you finish the flower. Otherwise the felt opens up too much and makes it difficult to work. 
The second layer is ready to be placed on. Put a dob of glue at the bottom of one of the seams as shown.
Place the first double folded felt of the second layer where the point is in the center and the felt is centered over the seam of the bottom two pieces below it.
Continue on the same way, adding glue in the center and laying the next piece down, centered over the seam below it. Use more paperclips if needed.
Complete the second layer by adding your final piece.
Remove the paperclips before adding in the last two pieces of felt. The flower will expand out. 
The last two circles will be double folded, as the others, and then folded one more time. 
Place a larger glob of glue directly in the center of your flower. 
Carefully push your triple folded flower down into the glue leaning it a bit to one side.
Add more glue if needed and push your last triple folded piece down in. 
Fluff a little if necessary. 
This is what the bottom looks like.
Add some leaves if desired, using our patterns!
This is a solid color flower.
This is a smaller yellow flower.
![]()


14 responses
these are so cute and your tutorial is so helpful! thank you!
These are so, so pretty. Thanks for the great tutorial. Pinning!
You’re very welcome Mary. Ü
Looks simple and easy – just what I like! Pinned and shared
Thank you so much Carol!
These are so cute and look so easy! Thanks for sharing.
You’re so welcome Gabrielle!
[…] How to Make Felt Flowers in 5 Minutes […]
These are so pretty, and what a wonderful tutorial. Thanks so much. Mimi xxx
Thank you. Ü
Hi, this is a great tutorial and the pictures make it so easy to follow. I love when is visual like this. I will add this to my to do list for my mommy-daughter DIY time. Thanks for sharing.
Thanks Jasmine. So glad you liked it!
I love working with felt as it’s so forgiving. Great tutorial. Visiting from Craft School Sunday.
Thanks Victoria!