![]()
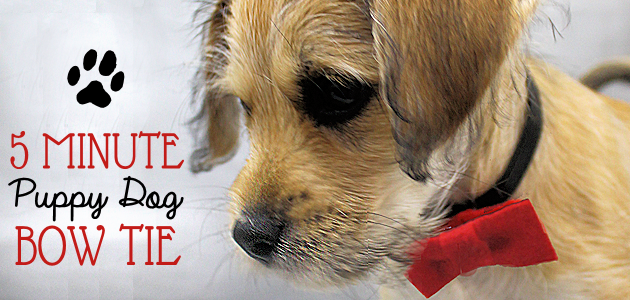
What’s cuter than a puppy dog? A puppy dog wearing a bow tie! We’ll show you how to make a set of puppy dog bow ties in just a matter of minutes using felt, hot glue and some elastic. You can use one elastic neck piece and a variety of bow tie colors that you can easily change using Velcro. Your little furry friend will be styling around town in no time! If you’ve got a new puppy in your life, hop over and grab our free Potty Training Puppy Chart and also read the short story about how the pup you see in the photos, Oliver Sprout, came into our lives. Also, don’t forget to read “The Dangers of Rawhide” and grab our free chart of snacks its OK to give you dog.
 Puppy Dog Bow Ties Supplies
Felt is perfect for these bows because of how light weight it is. And of course it doesn’t fray, so no sewing is needed! You can either glue your bows directly onto the elastic or make them removable with Velcro.
- Felt (soft type)
- Velcro
- Hot Glue Gun
- Black 1/2″ elastic. (Or larger for bigger dogs)
- Thread (for tying small bows
- Free pattern below
 Download Pattern

 Instructions
We used felt because its lightweight and the edges don’t fray. It makes perfect bows and comes in a huge variety of colors!

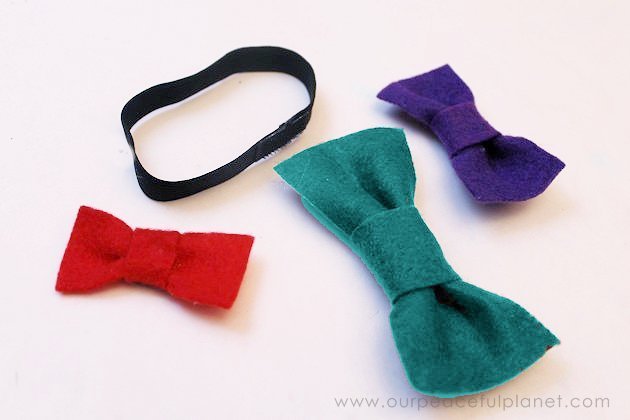
Using our pattern, cut out the bow pieces. This shows a set of each size.
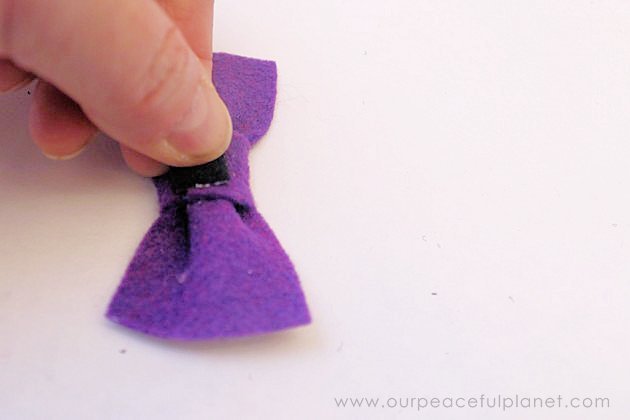
Fold/pinch the center of the large piece as shown. 
For smaller bows its easier to use a piece of string to tie them in the middle. 
Once tied glue the center piece onto the bow using a small amount of glue to reduce bulk. 
Press firmly.
Trim off the extra.
A perfect bow!
Gluing Larger Bows (no thread version)
You can use hot glue to secure a larger bow. Use very small amounts as you don’t want to add to the bulk or heaviness of the bow. Place a small dot in the center.
Pinch the bow together to hold it.
Place two small dots on the outer edges of the bow. 
Quickly pinch those down in place. You can now glue the center piece around the middle of the bow.
Measure around the dog’s neck with your elastic. Make it “lightly” snug. 
Glue the elastic edges together. You can also sew it if desired. The neck piece is meant to be slipped over the dogs head and around his neck.
You can make several of these and glue each bow on or you can place a piece of Velcro onto the neck piece for changing out bows. Cover the seam with the bow or the Velcro.

For removable bows place the opposite side of the Velcro onto the back of your bow. 
If its not sticky enough or you’re using regular Velcro you can hot glue it onto the bow.  The three different sizes of bow.
![]()

![]()


13 responses
If I wanted to make these in several sizes to sell at a craft show is there any way to determine the 4 or 5 sizes most dogs would wear without having to go out and find 5 different dogs of variable sizes?
As there will be such a huge variety you want to make them each long enough to fit a small span of sizes. I would check Amazon for something similar and see what their options are for sizes are on things that go around dogs necks. That will give you an idea.
Good luck!
Oh my goodness, the sweet little puppy, he’s so cute! I just wish I could hug him. I love this DIY very much, I’m totally using it for my little pup at home 😀
[…] FREE PATTERNS HERE Felt (soft type) Velcro Hot Glue Gun Black 1/2″ elastic. (Or larger for bigger dogs) Thread (for […]
[…] How to Make 5 Minute Dapper Puppy Dog Bow Ties Personalized Dog Bowls from Dollar Store Dishes Get Inspired with 10 Free Motivational Quotes … Fun Upcycled Portable Recipe Holder How to Make Gratitude Reminder Tokens for Being Th… How to Install an On/Off Switch to Your Glue Gun i… .yuzo_related_post img{width:204px !important; height:96px !important;} .yuzo_related_post .relatedthumb{line-height:16px;background:#ffffff !important;color:!important;} .yuzo_related_post .relatedthumb:hover{background:#e8e8e8 !important; -webkit-transition: background 0.2s linear; -moz-transition: background 0.2s linear; -o-transition: background 0.2s linear; transition: background 0.2s linear;;color:!important;} .yuzo_related_post .relatedthumb a{color:#000000!important;} .yuzo_related_post .relatedthumb a:hover{ color:#aaaaaa}!important;} .yuzo_related_post .relatedthumb:hover a{ color:#aaaaaa!important;} .yuzo_related_post .relatedthumb:hover .yuzo__text–title{ color:#aaaaaa!important;} .yuzo_related_post .yuzo_text, .yuzo_related_post .yuzo_views_post {color:!important;} .yuzo_related_post .relatedthumb:hover .yuzo_text, .yuzo_related_post:hover .yuzo_views_post {color:!important;} .yuzo_related_post .relatedthumb{ margin: 0px 0px 0px 0px; padding: 5px 5px 5px 5px; } jQuery(document).ready(function( $ ){ jQuery('.yuzo_related_post .yuzo_wraps').equalizer({ columns : '> div' }); }); Share […]
Omg…. that is too adorable!!! Thank you for sharing and linking up at Dishing It & Digging It! We enjoy your creativity each week! 🙂
Thanks Lori. Ü
Aww, how cute! This would be a great idea for shelters and animal rescues when they take photos of the pets up for adoption!
That’s a great idea Emma! We got our little guy from the Humane Society. Ü
To cute! What a fun craft for your fur baby.
Thanks Hil. Ü
That is so nice and easy. I have friend down the block who has a dog that visits -she would love these! Can’t wait to make her some!
Thanks Vickie! I be she’ll love them. Have fun!