![]()
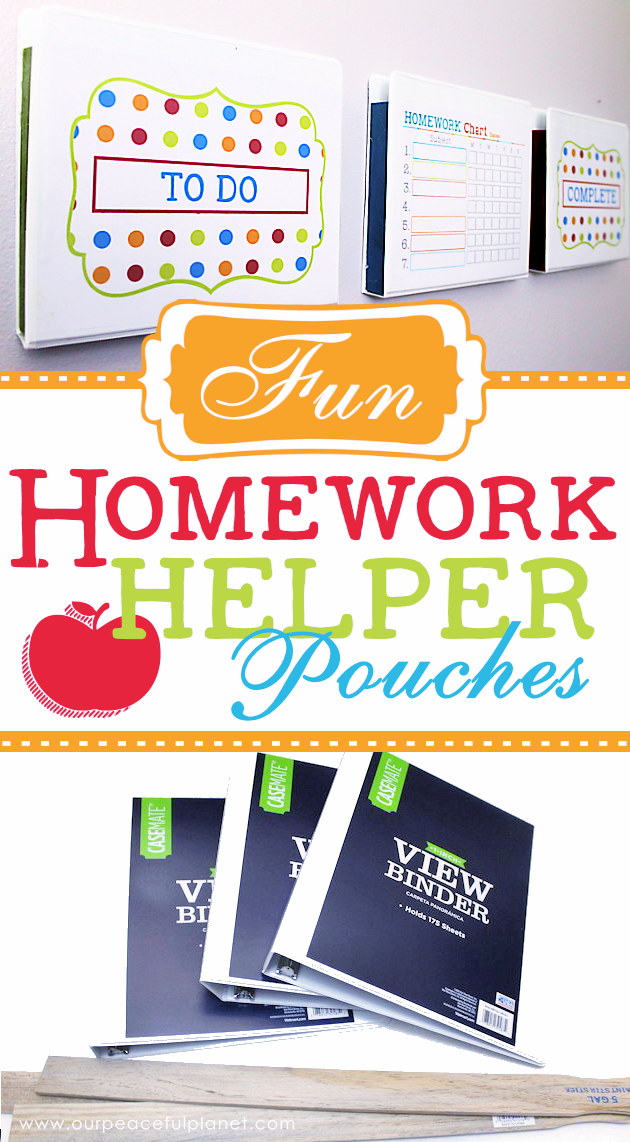
Wall mounted file pockets are expensive. We’ll, we’ve found a way to make super cheap & creative wall mounted holders using 3 ring binders! The pockets can be used to organize or hold all types of things but we created 7 different printables so they can be used as a homework helper. You can even use wet erase markers to write on the charts and keep track of what needs done when! It’s a very unique and useful upcycle project. These would also go great with our small wall pouches made from recycled CDs! We used one of these pouches to make a Homework Helper Portable Desk.
Homework Helper Pouch Supplies
NOTE: The pouches are made to hold light weight items such as paper. If you would like a much stronger hold use E6000 and allow it to dry.
- 1″ 3 ring binders with insertable covers
- 1″ x 9″ or longer paint sticks
- Downloaded printables below
- Saw for cutting paint sticks
- Paint
- Glue gun
- OR E6000 Glue
- Command Strips
- Wet Erase Markers
- Grommets Optional. We used the 3/8″ set for another pouch project.
 Download Printables

 Instructions

The first thing you need to do is remove the metal ring strip from each of the binders. This can be a little tricky depending on the type, but generally you can carefully pry them off using screwdriver and pliers. We insert a large flat screwdriver next to where it was attached and then twisted the screwdriver to help pull the metal up.
After bending the metal center up a little we used pliers to reach under and twist the brad that attached it. The goal is to remove the rings with the least amount of damage to the binder itself. 
We ended up having to pull the brads out after we twisted the metal bar off. 
This does leave a hole on each side of the binder. But it is the back of the binder so it doesn’t matter as that part will be against the wall. 
Cut your paint sticks to about 8.5″ or 9″. These will fall about an inch below the top so that there is a little give when placing items in the pouches.
Binders with metal removed and cut paint stick ready for gluing. 
OPTIONAL GROMMETS
You can also insert two grommets in your binder before assembly. This allows them to be hung with nails or even ribbons rather than using Command Strips. Its super easy.

This is the pouch we made for our Homework Helper Desk.
Check out our other post! (Click the photo)
This is how the wood will be placed in the binder. 
Paint the sticks.
Start by gluing along one side of the binder as far up as the stick will go. (You could also glue directly onto the stick. Place the stick in place quickly. Do this for both sides of the binder. Place a line of glue on the tops of the sticks.
Fold the opposite side of your binder over onto the wood strips being careful to line them up correctly. 
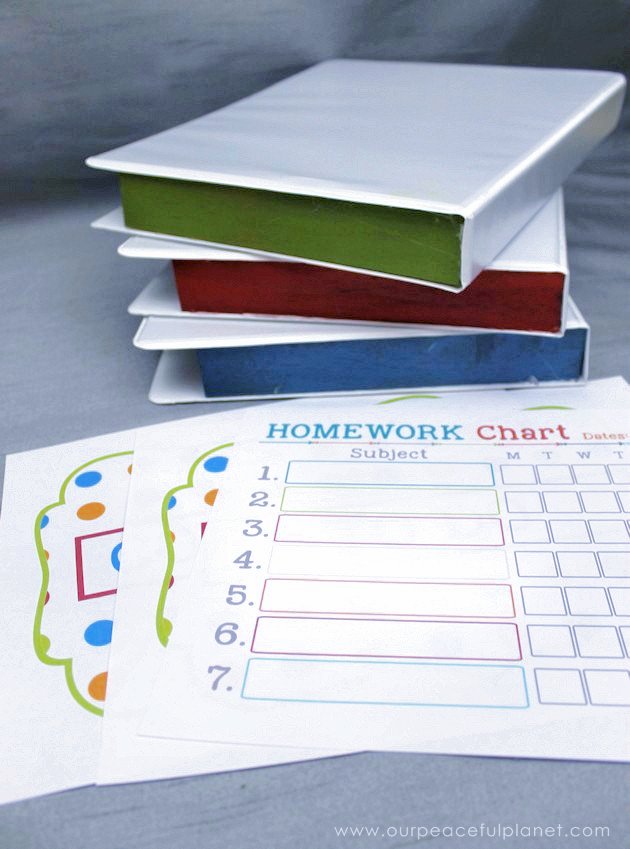
Print out the binder inserts.
Slide them into place.
Command Strips work wonderfully for hanging your binders on the wall.
The homework helper binders are completed and ready for use!
Wet erase markers work great on the surface! (Dry erase doesn’t rub off as well)


14 responses
I had the same idea!. I can clear counter space, and (theoretically ) never lose my invoices again.
[…] How to Make Fun Homework Helper Wall Pockets from 3 Ring Binders on Our Peaceful Planet. Okay, so I admit that we don’t have to deal with homework, but this idea is so cool! I could see many uses for these dry erasable pouches. Family mailboxes, wall files, etc. So cute! […]
Super helpful for homeschooling!
Thanks Diana. Ü
What a great idea. I am going to try it for an in basket inside my wardrobe desk.
Awesome! Glad to have inspired you Margaret!
I love this. It’s a perfect way to use up those “last year” binders. Thanks for posting on DIY-Crush.
Definitely! Thanks for stopping by Marsha!
Genius! Great way to manage paperwork for bill paying. Thanks for sharing!
What a great idea – I’ve been looking for ideas on how to get my girls organised when they go back to school – pinned for later!
Thanks Sam. Appreciate you stopping by!
[…] Homework Helper Pouches @ Our Peaceful Planet […]
What an awesome idea! So creative. Thanks for sharing at Pin Me linky party
Thanks so much Becky. Ü