![]()
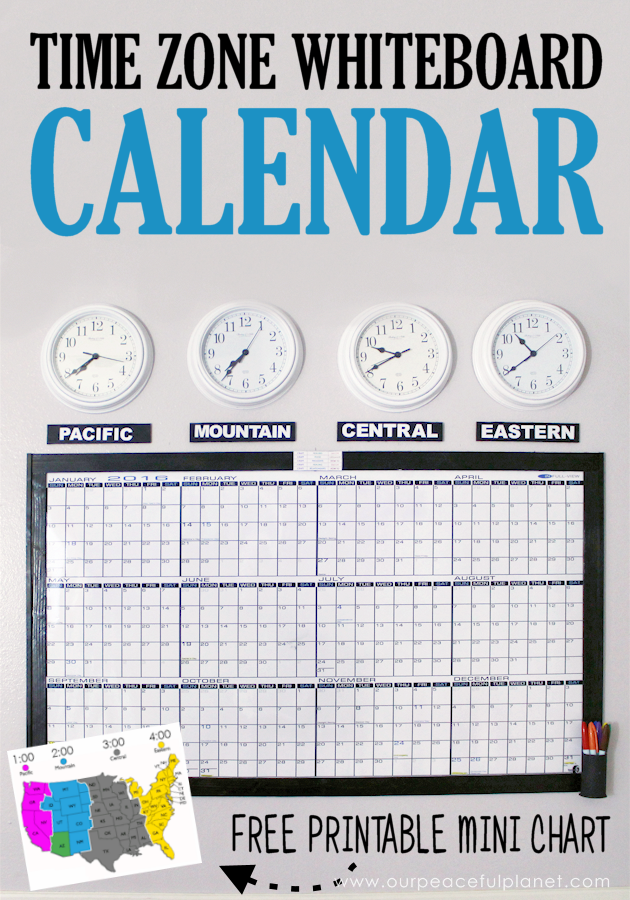
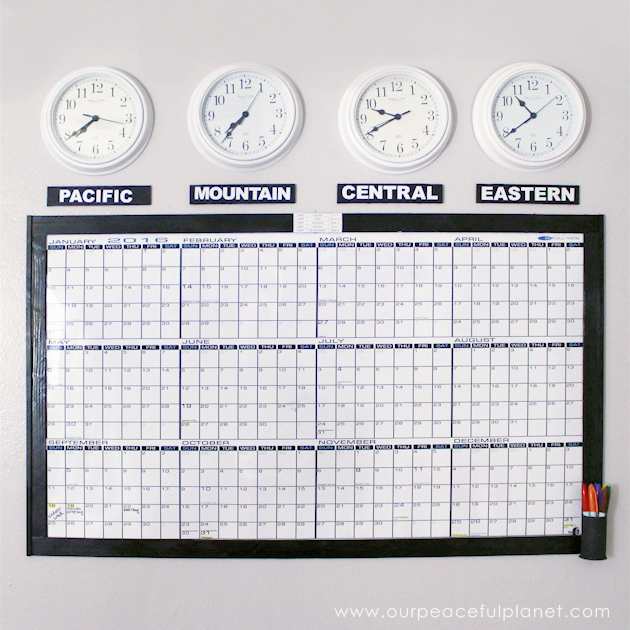
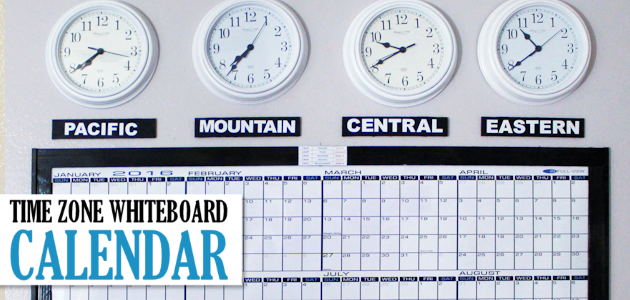
A whiteboard calendar can be a wonderful asset for a business or family scheduling. I had purchased a wipe off calendar but it looked pretty plain hanging on my office wall so Roy grabbed some wood strips and made me a quick rough frame that I nailed on around the calendar. Then I added four inexpensive plastic wall clocks from Walmart and set one to each time zone. You could also create an extended family time zone wall as we did in the past and set each clocks time to where each family member lives.
We’ve got free printables you can use to make your own plaques and also Silhouette versions if you happen to own that machine. We also have a free mini time zone chart to keep handy. I keep mine near my desk along with my Daylight Saving Time Reminder that you can print.![]()
![]()
 Wall Time Zone & Whiteboard Calendar Supplies
NOTE: You can purchase a variety of styles of calendars. They come by year or month and some allow you to write in your own numbers. Some use dry erase markers and some use wet erase. For my needs I chose a full year wall calendar. It is wet erase. I link to it below.
- Wall Calendar (I purchased this exact one for 2016. It's a wet erase type of board and I purchased these markers to use with it.
- Plastic wall clocks I purchased mine at Walmart for $4 each.
- Wood Strips for frame and time zone plaques. We used 1.5" pieces cut to fit the calendar. 8" pieces were cut for the time zone plaques.
- Tiny nails to hold frame on the wall.
- Command Strips tape if desired to hold the time zone plaques on.
- Time zone labels, free download below
 Download Labels & Free Time Zone Chart
pdf [sdm_download id="23823" fancy="0" new_window="1"]
Silhouette File Labels Only (zip)
 [sdm_download id="23847" fancy="0" new_window="1"]
 Instructions
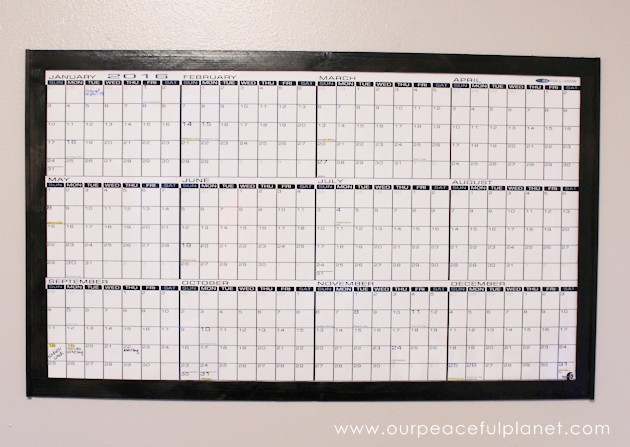
The scheduling calendar right out of the box.

Roy made a simple rough wood frame for it by measuring 1.5" slats and cutting them to fit the border of the calendar.
![]()
The slats were held together with a bracing strip on the front right and left of each side.
![]()

![]()
The frame was painted black.
![]()
We hung the frame over the calendar, holding it on with 4 tiny nails. 
![]()
Four plastic clocks were used for the time zones. Using the same wood as for the frame, we cut 1.5"x8" wood strips for the labels. 
![]()
I used my Silhouette cutter to cut the labels out of vinyl and placed them onto the slats. There is also a free pdf you can cut and Mod Podge on. 
![]()

![]()
Command Strips were used to hold the time zone plaques in place. 
![]()

![]()

![]()

![]()

![]()


3 responses
This a great idea, it can be used in a home office or even in an office. Awesome design!
I love this project! What a great idea. The black frame looks great and bring the whole thing together. Thanks for sharing!
You’re so welcome Sondra. Thank you for visiting!