![]()
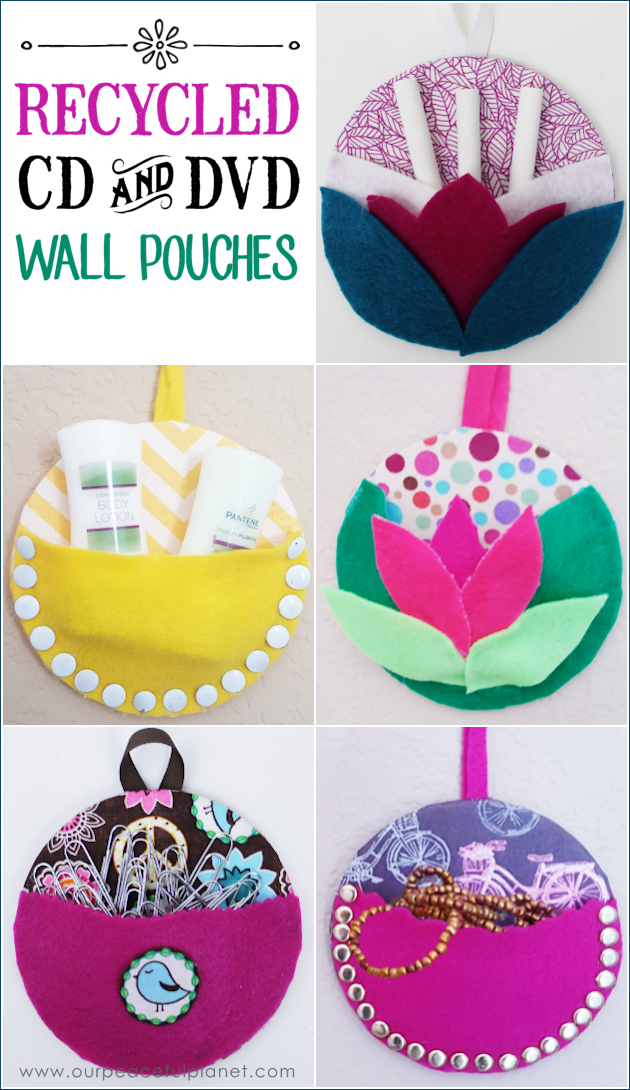
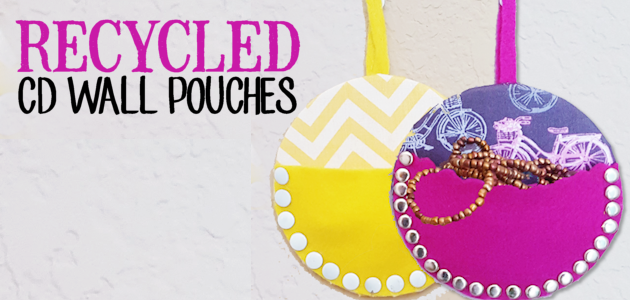
Recycle CDs and DVDs into these useful and pretty wall pouches! They’re also a great way to use up those small scraps of fabric you have lying around. There are so many fun uses for these… office supplies, pencils, dry erase markers, coupons, small notes… the ideas are endless. One thing is for sure, it’s a great way to upcycle all those discs you’ve had lying around forever. This is just one of many ideas we have, such as how to “Make a Clock from a DVD” or “Quick DIY Bookends from CDs“. Check out all our CD & DVD Crafts here!![]()
![]()
 Recycled CDs Pouch Supplies
- CDs or DVDs
- Felt
- Material Scraps
- Hot Glue
- Thumb tacks, white or silver or brass
- Wire cutters
- Patterns, free below
Download Pattern
pdf [sdm_download id="23471" fancy="0" new_window="1"]
 Instructions
The basics of how to make your recycled CDs wall pouches are below. You can look at our photos to see different styles. The sky is the limit on design!

Use our free pattern to cut the back piece of your disc.
![]()
Following the circle of the disk dab on hot glue around the back edge and wrap your material around carefully. We suggest doing it on 1 to 2 inch intervals then going back around and pulling down the unglued sections to help give a smooth edge. 
![]()
PULL THE MATERIAL SNUGLY as you go. This also assures a smooth edge. 
![]()

![]()
If there are large pieces of material on the back, snip them off to reduce bulk. 
![]()
Add ribbon or felt for a hanger.
![]()
Using our free pattern which is a tiny bit smaller than the CD, trace onto some felt. This will cover the back of your pouch. 
![]()
Glue your backing piece onto the back of your pouch. 
![]()
Take a piece of felt that will be the pouch and set it in place. We used pinking shears on the top edge. You want to allow for the pouch to stick out a little. 
![]()
Place any small item in the middle to hold up the pouch then put a dab of hot glue on each of the top corners to hold it in place. 
![]()
Remove your item and turn the CD over and carefully trim around the edge. 
![]()
Glue the remaining edge to your CD.
![]()
We cut out an image from our material to glue to the front of our pouch. 
![]()

![]()
You can also cut an angled pocket as shown. This effect was done for the version with a flower on the front of it. ![]()

![]()
You would now continue as above in attaching and cutting your pouch. 
![]()
Cut out your flower pieces to glue on or you can make your own!
![]()
For the metal brads shown on two of the pouches, take wire cutters and cut off the point of thumbtacks. 
![]()
Glue the thumbtack tops to your pouch for a nice effect.
![]()

![]()

![]()
![]()
![]()

![]()

![]()

![]()

![]()
![]()


19 responses
Maravilhoso Parabéns. Poderia mandar os riscos em tamanho natural.Paula
Obrigado Paula. Ü
amei essa ideia, parabéns!!
Muito obrigado Sabrina!
[…] Emoji Fan Printables & Instructions (CD … Recycle CDs into Wall Pouches DIY Upcycle Locket Necklace DIY Finger Pin Cushion in 10 Minutes! How to Make […]
[…] 23. wall pouch. Hold all of your little things. […]
A cool idea! Love it.
Amalia
xo
Thank you Amalia. Ü
These look fabulous. I must try them.
Thank you Vashudha for stopping by!
I love this idea. I have been slowly converting my CD’s to digital so this will be a great way to upcycle them. I can also add some potpurry and freshen my house this way.
Thanks so much Lilith. Appreciate you stopping by!
these look so super cute they bring back memories of earlier years when wall pouches or plaques were very popular
come see us at http://shopannies.blogspot.com
Thanks Angie for stopping by. Ü
[…] with the ends clipped off make great embellishments. (You might recall we used them for our Recycle CDs Wall Pouches. […]
This is such a nifty way to repurpose old cds! They could also see them working well as gifts or Christmas decorations, too. Stopping by from Friday Favorites 🙂
Thanks so much Jazelle. Ü
That is a cool idea. I am pinning this for a moms club craft!
Thanks Carla for stopping by!