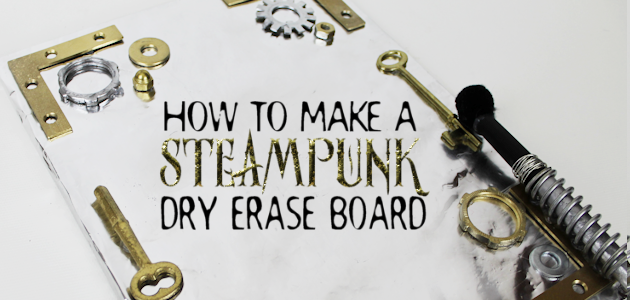
![]() This simple DIY Steampunk dry erase board is perfect for keeping track of upcoming events or reminders. All you need is foil, foam board and metal parts! Credit for this basic idea goes to our son Adam who mentioned he had seen foil used as a wipe off board. Ends up it works great! Though we chose steampunk as our theme you could obviously create a variety of looks and styles! If you like the metallic look check out our DIY Dragon Egg or our Upcycled Celtic Box.
This simple DIY Steampunk dry erase board is perfect for keeping track of upcoming events or reminders. All you need is foil, foam board and metal parts! Credit for this basic idea goes to our son Adam who mentioned he had seen foil used as a wipe off board. Ends up it works great! Though we chose steampunk as our theme you could obviously create a variety of looks and styles! If you like the metallic look check out our DIY Dragon Egg or our Upcycled Celtic Box. ![]()
![]()
![]()
 DIY Steampunk Supplies
- Foam board
- Heavy duty foil
- Spray adhesive (optional but it helps)
- Metal stuff. Bolts, washers, springs, cogs, old keys, old metal buttons etc.
- Gold & silver spray paint
- Dry erase marker
- Large black pom pom (optional for eraser)
My dad has a workshop that he let me raid. I found the most awesome stuff!

 Instructions
Gather your supplies. TIP: Use heavy duty foil.

![]() Cut your foam so that the foil will cover it easily and fold over onto the back.
Cut your foam so that the foil will cover it easily and fold over onto the back.

![]() For a better hold coat your board with spray adhesive before applying the foil. Fold it around the back and secure with glue or tape.
For a better hold coat your board with spray adhesive before applying the foil. Fold it around the back and secure with glue or tape.

If needed, spray paint your metal pieces. I used a mixture of gold and silver.

![]() Layout our pieces on the edges of your board then glue into place using any firm glue.
Layout our pieces on the edges of your board then glue into place using any firm glue.

I had a spring that was perfect for using as the dry erase marker holder. 
![]()
Dry Erase Marker: I spray painted the bottom portion of the marker and glued on a large black pom pom to use as a quick eraser. 
![]()
I wrapped some wire around my marker to keep it in place in the spring holder.

![]()


6 responses
This would work great for the dry erase board sticker stuff that comes in a roll.
This is so much fun!! Pinned.
This is so clever! I’ll definitely be giving it a try.
Awesome! Good luck!
This is adorable. I’m loving the steampunk trend. I hope it sticks around for a long time. Thanks for the tutorial!
Appreciate your kind words Candace. Ü