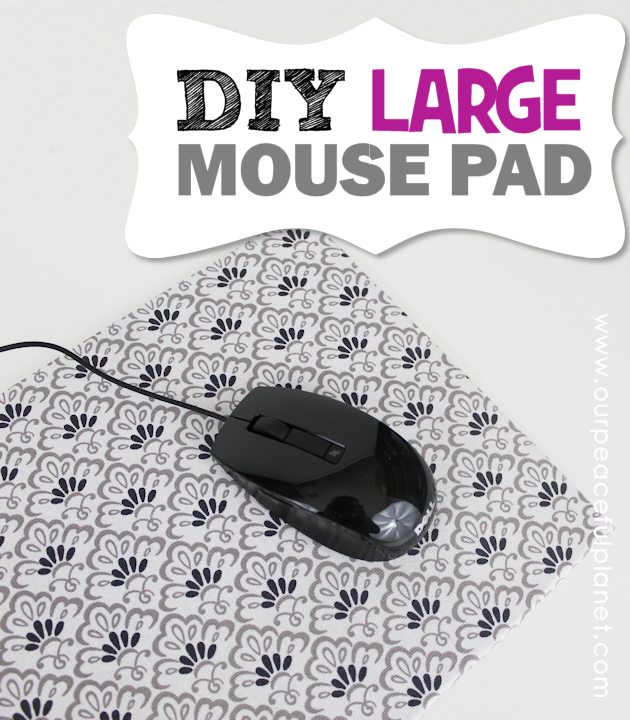
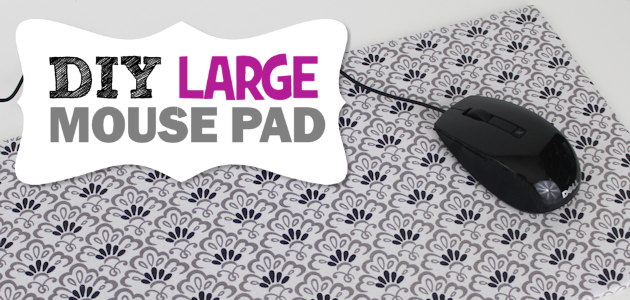
![]() If you’ve had trouble finding a decent sized mouse pad or one that matches your decor our DIY mouse pad does both! All it takes is foam board, material and spray adhesive! You can make it any size you want and cover it with any fabric! It’s inexpensive and easy to do following our instructions and detailed photos.
If you’ve had trouble finding a decent sized mouse pad or one that matches your decor our DIY mouse pad does both! All it takes is foam board, material and spray adhesive! You can make it any size you want and cover it with any fabric! It’s inexpensive and easy to do following our instructions and detailed photos.
![]()
![]()
DIY Mouse Pad Supplies
- 1 sheet of foam board (typically $1)
- Material to cover your mouse pad. (We suggest using a heavier type.)
- Spray adhesive
- Craft knife, ruler, marker
- Scotch Gard (optional but will help keep your fabric clean)
- Mounting strips (optional but helpful to hold mouse pad in place)

Instructions
Because of how my desk is laid out I needed an extra wide mouse pad. There are few of those available and they are very expensive and not in the colors I wanted so I decided to make my own.

Measure the width and depth you want your mouse pad to be.
![]()
Buy an inexpensive sheet of foam board, white or black works, and chose some heavier fabric in the color of your choice. This fabric will get a lot of wear so keep that in mind. Darker fabric will show the dirt less.
![]()
Measure and mark your foam board and cut it carefully with a craft knife.
![]()
Cut your fabric to fit your foam board.
![]()
You only want a small overhang on the back. About 1/2" or so. I didn't finish the edge of my fabric as I felt it wasn't necessary.
![]()
Use some spray adhesive to mount your fabric on your board. You could probably use other glue but this is the easiest.
![]()
Spray a light coat on your board.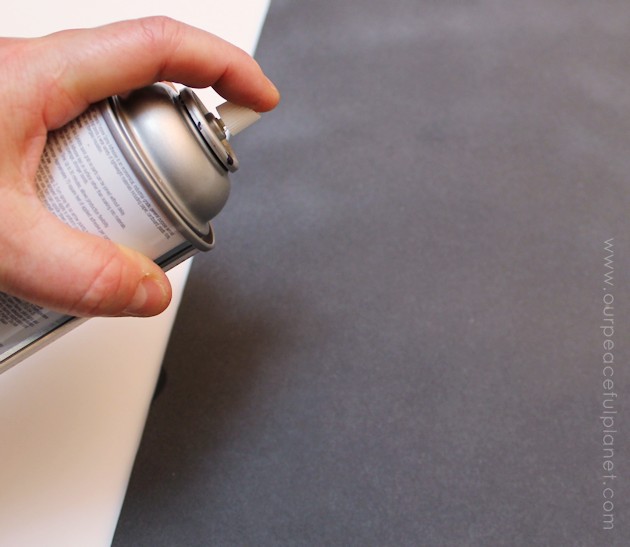
![]()
Quickly and carefully place your fabric on your board while smoothing to avoid wrinkles.
![]()

![]()
Turn your board over and mask off the center area with paper. This allows you to use the spray adhesive on the edges to hold them down.
![]()
Fold the edges over.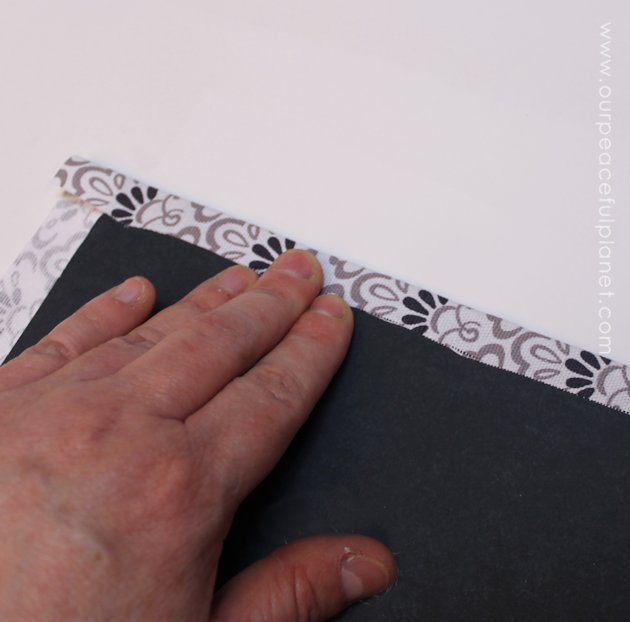
![]()
The finished edges.
![]()
Lovely!
![]()
Because this is not made of the typical spongy and flexible mouse pad material it might need some help staying in place. I used some Command brand poster Strips to hold the corners down. Whatever you use make sure it won't damage your desk. Command Strips come off clean and easily. 
![]()
Your material is going to get dirty from the oils in your hands. Lighter material will show dirt more. Using Scotch Gard on your finished mouse pad will help protect it. 
![]()
It's perfect!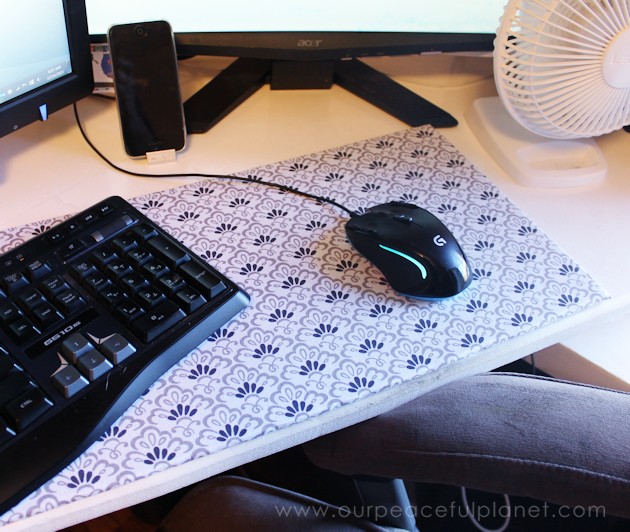
![]()

![]()



21 responses
Muchas gracias!! exelente manera de presenter el paso a paso ,uso dos monitores que son dos flats tv y miescritorio es largo y siempre estoy peleando ocn el raton porque me quedo sin almoadilla..Muchas gracias por el paso a paso.Todos losmateriales lso tengo a mi alcanse y desde ya..estoy manos en la obra.. muchas gracias por cuarta vez…Dios te bendiga por compartir tus talentos y conocimientos…
¡De nada! Me alegra que lo hayas encontrado útil. ¡Gracias por visitarnos y buena suerte en su mouse pad!
I saw this and fell in love! i have made a second one that you should definitely try! For my base i used 2mm Foamies Foam (36×60) and a piece of wool felt (cut ot size) . used the spray adhesive to attach the felt to the foam and it now a full size desk mat for projects and works amazing as a mouse pad / desk mat. Another one I haven’t tried but seems like it fun idea is to use shelf liner on the bottom and a thin roll-up style cutting mat for crafting and a protective desk mat. Thank you again for the inspiration!
Great ideas Joshua! Thanks for visiting. Ü
Great idea for a gift set for my sister-in-law. She recently commented on a co-workers to die for designer color coordinated mouse pad and desk accessories.
Would it be possible to use a spongy kitchen floor matt instead of the foam board? That would up the cost but make it more durable perhaps. Will have to check the discount stores to see what is out there. Thanks for this great idea.
Hi Gayla! Sorry for the delay in responding. I’m not sure if that would work or not. It would need to be thin… if its not covered you just need to make sure it “reads” the mouse on the optical types. They won’t work on all surfaces. But that would be a gread non-slip version if it worked!
[…] If you need bigger mouse pad then this idea is for you. Tutorial at CraftyYourHappiness […]
[…] Make Your Own Large DIY Mouse Pad from ourpeacefulplanet.com […]
It should be noted that foam board of this type can be dented/deformed moderately easily, thats why standard mousepads or a rubber type material. Not knocking this DIY, its certainly cheap, easy, and does the job, but not in every situation. For instance I will be making a DIY desk out of an old fire retardant door, and I want to have all (or most) of the top surface covered in a mousepad-like material. Using this method would *work* but it would limit the use of the desk. Heavy mugs left sitting for too long (depending on the contact patch between their base and the desk surface, of course), keyboard wrist-rests, monitors, etc, will leave permanents indentations.
[…] you’d like to see some of the other things I created to match my office check out our DIY Large Mouse Pad and my Organize Office Supplies in Style posts! This post also qualifies for our Buff Your Stuff […]
I really like the idea of having an XL mouse mat – much more comfortable to use.
I have just completed my office chair makeover and now I know how to make a coordinated mouse mat :o)
Thanks for sharing.
You’re welcome Sam. Glad to have inspired!
This is a good idea. I have been putting off getting a new mouse pad and now I know why. Thanks for a timely post for me.
thanks for stopping by Debra!
Very awesome!! I love the way you showed exactly how to make it also. Best wishes for the week ahead. Linda @Crafts a la mode
Thanks a bunch Linda!
Just please remember that spray adhesive should only be used outdoors or in a ventillated hood! That stuff gets into people’s lungs and you can image the results. As I recall the state of California has laws about use of spray adhesive in the work place, and when I worked at an advertising agency in San Francisco years ago we had a special hood for using spray mount.
Thanks for sharing on craft schooling Sunday!
Very good advice! I use it as I would spray paint. Always outside!
This is a great idea. I am always looking for mouse pads, they don’t sell them that m uch anymore because everyone uses the small computers. Thanks for the great tutorial!!
I absolutely love this! Thank you so much for sharing! I can never find cute mouse pads and I definitely want to spruce up my office with a new one. Will be getting some cute fabric this weekend. Thanks 🙂
You’re so welcome Cara. Glad I could give you some useful inspiration! Good luck! Would love to see it if you care to share when you’re done. Ü