![]()
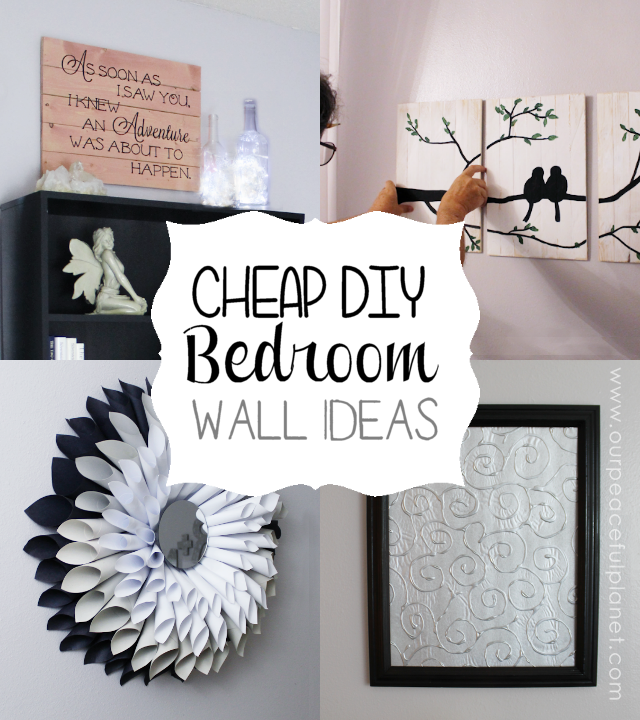
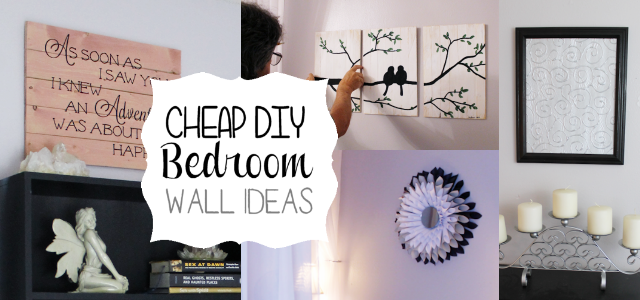
Do you need some cheap bedroom wall ideas? We’ve got a few things to get your creative juices flowing! This is part of our Budget Bedroom Makeover Series and we show you that lovely decor does not have to be expensive! As I used many things I had already the total cost for my four wall hangings was under $10.
![]()
![]()
![]()
Supplies Used for Bedroom Wall Ideas
Note: Part of the info below is very general in order to spark your own ideas. It shows how I used what I had to create wall hangings very inexpensively. Please take these ideas and adapt them to whatever works for you! WOOD PLAQUES- Wood (We glued slats together for ours but any regular piece of raw wood slightly sanded will work. Use whatever size you wish. I'll give the sizes of ours below.)
- Paints (for bird art)
- Silhouette cutting machine (we used this for our quote and have silhouette files you can download below. You could also paint on a quote.)
- Paper for cone wreath, colors of choice
- Foam board or cardboard for backing
- Round mirror for cone wreath aprox 6"
- Hot glue gun
- Tacky Glue
- Foam board
- X-acto type knife (for letter version)
- Fine sandpaper (for letter version)
- Frame for the picture version
- Silver spray paint (or any metallic color)
My Final Cost
I already had the wood lying around.- Black and grey paper: $5.00
- Mirror for center of cone wreath: $1.00
- Foam board $1.00
- Tacky Glue: $4.50
Downloads
We have high quality pdf versions of the quote for those who can't do the same type we did. This can be printed and cut to fit an 8x10. If it was framed using a mat it would make a wonderful wall hanging.

[sdm_download id="18786" fancy="0"]
If you do have a Silhouette cutting machine you can download the those files below. These fit our own wood sign but you can adjust them as needed.

[sdm_download id="18788" fancy="0"]
![]()
Quote Sign
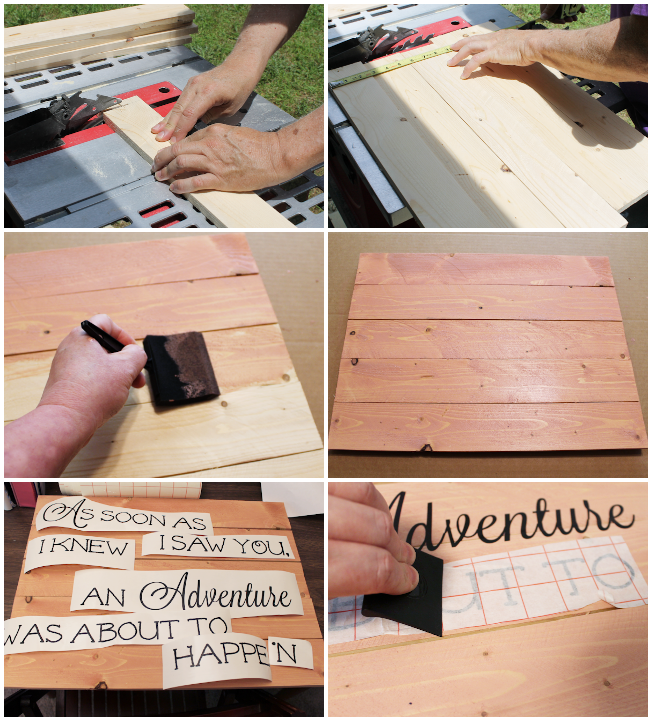
I love quotes and I had saved this one knowing I wanted to use it in my bedroom when I got around to redoing it as it fits Roy and I perfectly. Our life has indeed been an adventure! We made our sign using wood slats that Roy cut and glued together. However, a solid piece of raw wood would look nice too. Cut it to whatever size you wish, lightly sand it if desired, stain it and place an applicable quote on it. You can find ready to stick quotes that you can purchase at craft stores and other places.


 Foam Board & Glue Wall Hanging
I created one of these and made Roy and my initials with the provable plus sign meaning love. It turned out OK but was not the quality I really wanted for the bedroom. It would be great for a kids room or a more casual setting. I decided to use the same method and make a wall hanging which fit the room better.
Trace letters onto foam board and cut out with an X-acto type knife. You can lightly sand the edges with sandpaper to help smooth them out. Trace on designs. As I'm no artist I drew some very basic teardrop shapes all over it. Using glue carefully trace the designs. Allow to dry overnight. Spray paint with metallic paint. GLUE: I used regular white glue for the letters. It flattened out a bit more than I liked. Tacky glue works much better.

The letters turned out OK but were not quite what I wanted in the room. 
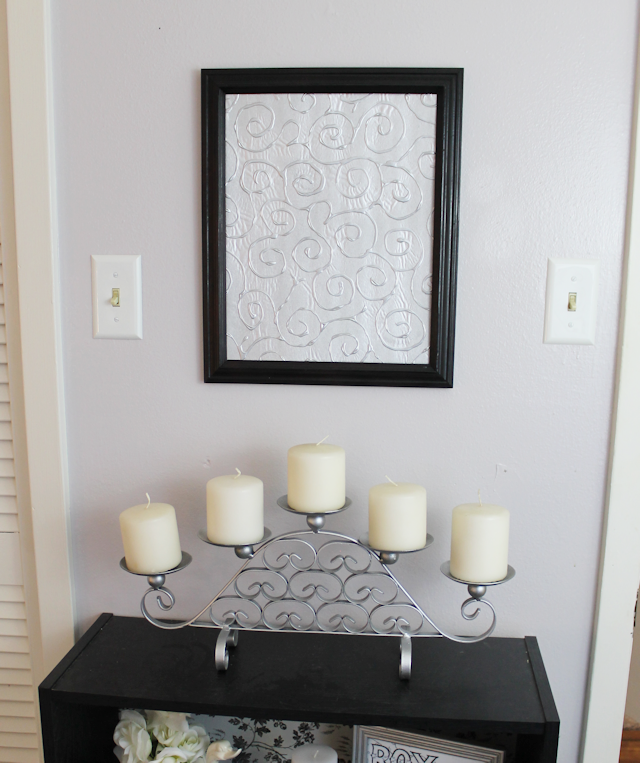
![]() I decided to use the same method and create a framed piece of art. I had an old frame that I used to cut my foam board to fit. I spray painted it black to match the room. On my foam board I made very simple designs then I used Tacky Glue, which held its shape much better, to outline them. After it dried I spray painted the board with metallic paint and placed it in the frame.
I decided to use the same method and create a framed piece of art. I had an old frame that I used to cut my foam board to fit. I spray painted it black to match the room. On my foam board I made very simple designs then I used Tacky Glue, which held its shape much better, to outline them. After it dried I spray painted the board with metallic paint and placed it in the frame. 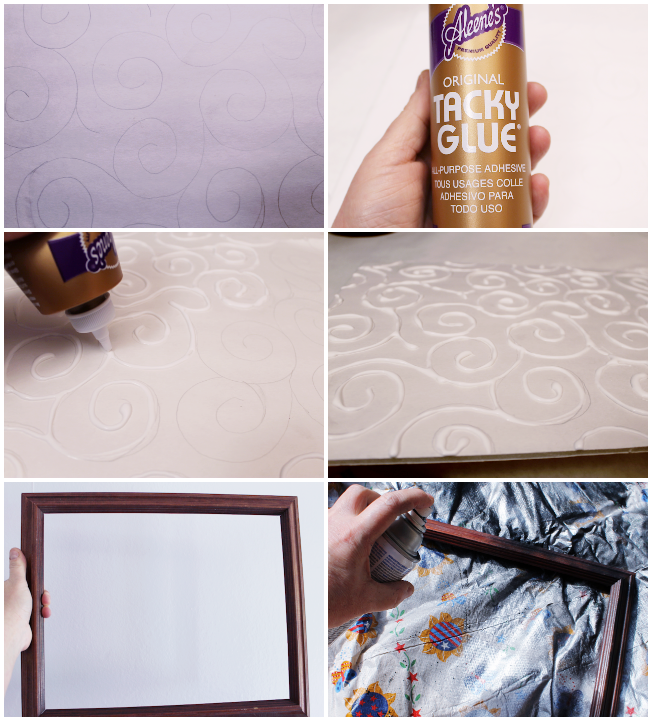
![]()
 Cone Wreath
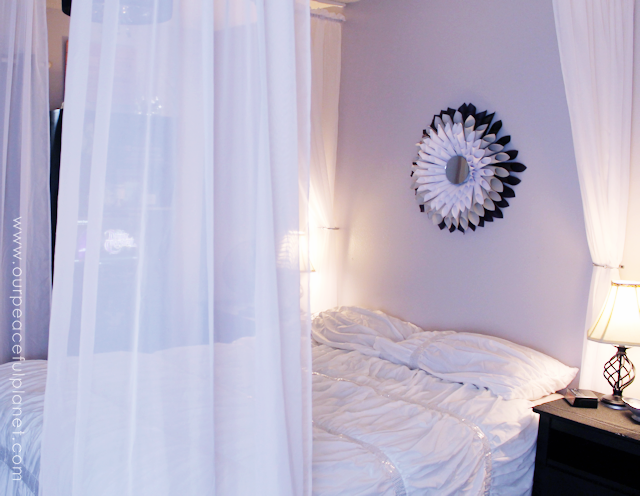
The instructions for making cone wreaths are all over the web. I'll just show you the basics here. I needed a large focal point above my bed and always loved the look of these so I created one. For the center I used a round mirror which I purchased at the dollar store. The video shows the very basics of how to roll the cones.
Bird Art
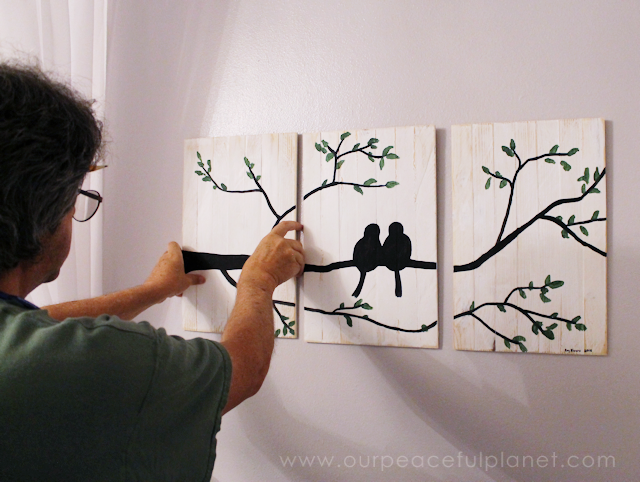
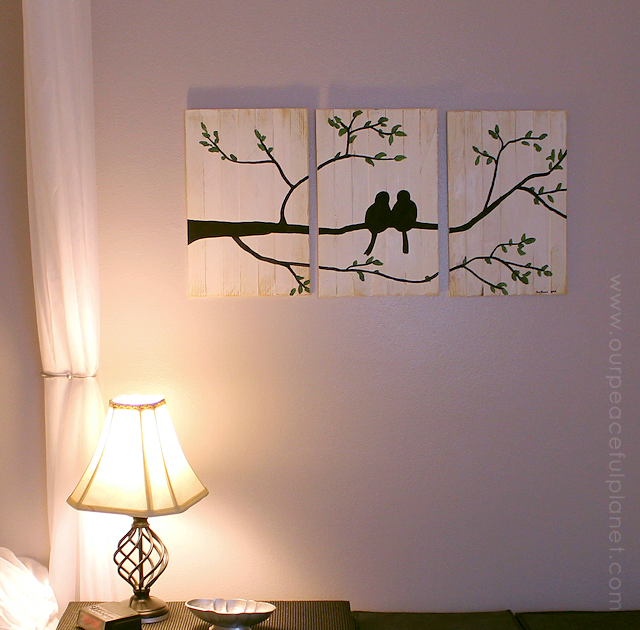
I had one wall left that needed something on it. As I was looking for ideas I saw a lot of birds on a wire artwork. I especially liked the "love birds" art which was very applicable to the room. I wanted a wide piece of art to fit the space but we didn't have wood that was wide enough. Rather than purchase some Roy made three smaller plaques and painted on those. He did a light white wash coat on the boards and then roughed up the paint in spots with sandpaper. He lightly sketched on a branch and then the birds. As the design is so simple anyone could make this. Then he painted them solid black but dabbed on some dark green leaves. Then of course he signed up.





7 responses
[…] Source – cheap & classy diy bedroom wall ideas cheap bedroom diy […]
I was going to make the mirror wall flower using the grey,black and white paper but I am having the hardest time finding the grey and black paper….i know its weird but I searched and all I could find was 500 sheets each for like $15.00 per pack…any ideas?
Maybe you could go to family dollar and see if any paper is there
Every single one of these projects are stunning! Great job!
Why thank you Christine! What a kind thing to say. Ü
What great ideas! They are all so much fun and you make them look like even I might be able to pull them off (and that is saying something)!
Thanks so much Carlee. Ü